
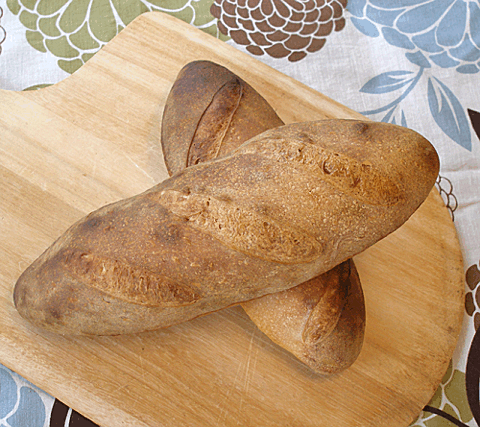
Crusty Sourdough Loaves Recipe
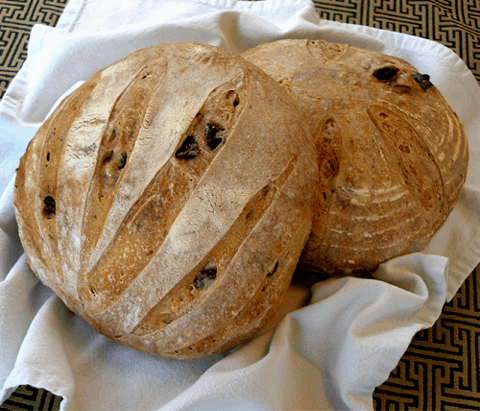
Kalamata Olive and Rosemary Boule Recipe
We decided that this website needed a good sourdough starter tutorial. So, here it is! It is the essential element of sourdough bread making. This one is adapted from the technique in Nancy Silverton's La Brea Bakery, but we rewrote it, simplified it, and made it easier to understand for the home baker.
If you do any research on sourdough starters you will find that some people approach it like a science and come at you with a dizzying array of percentages and formulas.
This starter is not like that, yet it works beautifully, and produces fabulous breads with a nice tang.
It takes about 14 days to raise a starter from scratch – nine to grow the starter and five to build strength you need before you bake a loaf of bread. This sourdough starter is easy to maintain once it is established. It needs to be feed flour and water on a regular basis so it stays alive.
BREAD RECIPE HELP
INSTRUCTIONS AND INGREDIENTS
You will need:
1 lidded glass or plastic container that can hold at least 2 quarts
8-10-inch square double layered cheese cloth
INGREDIENT NOTES: About the flour and water
DAYS 1 – 10:
When you are building the starter: Use organic unbleached white flour – all-purpose or bread – and filtered or bottled water. You can also use tap water that has been left overnight, so the chlorine can dissipate, so the yeasts can grow the best.
DAY 11 AND AFTERWARDS:
After the starter is established: it is OK to use non-organic unbleached all purpose or bread flour.
But, you still must use filtered water.
STEP I: BUILD THE STARTER
DAY 1 – MIX THE STARTER
INGREDIENTS
8 ounces organic red grapes, lightly rinsed with water (do not thoroughly wash, lest you wash away the wild yeasts.)
2 1/2 cups filtered water at warm room temperature (about 78 degrees F)
2 1/4 cups organic unbleached flour; spoon into measuring cup and level to rim
INSTRUCTIONS
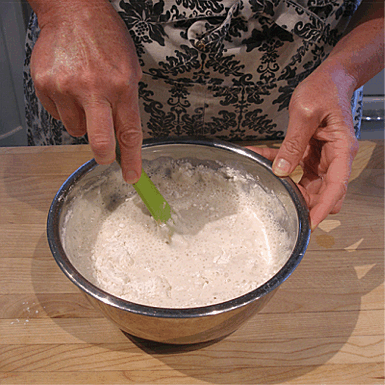
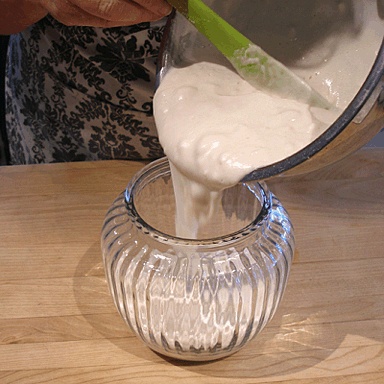
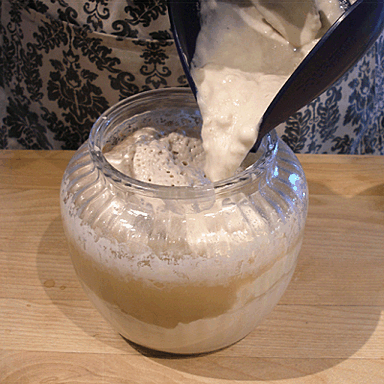
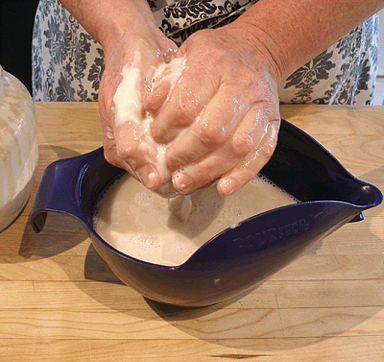
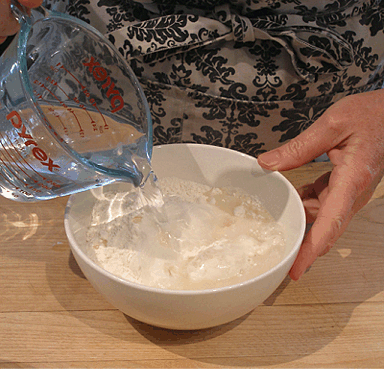
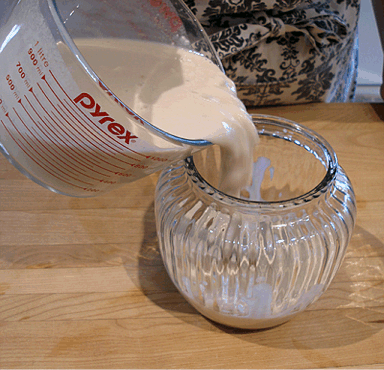
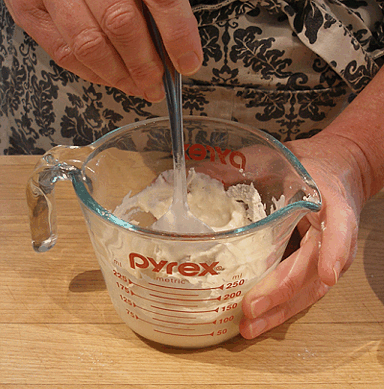
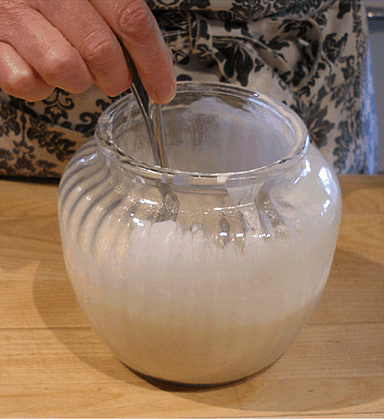
1. Place the flour and water in medium bowl.
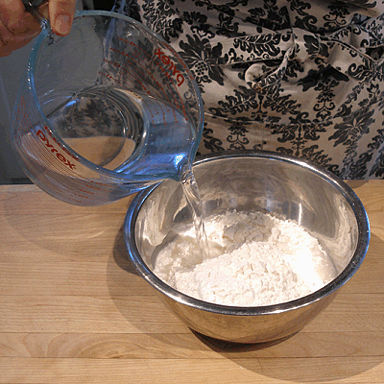
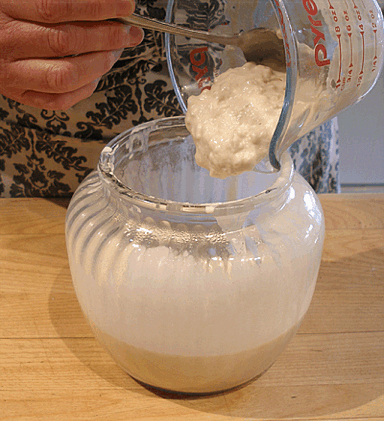
2. Stir together, then pour the mixture into your sourdough starter container.
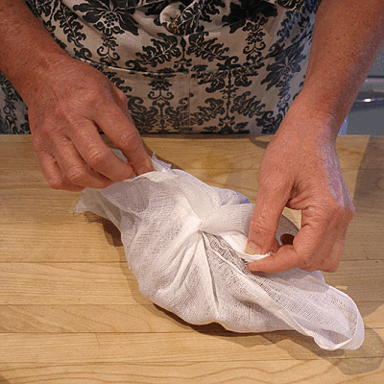
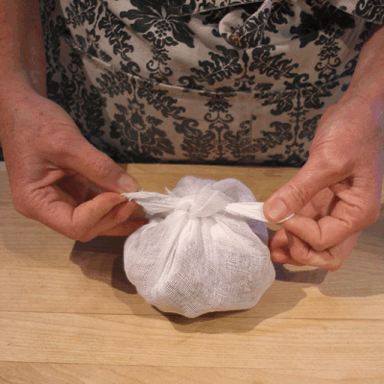
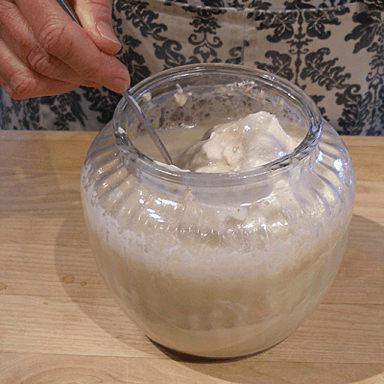
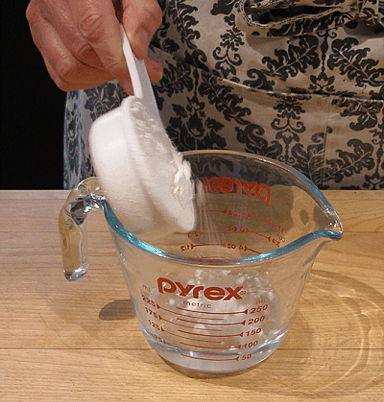
3. Place the grapes on a double layer of cheesecloth and tie together opposite ends to form a packet.

4. Hold grape bag over your container and squeeze to slightly crush the grapes, letting any released juices drip onto the flour water mixture.
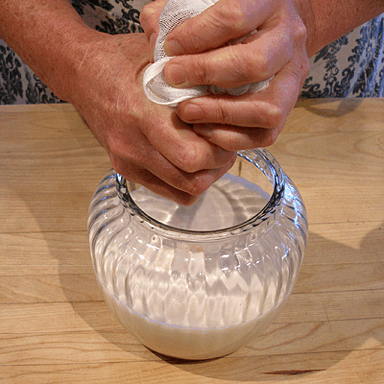
5. Swish the grape bag through the flour/water a couple of times.
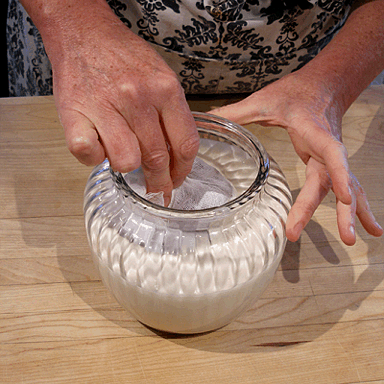
Then push the bag to the bottom of the container.
6. Secure a piece of plastic wrap over the opening, with a rubber band.
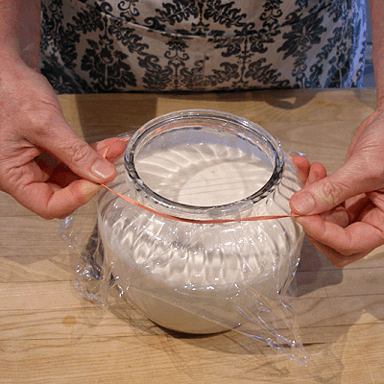
7. Leave the filled container out at room temperature, ideally 70 to 75 degrees F.
If your room is very hot, move it to a shaded cool area, if it is cold in the room, place it in a warm spot.
DAYS 2 – 6: THE STARTER COMES ALIVE WITH WILD YEAST AND BACTERIA
I have taken pictures of the daily changes in my starter, just so you will know what to expect.
I have only removed the lid to take the photos. You must leave the container covered, so it doesn't dry out or become contaminated with unwanted bacteria.
DAYS 2 – 4: Over the next few days, you do not have to do anything to the infant starter, except wait.
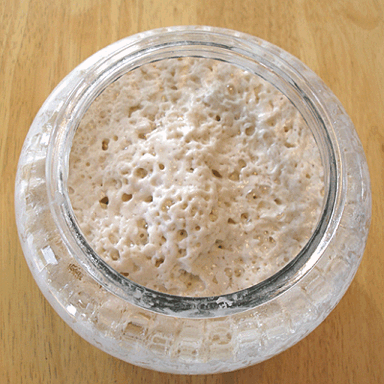
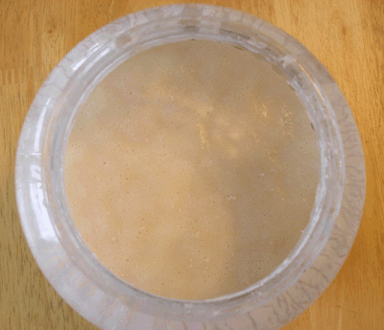
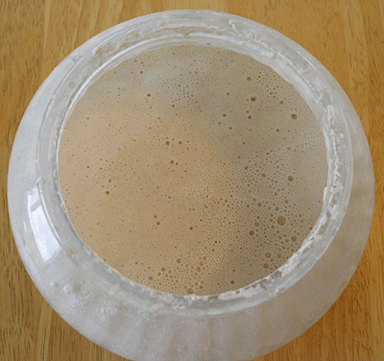
ABOUT DAY 4: Bubbles start to form throughout the starter.
DAY 5: Things continue to bubble away.
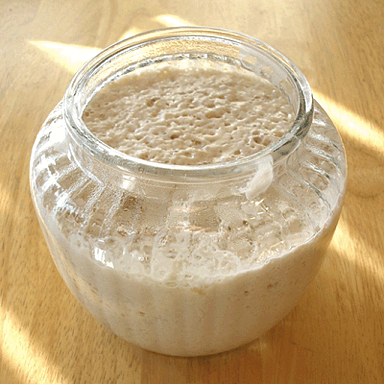
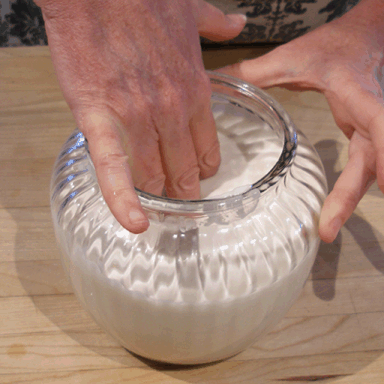
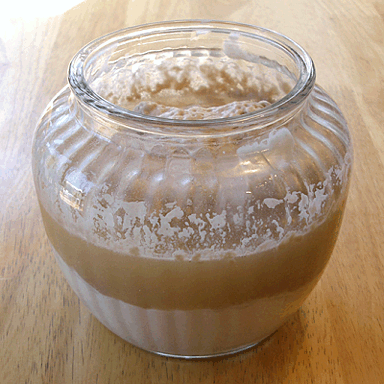
DAY 6: The grape bag has risen to the top of the starter and has started to inflate a bit.
There is some liquid forming in the center of the mixture.
Smell the mixture. It should smell yeasty.
DAY 7 – REFRESH THE SOURDOUGH STARTER WITH FLOUR AND WATER
This will give the growing yeast molecules something to eat, so they can continue multiplying.
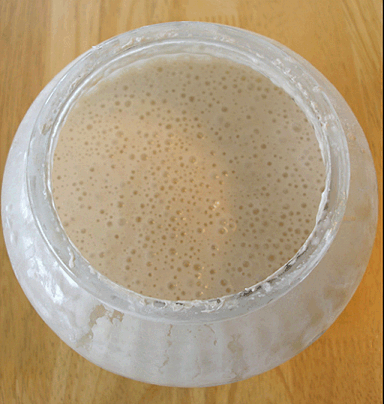
1. Take a look.
The top of the starter should look really bubbly at this point and there may be a brownish yellow liquid layer as well. It should also smell of alcohol and, to be honest with you, it is pretty darn stinky at this point.

2. Refresh the Sourdough Starter and let it ferment:
INGREDIENTS
1/2 cup filtered water and warm room temperature(about 78 degrees F)
1/2 cup organic unbleached white flour; spoon into measuring cup and level to rim
INSTRUCTIONS
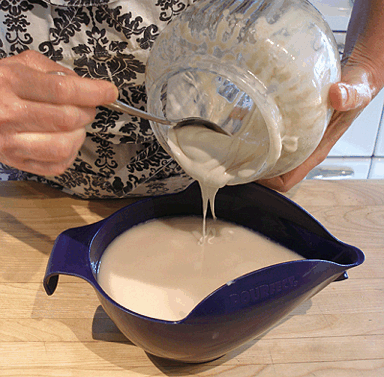
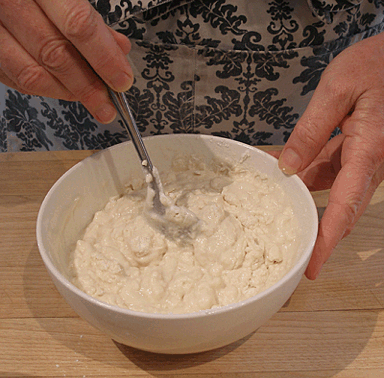
1. Mix the flour and water together and pour it into the starter container.
2. Stir everything together, and swish the grape bag around in the mixture a few times.
3. Replace the lid.
4. Let the starter ferment: Leave the filled container out at room temperature. If your room is very hot, move it to a shaded cool area, if it is cold in the room, place it in a warm spot.
DAYS 8 AND 9 – THE STARTER CONTINUES TO FERMENT
NOTE: It is normal for the starter to separate with a yellowish/brownish top layer of liquid.
Mold may form on the top of your starter(mine did not mold). This is OK, simply remove the mold with a spoon, and stir in 1/2 cup flour and 1/2 cup water to the mixture. Recover the jar and set it aside.
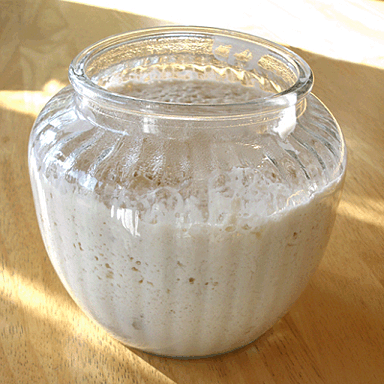
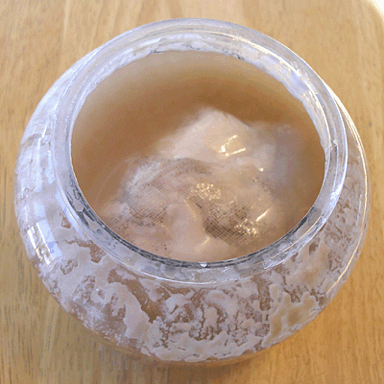
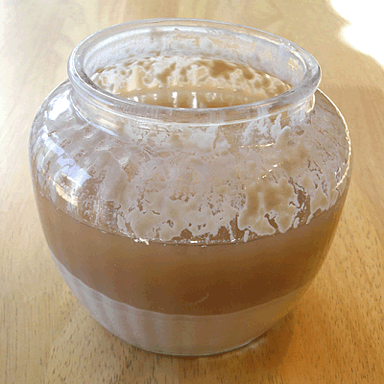
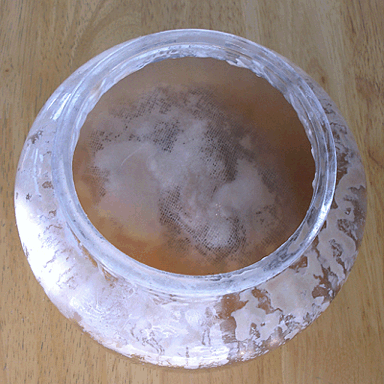
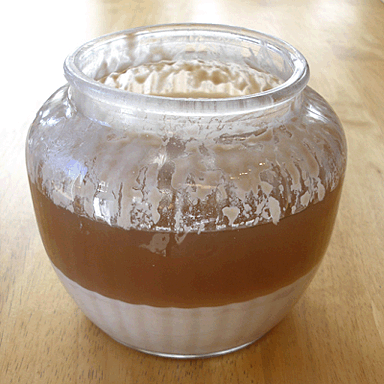
DAY 8: Take a look. The liquid layer is darker, and almost has a purplish tinge from the grapes.

DAY 9: Take a look. The bubbling has subsided a bit, and the liquid layer is a bit darker. The starter is built, but not ready to use in baking.
STEP II: BUILD THE STARTER
Now the starter has been established, you need to build the starter to the strength you need to bake a loaf of bread or use in a recipe.
DAY 10 – TRANSFER AND FEED YOUR STARTER
1. Take a look.
2. Transfer the starter:
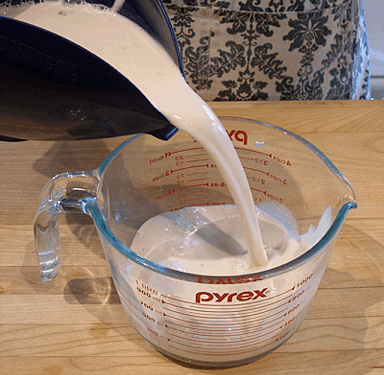
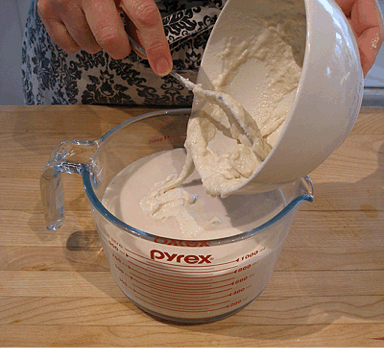
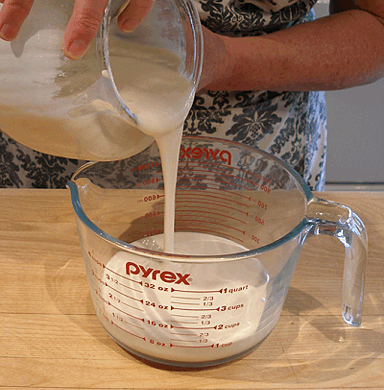
a. Pour the sourdough starter mixture into a bowl.
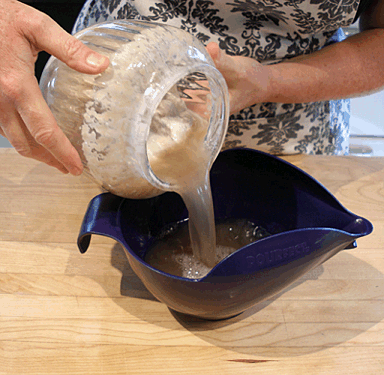
b. Find the bag of grapes and squeeze any juices back into the mixture. Discard the bag of grapes.
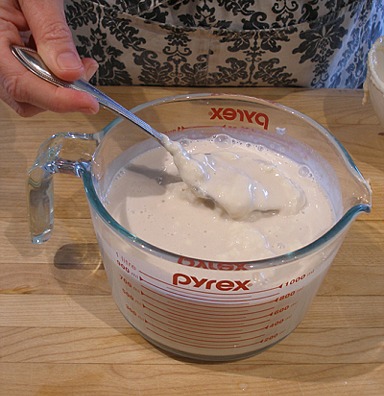
c. Scrape out as much of the mixture as possible, then stir it thoroughly.
d. Measure out 2 cups of the starter, then discard the rest.
3. Feed the Starter
Give the starter a nice big meal. There are two feedings – one, preferably done in the morning and the second, in the evening or when you go to bed.
a. MORNING OF DAY 10 – FIRST FEEDING
INGREDIENTS
1 1/4 cup organic unbleached flour; spoon into measuring cup and level to rim
1 cup filtered water at warm room temperature(about 78 degrees F)
INSTRUCTIONS
1. Wash the original sourdough starter container and dry it with a clean cloth. Set aside.
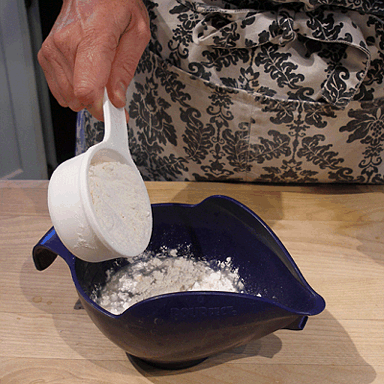
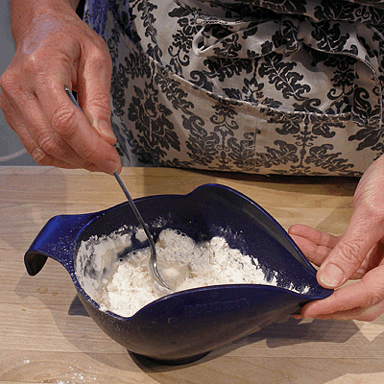
2. In a small size bowl, mix the flour and water together.
3. Pour the flour mixture into the reserved started and stir well.
4. Pour the mixture in the clean sourdough starter container and stir well.
5. Replace the lid.

6. Let the starter ferment: Leave the filled container out at room temperature. If your room is very hot, move it to a shaded cool area, if it is cold in the room, place it in a warm spot.
b. NIGHT OF DAY 10 – SECOND FEEDING
INGREDIENTS
1/3 cup organic unbleached white flour; spoon into measuring cup and level to rim
1/4 cup filtered water at warm room temperature(about 78 degrees F)
INSTRUCTIONS
1. Stir the starter.

2. In a small bowl, mix the flour and water together.
3. Add it to the container, and stir.
4. Replace the lid.
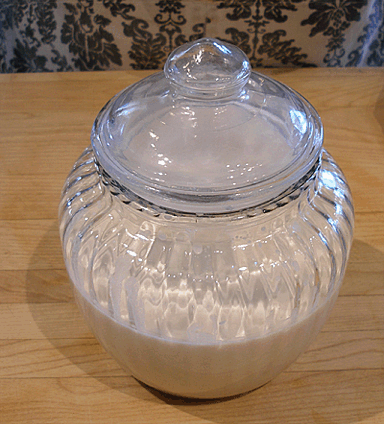
5. Let the starter ferment: Leave the filled container out at room temperature. If your room is very hot, move it to a shaded cool area, if it is cold in the room, place it in a warm spot.
DAY 11 – THE STARTER IS ESTABLISHED. GIVE REGULAR FEEDINGS
The starter is now established. From this day forward, you will put your starter on a regular morning/night feeding schedule.
Some people feed their starters once a day, and some feed them 3 times a day.
NOTE: I have found it easier to feed it twice; once in the morning, and once at night or before going to bed. (See below).
The feeding mixture is a little different from the first days feeding. I use less food to eliminate as much waste as possible.
You can also use unbleached all-purpose flour, instead of organic. But, you still need to use filtered water.
Before you feed every morning, you must pour some of the mixture off, or you will soon have a ridiculous amount of starter on your hands.
I usually pour off a cup of starter every morning, then I feed the starter. Do not pour off any of the starter mixture in the evening, though.
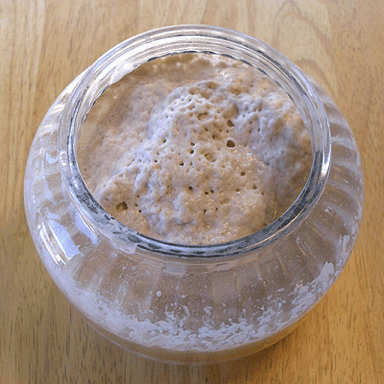
After you put your starter on a regular feeding schedule, you should notice bubbling activity in the starter.
Every day, the starter should show more evidence of activity.
You can use the poured off starter to bake with that day.
DAY 11
a. MORNING OF DAY 11 – FIRST FEEDING
1. Stir the starter.
2. Pour off about one cup of starter and discard.
3. Feed the remaining starter in the jar.
INGREDIENTS
1/2 cup unbleached all-purpose flour; spoon into measuring cup and level to rim
1/3 cup filtered water warm at room temperature(about 78 degrees F)
INSTRUCTIONS
1. In a small bowl, mix together the flour and water.

2. Add it into the starter and stir.


3. Replace the lid.
4. Let the starter ferment: Leave the filled container out at room temperature. If your room is very hot, move it to a shaded cool area, if it is cold in the room, place it in a warm spot.
b. NIGHT OF DAY 11 – SECOND FEEDING
INGREDIENTS
1/2 cup unbleached all-purpose flour; spoon into measuring cup and level to rim
1/3 cup filtered water warm at room temperature(about 78 degrees F)
INSTRUCTIONS
DO NOT pour off any of the starter. You do that only ONCE a day, in the morning.
1. In a small bowl, mix together the flour and water.
2. Stir it into the starter.
3. Replace the lid.
4. Leave the filled container out at room temperature. If your room is very hot, move it to a shaded cool area, if it is cold in the room, place it in a warm spot.
DAY 12:
1. Take a look.
2. Repeat feedings from Day 11 – Morning and then, night.
DAY 13:
1. Take a look.
2. Repeat feedings from Day 11 – Morning and then, night.
STEP III: DAY 14 ON – USE THE STARTER FOR BAKING AND/OR MAINTAIN IT
The starter culture is now ready to be used in baking, but it must also be feed and maintained to keep it alive, and can be used over and over again, anytime you feel like baking.
NOTE: Each starter develops on its own schedule. Mine was ready to use on day 14. Yours may be ready sooner, or later.
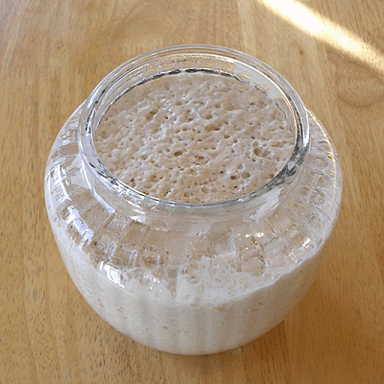
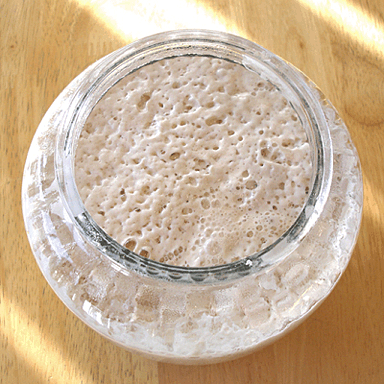
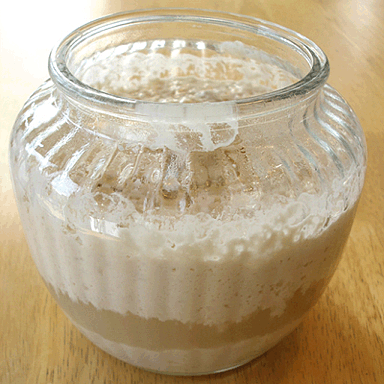
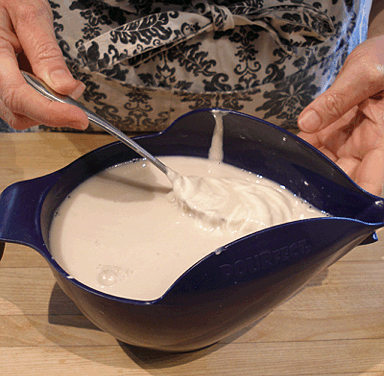
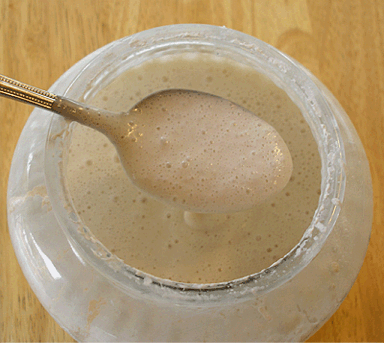
1. Take a look. The starter is ready to use in a recipe when it is full of bubbles. The bubbles rise to the surface and pop. It really LOOKS alive.
2. When you stir the starter, then lift the spoon, it should be almost foamy with bubbles.
Everyday: If you plan on baking daily or at least 3 times a week, leave your starter out on the counter, covered.
Baking with the starter:
1. Stir the starter.
2. Pour off what is called for in the recipe, BEFORE the morning feeding. Recipes typically use about 1 cup.
3. Then, feed the remaining starter in the jar, following the feeding schedule from DAY 11.
If you are not baking:
Follow the pour-off and feeding schedule from DAY 11. Do so EVERY DAY, morning and night, to keep it at its optimum strength.
Or, you can refrigerate your starter, if desired, for longer storage.
Long-term refrigerator storage:
If you are not going to bake regularly, you may keep your starter in the refrigerator, covered. Refrigerated starters go dormant.
If you are not baking: Feed it once a week, morning and night, to make sure it doesn't die.
Mix the starter. Let it come to room temperature. Mix, again. Follow the pour-off and feeding schedule from DAY 11. Keep it covered.
If you are baking: You need to activate the refrigerated starter before using.
1. Mix the starter. Let it come to room temperature. Mix, again.
2. Follow the pour-off and feeding schedule from DAY 11, for one to three days, or until it becomes active or frothy.
3. When it is frothy and bubbling: pour off what is called for in the recipe, BEFORE the morning feeding.
NOTE: If there is only a little activity, try increasing the water temperature a little when you feed it. This may give it a kick start.
If you have been feeding the dormant starter twice a day, for three days, and there is still no activity, it is likely that the starter has died. You will need to start again from STEP I.
Preserve your starter by drying it:
Simply pour out a thin layer of starter on a parchment lined baking sheet. Let the starter dry for several days until it is completely dry. You can then peel off the flakes of starter and store it in a ziptop bag.
This is a GREAT way to share your starter with other people. When you are not baking, you can dry the starter that you pour off before feeding, instead of discarding it.
To reconstitute the starter, dissolve the flakes in warm water, then put it on a daily feeding schedule until it is bubbling and foamy again.