
You can't just add food coloring to a cookie recipe and expect it to bake with vivid colors, so I had to develop my own cookie dough that lends itself well to this application. Simply leave out the gel food color if you want to bake plain vanilla cookies. I have included a How to Tint the Cookie Dough Tutorial at the bottom of this recipe. This has soon become a very popular and reliable recipe and is used with many others on the CraftyBaking.com website.
COOKIE RECIPE HELP
See our other related tutorials:
 Millefiori Slice and Bake Cookies
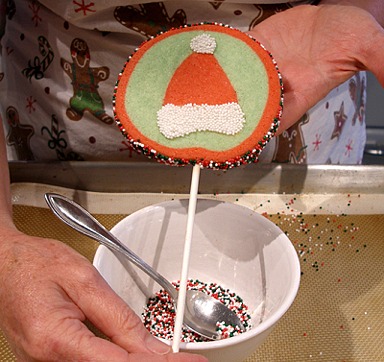
 Santa Hat Cookie Pops Tutorial
 Red Velvet Checkerboard Cookies Recipe
 Red Velvet Sandwich Cookies Recipe
 Polka Dot and Striped Cookies Tutorial
 Cinnamon Spiral Cookies Recipe
 Alfajores or Dulce de Leche Sandwich Cookies Recipe
INGREDIENTS
2 cups unbleached all-purpose flour; spoon into measuring cup and level to rim
2/3 cup sugar
3/4 cup plus 2 tablespoons (14 tablespoons) cold unsalted butter, cut into tablespoon size pieces – rechill if necessary
1 large egg yolk, cold
1 1/2 tablespoons light cream, cold; can use whole or 2% milk
2 teaspoons vanilla extract
1/4 teaspoon salt
INSTRUCTIONS
Make the cookie dough:
1. In a large bowl, thoroughly mix together the flour and sugar.
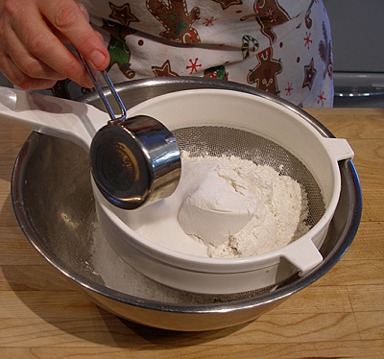
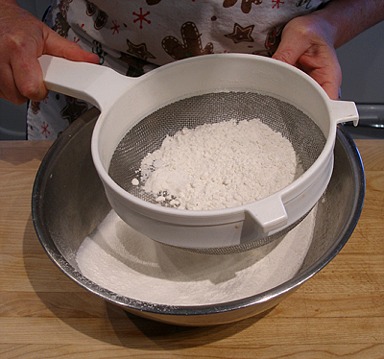
KELLY SAYS: I like to sift together my premeasured ingredients.
2. Cut the cold butter into tablespoon size pieces, directly into the flour mixture.
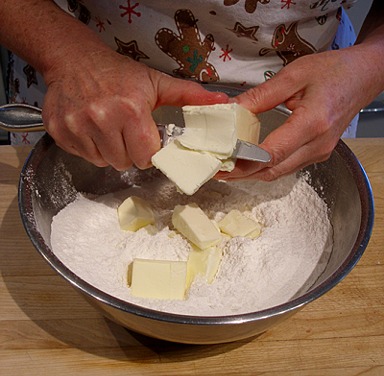
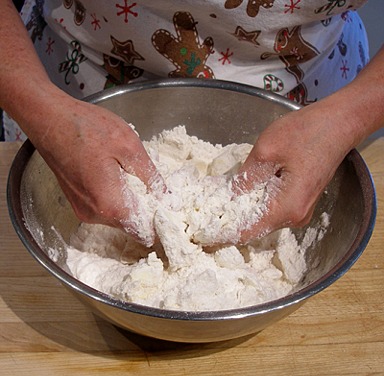
3. Using forks, a pastry blender or your fingertips, cut the butter into the flour mixture until the mixture is the consistency of coarse meal.
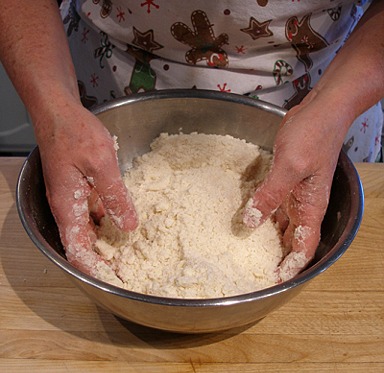
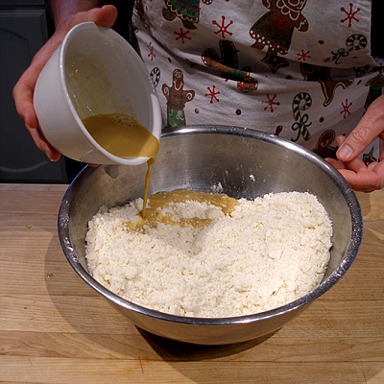
4. In a small bowl, beat together the egg yolk, cream, vanilla and salt with a fork until well blended and smooth.

5. Add the egg yolk mixture to the flour / butter mixture, and lightly stir the two together with a large spoon.
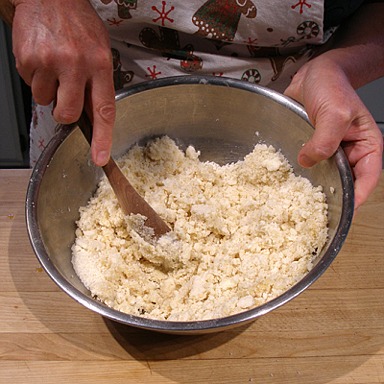
6. Then, knead the two together until the dough is evenly incorporated.
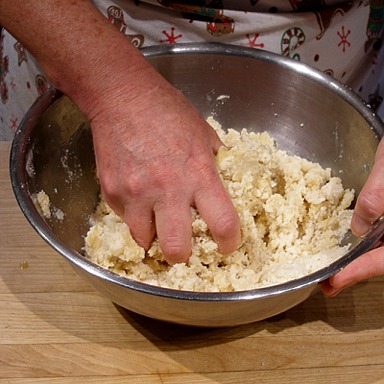
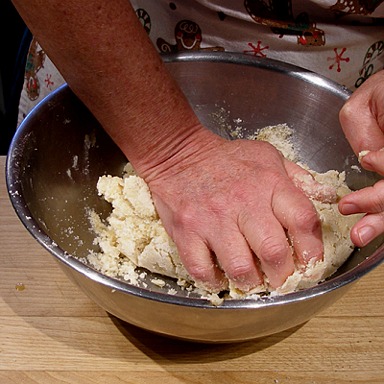
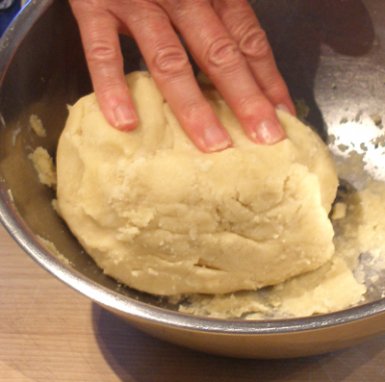
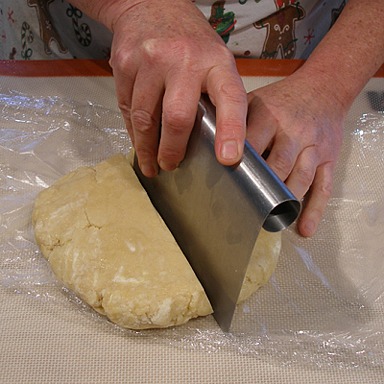
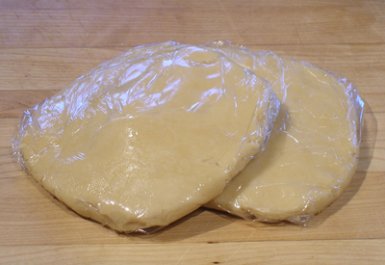
7. Divide the dough in half. Press each half into a disk and wrap in plastic wrap and refrigerate for at least two hours.
STORAGE
The cookie dough can remain refrigerated for 2 to 3 days, TOTAL, including the time it will be refrigerated after it will be cut-out into shapes in the next steps.
The dough can be frozen for a month or more. Thaw in the refrigerator.
Roll the cookie dough:
1. When dough is thoroughly chilled, remove one disk from the refrigerator. Divide it in half.
Place one half on a piece of waxed paper. Rewrap and return the other half to the refrigerator.
With the side of the rolling pin, lightly bang the disk into a rectangular shape.
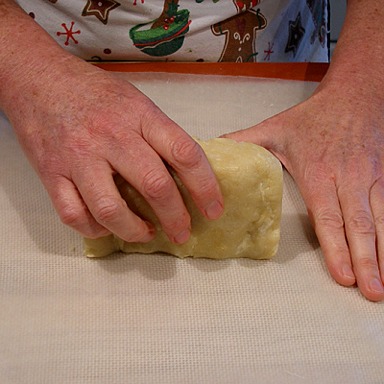
2. Place a sheet of waxed paper on top. Roll it out to 3/16-inch thick; check the underside of the dough and smooth out any wrinkles that form.
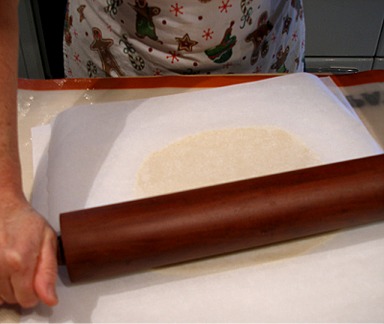
3. Roll out the second half of the first dough disk the same way.
4. Repeat steps 1 – 3 with the second dough disk in the refrigerator.
5. Stack the rolled portions (paper still attached) on a baking sheet and refrigerate for 30 minutes or longer, or until chilled and firm, or freeze for about 15 minutes to speed chilling.
Preheat the oven, Cut-out the cookie dough, Bake and Cool:
1. Position and oven shelf to the middle of the oven and preheat the oven to 325 degrees F.
2. Line baking sheets with ungreased parchment paper.
KELLY SAYS: I like to line mine with Silpat, nonstick baking mats.
3. Working with one chilled dough sheet at a time and leaving the remaining chilled, gently peel away, then pat one sheet of wax paper back into place.
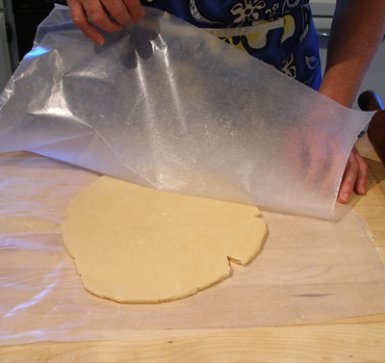
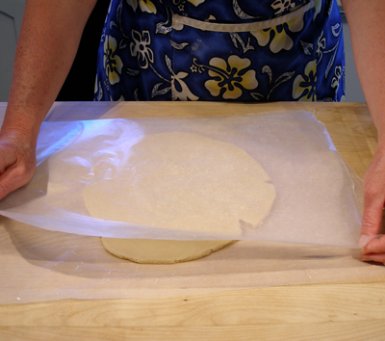
4. Flip the dough over, then peel off and discard the second sheet.
5. Using a 2-INCH fluted square or round cutter or other desired shape, cut out the cookies.
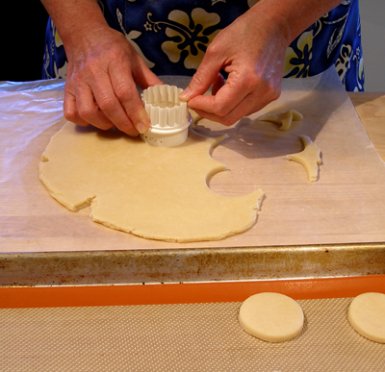
6. Using a spatula, carefully transfer the cookies to the baking sheet, spacing about 1 1/4 inches apart. Reroll any dough scraps. Continue cutting until all the dough is used.
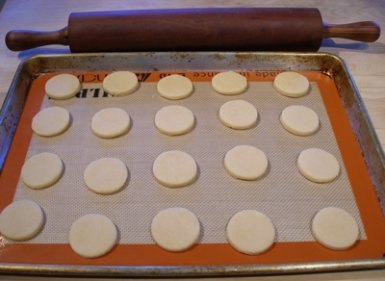
Bake:
1. Bake the cookies, one cookie sheet at a time, in the middle third of the oven for 9 to 13 minutes, or until just lightly browned on the edges.
2. Using a metal spatula, immediately transfer the cookies to wire racks. Let stand until completely cooled.
STORAGE
Store baked cookies in an airtight container for up to 2 weeks or freeze for up to 2 months.
OPTIONAL: HOW TO TINT THE DOUGH TUTORIAL
The colors darken as the dough refrigerates before baking.

Santa Hat Cookie Pops Tutorial
INGREDIENTS
Include:
up to 1/4 teaspoon gel food color of your choice; for lighter colors, use 2-3 drops
INSTRUCTIONS
Follow instructions for Make the cookie dough Step #s 1 – 3 above, then replace Step 4 with this step:
4. Add the food coloring to the cream in a small bowl.
NOTE: For this short demo, we used 2 to 3 drops gel food coloring to obtain a lighter color.
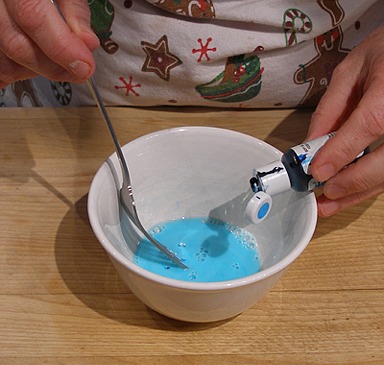
In another small bowl, beat together the egg yolk, cream / food coloring mixture, vanilla, and salt with a fork until well blended and smooth.
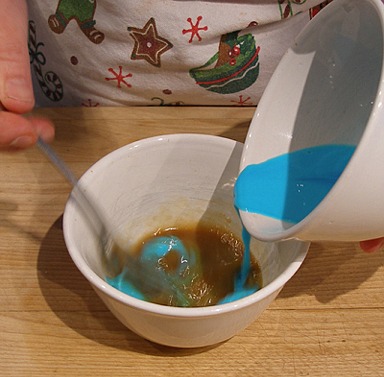
5. Add the egg yolk mixture to the flour / butter mixture, and lightly stir the two together with a large spoon.
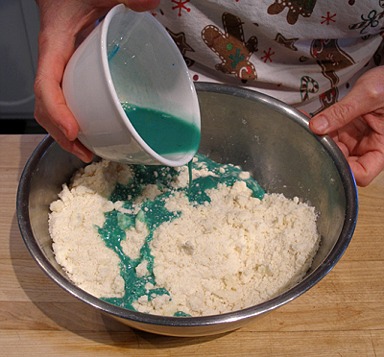
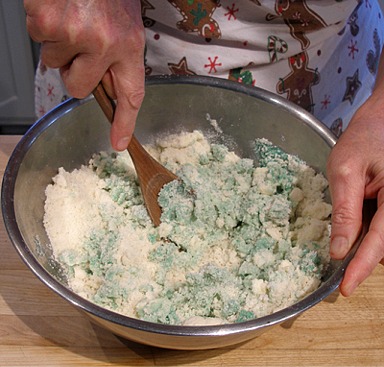
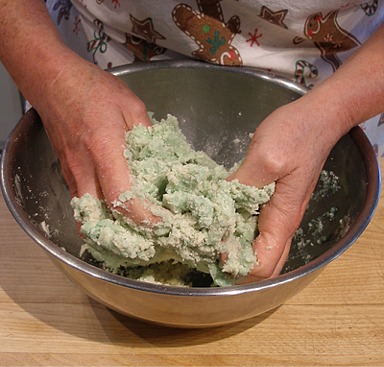
6. Then, knead the two together until the dough is evenly incorporated.
7. Pat the dough into a disk, wrap in plastic wrap and refrigerate for at least two hours.
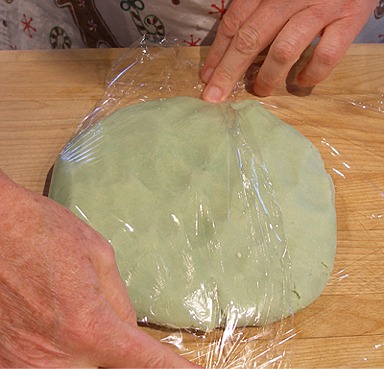
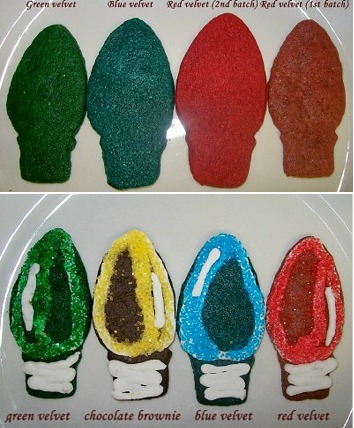
You will get this color when the cookies are baked:
For even darker colors, follow the recipe for Red Velvet Sandwich Cookies.
STORAGE
The cookie dough can remain refrigerated for 2 to 3 days, TOTAL, including the time it will be refrigerated after it will be cut-out into shapes in the next steps.
The dough can be frozen for a month or more. Thaw in the refrigerator.


