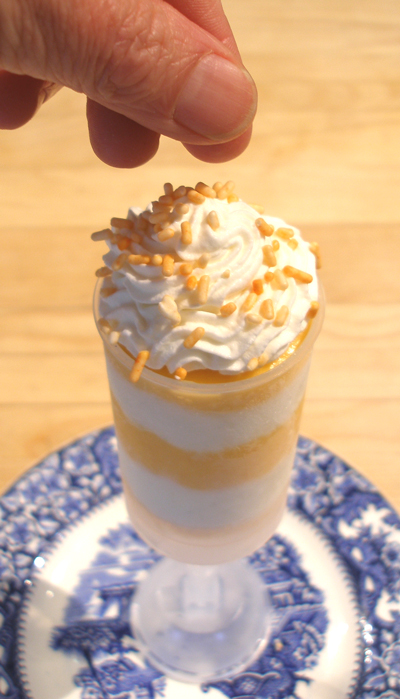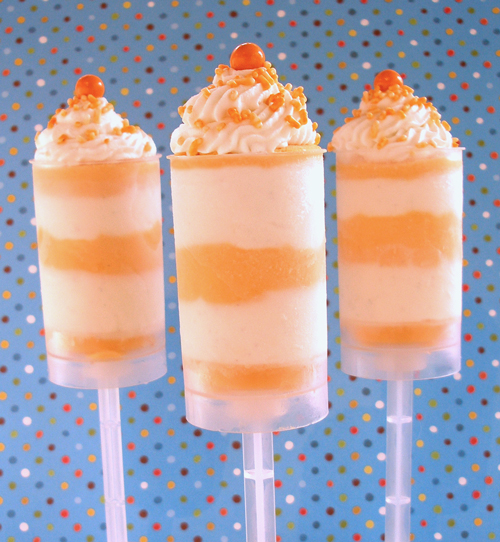
These Vanilla Orange Frozen Yogurt Push Up (Push-Up) Pops are SO tasty and reminiscent of the childhood favorite, Creamsicles.
Made even more delicious and creamy by the addition of frozen yogurt and homemade orange curd.
Find out what makes this recipe so successful as a frozen confection and why we use orange curd as opposed to an orange fruit compote.
FROZEN DESSERTS RECIPE HELP
INGREDIENTS
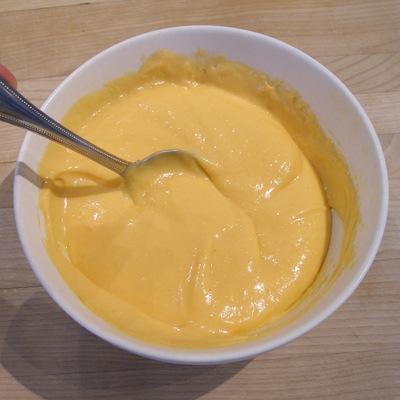
1 recipe Orange Curd; make in advance or store bought
Add after Step 6 in the Orange Curd recipe (optional):
2 drops orange gel paste food color; just to make the contrast between the two elements more visible in the push pops.
1/4 teaspoon orange extract; kicked up the orange flavor a little
1 recipe Frozen Vanilla Greek Yogurt, just churned; When the ice cream is finished churning in the machine, it should be the consistency of soft-serve ice cream. This is how the texture needs to be to fill the pops.
SARAH SAYS: I use Greek Yogurt because it is drained to make it thicker and creamier than regular yogurt. Thus, without the extra water, the freezing process leaves Greek yogurt with less of an icy texture so the treat is creamier without added fat.
Optional embellishments:
Orange sprinkles or white sprinkles with orange gel food coloring
Whipped cream:
1 cup of cream
1 tablespoon sugar
1/2 teaspoon of vanilla extract
6 Orange SweetWorks Sixlets or M&Ms or another round orange candy that is available to you.
Special Equipment:
6 Push Pop containers, or Wilton Treat Pops (Each: 7.25 in. high x 1.75 in. dia.), now available at craft stores, where Wilton products are sold, or online:
Wilton piping tip 230 and 32, which come in Wilton's “Treat Pop Decorating Set”
2 disposable piping bags
STEP I: ASSEMBLE THE PUSH UP POPS
NOTE: We found that it is best to fill the pops one at a time, then place the finished pop in the freezer while you make the next one, until all 6 of the push pops are filled.
When the ice cream is finished churning in the machine, it should be the consistency of soft-serve ice cream. This is how the texture needs to be to fill the pops.
If YOUR ice cream machine makes harder ice cream, take a small amount out of the machine and stir it briefly to soften, before placing it in the piping bag.
1. Remove the orange curd from the refrigerator and stir it to loosen it up.
2. Place the #230 Wilton piping tip into a disposable piping bag and fill the bag with the orange curd.
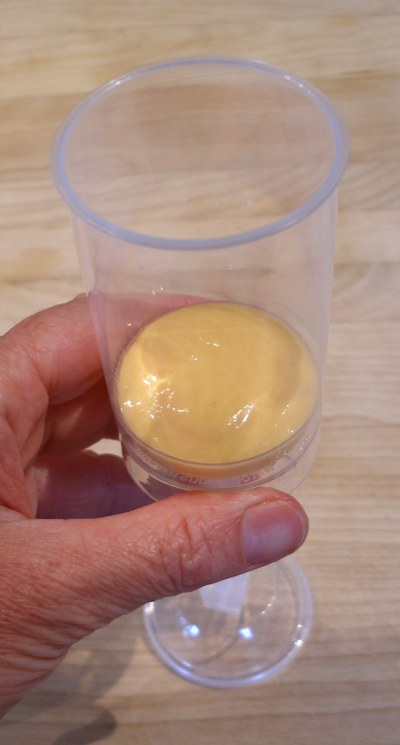
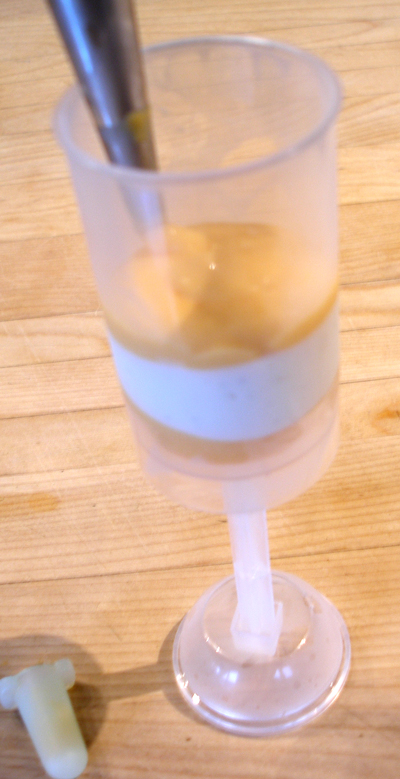
3. Assemble the push pop containers, using the cap (dome) to turn the treat pop into a stand-up container for easy filling.
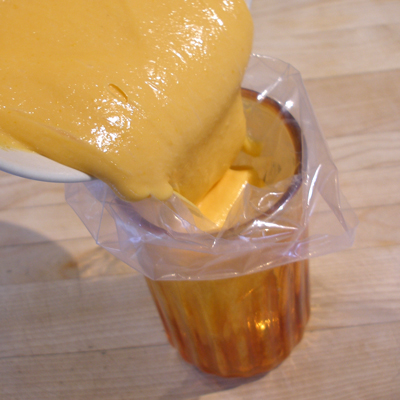
Pipe about 1/4-inch of curd into the bottom of each container. Gently tap the container to level the curd.

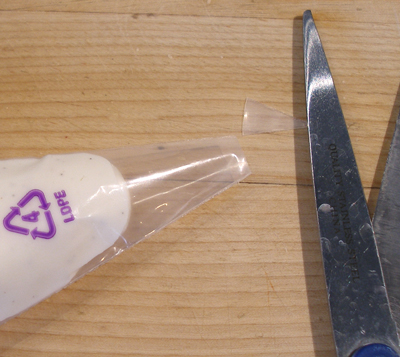
4. Place about 1/2 cup of the processed frozen yogurt into a piping bag, leaving the rest frozen yogurt in the freezing bowl of the ice cream machine to keep it cold.
Snip a small opening in the bottom of the bag.
NOTE: With each pop, refill the piping bag containing the ice cream, using only 1/2 cup at a time, leaving the rest of it in the ice cream machine so it stays cold.
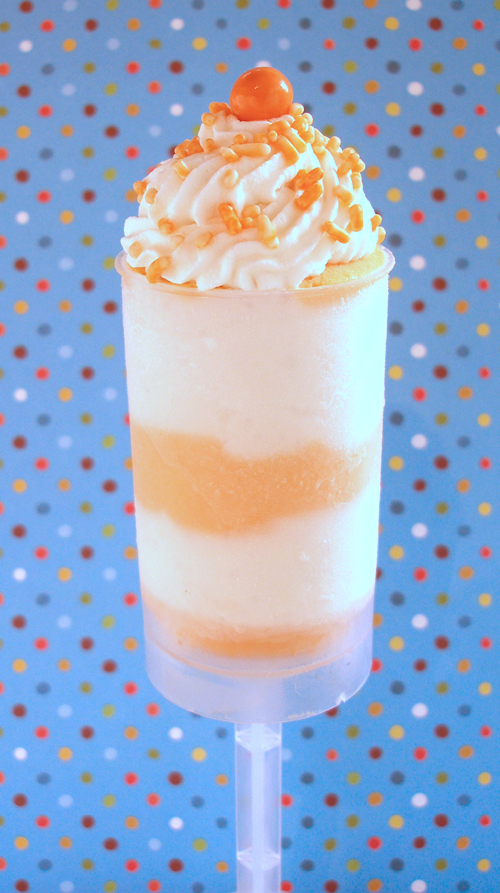
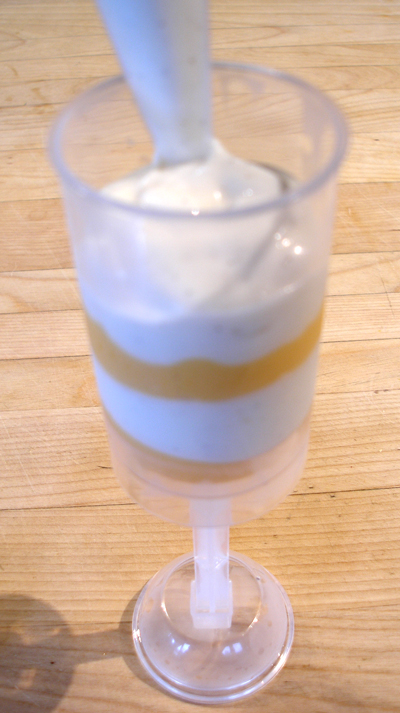
5. Pipe about a 3/4-inch layer of the frozen yogurt in the tube and gently tap to level.
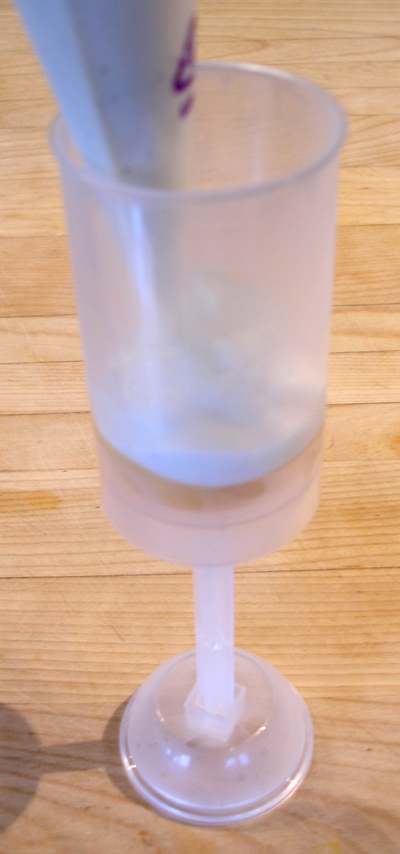
6. Pipe a 1/4-inch stripe of orange curd, tap, then follow with another 3/4-inch stripe of frozen yogurt and tap again.
Finish with another stripe of orange curd and tap.

7. Repeat these steps until all the push pops are filled. Place upright in the freezer, with the cap (dome) still on the bottom of the push pops.
NOTE: Do not place on their side until the push-up pops have completely frozen.
STORAGE
Let the finished pops chill in the freezer for at least two hours to freeze.
Once the pops are completely frozen, remove the bottom cap (dome) and use it as a top cap. Then, the push up pops can be stored on their side.
For longer term storage, the push-up pops can be frozen for about a month.
SERVE WITH OPTIONAL EMBELLISHMENTS
Gilding the Lily
The following steps are optional because these push pops are super tasty as is, but they sure look cute with a swirl and some sprinkles!
You can do the embellishments several hours ahead if you like, but if you want to store the pops longer than that, it is best to add the embellishments right before service.
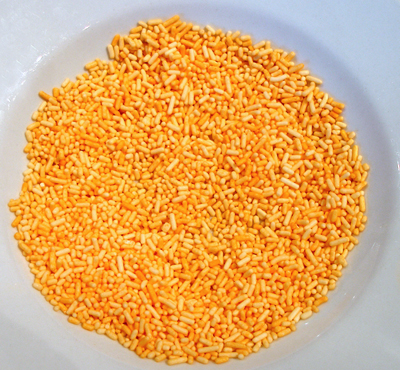
Tint the Sprinkles:
NOTE: We wanted orange sprinkles for these pops, but we didn't have any, so we made some, and you can too!
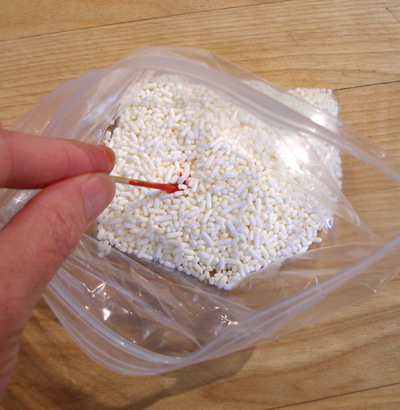
1. Take about 1/4 cup of white sprinkles and put them in a small zip-top bag.
Dip a toothpick into some orange gel coloring and then stir the toothpick in the sprinkles to transfer the color.
You DO NOT need a lot of coloring, and it is best to aim for pastels with this technique, so the sprinkles don't stick together from the moisture in the food color.
2. Shake and roll the bag on the counter to distribute the color to all the sprinkles, trying to color them as evenly as possible.
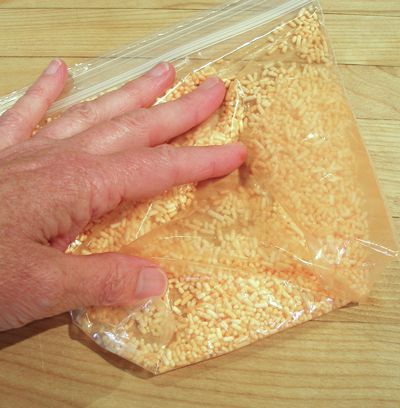
3. Pour the sprinkles into a shallow bowl, and let them sit, at room temperature for about an hour, to dry.
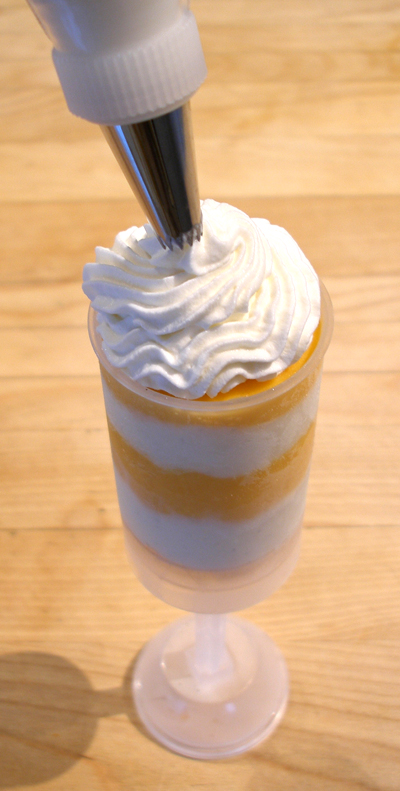
Whipped Cream:
1. Just before you want to serve the push pops, whip cream, sugar and vanilla extract.
2. Put the whipped cream in a piping bag fitted with a Wilton #32 tip.
3. Snap the cap (dome) on the bottom of the push pop container so you can stand it upright.
Pipe a swirl of whipped cream on each pop, starting on the outside and moving toward the center.
3. Sprinkle with some orange sprinkles and top with a Sixlet.