
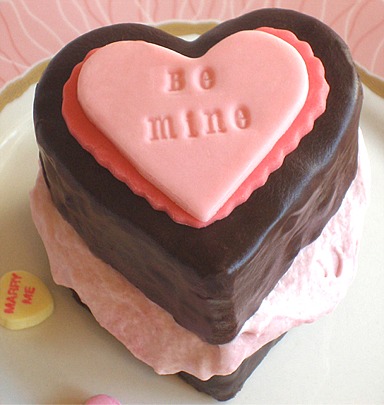
I just love the combination of raspberry mousse and chocolate cake, and this decadent Valentines dessert will surely put you in the mood for love.
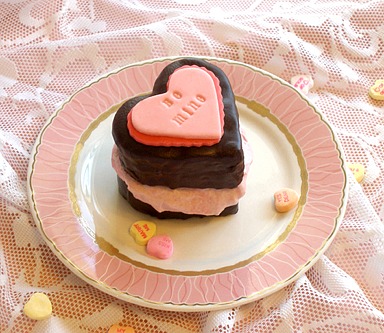
It is just the right size to share with your loved one. After you make this recipe, you will have some mousse left-over, to use for another recipe, such as our Loving Cups.
CAKE RECIPE HELP
INGREDIENTS
The dessert is made from a couple of recipes – Dark chocolate pound cake, covered with ganache and layered with white chocolate raspberry mousse! It is optionally topped with a Marshmallow Fondant Heart!
RECIPES INCLUDED HERE:
Sarah's Chocolate Cream Cheese Pound Cake
White Chocolate Raspberry Mousse
Poured and Whipped Chocolate Ganache Tutorial (Poured variation)
Marshmallow Fondant or MMF, optional
You will have some ganache and mousse left-over, to use for another recipe.
STEP I: MAKE CHOCOLATE CREAM CHEESE POUND CAKE AND FREEZE
We start with the cake:
CHOCOLATE CREAM CHEESE POUND CAKE / recipe alone
For this tutorial: Makes enough to make 5 stacks of two hearts, when using a 3″ heart cutter.
INGREDIENTS
1 1/2 cups unbleached or bleached all-purpose flour; spoon into measuring cup and level to rim
1/2 cup plus 2 tablespoons Dutch-process or Natural cocoa powder (I used Hershey's Special Dark with baking powder)*
1 teaspoon instant espresso powder
1 teaspoon baking powder*
1/2 teaspoon salt
2 sticks (1/2 pound) unsalted butter; can be cold from the refrigerator
One 8-ounce package cream cheese; I prefer Philadelphia Brand
1 cup white sugar
1 cup dark brown sugar, packed or 1 cup white sugar
2 teaspoons vanilla extract
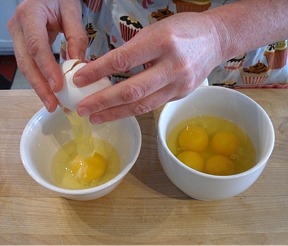
6 large eggs, divided; can be cold from the refrigerator
KELLY CA SAYS: I divide the eggs into separate bowls ahead of time; putting four eggs in one bowl and two in another, just to keep things organized.
*SARAH SAYS: If you use 1/2 cup plus 2 tablespoons Natural cocoa powder instead of Dutch-process, use 1/4 teaspoon baking soda instead of 1 teaspoon baking powder.
INSTRUCTIONS
1. Position an oven rack in the lower third of the oven and preheat oven to 325 degrees F.
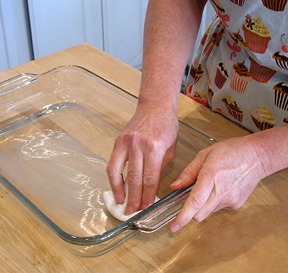
Grease and flour a 9- x 13- inch pan. Set aside.
Since I knew I was going to be cutting the heart shapes out of the cake, I chose to bake the cake in a 9- x 12- inch Pyrex glass pan and, to insure that the cake would come out cleanly, I lined the bottom with buttered parchment. You can use a 9 x 13-inch pan, instead.
For this recipe, do not lower the oven temperature by 25 degrees F when using an ovenproof glass pan.
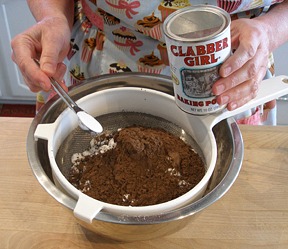
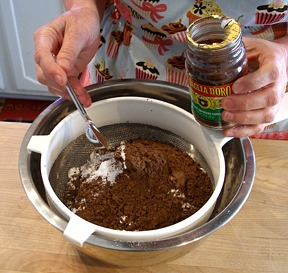
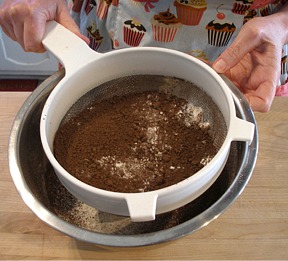
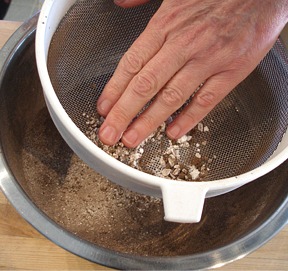
2. In a medium size bowl, after measuring, sift together the flour, Dutch-process cocoa powder, baking powder, instant espresso powder, if using, and salt .Set aside.
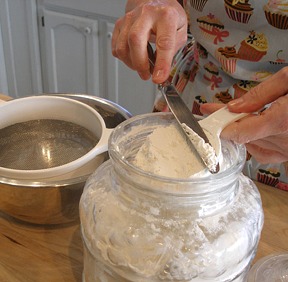

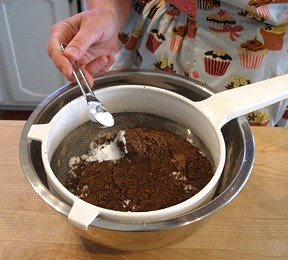
Just push the lumps through the strainer with your fingers. This is why we sift! You don't want flour blobs to end up in your cake!
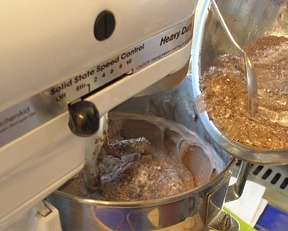
3. In the bowl of a stand mixer fitted with a paddle attachment, beat the butter until softened.
Add the 2 cups sugar (1 cup sugar and 1 cup dark brown sugar or 2 cups sugar) at the side of the bowl.
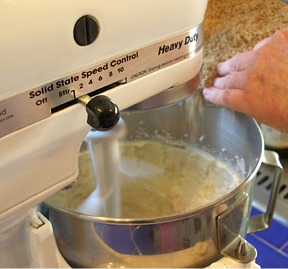
KELLY SAYS: It's always a good idea to stop the mixer and scrape down the sides of the bowl so the butter and sugars will cream correctly.
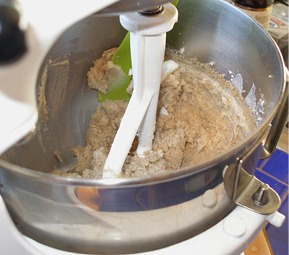
Beat until light and fluffy on medium speed for about 2 minutes.
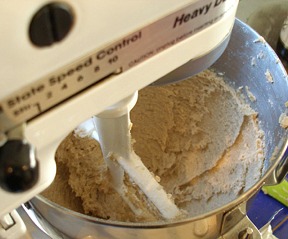
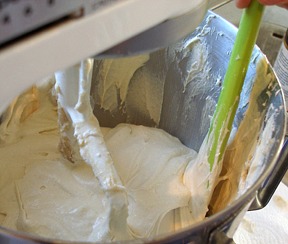
4. Add in the cream cheese and beat until light and fluffy about 3 minutes more.

Make sure you stop the mixer and scrape the sides and bottom of the bowl often with a large rubber spatula.
SARAH SAYS: Doesn't this look delish so far?!
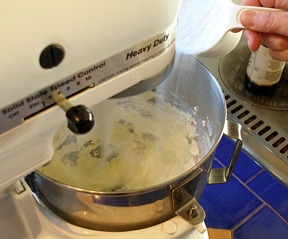
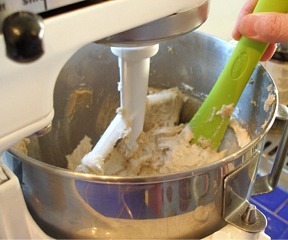
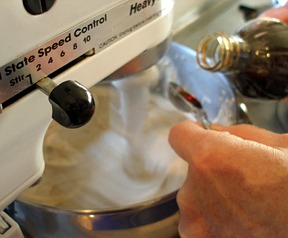
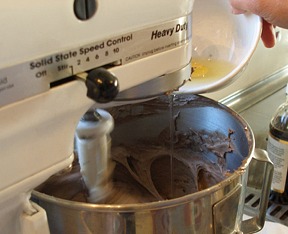
5. With the mixer on low, beat in the vanilla.
And then, beat in four eggs, one at a time, beating for 20 seconds after each addition or until well incorporated and the batter is smooth.
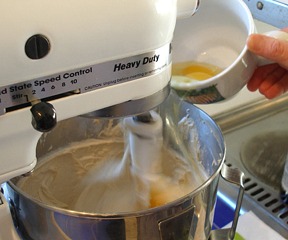
Make sure you stop the mixer and scrape the sides and bottom of the bowl often with a large rubber spatula.
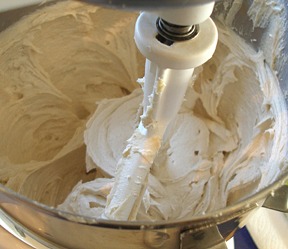
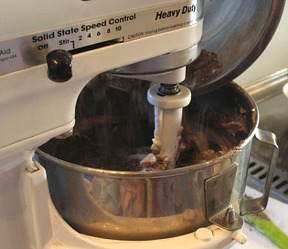
6. With the mixer on low, beat in one-third of the flour mixture.
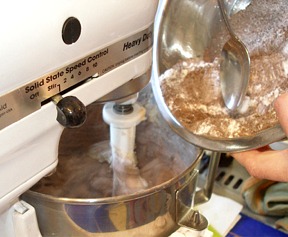
When absorbed, add in the fifth egg, and beat until smooth.

Repeat with mixing in one-third of the flour and the sixth egg, with the mixer on low speed.
Beat in the last one-third of the flour and mix until absorbed.
7. Stop the mixer and give the batter one or two turns with a large rubber spatula.
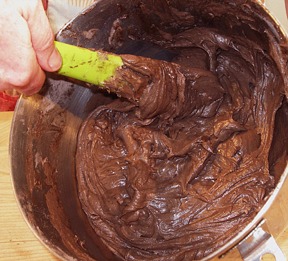
Scrape the batter into the prepared pan and smooth the top.

8. NOTE: The cake baked in the 9- x 12- inch (or 9- x 13- inch) pan took about 30-35 minutes to bake.
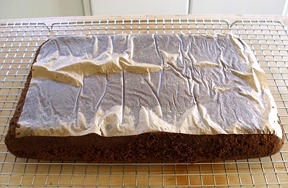
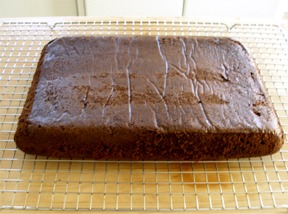
Cool the cake in the pan for about 10 minutes on a wire cake rack, and then unmold. Turn upright to cool completely.
KELLY SAYS: Since I knew I was going to be cutting shapes out of this cake, I cut the cake in half, lengthwise, and wrapped each half in plastic and put it in the freezer, while I made the White Chocolate Raspberry Mousse.
The cake hearts will cut better and cleanly when very cold!
STORAGE
Pound cakes keep well for a few days, well-wrapped at room temperature. They also freeze well for a month or more.
STEP II: MAKE THE WHITE CHOCOLATE RASPBERRY MOUSSE AND REFRIGERATE
WHITE CHOCOLATE RASPBERRY MOUSSE / recipe alone
INGREDIENTS
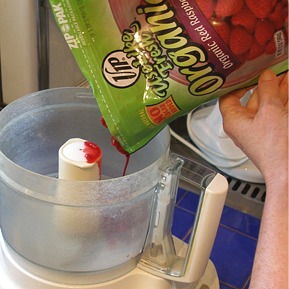
One 12 oz. package of frozen raspberries, thawed, or 1 pint fresh raspberries
10 ounces high quality white chocolate, chopped (Do not use candy melts for this recipe)
1 cup whole or 2% milk
1/4 cup water
1 envelope (1/4 ounce) unflavored gelatin
1 tablespoon Raspberry liqueur OR 1 teaspoon vanilla extract
1 1/2 cups heavy cream, well-chilled
INSTRUCTIONS
1. Fill a large bowl with ice cubes and water and set aside.
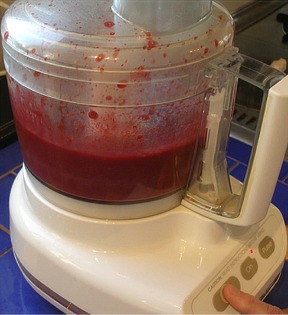
2. Place thawed frozen raspberries, or fresh raspberries in food processor, fitted with a steel blade, and process until pureed, about 30 seconds.
3. Strain the raspberries through a FINE mesh sieve. Make sure you use a fine sieve, you don't want seeds in your mousse. Set the puree aside.
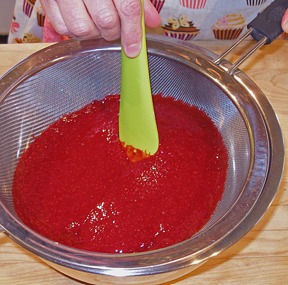
KELLY SAYS: It takes a bit of work, but, eventually, your puree, minus the seeds, will go through.
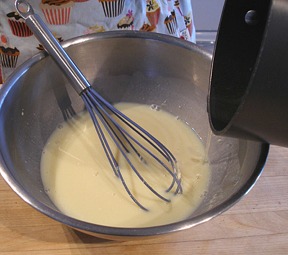
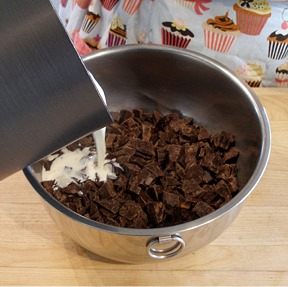
4. Put the chopped white chocolate in a large bowl.
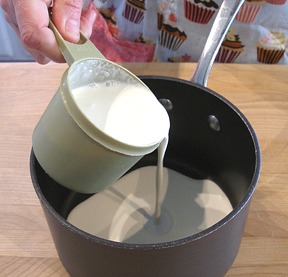
Heat the 1 cup of whole milk in the microwave, or in a saucepan until hot.
Pour the hot milk at once, all over the white chocolate. Gently shake the bowl to make sure all the chocolate is covered by the hot milk.

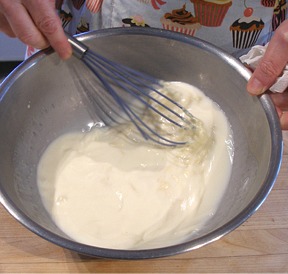
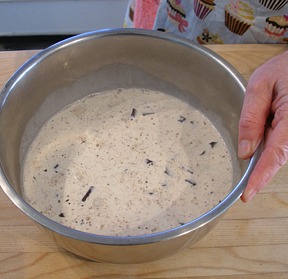
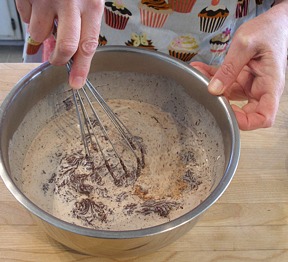
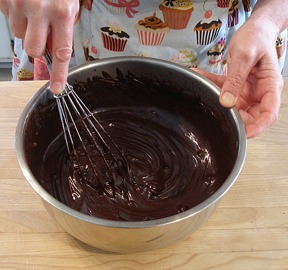
Let mixture stand for 30 seconds, then, gently whisk the chocolate until melted and the mixture is smooth.
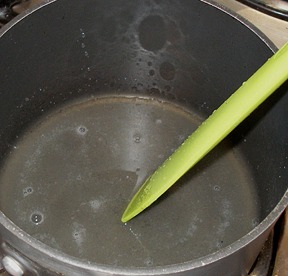
5. Immediately, place the water in a small saucepan and sprinkle the gelatin over it. Let it stand for 3 minutes, to soften.

Heat the water/gelatin mixture over low heat, stirring, until gelatin dissolves and the mixture is clear.
6. Add the warm gelatin mixture to the warmed chocolate mixture, and whisk until combined.
7. Add the raspberry puree and whisk to combine.

8. Place the mousse mixture over the bowl filled with ice water. Add your liqueur or vanilla and stir.

Chill the mixture, over the ice water bath, stirring frequently, for about 5-10 minutes, or until the mixture is cool.
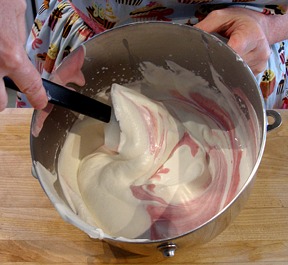
9. Meanwhile, with a stand mixer fitted with a whisk attachment, beat the heavy cream on high until SOFT PEAKS form.
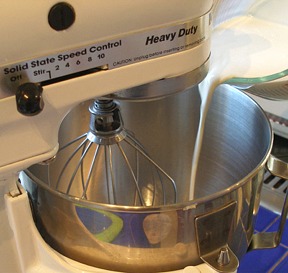
NOTE: Do not overbeat your cream. Doing so will make your mousse grainy.
10. Fold 1/3 of the whipped cream into the raspberry mixture, to lighten it, then fold the lightened raspberry mixture into the rest of the whipped cream. Refrigerate the mousse for AT LEAST one hour, until it is firm enough to pipe.
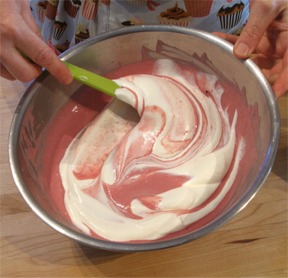
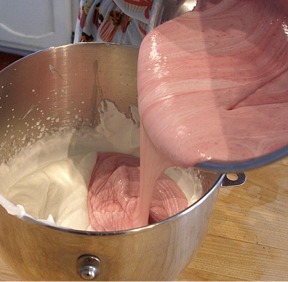
Fold gently, until combined.
STEP III: CUT-OUT THE CAKE SHAPES. MAKE THE CHOCOLATE GANACHE. GLAZE CAKE SHAPES WITH GANACHE.
OPTIONALLY CREATE MARSHMALLOW FONDANT TOPPERS.
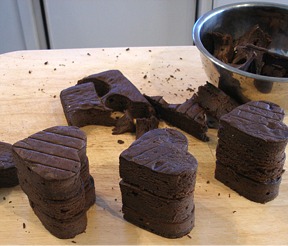
The 9- x 12- inch pan yields 10 hearts, enough for 5 two layer cake “stacks”. The cake scraps were enjoyed by all.
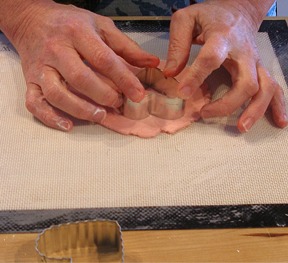
A. Cut-out the Cake Shapes:
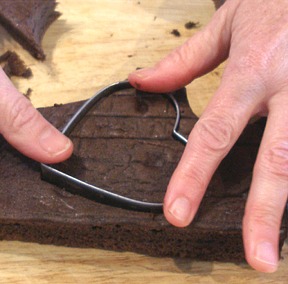
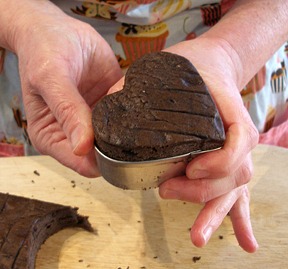
While the mousse is chilling, take the cake out of the freezer and cut your hearts.
I used a 3-inch metal heart-shaped cookie cutter to cut the cakes.
Press down firmly and then gently push the cake through, from the back to the front of the cutter.
B. Set the hearts aside, while you make your ganache.
POURED AND WHIPPED CHOCOLATE GANACHE TUTORIAL / recipe alone
Make the poured variation.
INGREDIENTS
1 cup heavy cream
1 pound semisweet or bittersweet chocolate
1/4 cup light corn syrup
4 tablespoons(1/2 stick) butter, softened
SARAH SAYS: Butter that is too soft or melted will result in a soupier texture. To prepare it for mixing, let butter stand at room temperature until softened but still cool.
1 teaspoon instant espresso powder and 1 tablespoon Kahlua or other liqueur
OR 2 teaspoons vanilla extract
1. Chop the chocolate with a sharp knife, into 1/4-inch evenly sized pieces.
Place chopped chocolate in a medium-sized, heat proof bowl. Make note that the hot cream will eventually be poured over it and must cover it entirely.
NOTE: Make sure to chop your chocolate well, because there is a lot of chocolate and only 1 cup of cream. You want to ensure that all of the chocolate will melt.
2. Pour cream into a medium saucepan under medium heat and bring to a boil.
Remove from heat and pour the hot cream, all at once, over the chocolate.
Make sure the cream covers all of the chocolate pieces. If not, push chocolate down under the hot cream with a spoon or the tip of a whisk. Shake pan and allow to stand for about 2 minutes.
3. Stir mixture with a whisk in one direction until smooth.
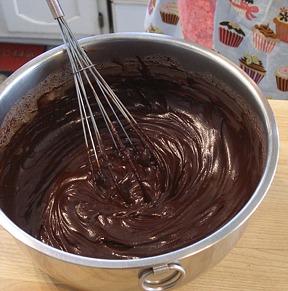
4. Whisk in the room temperature corn syrup and butter chunks.
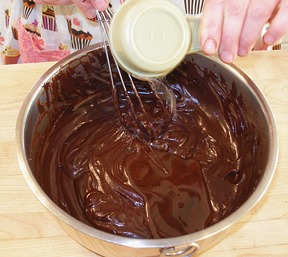
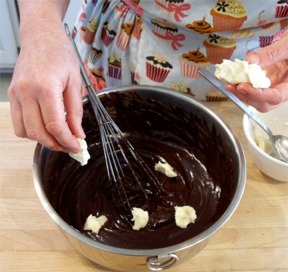
Whisk in the espresso powder dissolved in liqueur, or the vanilla, until smooth.
STORAGE
A classic ganache can generally stay at room temperature for 2 days, as long as it's kept in a cool place. But, there are lots of exceptions to this rule. If in a bowl, always place a piece of plastic wrap firmly against its surface so a film does not form or it won't form a sugar crust on its surface. Ganache can be frozen for a month. Reheat in the top of a double boiler under gentle heat, whisking together in one direction, before using.
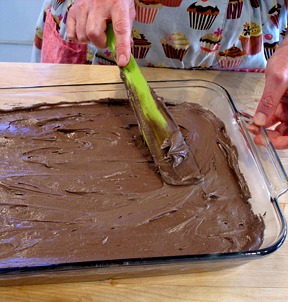
C. Glaze the Cake Heart Shapes with Chocolate Ganache:
1. Set the cake hearts on a rack, that has been placed over a rimmed baking sheet. The baking sheet will contain the ganache that flows off the cakes.
Later, you can scrape the excess ganache off the baking sheet, so you can reheat it and use it again.
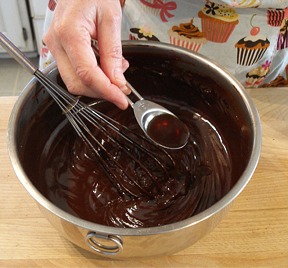
2. Stir the ganache glaze. Using a small ladle, pour a generous quantity of the ganache, over one of the hearts.
SARAH SAYS: Make sure glaze or ganache is of pouring consistency but not hot. It should pour like corn syrup does. If you lift it and pour it back into the bowl it should hold a slight trail. If using a warm glaze, use an Instant Thermometer to make sure it has cooled to 86 to 91 degrees F! If the ganache glaze is too cold for pouring, place it on top of just boiled water, and stir in one direction until warmed.
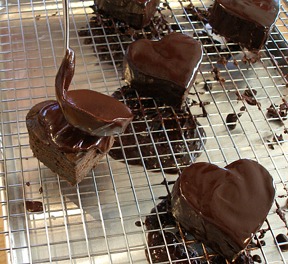
3. Then, gently “bounce” the rack to make the ganache flow evenly over the top and down the sides of the cakes.
If you see any “bald spots” simply pour a little more ganache over the area and bounce the rack again.
4. Set the cakes aside, until the ganache firms up, or place cakes in the refrigerator, if you're in a hurry. Do not leave the cakes there because the ganache glaze will become dull.
D. OPTIONAL: Make Five Marshmallow Fondant (MMF) Toppers
I decided to make a little double layer Marshmallow Fondant Topper decorations for the top of each cake.
If you want to create them, like I did, simply make them while you are waiting for your ganache to set.
Make 5 or one for each cake stack.
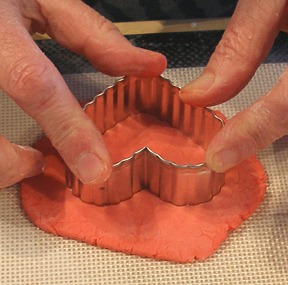
1. I used two cutters that were slightly smaller than the cutter I used to cut the cakes, because I wanted the brown edge to show around the MMF topper.
I used two different pinks, one slightly darker than the other:
I cut out 5 each of the lighter pink hearts.
I cut out 5 in the darker pink with a heart cutter that had a scalloped edge, to add a little more visual interest.
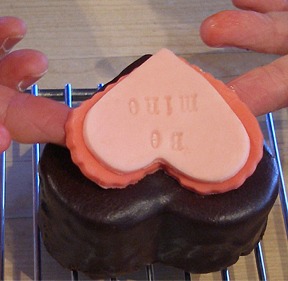
2. I stamped a message on the top lighter pink heart!
Use rubber stamp letters to create whatever sentiment you want to express.
You MUST use rubber stamps that you ONLY use for baking. It is NOT OK to use rubber stamps that you have previously used for crafts, when you are baking.
Press the stamp into the MMF. If you find that your stamps are sticking, you can dip the stamp in a little cornstarch and then brush the excess away.
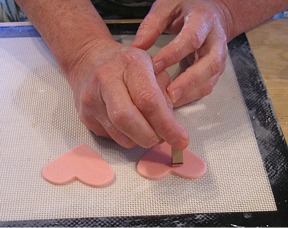
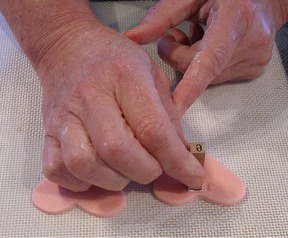

3. Attach the pink impressed heart to the darker pink scalloped-edged heart by wiping or brushing a little water on the back of the impressed heart, and gently press the two pieces together.
4. Set the five completed toppers aside to dry.
STEP IV: ASSEMBLE THE FIVE LOVE STACKS
When ganache is set, it is time to assemble the stacks.
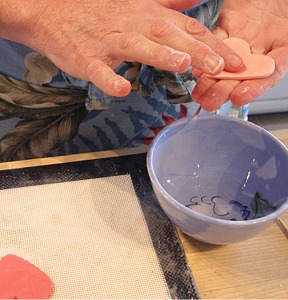
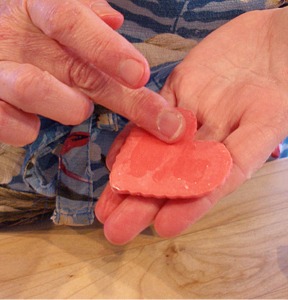
1. When you are ready to make your stacks, take one of your fondant heart toppers and wipe a little corn syrup on the back of it.
2. Take the ganache-covered heart cake and place it on the top of one of the two cakes that will be made into the stack.
You want to do this BEFORE you stack the hearts together, so you are not exerting too much pressure, which might make your mousse squish out to much.
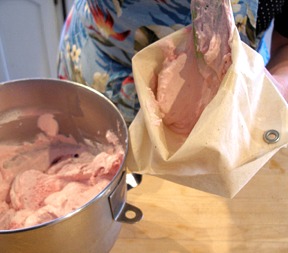
3. After applying your fondant toppers, take your mousse out of the refrigerator and fold it a couple of times, with a large spatula.
Then, put your mousse in a pastry bag with a large open star tip.
DO NOT assemble your cakes until you are planning to serve them. You can do everything else ahead of time and just pipe your mousse and put on the second layer right before you plan to serve them.
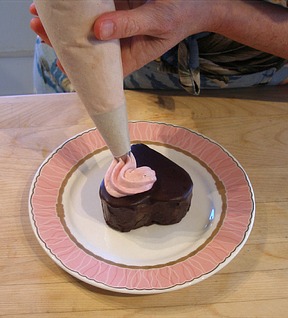
4. Place one heart on the plate you will be serving it on. Use a spatula to transfer it to the plate, so you don't smudge the ganache.
Pipe the mouse on the heart, leaving a border around the edge.
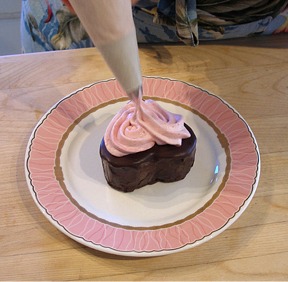
5. Take the top cake and gently place it on the mousse. Try to handle the cake from beneath, so you don't smudge the ganache.
As you can see, the mousse will squish out a little on the sides, but that just makes it look yummier.
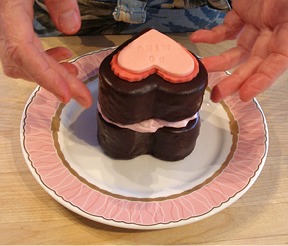
After your romantic Valentines Day dinner, share this chocolate fantasy dessert with your loved one…it's sinfully delicious!