Variations: Chocolate Overload Cake; Ultimate Butter Cake or UBC and Variations; Ultimate Chocolate Butter Cake Cupcakes or UCBC and Variations; Ultimate Chocolate Snickers Butter Cake
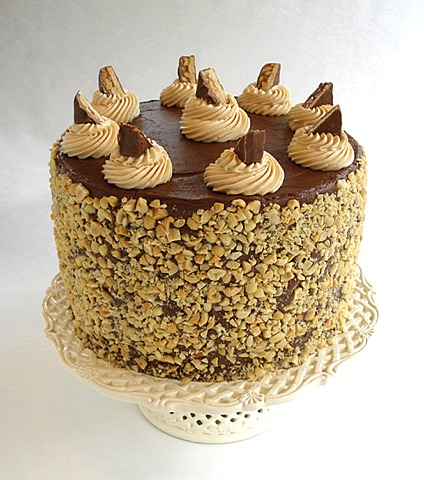
Cake-apolooza! Check out our Ultimate Chocolate Snickers Butter Cake
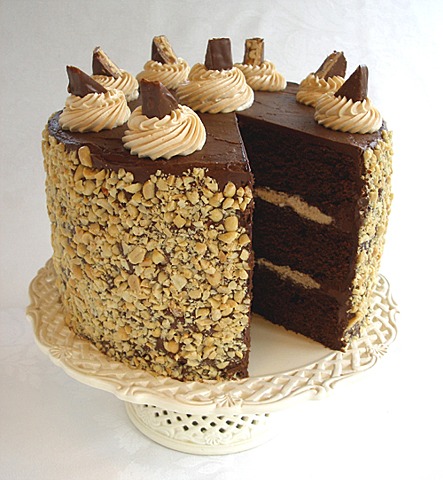
You have the Ultimate Butter Cake or UBC; this one is in chocolate with its double blast of chocolate – from cocoa powder and chocolate baking squares – making it seem as though you used an expensive European chocolate brand. Bake the cake until just done because any recipe with chocolate burns easily and this one will, leaving a burnt aftertaste. But done right, this moist and tender chocolate cake is the ultimate in chocolate experiences!
NOTE: If possible, use a 5 1/2- to 6-quart mixing bowl when making this cake. The batter will reach the top of the mixers and 3/4 up the sides of a 5-quart mixer bowl – it's borderline unwieldy but still manageable. Otherwise, cut the recipe in half, recipe included, and bake it in 2, 8-inch pans or bake Ultimate Chocolate Butter Cake Cupcakes or UCBC. When baking, keep the oven temperature the same. Start checking the cake for doneness earlier, as stated in the recipes.
CAKE RECIPE HELP
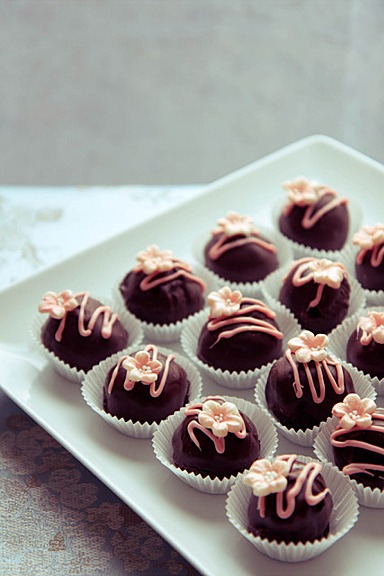
Cake and photo by odetteganda, Premium Member © Sarah Phillips
odetteganda, Premium Member, Says: “The chocolate recipe is from my baking mommy Sarah, and it's the best chocolate cake recipe. I have tried other chocolate cake recipes but I always go back to her Ultimate Chocolate Butter Cake recipe.”
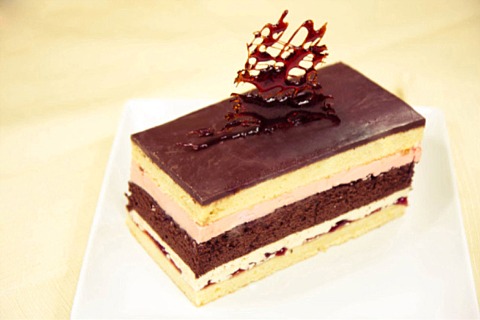
Cake and photo by odetteganda, Premium Member © Sarah Phillips
Odetteganda, Premium Member, Says: “This is a cake with a layer of the Ultimate Chocolate Butter Cake and Cream Cheese Pound Cake, with Swiss Meringue Buttercream or SMBC, Vanilla and Raspberry Variations. I glazed the top with the poured ganache from the Poured and Whipped Chocolate Ganache Tutorial (which by itself is to die for)! I also had some homemade raspberry jam that I glazed on the bottom pound cake layer….This is just so delectable! Only some of Sarah's finest recipes in one cake!”
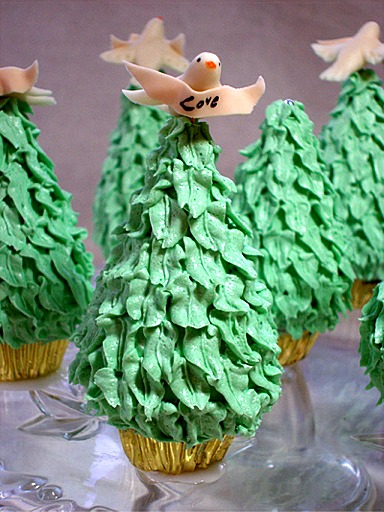
Cupcakes and photo by Kelly Hong © Sarah Phillips
Wishing trees cupcakes
FULL RECIPE – THREE LAYERS
INGREDIENTS
3 1/2 cups / 15.44 ounces / 437.57 grams unbleached all-purpose flour; spoon into dry measuring cup and level to top
1/2 cup cocoa powder, preferably natural; spoon into dry measuring cup and level to top (I prefer to use Natural cocoa powder, but you can use Dutch-processed or alkalized)
2 teaspoons instant espresso powder (optional)
2 teaspoons baking powder
1/2 teaspoon baking soda
1 teaspoon salt
2 cups whole or 2% milk; use cold – does not have to be at room temperature; measure in liquid measuring cup
1 tablespoon (3 teaspoons) vanilla extract
1 1/2 cups / 3 sticks / 339 grams unsalted butter; use cold – does not have to be at room temperature
2 3/4 cups sugar or superfine sugar
6 large eggs; use cold – does not have to be at room temperature
12 ounces high-quality bittersweet or semi-sweet chocolate, finely chopped, melted and cooled to tepid or 100 degrees F
INSTRUCTIONS
Prepare the oven and baking pans:
1. Position the oven racks in the lower and upper third of the oven.
Preheat the oven to 325 degrees F.
2. Spray three 9-inch, preferably light colored, heavy NOT nonstick pans with nonstick cooking oil. (If you use dark, nonstick baking pans or ovenproof, Pyrex glass pans, keep the oven heat at 325 degrees F, but the recipe will not bake as well in these types of pans; it will result in crusty, dark edges. Use cake strips to help prevent this when using these types of pans.)
SARAH SAYS: Instead, you can line each greased baking pan with a greased piece of parchment paper. Here's how:
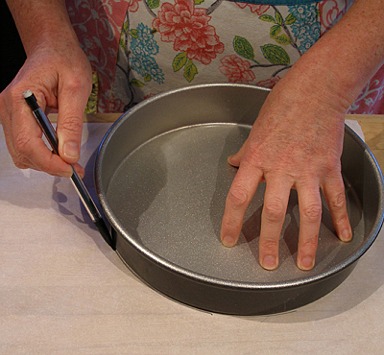
Place one pan on top of a piece of parchment paper and trace around it with a pencil. The lead is nontoxic.
Cut out the round of parchment paper following the pencil marks as a guide.
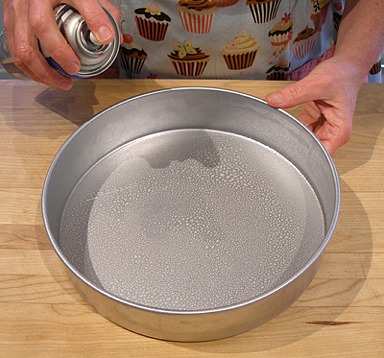
Spray the baking pan with nonstick cooking oil.
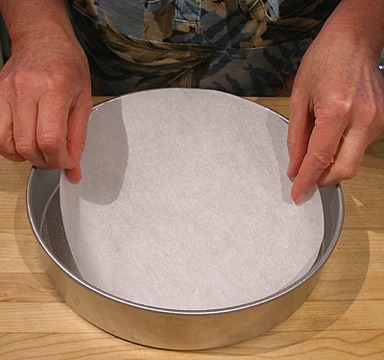
Place the parchment round in the bottom of the pan.
Spray the top of the parchment round with nonstick cooking oil.
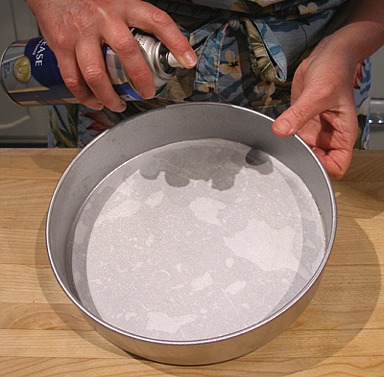
Repeat the process with the other two pans. Set all three pans aside.
Make the cake batter:
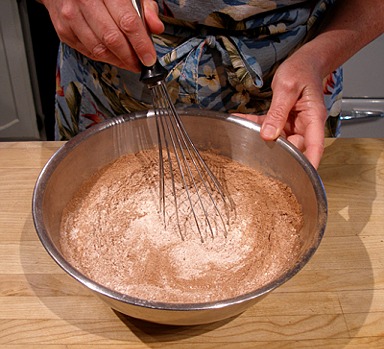
1. In a medium bowl, after measuring, sift together the flour, instant espresso powder, baking powder, baking soda and salt. Stir all the ingredients together. Set aside.
SARAH SAYS: Cocoa powder does not blend well with other ingredients and lumps easily; that's why sifting is recommended because it removes the lumps. I use a fine mesh strainer.
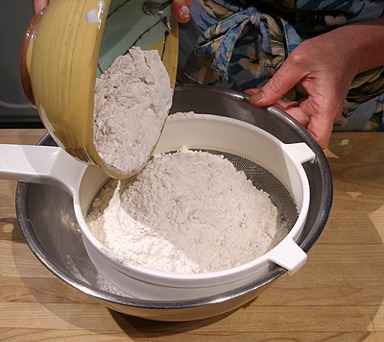
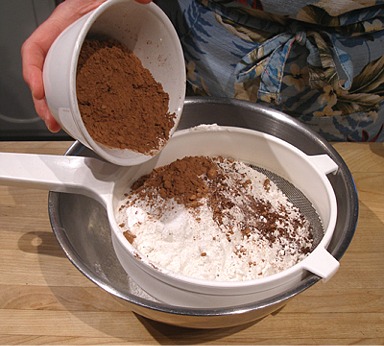
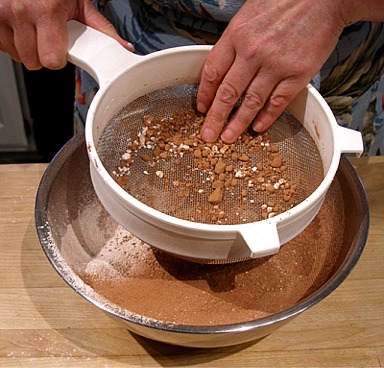
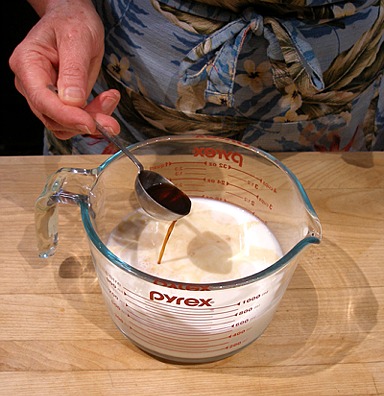
2. Add the extracts to the milk and set aside.
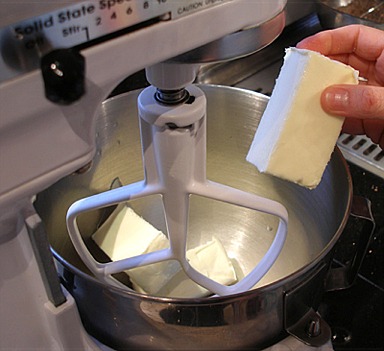
3. Beat the butter with a stand mixer, fitted with a paddle attachment, on low speed until softened.
If the butter is cold, it will warm quickly from the beaters.
4. Add the sugar in a steady stream at the side of the bowl.
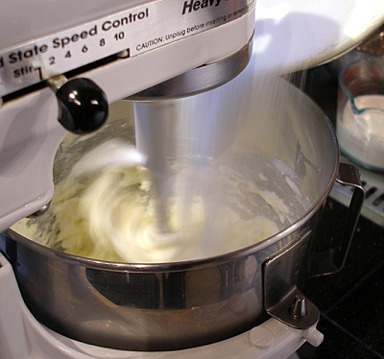
5. Increase speed to medium and beat for 2 minutes or until the mixture is light yellow in color, aerated and fluffy.
Afterwards, stop the mixer and scrape the side and bottom of the bowl with a large rubber spatula.
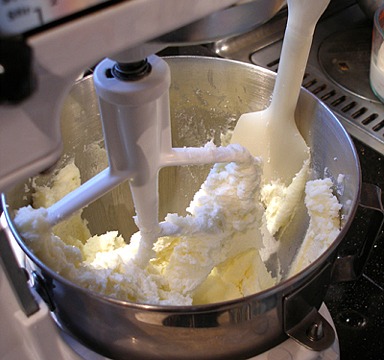
6. With the mixer on low, add the eggs one at a time and beat for 20 seconds after each addition.
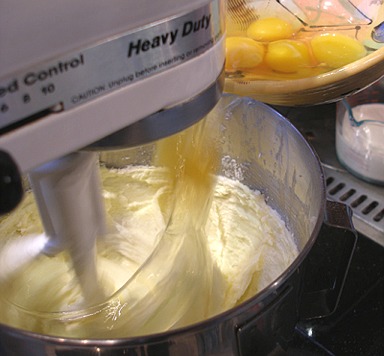
7. After the eggs have been added, increase the mixer speed to medium-high and beat the mixture for ABOUT 1 to 2 minutes. Set the kitchen timer to help you keep track of the time.
If the eggs are cold, the batter will curdle slightly. It's ok. It will come together as the batter warms from the beaters.
ODETTE, Premium Member, SAYS: Here's how the curdled batter looks like.
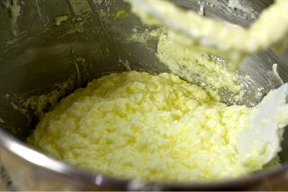
At the end of mixing, the mixture will become fluffy and aerated.
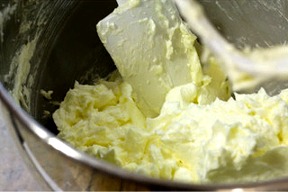
8. Add melted and cooled chocolate, called tempering, not to be confused with chocolate tempering:
Temper the chocolate by adding ONE TABLESPOON of the butter/sugar/egg mixture at a time to the COOLED 100 degrees F chocolate and mix thoroughly.
SARAH SAYS: Tempering the chocolate properly is a very important step. If the chocolate is too warm, and added to the batter, it will seize, creating small bits of hardened chocolate in the batter. These bits will never melt and incorporate into the batter when the cake bakes; they will remain as hardened pieces of chocolate in the final cake.
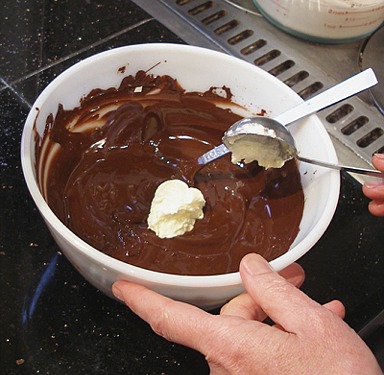
STIR IN TWO MORE TABLESPOONS of the butter/sugar/egg mixture to the chocolate mixture, ONE TABLESPOON at a time.
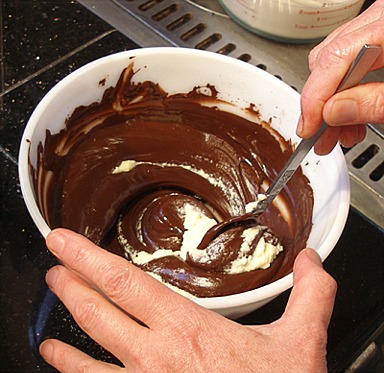
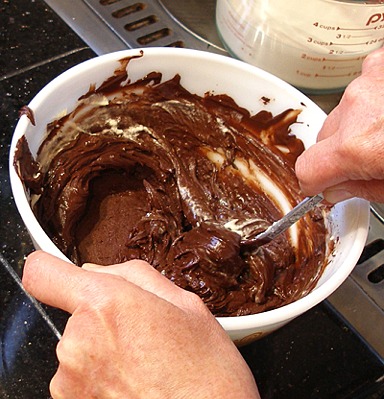
9. Add about 1/4 cup more of butter/sugar/egg mixture to the chocolate mixture before returning it all back into the main mixing bowl.
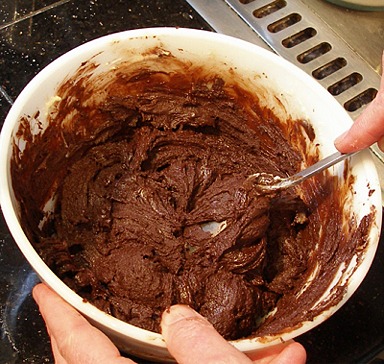
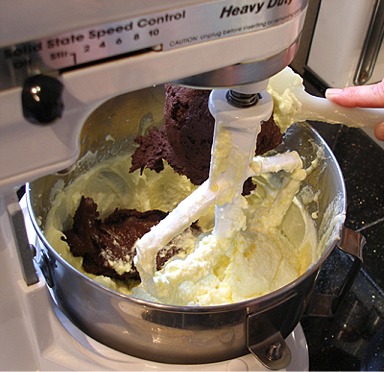
10. Mix all the ingredients on low speed until combined and creamy.
11. With the mixer on low, add the flour mixture in 3 equal portions…
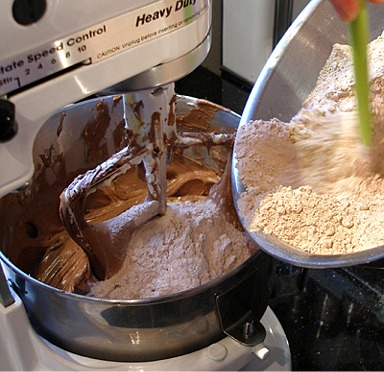
…alternating with the milk mixture in 2 equal portions, beginning and ending with the flour.
SARAH SAYS: If the milk is cold, the batter will curdle slightly. It's ok. It will come together when you add the flour.
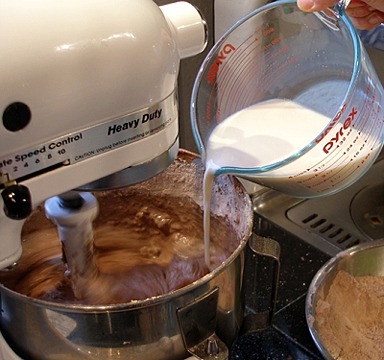
SARAH SAYS: Add the flour and liquid ingredients in increments quickly; do not wait in between additions too long as you don't want to overmix the batter.
12. After completing the last addition of flour, let the mixer run for 30 seconds on LOW. The batter should look mixed. STOP the mixer. Do NOT overmix.
13. Remove the bowl. With a large rubber spatula, give the batter ONE or TWO quick folds to incorporate any stray flour or milk left at the sides and bottom of the bowl. Then, STOP!
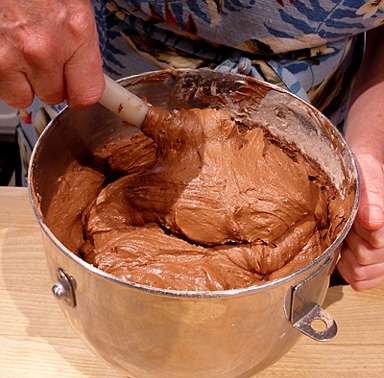
SARAH SAYS: Chocolate batter is generally thicker than vanilla butter cake batter because of the presence of the starches in cocoa powder. If your mixer is having trouble mixing the batter, stop the mixer and remove the mixing bowl. With a large rubber spatula, FOLD the ingredients together – DO NOT STIR them.
14. Fill each prepared baking pans (should fill 1/2 full) with one-third of the batter and lightly smooth the tops.
SARAH SAYS: After depositing the batter, I weigh each filled pan to make sure they are all equal, as long as each cake pan used is the same.
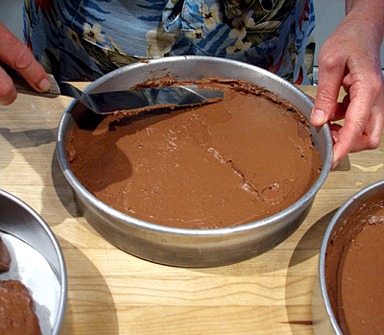
Place two pans on the lower shelf of the oven and center the third on the upper shelf.
15. Bake for 25 to 40 minutes, or until the top feels firm and gives slightly when touched on the top with a cupped hand (will not spring back when touched with a fingertip) and shrinks a little from the sides of the pan – it should also smell done. (This cake can also bake in a 9 x 13 x 2-inch pan for 50 to 60 minutes at 325 degrees F.)
Chocolate cakes are hard to tell when done and it’s easy to overbake them. If you insert a toothpick in the middle and remove, it should have a few moist crumbs attached, but not batter. You can still hear a few air bubbles popping. A small amount of cracking on the top is normal.
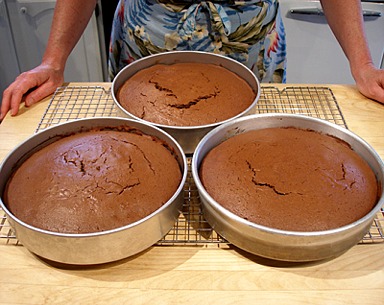
SARAH SAYS: The cake will develop cracks on its top during baking. It will be assembled later and you will no longer see them. The cake layers should bake flat and need little or no trimming.
16. Take the cakes immediately from the oven to a wire cake rack and let sit for 10 to 15 minutes and then unmold onto wire cake racks (set your timer to keep track of the time) – the cake is fragile when warm and will crack easily if you unmold it before the time is up. The cake's top will flatten more as it cools.
Allow to cool completely before assembling.
STORAGE
The icing and filling that covers your cake determines how you store your cake. Perishable frostings and fillings containing, for example, eggs, cooked custards, whipped cream, dairy and fresh fruit and berries that are NOT baked into the batter MUST be refrigerated, where the cake will keep for a few days.
Cakes iced and filled with nonperishable recipes can be stored under a cake-keeper at room temperature for about 2 days or frozen for 2 months. “Open-freeze” them (freeze without wrappers) until the icing is firm and then wrap in plastic wrap, foil and/or then in an airtight container.
Unfrosted butter cakes should not be refrigerated because it dries the cake and can be stored at room temperature for about 2 days. Unfrosted cake layers freeze well for about 2 months. Make sure you wrap them with plastic wrap and then foil.
Because the Ultimate Chocolate Cake tends to be moist, remove the cake from its wrapping while still frozen and allow it to thaw on a wire cake rack at room temperature. If not using right away, rewrap in foil, and store at room temperature in a cool, dry place as this chocolate cake tends to be moist. Do the same if the cake is frosted, but store under a “cake keeper” or airtight container.
HALF OF THE ULTIMATE CHOCOLATE BUTTER CAKE RECIPE – TWO LAYERS
Makes 2, 8- or 9- x 2-inch layers or 21 standard-size cupcakes
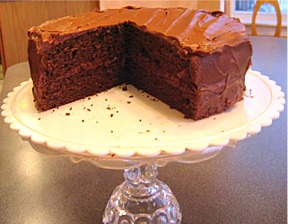
Photos and cake by Sarah Phillips © Sarah Phillips
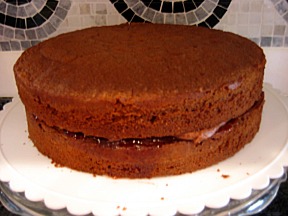
Photos and cake by Sarah Phillips © Sarah Phillips
Cut the mixing times by about 1/3.
INGREDIENTS
1 3/4 cups / 7.72 ounces / 218.79 grams unbleached all-purpose flour; spoon into dry measuring cup and level to top
1/4 cup cocoa powder, preferably natural; spoon into dry measuring cup and level to top (I prefer to use Natural cocoa powder, but you can use Dutch-processed or alkalized)
1 teaspoon instant espresso powder (optional)
1 teaspoon baking powder
1/4 teaspoon baking soda
1/2 teaspoon salt
1 cup whole or 2% milk; use cold – does not have to be at room temperature; measure in liquid measuring cup
2 teaspoons vanilla extract
3/4 cup / 1 1/2 sticks / 169.5 grams unsalted butter; use cold – does not have to be at room temperature
1 1/4 cups plus 2 tablespoons sugar or superfine sugar
3 large eggs; use cold – does not have to be at room temperature
6 ounces (squares) bittersweet or semi-sweet chocolate, melted and cooled to tepid
INSTRUCTIONS
1. Follow the mixing and baking instructions, above EXCEPT: Bake cakes at 325 degrees F for 25 to 40 minutes (2, 9-inch pans) or 25 – 40 minutes (2, 8-inch pans)
VARIATIONS
Chocolate Overload Cake
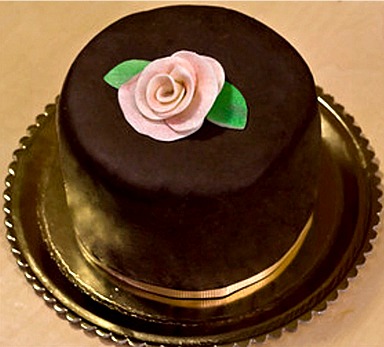
Cake and photo by odetteganda , Premium Member © Sarah Phillips
Ultimate Butter Cake or UBC and Variations
Ultimate Chocolate Butter Cake Cupcakes
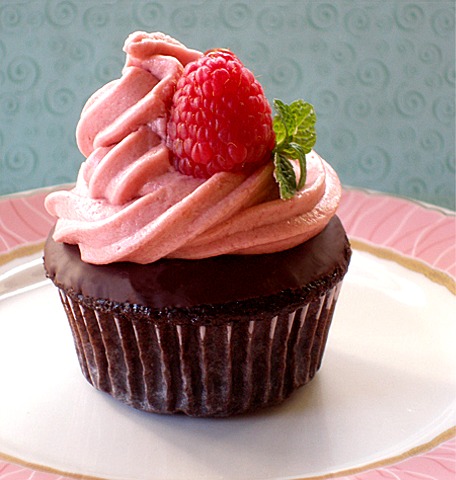
Cupcake and photo by Kelly Hong © Sarah PhillipsCraftyBaking.com
Ultimate Chocolate Snickers Butter Cake


