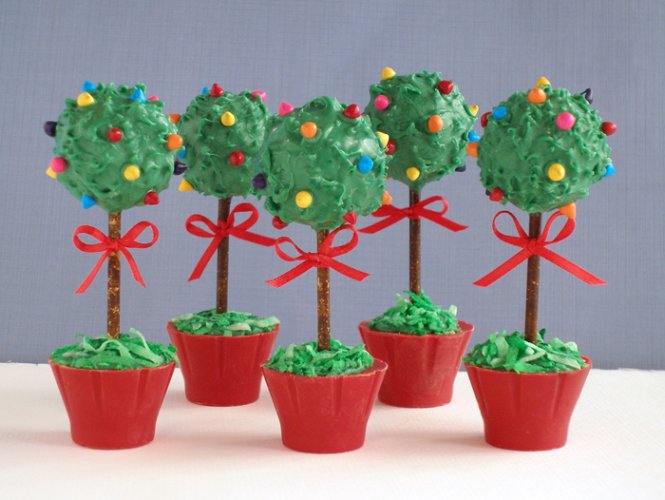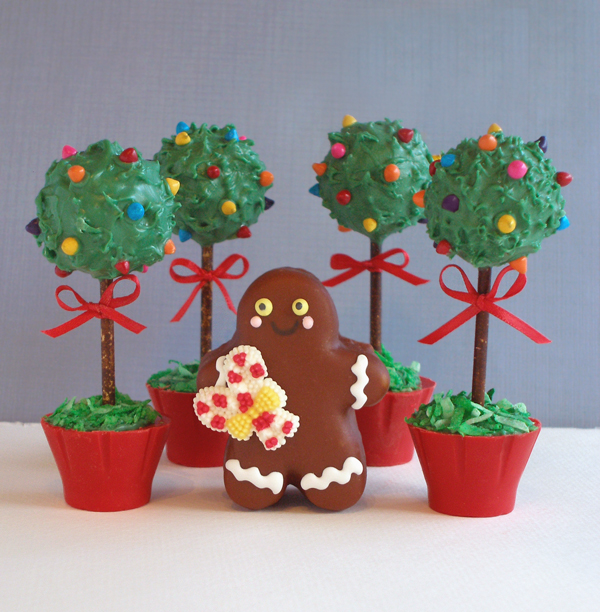
Cake pops are a fun way to use up extra cake scraps and buttercream, and these whimsical mini cake pop topiaries would be the hit of any party (they make great dessert table decorations). You can even use cake mix and store-bought frosting to save time, if you’re in a rush. The cute gingerbread girl mini cake in the photo is made from our Festive Caramel Mini Cake Petits Fours tutorial.
CAKE RECIPE HELP
INGREDIENTS
You will need:
For the cake balls:
2 1/2 – 3 cups Cake scraps or a baked and cooled cake from a mix; you can use the cake scraps generated from our Festive Caramel Mini-Cakes Petits Fours Recipe Tutorial.
1/2 – 1 cup buttercream icing that does not require refrigeration, such as Tami's or Perfect Buttercream, or store-bought icing; use the left-over frosting from our Festive Caramel Mini-Cakes Petits Fours Recipe Tutorial.
A tablespoon-sized cookie scoop or round measuring spoon
2 – 3 12 oz. bags of green Wilton Candy Melts (one bag of candy melts will cover approximately 12 cake balls)
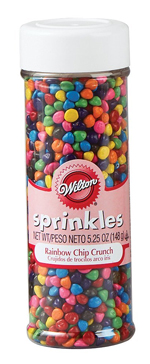
Wilton “Rainbow Chip Crunch” sprinkles
Tweezer
For the Sticks:
25-30 4-inch paper lollipop sticks
Small ruler
1 Exacto knife
Brown gel paste AmeriColor food coloring
1 tablespoon vodka or lemon extract
Paint brush that is only used for food
For the Topiary Pots:
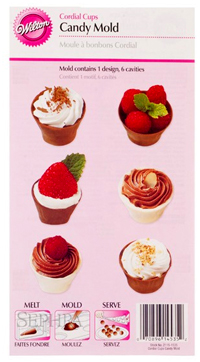
Wilton Cordial Cups Candy Mold
2-3 bags Red Wilton Candy Melts (each bag makes about 10-12 pots)
Metal skewer
1/2 cup shredded sweetened coconut, colored with 1-2 drops green gel paste food coloring
1/2 bag Green Wilton Candy Melts
Small plastic squeeze bottle or disposable piping bag
1/4-inch red ribbon for each bow, optional
INSTRUCTIONS
Make the Cake Pop Mixture:
1. Crumble the cake scraps or baked and cooled cake in a large bowl.
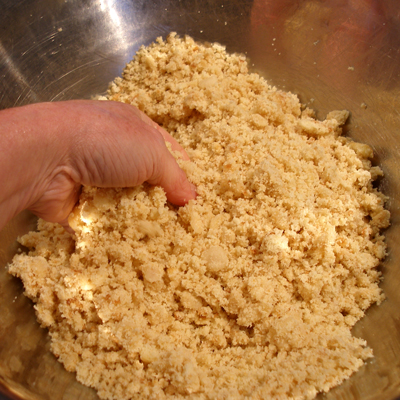
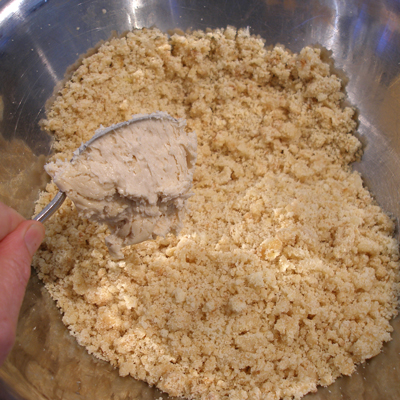
2. Add about 1/2 cup frosting to the crumbled cake and mix it into the cake crumbs. Gently squeeze the mixture in your hands to make sure that the frosting is evenly distributed.
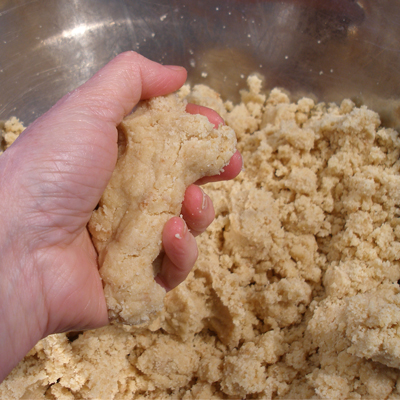
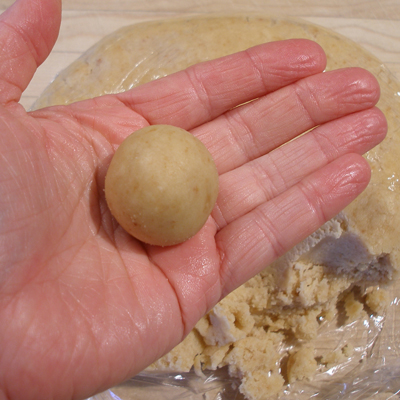
Squeeze the mixture in your hand. If it holds together, do not add more icing. If it is still VERY crumbly, add a little more frosting and mix again.
The mixture should still look a little crumbly. A rest in the fridge will transform this mixture to a nice dough-like consistency.
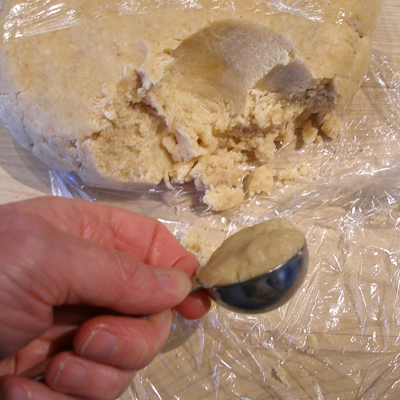
Gather the mixture together and wrap it in plastic wrap and refrigerate for 1/2 hour.
SARAH SAYS: You do not want to add too much frosting to your cake. If you do, the cake ball will have an unpleasant “wet cake” texture”.
Form the Cake Balls:
1. After the cake ball “dough” has rested in the refrigerator for 1/2 hour, it is time to form the cake balls.
Scoop out a heaping tablespoon of the mixture, then compress it a little with your hands. Then roll it into a nice neat ball.
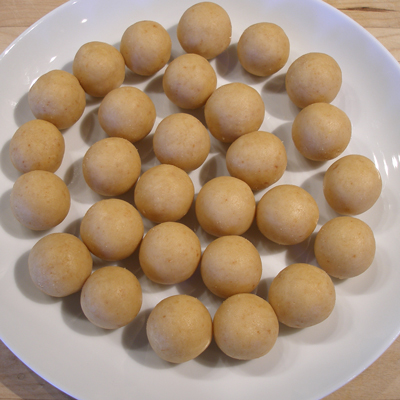
Place the finished cake balls on a large platter or a baking sheet.
When finished rolling, cover the cake balls with plastic wrap, then place them in the refrigerator for about an hour.
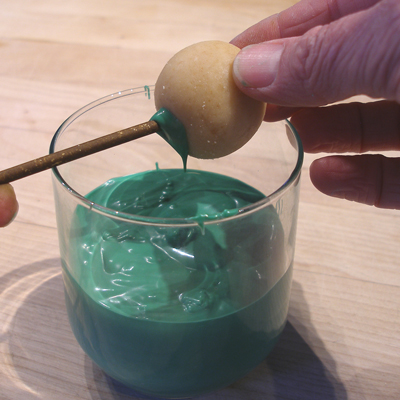
Prepare the Sticks:
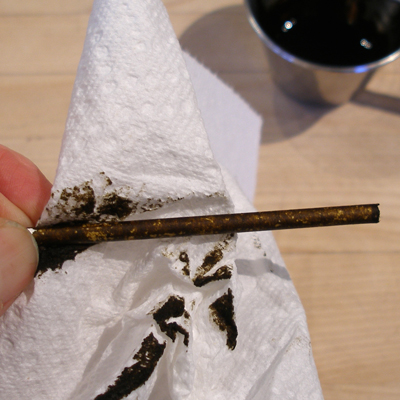
We could have left the sticks white, but to make the topiaries more true-to-life, we decided to color them brown, so they look like bark. We were surprised to see that the food color is absorbed in an uneven manner, which REALLY makes the sticks look like a bark covered topiary trunk! Love those happy surprises in the kitchen!
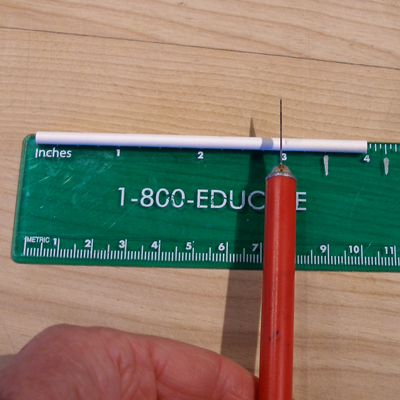
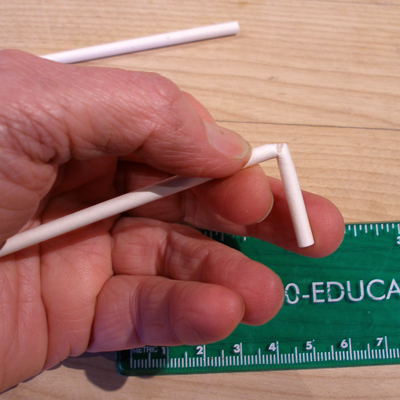
1. Measure the lollipop stick to three inches, then score it with an Exacto knife. Bend the stick at the score line, and break off the end.
Repeat this until you have enough sticks for all of the cake ball topiaries you rolled.
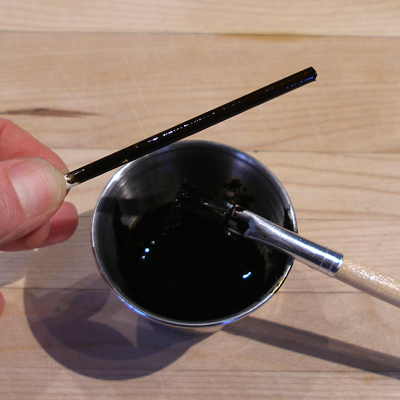
2. Mix 1 tablespoon of vodka with 3 drops brown gel paste food coloring.
Paint the mixture on a stick and let it stand for about 10 seconds. Wipe the excess mixture off the stick with a paper towel.
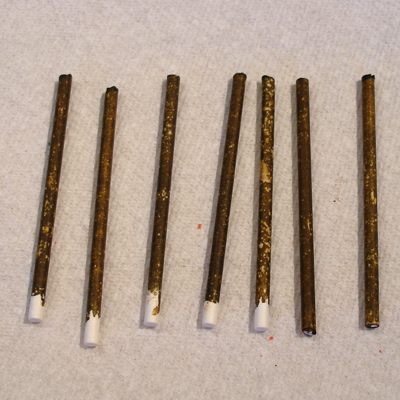
Repeat these steps with the rest of the sticks.
NOTE: You need not color the entire stick, because the end of the stick will be buried in the cake ball, or the topiary pot, so it will not be seen.
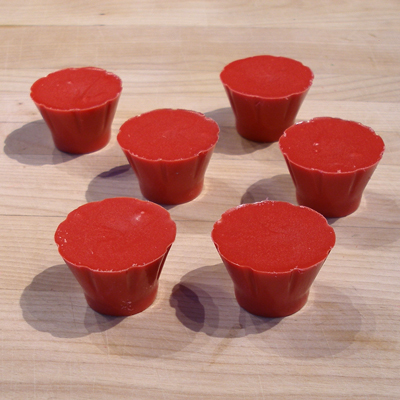
Make the Topiary Pots:
1. Melt about 1 cup of red Wilton Candy Melts, according to package directions.
Spoon the melts into the mold until they reach the top of the mold. Tap the mold on the counter to level the melts and remove any air bubbles.


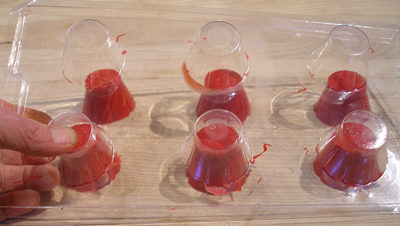
2. Place the mold in the refrigerator for about 20 minutes, or until the melts have hardened completely.
Pop the pots out on to the counter buy gently pressing on the mold. They come out very easily.
Continue melting, pouring and cooling until you have enough pots for all of the cake balls.
NOTE: If you want to save time, purchase TWO molds. They are less than $2. Each.
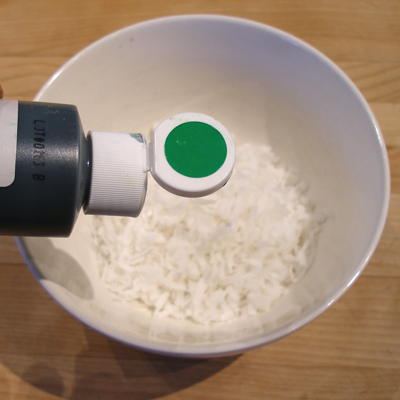
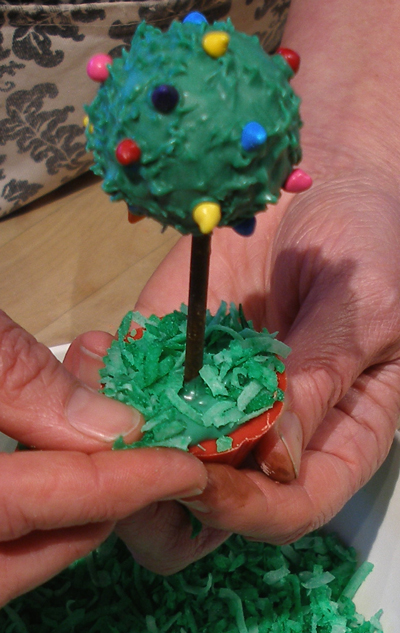
Color the Coconut “Moss”:
We added a little green coconut “moss” to the top of the pot to make the potted topiary look more life-like.
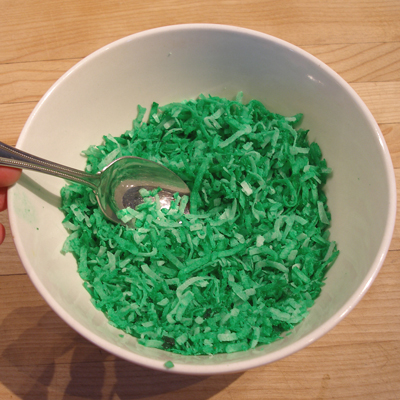
1. Put 1/2 cup shredded sweetened coconut to a bowl and add a drop of green gel paste food coloring. Mix to distribute the color.
You can use a spoon, but your hands will do a more thorough job.
YES, your hands will turn green, but it washes off. If the color is not green enough, add a tiny bit more color and mix it in.
Coat the Cake Pops:
1. Melt about 1 cup of green candy melts, according to the package directions.
SARAH SAYS: If the candy melts are not fresh, they may be thicker than you want. If this is the case, add a tiny bit of vegetable shortening, and stir it in to thin the coating.
Put the melted candy in a narrow glass, or bowl.
2. Remove 2-3 cake balls from the refrigerator.
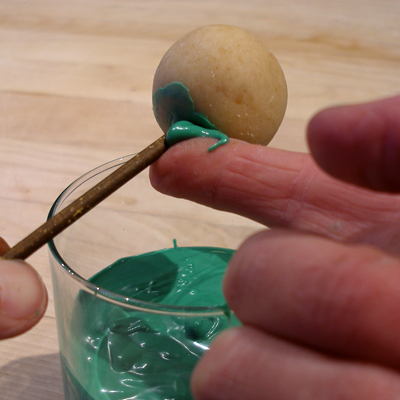
Dip the tip of one of the lollipop sticks into the melted coating, then push it into a cake ball, going about 2/3 of the way into the ball.
Wipe any excess candy off the bottom of the cake ball with your finger.

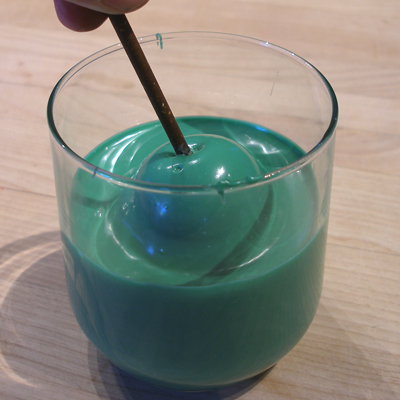
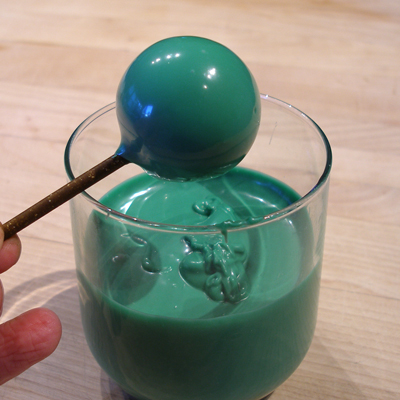
3. Dip the cake ball straight into the coating, making sure that the entire ball is covered.
Gently tap the stick on the side of the cup, turning the stick in your fingers, so the coating is even, and the excess falls back into the cup.
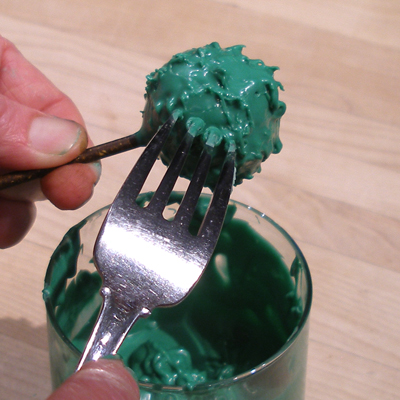
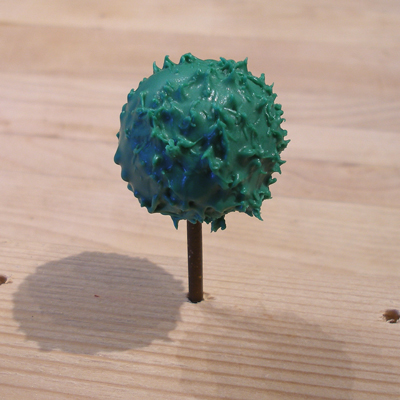
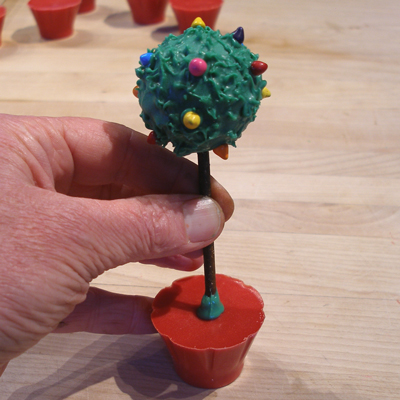
4. Rough up the coating, using a fork, so there is a leaf-like texture on the surface.
Then place the lollipop stick end in a block of styrofoam to dry, or you can use a piece of wood with holes drilled in it.
Repeat the steps above for all your cake balls, reheating and melting more coating, as needed.
Assemble the Topiary Cake Pops:
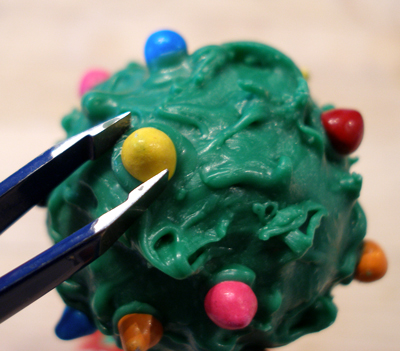
1. Go through the bottle of sprinkles, and take out the best looking sprinkles. You also want to leave the green ones behind, as they will not work in this application.
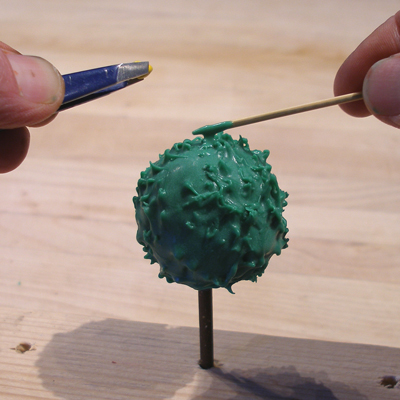
2. Melt or remelt some green candy melts and place a dot on the cake ball, then place a sprinkle on the melted coating, before it hardens.
Continue adding sprinkles, so they are evenly placed on the surface of the cake ball.
Repeat above steps for all the cake pops.
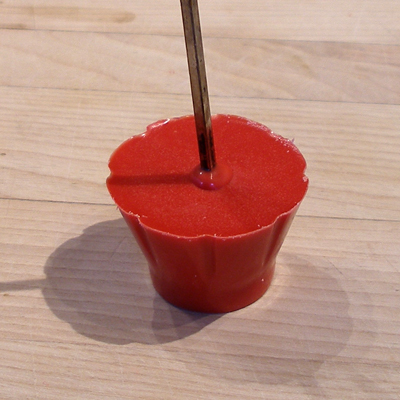
3. Have some melted green coating ready, then heat up the end of a metal skewer.
NOTE: I have a gas stove, so I heat it briefly over the flame. If you have an electric stove, you can use a lighter to heat the skewer, or you can rest it briefly on the hot coil.
Take one candy pot and push the hot skewer into the center of the pot, pushing down straight. Do not go all the way through the pot, go about 3/4 of the way down.
4. Dip the end of the cake pop stick into the green candy coating, and put it into the hole while the red candy is still melted.
Hold the cake pop in place for about 20 seconds, making sure that the cake pop is standing up nice and straight.
Repeat the above steps for all the cake pops.
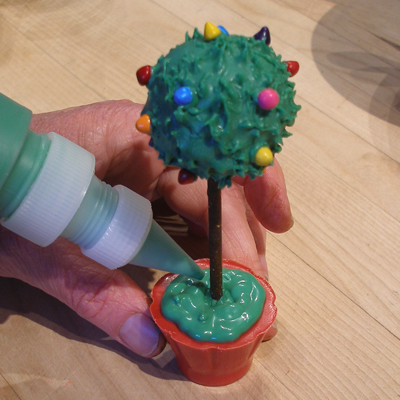
5. Melt or remelt some green candy melts and put it in a small squeeze bottle, or a disposable piping bag.
Pipe the melts around the stick and over the top of the pot, leaving the edge of the pot clean.
Before the melts harden, sprinkle it with some of the coconut “moss”. Gently press it into place and shake off any excess.
Repeat the above steps with the rest of the cake pops.
SERVE
The Topiary Cake Pops can stand on their own; arrange them in a line on the table or on a pretty platter. Or, serve each one individually with dessert, or use as a tabletop decoration. They also make cute placeholders; just add a small name tag and glue it to the red “pot” using a dab of candy melts, or tie a ribbon tag on the topiary's trunk with a name written on it.
STORAGE
The finished cake pops do not need refrigeration as long as the frosting used in the recipe does not need refrigeration. They will keep for about 3 – 5 days or more, wrapped at room temperature.