
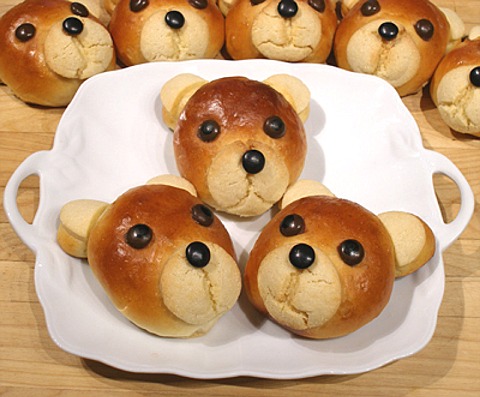
We thought it would be fun to develop a recipe so you could make these darling little Teddy Bear Buns, based on the Japanese bread known as “Melon Pan, in your home”. NO, it doesn't taste like melon, but the dough is lightly sweet and fluffy and it is accented by a crunchy cookie topping. This bread has a bit of a cult following in Japan. Your kids will love them!
BREAD RECIPE HELP
KELLY SAYS: “I knew that my son loved the traditional round melon bread rolls , but I wanted to create a shape that was more fun, so I made these little bears. He and his friends love them.”
See also:
 Cartoon Face or Anpanman Buns
What you need for this tutorial: 1 recipe each:
Teddy Bear Rolls Bread Dough, Step I
Teddy Bear Rolls Cookie Topping Dough, Step II
1 tablespoons sugar, Step IV
Egg Glaze, Step IV
For Finishing, Step V
STEP I: MAKE THE TEDDY BEAR ROLLS BREAD DOUGH
TEDDY BEAR ROLLS BREAD DOUGH
INGREDIENTS
3 3/4 unbleached all-purpose flour, plus more, to adjust dough texture; spoon into measuring cup and level to rim
1/2 cup sugar
1/4 teaspoon salt
2 1/4 teaspoons (one, 1/4 ounce package) Active Dry Yeast
1 cup whole or 2% milk, warmed in the microwave to about 110 to 115 degrees F
2 large eggs, lightly beaten, at room temperature
3 tablespoons unsalted butter, softened but NOT greasy or melted
INSTRUCTIONS
1. After measuring, sift together the flour, sugar and salt into the mixer bowl.
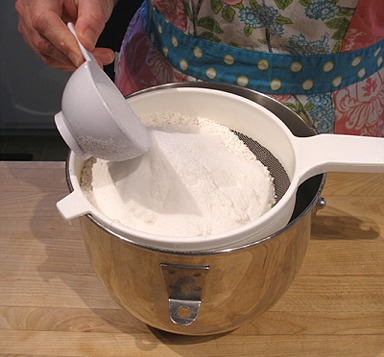
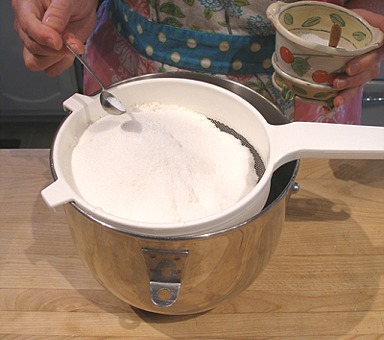
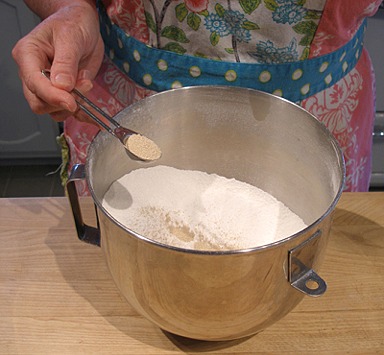
2. Add the yeast, then clamp the bowl onto the stand mixer, fitted with a paddle attachment. Turn mixer on low to combine the ingredients.
3. Add the lightly beaten eggs to the warmed milk and quickly whisk together.
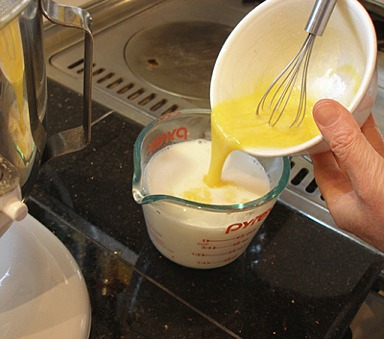
With the mixer on low, add the milk mixture in a slow steady stream at the side of the bowl. Beat until combined

4. With the mixer on low, add the 3 tablespoons softened butter, one right after another. Continue mixing on low speed, mix for about 3 minutes, until a sticky dough forms.
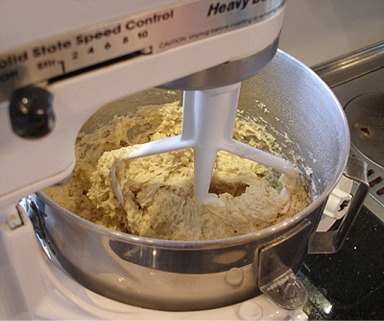
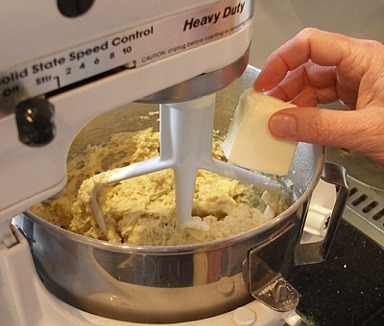
5. Switch the mixer attachment to the dough hook.
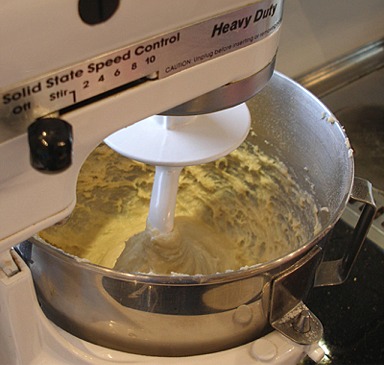
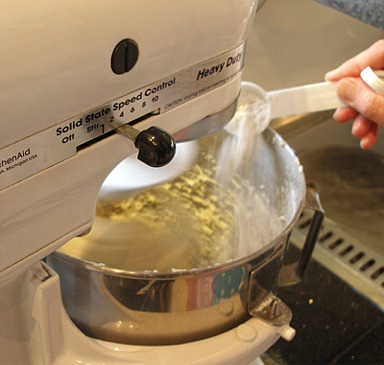
6. Increase speed to medium, and knead the dough for 5 minutes. While kneading, continue adding flour, very slowly, one tablespoon at a time – up to 1/4 cup at most.
Wait a minute or so in between flour additions because it takes time for each one to be incorporated into the dough.
Stop adding flour when the dough STARTS to make a slapping sound on the side of the bowl.
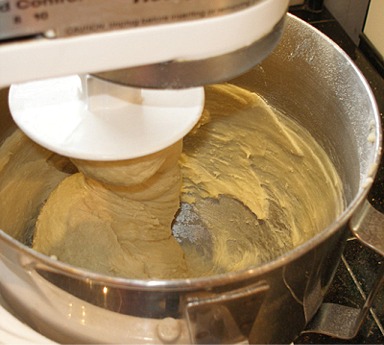
7. The finished kneaded dough should pull away from the sides of the bowl, and wrap itself around the dough hook.
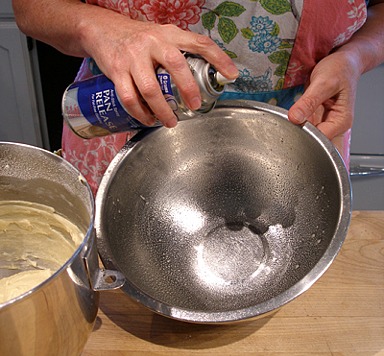
8. Then, scrape the dough into a large bowl that has been sprayed with cooking oil spray or lightly greased with oil.
Do not tear at the dough or break it apart while doing so.
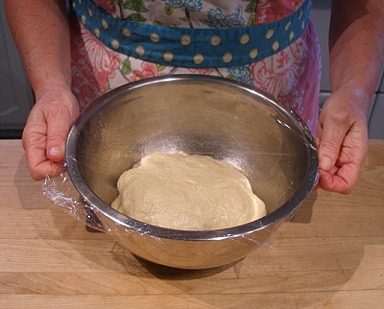
9. Turn dough over, to oil the entire dough ball.
Then, cover the bowl tightly with plastic wrap and set aside so the dough can rise in a warm place, for one hour, or until ALMOST doubled in bulk.
SARAH SAYS: You can use Sarah's Microwave Bread Proofer to speed up the process, if desired.
STEP II: MAKE THE TEDDY BEAR ROLLS COOKIE TOPPING DOUGH
While the Teddy Bear Bread dough rises, make the cookie topping for the Teddy Bear Rolls.
TEDDY BEAR ROLLS COOKIE TOPPING DOUGH
INGREDIENTS
1 cup minus 2 tablespoons unbleached all-purpose flour; spoon into measuring cup and level to rim
1/2 teaspoon baking powder
pinch of salt
3 tablespoons unsalted butter; can be cold
1/4 cup sugar
1 large egg yolk
1 teaspoon whole or 2% milk
1/2 teaspoon vanilla
INSTRUCTIONS
1. Sift together the flour, baking powder and salt into a small bowl.
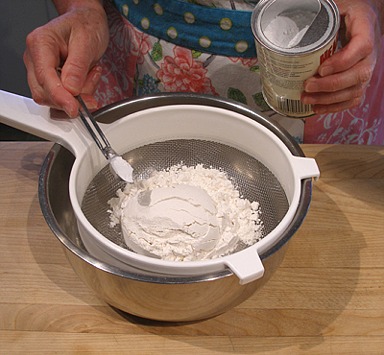
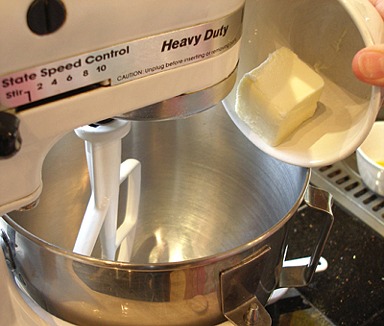
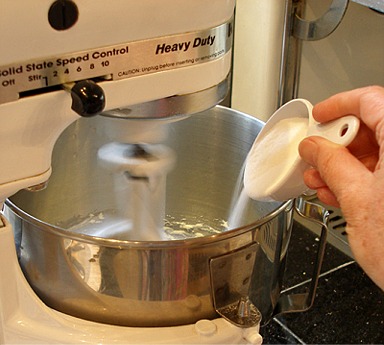
2. With the mixer fitted with a paddle attachment, beat the butter at low speed until it is softened.
Then, add the sugar at the side of the bowl. Mix on medium low until the ingredients are combined.
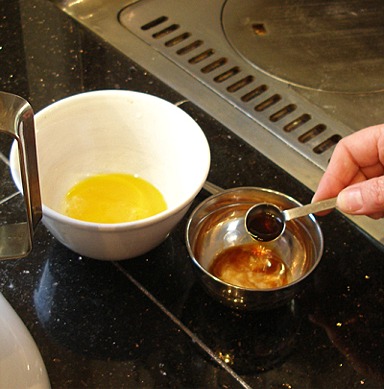
3. In a small bowl, add the vanilla to the milk and stir. Add this milk mixture to the egg yolk, placed in another small bowl, and stir with a fork until combined.
4. Add the egg/milk mixture to the butter/sugar mixture in the mixer bowl, and beat on medium low until combined.
Scrape down the sides of the bowl and mix on low, once again, until mixture is uniform.
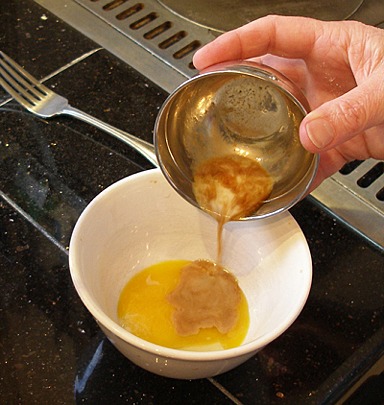
5. Add flour and mix on low until combined. Stop the mixer once and scrape down sides of the bowl.
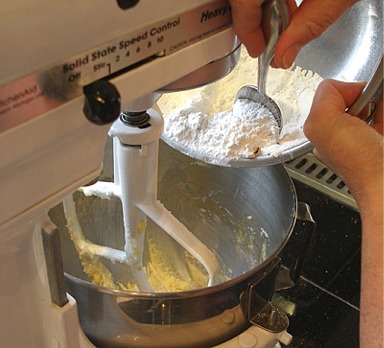
Continue to mix on low until all of the flour is incorporated. Do not overmix.
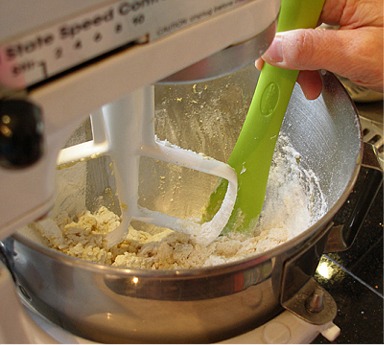
6. Scrape the Teddy Bear Rolls Cookie Topping Dough out onto a piece of plastic wrap and press it into a disk.
7. Wrap dough in plastic wrap and place it in the refrigerator to chill until needed in STEP IV.
STEP III: SHAPE THE TEDDY BEAR BREAD DOUGH INTO ROLLS
1. After the Teddy Bear Bread dough, from STEP I, has risen until almost doubled in bulk, turn it out onto a lightly floured surface.
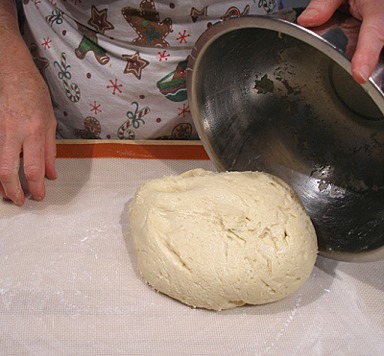
2. Divide it into 16 equal portions. To divide the dough, weigh the entire piece of dough. Divide the weight by 16 to determine how much each dough portion should weigh.
Then, with a bench scraper or a sharp knife, cut straight down to section out each dough portion; do not tear or pull at the dough. Weigh each portion. Keep each dough portion and the main dough loosely draped with plastic wrap on a lightly floured surface while working.
If you need to add to the dough portion, simply cut a small piece from the main dough, and simply press it onto the dough portion; do not knead the pieces together.
3. Pinch the edges of each dough portion underneath to form a ball, then roll the ball under your palm to create a uniform shape.
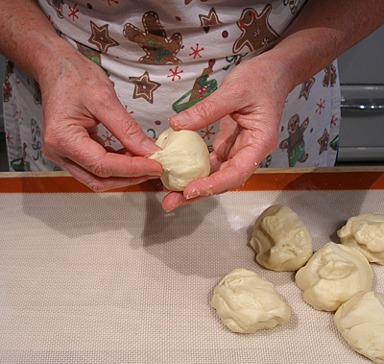
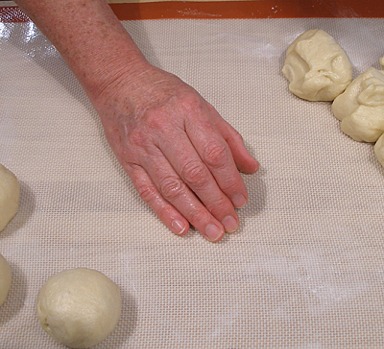
4. Cut a small portion off each dough ball with a bench scraper or a sharp knife, cutting straight down; do not pull or tear at the dough.
Then, reform the dough back into a ball.
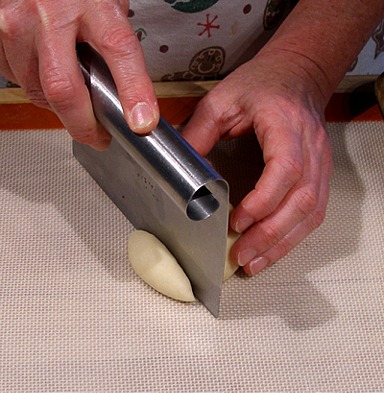
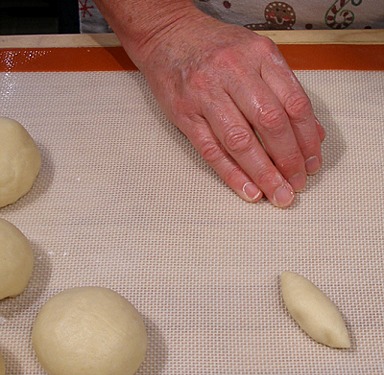
5. Cut each small piece of dough in half and form each 1/2 into a teardrop shape. These will be shaped into the two ears to use with each Teddy Bear Roll.
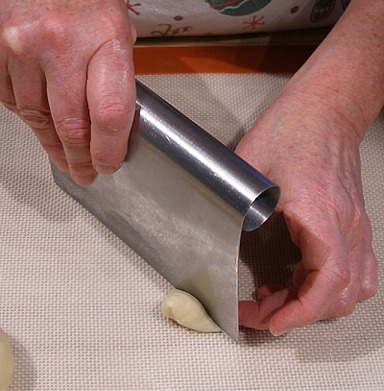
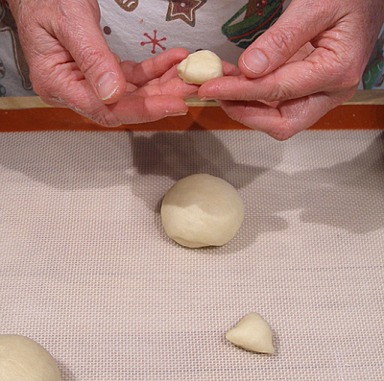
6. Place one dough ball on a silpat or parchment-lined baking sheet. This will become the Teddy Bear's round head.
Tuck one ear each under the round head at the top part of the round head.
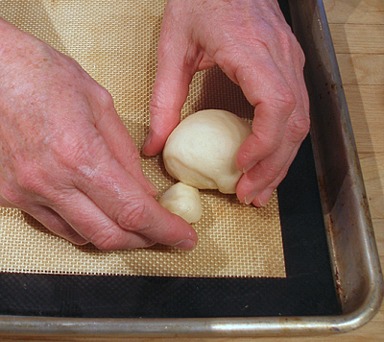
Flatten each ear with your fingertip, then gently push down on the dough ball with your fingertips. This helps the ears attach to the head, and creates a nice round shape.
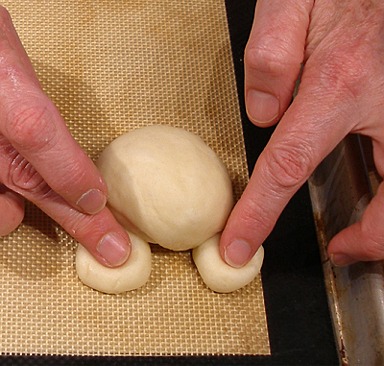
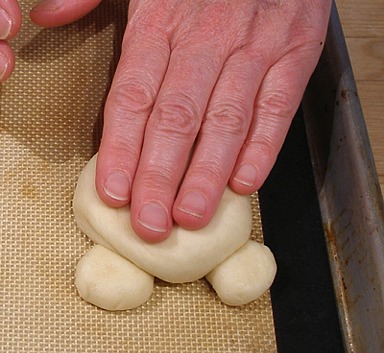
7. Continue with the rest of the rolls, spacing them three across on the baking sheet, so there is room for them to rise.
Lightly spray the bread rolls with cooking oil spray. Drape the rolls loosely with plastic wrap and let them rise for 30 minutes in a warm place.
STEP IV: ADD THE TEDDY BEAR ROLLS COOKIE TOPPING TO THE SHAPED ROLLS. BAKE THE ROLLS. FINISH DECORATING EACH FACE.
INGREDIENTS
Teddy Bear Rolls Cookie Topping from STEP II
Shaped Teddy Bear Rolls from STEP III
1 tablespoon sugar
EGG GLAZE
1 large egg
1 tablespoon water
INSTRUCTIONS
Preheat the oven:
1. After 30 minutes, position the oven shelf in the middle of the oven and preheat oven to 350 degrees F. Remove plastic wrap from the baking sheets.
Cut-out the Teddy Bear Rolls Cookie Topping Dough Shapes:
1. Remove the Teddy Bear Rolls Cookie Topping Dough from the refrigerator. Roll it out, to a little less than 1/4-inch thick, on a lightly floured surface.
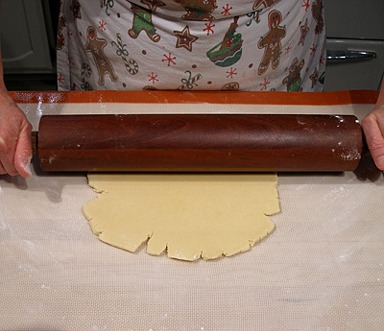
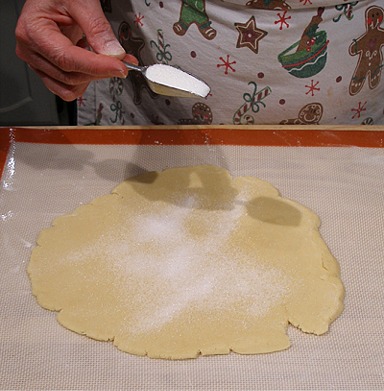
2. Sprinkle the rolled out Teddy Bear Rolls Cookie Topping Dough with one tablespoon of sugar, then spread it evenly over the surface with your hand.
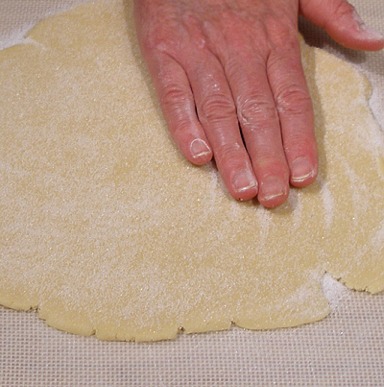
3. Lightly roll over the dough to help the sugar adhere to the dough.
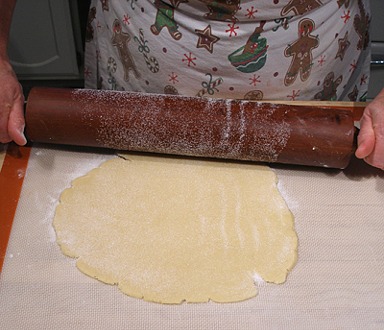
4. Using a 1 1/2-inch round cookie cutter, cut out 16 circles. One will be placed on each Teddy Bear Roll for the snout.
Set aside on a parchment paper-lined baking sheet, and cover loosely with plastic wrap.
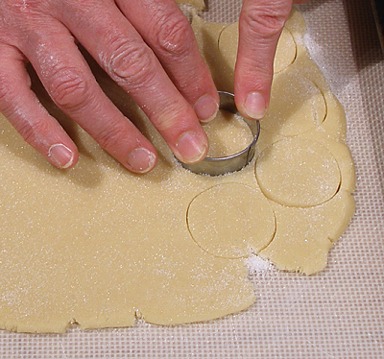
5. Using a 1 1/2-inch oval cutter, cut out 16 ovals and cut each one in half crosswise. You will have 32 halves. Each half piece will be placed on each ear on the Teddy Bear Roll.
Set aside on a parchment paper-lined baking sheet, and cover loosely with plastic wrap.
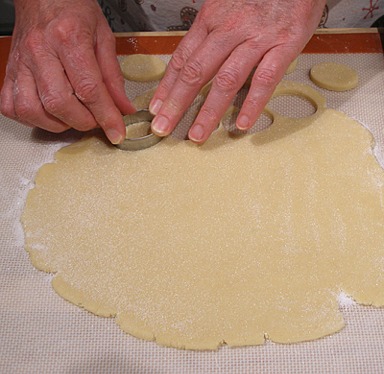
Place the halved ovals on the ears of the bears and gently press them, to adhere.
Form the Teddy Bear's Face with the Teddy Bear Rolls Cookie Topping Shapes:
1. Beat the egg with the water to make the Egg Glaze. Then, brush the rolls LIGHTLY with the glaze.
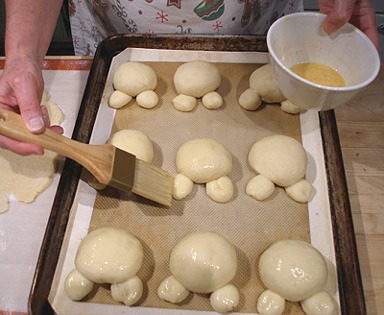
2. Place a halved 1 1/2-inch oval in each ear of the Teddy Bear Roll and gently press them, to adhere.
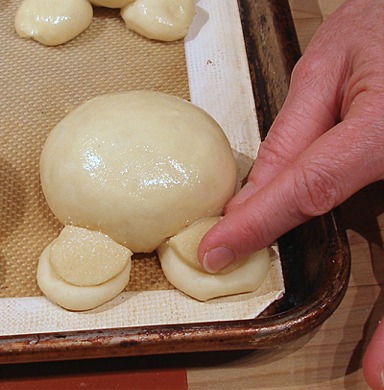
3. Place one 1 1/2-inch circle in the lower half of each Teddy Bear Roll face, and press gently to adhere.
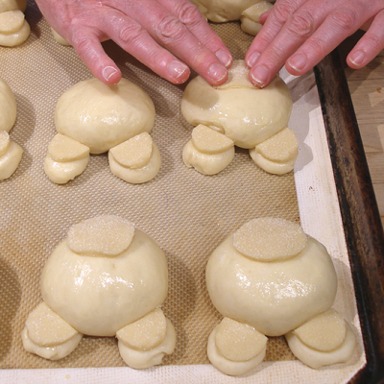
4. With two floured fingers, press straight down, just above the circles, to create indentations for the eyes of the Teddy Bear Roll face.
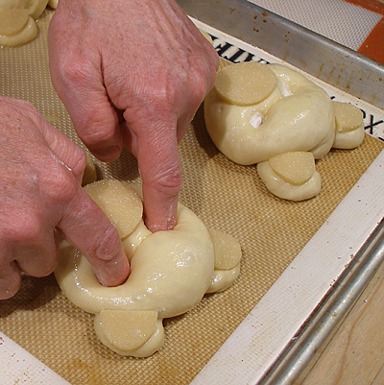
5. Use the wide end of a chopstick or the end of a paintbrush to make and indentation in the snout, for the nose.
Do not go through the Cookie Dough Topping snout shape; just make a light indentation.
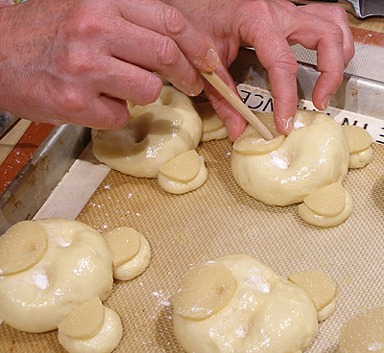
6. Use and exacto knife or a razor to make a cut for the mouth of the bear.
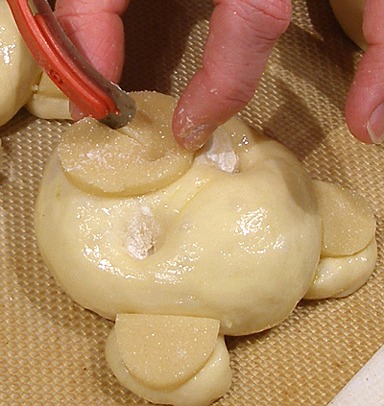
I cut straight down under the Cookie Dough Topping nose area, and made two curved cuts under that to indicate the mouth of the bear.
Do not cut all the way through the cookie snout. Just make shallow cuts.
Bake the Teddy Bear Rolls. Finish decorating each face.:
NOTE: If you cannot bake all of the rolls at once, loosely cover with plastic wrap and place the unbaked rolls in the refrigerator.
1. Bake the Teddy Rolls for 17-18 minutes, or until golden brown.
2. Remove from baking sheet, and place on a rack to cool completely.
STEP V: FINISH THE TEDDY BEAR ROLLS
16 baked and cooled Teddy Bear Rolls, from STEP IV
FOR FINISHING
1/2 cup chocolate chips
32 Brown M&M's – NOTE: I had black, as well as brown M&M's, so I used black for the nose. They are pretty hard to find, so you can use all brown, if you like.
1. When rolls are cool, place the chocolate in a small zip-top bag. Do not close the bag. Place it on a microwaveable plate. Microwave it on 50% power for 5 seconds at a time.
Massage the bag until the chocolate melts before microwaving again. Alternately, you can place the filled bag in warm/hot water, and the chocolate will melt. Take care not
to get water into the bag.
2. Cut a corner in the bag and pipe a small amount on the back on an M&M. Place M&M in the indentation you created for the nose.
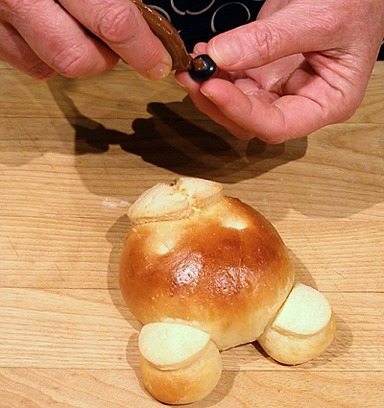
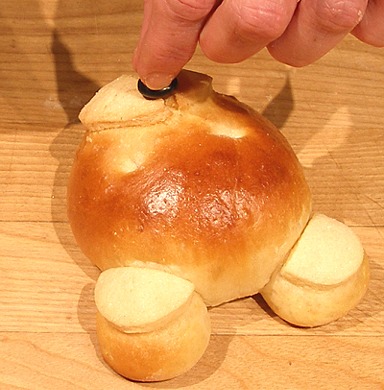
3. Pipe a small amount of chocolate in each eye indentation and place an M&M in each, then press gently to adhere.
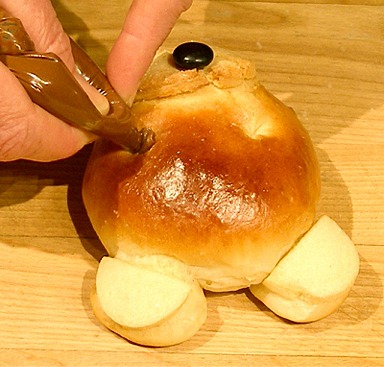
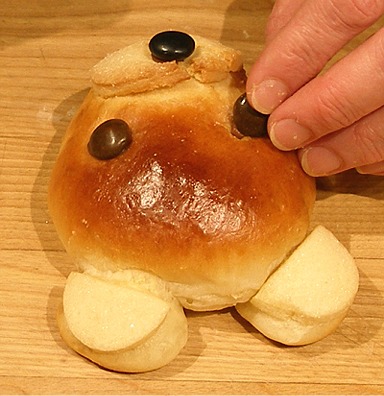
NOTE: If you have edible ink markers, you can draw a pupil in the center of the eyes, but they look cute without them too.
STORAGE
Store at room temperature in a closed container for up to three days. Rewarm at 300 degrees F briefly if stored for over two days.


