

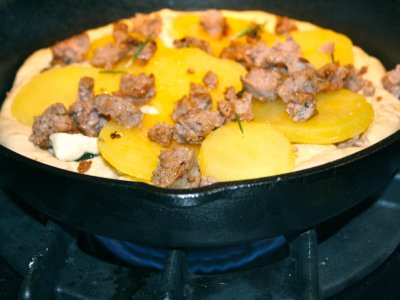
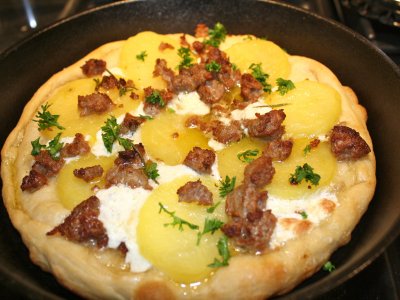
Mozzarella cheese, potato, sausage, and rosemary pizza
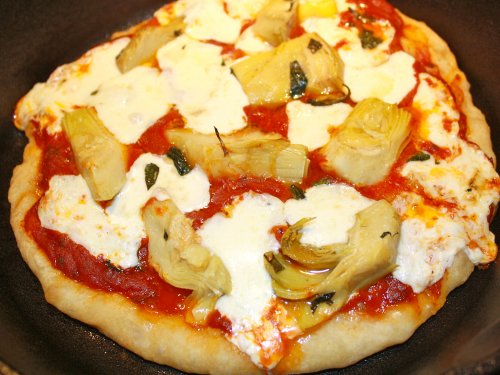
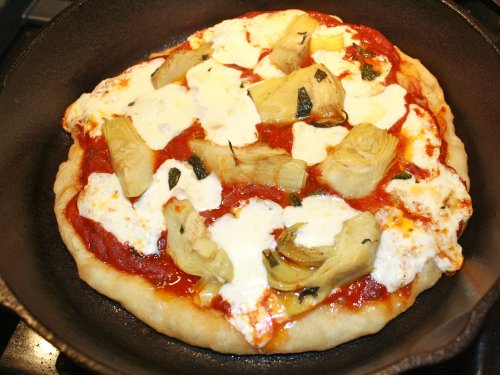
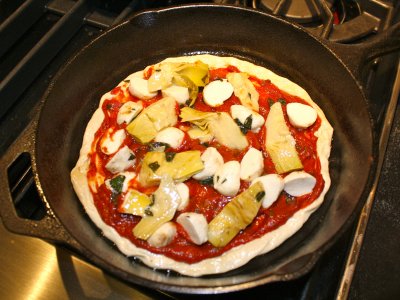
Mozzarella cheese, artichoke hearts, and tomato sauce pizza
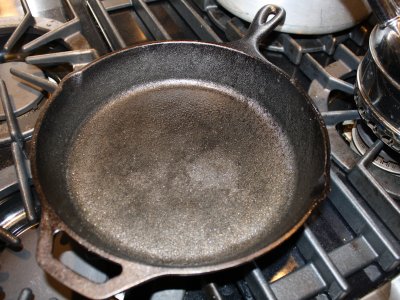
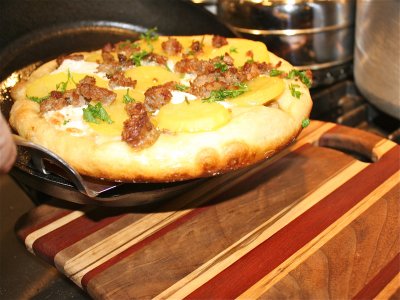
I love making (and eating) homemade pizza, especially this one with its crisp-chewy crust. Here, I give you two of my favorite pizza topping combinations: the first is topped with buttery Yukon Gold potatoes, fennel sausage, mozzarella cheese, and a sprinkle of rosemary; the second is topped with marinated artichoke hearts, mozzarella cheese, and a zesty tomato sauce. Instead of using a pan or baking them on a stone, I baked the pizzas in a 10-inch cast iron skillet which gets super hot, mimicking a pizza stone. It's ideal to use two skillets if you are baking more than one pizza. (You can freeze any of the dough you don't use for later use.)
I make my pizzas with a homemade artisanal pizza crust that is crisp, chewy, and very flavorful, but surprisingly quick to make! I make the dough using an easy two-step technique, which you can see below, that is much simpler than using a sourdough starter. This technique ensures that I get a flavorful crust, a crispy bottom, and encourages the dough to brown nicely. My husband, who asks me time and again to make this, raves about this pizza recipe, and I can't wait to make more. You can, of course, get creative with your pizza toppings and try out your favorite combinations.
BREAD RECIPE HELP
INGREDIENTS
1 recipe Artisanal Pizza Dough, Steps I to III. Then follow here with Step I, below
TOPPING SUGGESTIONS
My topping ingredient amounts are always estimates; you may want to use less or more than I specify here.
Option #1 – MOZZARELLA CHEESE, POTATO, SAUSAGE AND ROSEMARY PIZZA
Enough for 1 10-inch skillet pizza
INGREDIENTS
2 small Yukon Gold Potatoes, steamed and sliced into 1/4-inch thick rounds
1 round of skillet pizza dough, from above
2 to 3 ounces mozzarella cheese; I use the small round mozzarella balls, marinated in olive oil and herbs, and cut them int half or cut regular mozzarella into 1/2-inch cubes
1/3 cup sweet Italian sausage, cooked and drained
1 teaspoon fresh rosemary leaves, chopped
Kosher salt
Olive oil; SARAH SAYS: I used some oil from the marinated mozzarella cheese
Garnish:
1 tablespoon parsley leaves, chopped
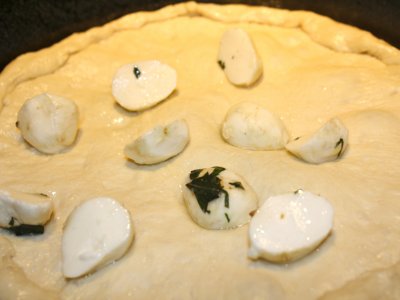
SARAH SAYS: I found that when baking pizzas in skillet pans or on very hot pizza stones, I avoid grating the mozzarella cheese. Instead I cut into cubes so it can melt slowly, otherwise if grated, it melts too fast into the crust and/or burns before the rest of the pizza has a chance to cook and brown.
NOTE:
1. Steam the potatoes until they are easily pierced with a fork, about 20 minutes. Remove the potatoes and set them aside until they are cool enough to touch. Use a small, sharp knife to remove the peel from the potatoes and discard the peels.

2. Slice the potatoes into 1/4-inch thick rounds and place them in a small bowl. Use the potatoes or set them aside to cool to room temperature, transfer them to an airtight container, and refrigerate for up to two days.
Option #2 – MOZZARELLA CHEESE, ARTICHOKE HEARTS AND TOMATO SAUCE PIZZA
Enough for 1 10-inch skillet pizza
INGREDIENTS
1/4 to 1/2 cup Sarah Phillips' No Cook Zesty Tomato Sauce; I added some chopped Italian parsley to the sauce
1 round of skillet pizza dough, from above
2 to 4 ounces mozzarella cheese; I use the small round mozzarella balls, marinated in olive oil and herbs, and cut them into half or cut regular mozzarella into 1/2-inch cubes
8 quartered artichoke hearts ; I marinated the artichoke hearts in the marinated mozzarella cheese and herbs before using
Kosher salt
Olive oil; SARAH SAYS: I used some oil from the marinated mozzarella cheese
SARAH SAYS: I found that when baking pizzas in skillet pans or on very hot pizza stones, I avoid grating the mozzarella cheese. Instead I cut into cubes so it can melt slowly, otherwise if grated, it melts too fast into the crust and/or burns before the rest of the pizza has a chance to cook and brown.
INSTRUCTIONS
STEP I: HEAT THE OVEN AND SHAPE THE PIZZA DOUGH.
After Step III in the Artisanal Pizza Dough heat the oven and shape the pizza dough:
1. Position the oven shelf to the middle of the oven. Place a foil-lined baking sheet on the oven shelf before you preheat the oven.
SARAH SAYS: I use a very old baking sheet.
Heat the oven to 450 degrees F.
Lightly oil the skillet on the bottom and sides with olive oil.
SARAH SAYS: Do not use butter; it will burn. Make sure your skillet is well-seasoned before using.
2. Pick up one risen dough ball without deflating it, while keeping the others covered.
SARAH SAYS: Move the five remaining dough balls, on the baking sheet, to the refrigerator for later baking after this first one.
This is not intended for long term storage; this will help retard their rise for baking after this first pizza is complete.
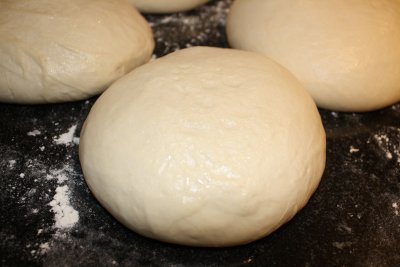
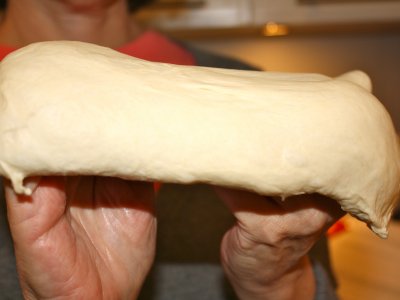
3. Holding the ball underneath with both of your fists, pull your fists apart about 4-inches very slowly so the round stretches apart against the backs of them. The dough should stretch easily. If it doesn't, let it rest for 5 minutes, and try again. Be gentle or the dough will tear. If the dough tears, shape the dough back into a ball, shaped like a jellyfish underneath, and let rest, covered, for 5 minutes. Then try, again.
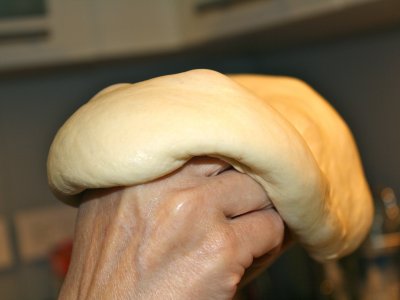
3. Gently move the dough a quarter turn, around your fists like the hands of a clock so the dough continues to stretch outward into a circle.
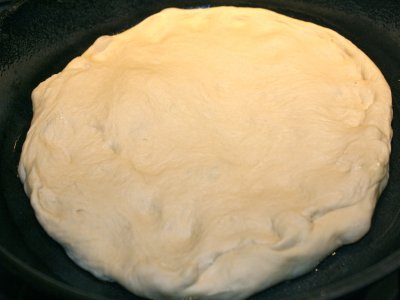
4. When the dough has stretched into a rough circle, about 5- to 7-inches in diameter, place it in the center of your prepared skillet.
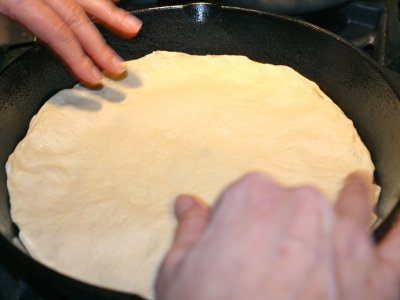
Then use your fingertips to stretch the dough evenly to fit into the bottom of your pan. Try to evenly distribute the dough; if it isn't, don't worry.
The dough should stretch easily. If the dough is hard to stretch or has some resistance, wait a few minutes to allow it to rest before resuming again.
5. Continue to stretch the dough to about 1-inch up the side of the pan. Fold the dough over itself, forming a small crust rim so it fits exactly into the bottom of the pan.
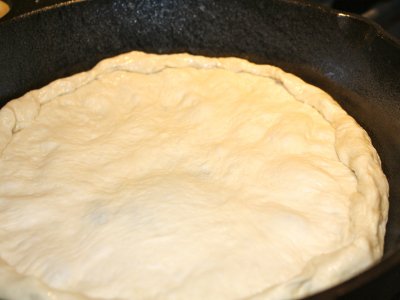
6. Brush the rim of the dough with olive oil and sprinkle with a light coating (1/4 teaspoon) of kosher salt over the surface of the dough.
STEP III: TOP THE PIZZAS WITH THE TOPPING RECIPE. BAKE AND SERVE.
Top the pizzas with the topping recipe:
Option #1 – MOZZARELLA CHEESE, POTATO, SAUSAGE AND ROSEMARY PIZZA
1. Scatter the mozzarella cheese over the surface of the prepared pizza dough.
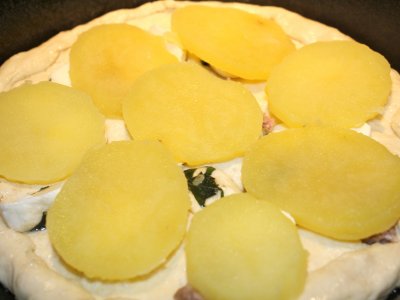
2. Lay the potato slices on top of the mozzarella, and sprinkle the potato slices with salt (about 1/4 – 1/2 teaspoon).
3. Sprinkle the cooked Italian sausage over the potato slices.
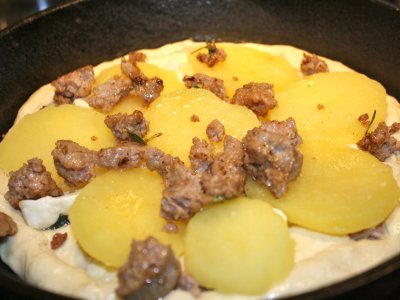
4. Sprinkle rosemary leaves over the pizza.
5. Drizzle all over with olive oil.
Option #2 – MOZZARELLA CHEESE, ARTICHOKE HEARTS AND TOMATO SAUCE PIZZA
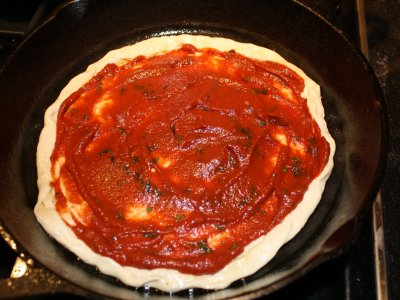
1. Place the tomato sauce evenly over the surface of the prepared pizza dough, avoiding the rim of the crust dough.
2. Evenly distribute the mozzarella cheese over the tomato sauce. Do the same with the artichoke hearts. Drizzle all over with olive oil.
Bake the pizzas: Use the same procedure for all toppings.
1. Place the skillet on the stove top and turn it to HIGH heat. Cook the pizza for 2 to 3 minutes, and no more. This will help brown the bottom of the crust and heat the skillet.
The crust's rim may start to bubble, but will not brown.
2. Using oven mitts because the skillet is very hot (and heavy), move the skillet to the preheated baking sheet in the oven.
3. Bake the pizza for about 18 to 20 minutes until the crust is lightly browned around the edges and the cheese melts.
Using oven mitts, remove the skillet from the baking sheet in the oven, and place on the stovetop, with the burner turned off.
Sprinkle parsley (from the topping recipe, below) over the pizza.
SERVE
1. With a spatula, slide the pizza right out of the pan to a cutting board. Take care because the skillet is extremely hot.
2. Let cool a few minutes and cut into portions with a sharp knife or a pizza cutter.
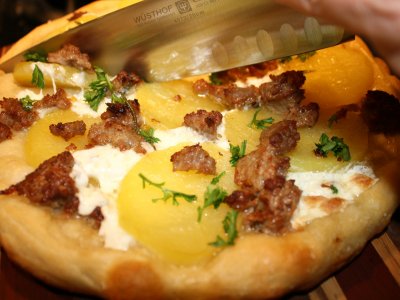
SARAH SAYS: If using a sharp knife, cut straight down while pressing on the top of the knife with your other hand.
3. Serve hot.
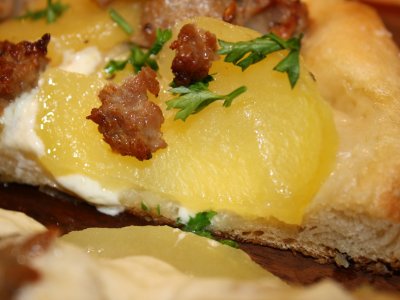
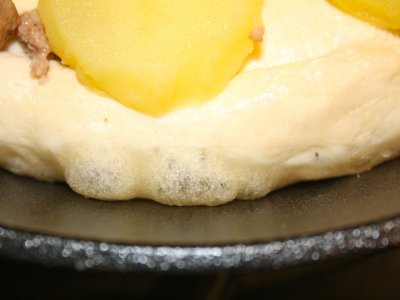
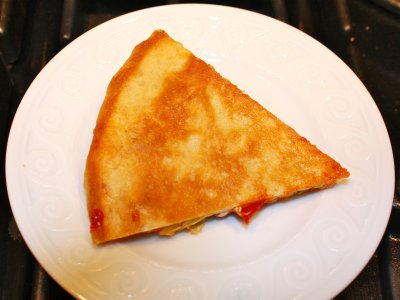
The bottom of the crust; it's nicely browned and crispy while the rest of the crust is chewy and flavorful. Isn't this just beautiful? I think so.
NOTE: If making additional pizzas, use the second skillet that has not been used, while the first skillet cools on the stovetop. To speed-up cooling of the first skillet, hold the hot skillet with on oven mitt, place it in the sink and run with cold water to cool it; stand back because steam will rise. Wait at least 10 minutes before drying, and then oil your pan.
Remove the next pizza dough round from the refrigerator. After removing from the refrigerator, let warm to room temperature in its plastic bag for 10 to 20 minutes. Then repeat, starting with Step I, Shape the Pizza Dough.
If not making additional pizzas, let the hot skillet cool on the stovetop. Remove the baking pan from the oven when both have cooled.
STORAGE
The cooked and cooled pizza can be well-wrapped and refrigerated for a few days, or frozen for a month. Defrost in the refrigerator, or reheat in a toaster oven or in the oven on a foil-lined baking sheet at 350 degrees F.
