
We love making dainty little multicolored French macarons. They are so sweet and pretty. So I thought, can I make a savory version? The answer is decidedly and deliciously, yes!
These savory macarons make stunning passed hors d'oeuvres and are an elegant addition to any cocktail party or special gathering.
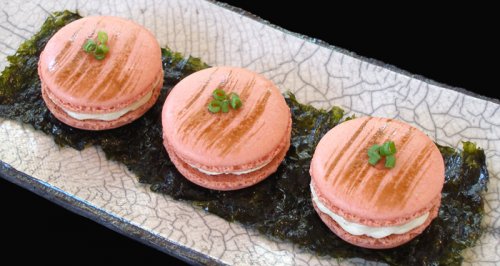
When I came up with the recipe, Kelly decided to base the flavors on her favorite maki sushi: the smoked salmon roll. I started with my original French Macaron Recipe and cut down the amount of sugar, replacing part of it with another ingredient (see below to find out what that is). I also replaced some of the almond flour, which adds sweetness, with another savory ingredient (again, see below to find out what we added!). Finally, Kelly added a touch of ginger to the macaron shells, which give them a spicy element.
The savory filling is made from cream cheese beaten with soy sauce, wasabi, and green onion, then topped with chopped smoked salmon. To finish these gems, Kelly 'painted' the tops with an artful swipe of soy sauce and finished with a few slices of green onion. Absolutely delicious!
Here, the possibilities are endless, and you can come up with your own flavor combinations if you like. Make sure you fill the macarons pretty close to serving time because the shells soften as they sit. The macaron shells can be made in advance, placed in an airtight container, and frozen. The filling can be made 1 to 2 days in advance and kept refrigerated in an airtight container.
COOKIE RECIPE HELP
INGREDIENTS
Savory Macaron Shells:
2 ounces sesame seeds
2 ounces almond flour
1 cup powdered sugar
1/4 cup cornstarch
1/4 teaspoon ground ginger
3 large aged egg whites; see How To NOTE* below
1/8 teaspoon salt
1/4 cup granulated sugar
1/2 teaspoon ginger juice; from about 3 tablespoons grated ginger; See How To NOTE* below
3 drops of pink gel food color, AmeriColor
2 drops of orange gel food color, AmeriColor
Salmon Wasabi Cream Cheese Filling:
1 teaspoon wasabi powder
1/2 teaspoon water
12 ounces full-fat cream cheese or Neufchatel cream cheese
1 tablespoon finely chopped green onion, from about two green onions; See How To NOTE* below
3/4 teaspoon soy sauce
3/4 teaspoon milk
5 ounces cold smoked salmon, or lox
Macaron “Paint”:
2 teaspoons soy sauce
one drop brown gel food color, AmeriColor
1/2 green onion, thinly sliced, for the garnish
HOW TO NOTES:
HOW TO AGE THE EGG WHITES FOR THE MACARONS
1. Allow the cracked egg whites to thicken by leaving them uncovered at room temperature for two hours. This is very important.
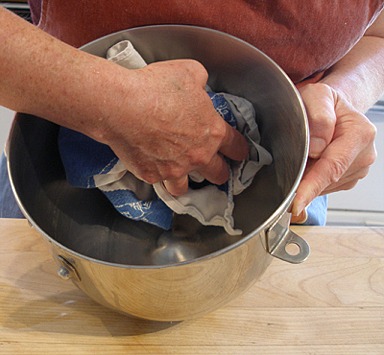
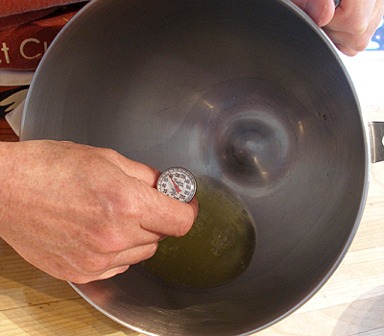
2. Then, warm the egg whites to around 75 – 76 degrees F . This is very important.
To warm them, run the mixer bowl under hot water and then dry. Use an Instant Read Thermometer to measure.
SARAH SAYS: Do not skip this step; I have found you will get better results.
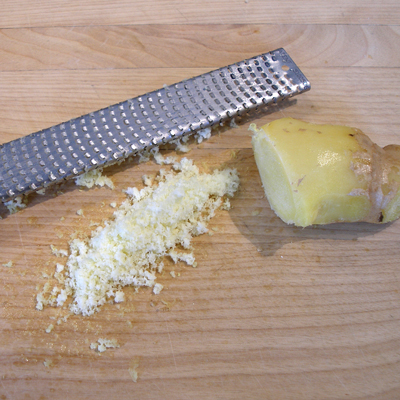
HOW TO MAKE GINGER JUICE FOR THE MACARONS
1. Peel the ginger with a peeler to about where you need to grate it.
2. Grate about 3 tablespoons of fresh ginger with a microplane or a grater with fine graters.
NOTE: We store our fresh ginger in the freezer. Grating it with a microplane, while still frozen, works beautifully!
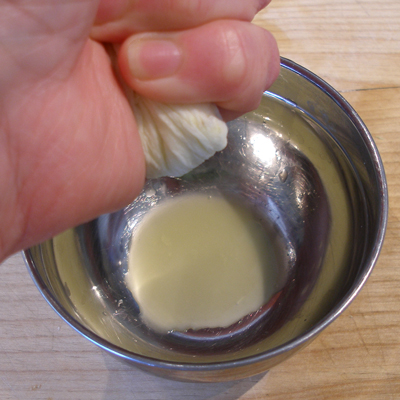
2. Put the grated ginger in a paper towel, fold up the towel and squeeze HARD to extract the juice from the ginger pulp.

3. Measure out 1/2 teaspoon of ginger juice needed for the recipe, and place in a separate bowl. Discard the ginger pulp.
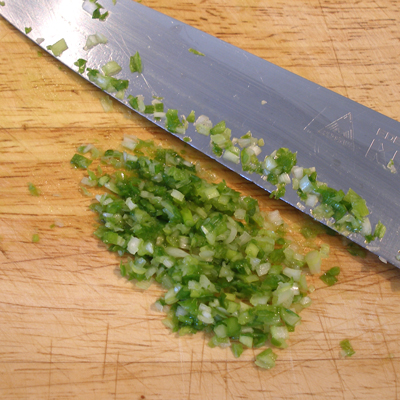
HOW TO CHOP GREEN ONIONS FOR THE FILLING
1. Chop the green onions very fine. They have to pass through a piping tip, so don't leave and big pieces.
STEP I: PREPARE THE BAKING PANS
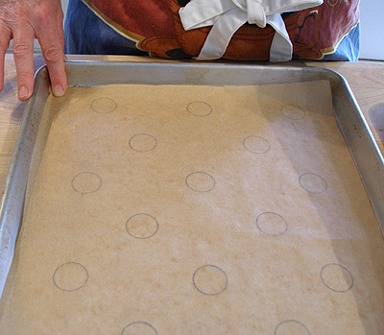
1. Draw a template of circles to pipe the macaron batter on. You will need about 40 circles. There are two ways, A or B:
A. On three pieces of parchment, use a pencil to draw 1 1/2-inch circles about 2 inches apart.
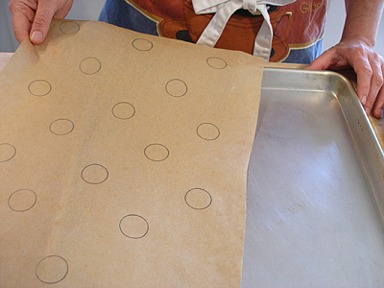
Flip each sheet over and place each sheet on a baking sheet. Or, Line 2 baking sheets with parchment paper or nonstick baking mats (Silpats), and mark circles using a 1 1/2-inch cutter dipped in flour.
Or,
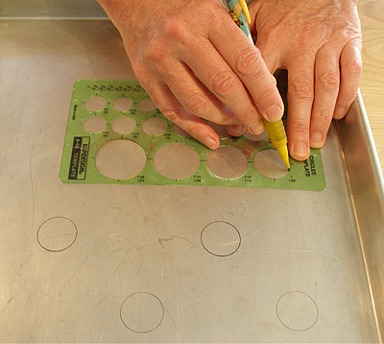
B. If you are using silpat mats, you can draw the circles right on the baking sheet. You will be able to see them through the mat. The pencilled circles wash off when you are done.
STEP II: MAKE THE MACARON SHELLS
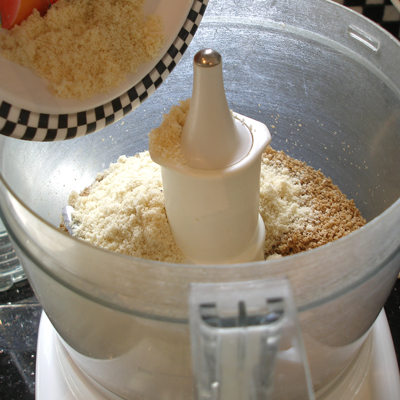
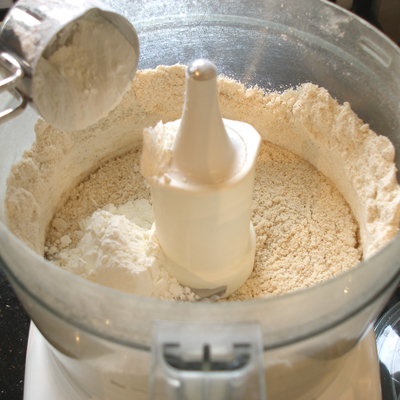
1. Place the sesame seeds in a food processor and grind them for about 30 seconds, then add the almond flour and continue to process for about an additional 30 seconds.
Do not process too long, or the seeds and nuts will get oily and start to clump together.
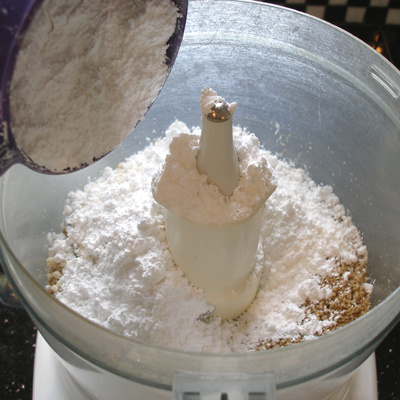
2. Add the powdered sugar and process for an additional 30 seconds. At this point the seeds should be finely ground. If they aren't, process for a little longer, then check the mixture again.
3. Add the cornstarch, and pulse to combine.
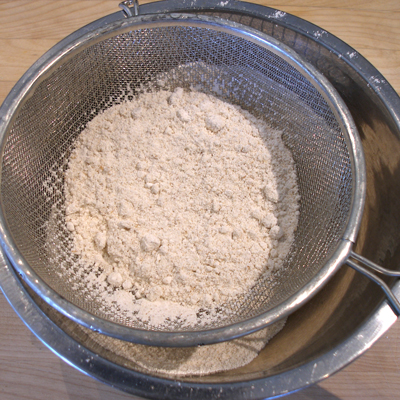
4. Shake the mixture through a medium mesh sieve to remove any lumps.
NOTE: There may be a small amount of seeds/nuts left in the sieve. If it is less than a 1/2 teaspoon, just discard them. If there are quite a bit of large bits left in the sieve, put them back in the processor and pulse until the are smaller, and add them to the bowl.
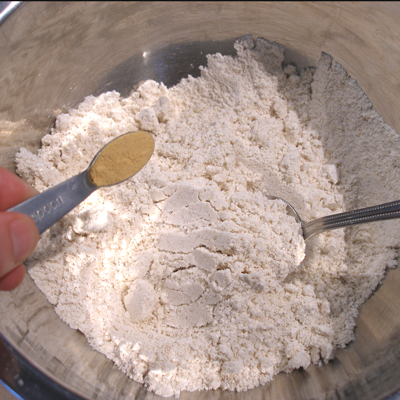
5. Add the ground ginger and stir to combine.
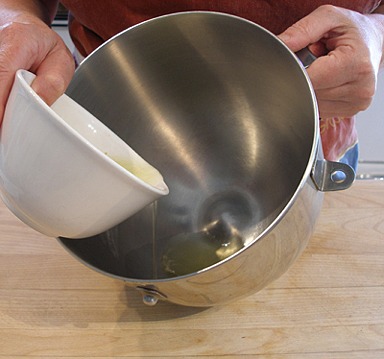
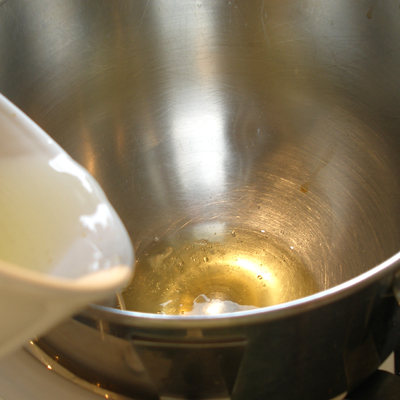
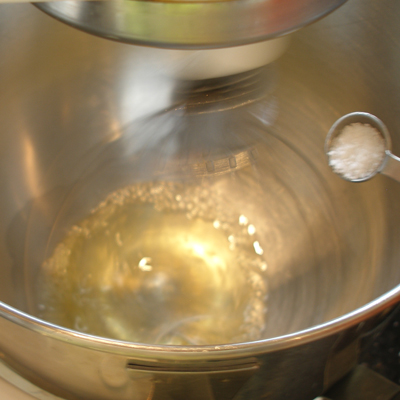
6. Fit an electric stand mixer with a whisk attachment. Add aged egg whites to the bowl.
Whip the egg whites on low speed until it starts to froth, and then add salt.
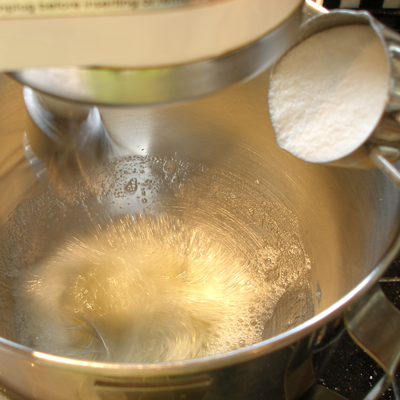
7. Gradually increase the mixing speed to medium-high and slowly add granulated sugar, a few teaspoons at a time.
Continue to beat the whites until the “firm peak stage”, which means at the end of the range of “soft peaks”.
The egg white foam will start to become smooth, moist and shiny.
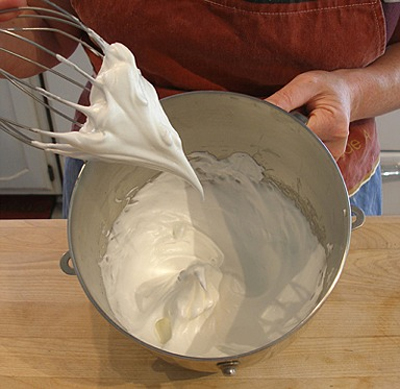
SARAH SAYS: Remove the mixer bowl from the mixer. Lift the beater attachment — straight peaks should almost form. Do not beat them to the Stiff Peak Stage. This is very important.
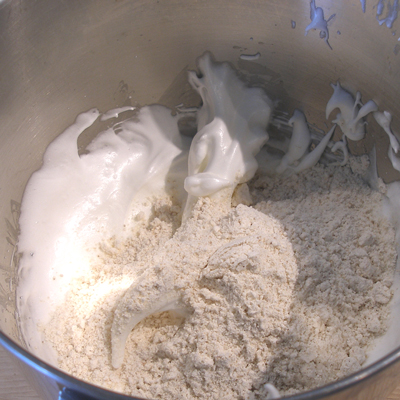
8. Add about one third of the sugar / nut mixture to the egg white mixture and fold, with a large rubber spatula, to combine.
Add the second third and fold until just combined.
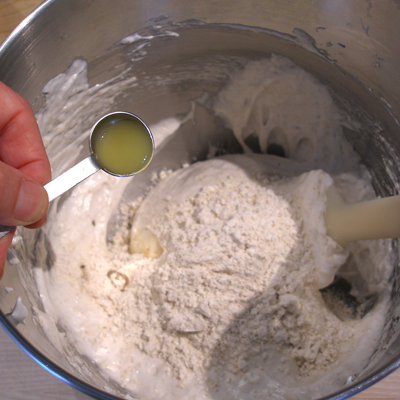
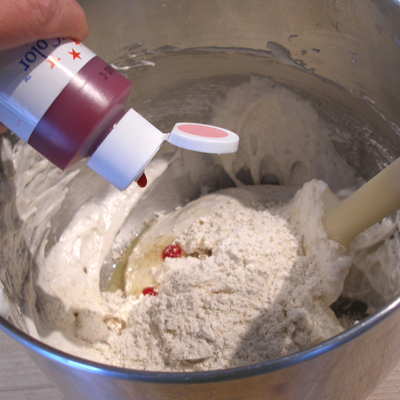
9. Add the last third. Then add the ginger juice and the food color.
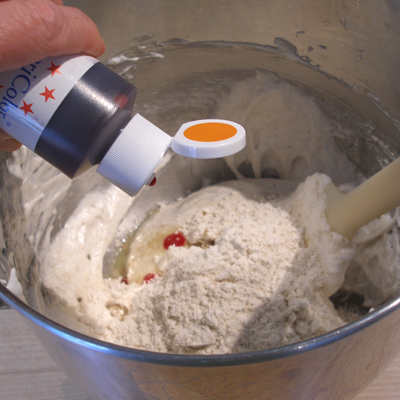
NOTE: To get the salmon pink color I used 3 drops of pink gel food color and 2 drops of orange gel food color.
We recommend AmeriColor food color.
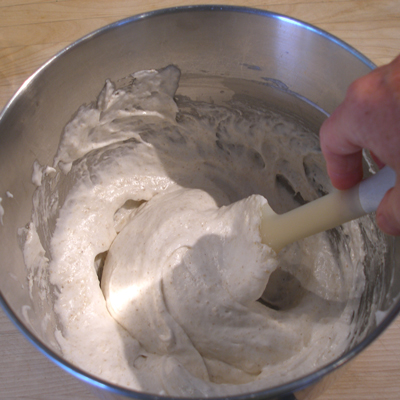
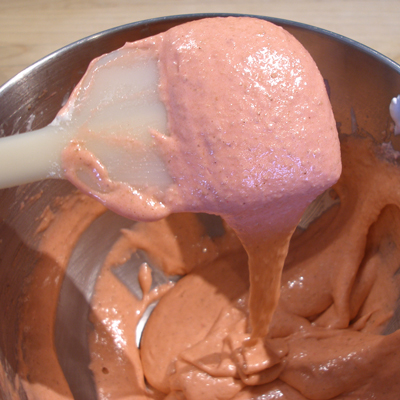
10. Fold the mixture until it flows like molten lava off the spatula. A steady, but SLOWLY flowing stream of batter.
11. Fit a pastry bag with a 1/2-inch plain, round tip (such as Ateco #806).
And, fill the pastry bag no more than half full with the macaron batter.
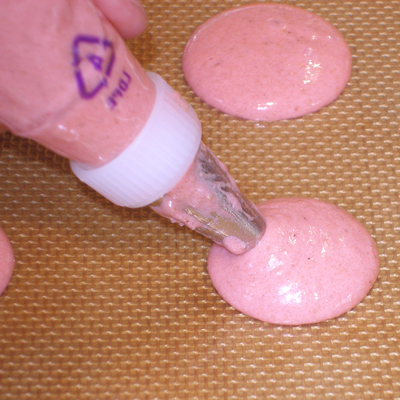
Pipe out about 40 1-inch mounds of batter on silpat or parchment lined baking sheets.
Repeat until all of the batter has been piped. Tap the bottoms of the baking sheets on the counter a few times to remove air bubbles. This tapping will spread the macs to about 11/2-inches in diameter.
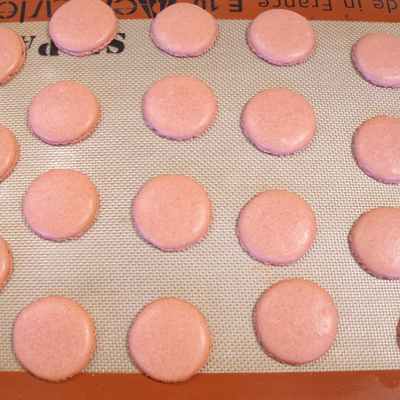
12. Let the piped macaron batter dry UNCOVERED at room temperature for 1 to 2 hours, to allow skins to form on top and so the feet can form on the bottom of the cookie when baked. This is very important.
Letting the batter rest before baking and leaving the oven door slightly ajar during baking helps prevent the tops of the macarons from being too soft or fragile. I believe the feet are formed because, as you let the batter sit, the edges of the piped cookie batter circle dry out. So, when you bake the cookie, the dried edges form the pretty feet and the more liquid part of the inner batter puffs up to form the cookie part. A thin sugar shell dries on top of the batter, allowing a thin sugar skin to form on top, stretching and helping keep the macaron flat and shiny on top as it bakes. So, resting the batter is essential.
NOTE: I let my piped macarons sit for one hour. If it is humid outside, I let the batter sit for 2 hours.
When you can touch the top of the rested macaron shells and they feel dry to the touch, they have rested long enough, and are ready to bake.
13. Position an oven shelf in the middle of the oven. Preheat the oven to 325 degrees for about 20 minutes.
Bake the macarons, one sheet at a time, for 10-11 minutes.
Use a wooden spoon to keep the oven door slightly ajar.
SARAH SAYS: Letting the batter rest before baking and leaving the oven door slightly ajar during baking helps prevent the tops of the macarons from being too soft or fragile.
Check at 30 second intervals near the end of baking because these cookies overbake very quickly; do not open the oven door to check, but rather peak through the opening in the oven door.
Bake until macarons are firm to the touch but not browned.
Remove them from the oven and let them cool completely on the baking sheets before trying to remove them from the silpat/parchment.
If you try to remove them while they are still hot, the bottoms may stick.
STORAGE
Keep the unfilled macaron shells in an airtight container at room temperature. Place them with waxed paper between the layers.
They are best stored only for a couple of days, otherwise freeze them for up to a month or two.
Let them thaw, uncovered, at room temperature. They almost thaw out immediately.
STEP III: MAKE THE SALMON WASABI CREAM CHEESE MACARON FILLING
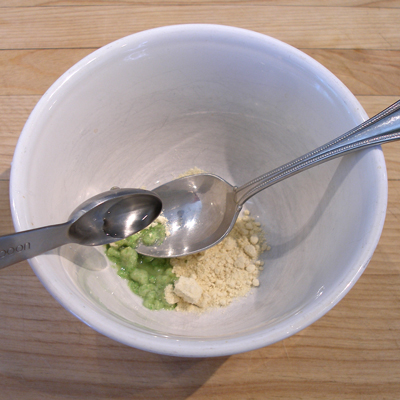
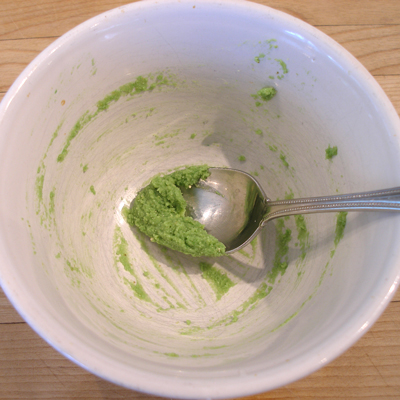
1. Place the wasabi powder into a small bowl and add the water. Mix to combine.
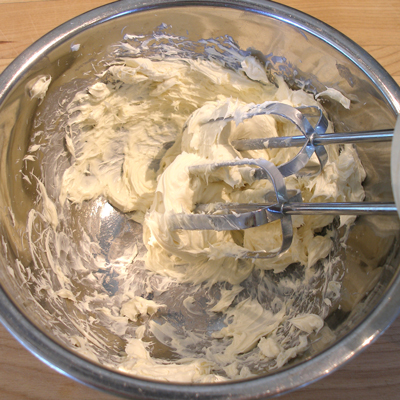
2. In a separate small bowl, beat the cream cheese with a hand held mixer until it is softened.
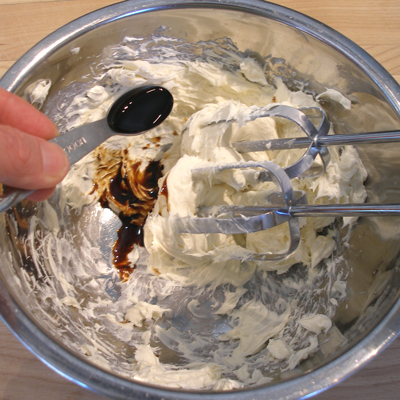
Then add the 3/4 teaspoon soy sauce and beat briefly.
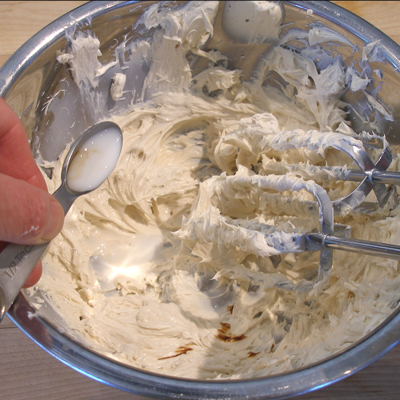
3. Add the milk and wasabi paste and beat until combined and fluffy.
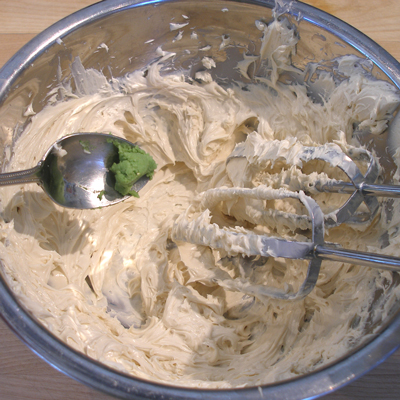
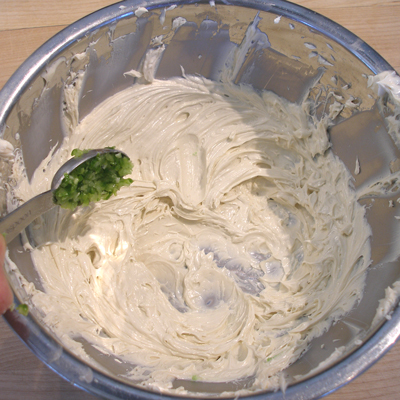
4. Fold in the chopped green onion with a large rubber spatula.
STORAGE
The filling can be made 1 or 2 days in advance and refrigerated. It cannot be frozen.
STEP IV: ASSEMBLE AND SERVE THE SAVORY FRENCH MACARON HORS D'OEUVRES
It is best to assemble these macaron the day you plan to serve them.
If you want to make the shells ahead of time you can. You can even freeze them, unfilled, and then fill them the day of your party.
You can make the filling 1-2 days ahead as well.
1. Match up the baked and cooled macaron shells in like-sized pairs.
2. In a small bowl, mix 2 teaspoons soy sauce with one drop brown gel food coloring.
3. Dip the tips of a pastry brush in the soy sauce mixture and swipe it across the top shell of each macaron pair or 20 macaron halves.
Set them aside on a wire cake rack to dry for about ten minutes.
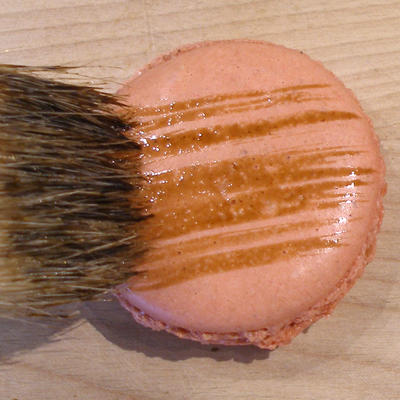
NOTE: Do not put too much soy sauce 'paint' on the brush. If you do, paint some strokes on a piece of paper to remove some of it. You only want a LIGHT coating.
ALSO, if you are making the macaron shells ahead, DO NOT paint them until you assemble them.
The 'paint' dries but will always remain slightly sticky.
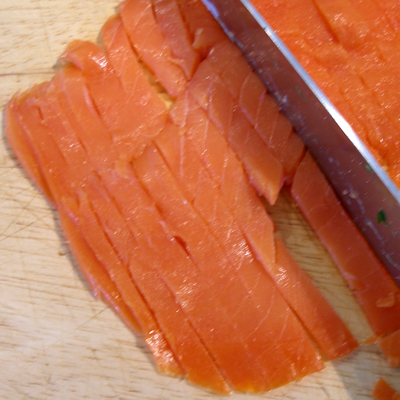
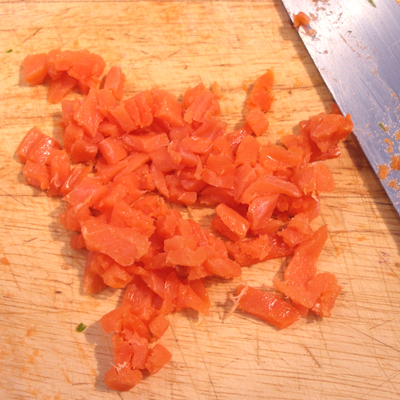
4. Chop the smoked salmon in strips, then cut across the strips to make a medium dice.
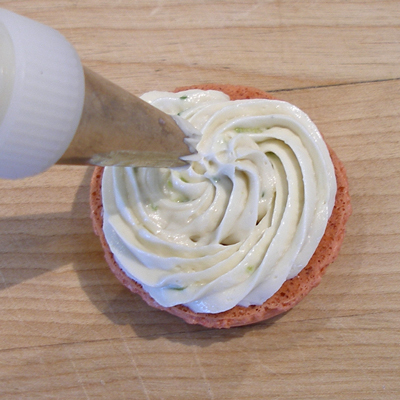
5. Put the Salmon Wasabi Cream Cheese Macaron Filling in a piping bag fitted with an open star tip, such as Wilton 21.
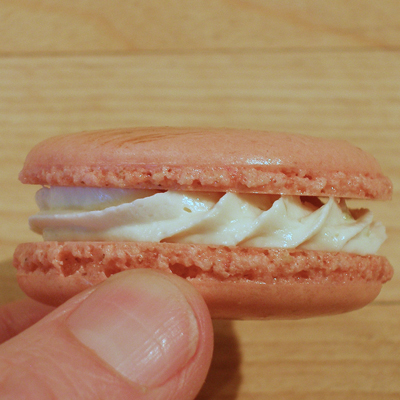
Pipe the filling in a spiral, from the outside to the inside of the shell.
NOTE: Using this tip will add a pretty pattern on the filling.
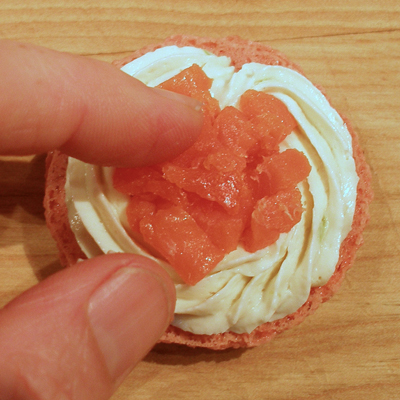
6. Add a heaped 1/2 teaspoon of chopped salmon in the center of the piped filling.
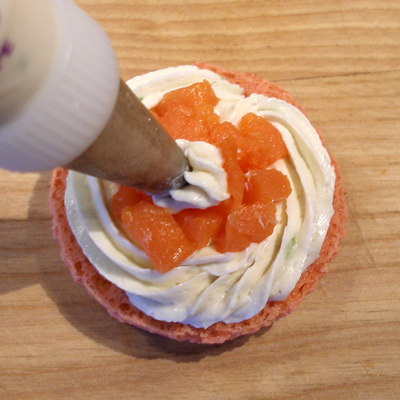
7. Pipe a small dollop of filling on the salmon. This will help keep the macaron together when handled.
8. Place the top shell on the macaron and press gently to adhere.
9. If desired place a few small green onion slices in the center of each macaron.
SERVE
Serve immediately, and keep out of refrigeration for no more than two hours for food safety; the cream cheese filling and salmon are perishable.
Note that the filled macaron shells soften as they sit.
Refrigerate, in a covered container, until ready to serve, for about a day because they tend to get soggy after that.
The filled macarons cannot be frozen with cream cheese filling.