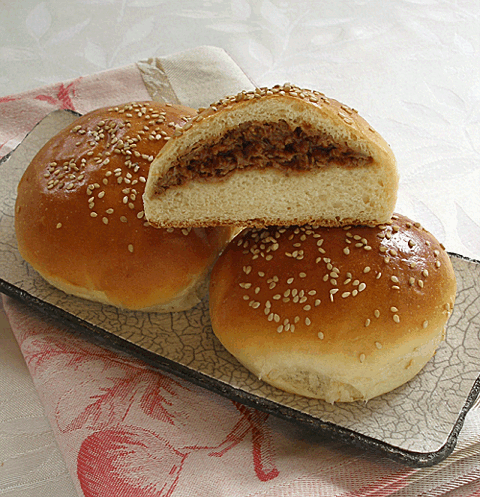
BBQ Pork Variation
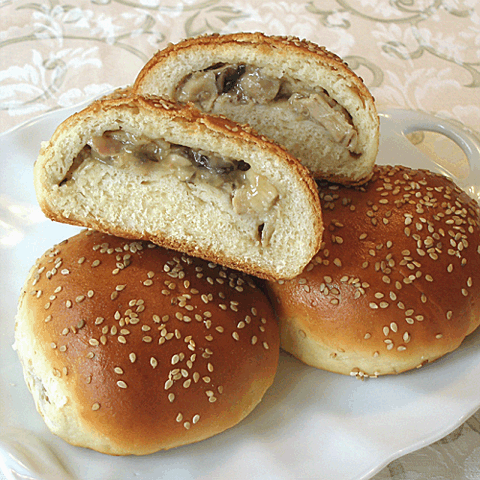
Turkey and Gravy Variation
Soft, slightly sweet dough can be filled with all sorts of savory recipes. We have presented two variations: cooked BBQ pork or cooked chicken or turkey and gravy; choose one or the other for this recipe. They're a great way to use up left-overs, even stew and chili. I have filled mine with ham and cheese, and they're so delicious. These buns are perfect for lunch boxes and after-school snacking. Keep them refrigerated after baking.
BREAD RECIPE HELP
INSTRUCTIONS AND INGREDIENTS
STEP I: MAKE THE FILLING – SELECT EITHER BBQ PORK OR CHICKEN AND TURKEY WITH GRAVY.
CHOICE #1: BBQ PORK FILLING RECIPE
Fills 12 buns
INGREDIENTS
2 cups cooked shredded pork shoulder(from a 3 pound pork shoulder)
1 cup barbecue sauce of your choice
NOTE: I usually cook a large pork shoulder in the crockpot, let it cool, then shred the meat to use in all kinds of different dishes. Keeping meal-sized portions in the freezer until needed.
All you need to do it brown the pork shoulder in a skillet with a little oil, then put the meat in a crock pot with about 1 cup of water and cook on high for about 6 hours.
These buns take two cups of shredded pork shoulder.
INSTRUCTIONS
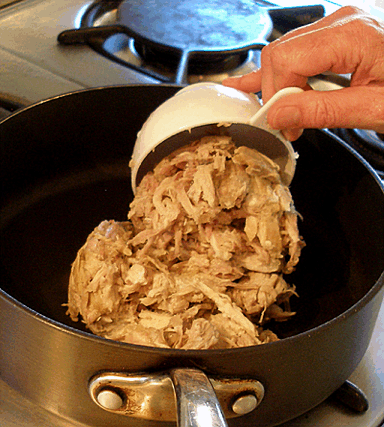
1. Place the cooked shredded pork shoulder in a large skillet.
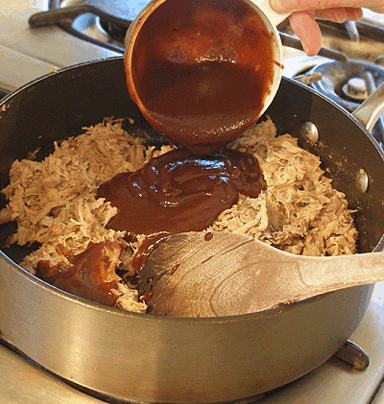
2. Add the barbecue sauce and simmer together for a few minutes.
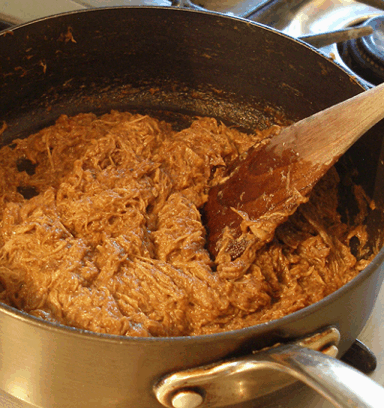
3. Pour the pork filling into a bowl, and set aside to cool.
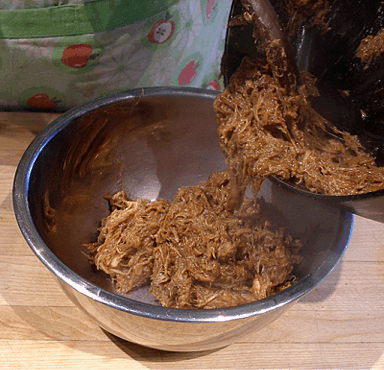
STORAGE
Cover and refrigerate until needed in the recipe; the filling must be cold before using. If making filling ahead, chill for up to three days.
CHOICE #2: TURKEY OR CHICKEN AND GRAVY FILLING RECIPE
Fills 12 buns
INGREDIENTS
2 teaspoons olive or vegetable oil
1 medium size shallot, chopped fine
4 ounces mushrooms, chopped
2 cups cooked turkey or chicken, chopped and shredded
1 1/2 cups turkey or chicken gravy
NOTES: Finely chop shallot: mushrooms, chop and shred meat and set aside.
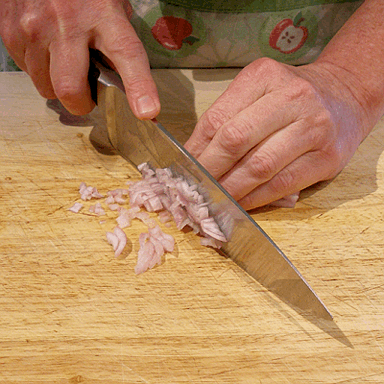
Finely chop mushrooms:
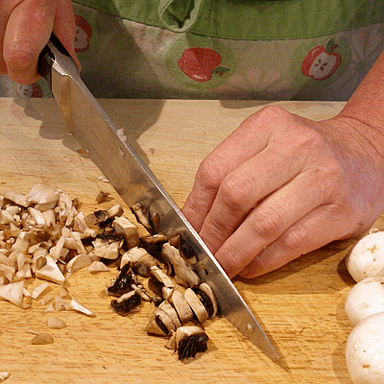
INSTRUCTIONS
1. Add the olive oil to a large skillet and add the shallot.
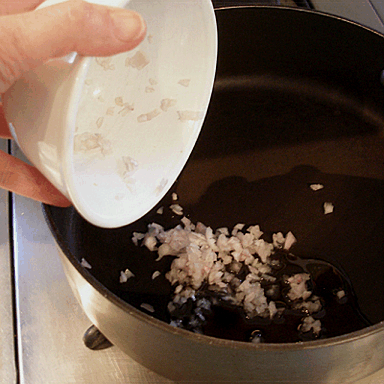
2. Sauté until just starting to brown.
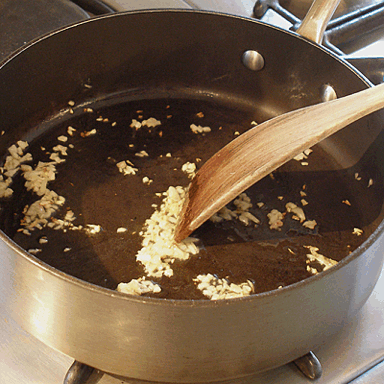
3. Add the chopped mushrooms and sauté until lightly browned.
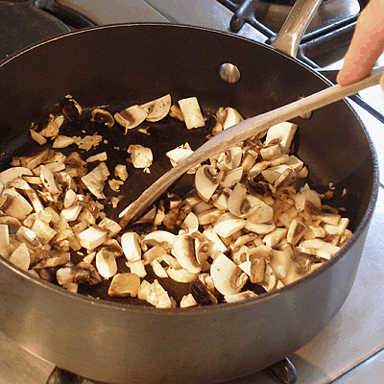
4. Add chopped turkey or chicken meat, and the gravy.
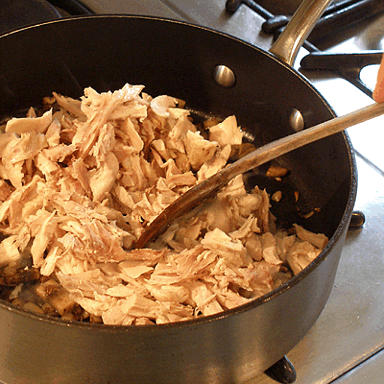
NOTE: The gravy is solid in the picture below because I am using left-over chilled gravy.
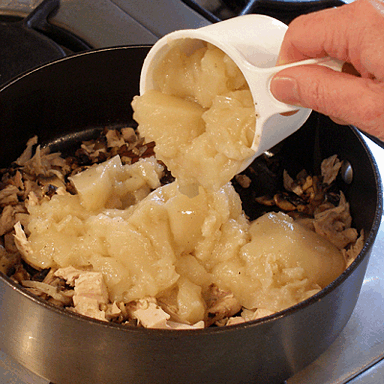
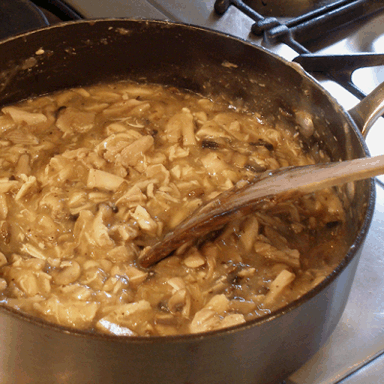
5. Pour cooked filling into a bowl and set aside to cool.
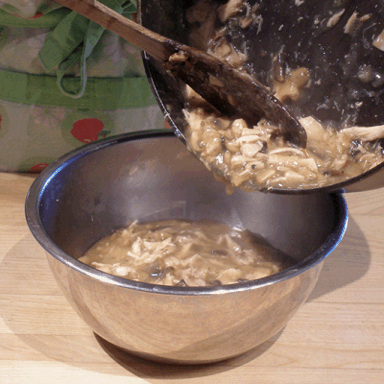
STORAGE
Cover and refrigerate until needed in the recipe; the filling must be cold before using. If making filling ahead, chill for up to three days.
STEP II: MAKE THE BUN DOUGH.
BUN DOUGH RECIPE
Makes 12
INGREDIENTS
Buns:
1/4 cup sugar
2 1/4 teaspoons yeast
1/2 cup warm water, about 100 degrees
1/2 cup warm whole or 2% milk, about 100 degrees
1/4 cup olive or vegetable oil
1 teaspoon salt
2 large eggs
4 cups unbleached all-purpose flour, divided; spoon into measuring cup and level to rim
Garnish:
1 large egg
2 teaspoons water
2 tablespoons sesame seeds
INSTRUCTIONS
1. Fit the mixer with a dough hook attachment.
2. Add the sugar, yeast and warm water to a large bowl. Stir to dissolve yeast. Let stand for 5 minutes.
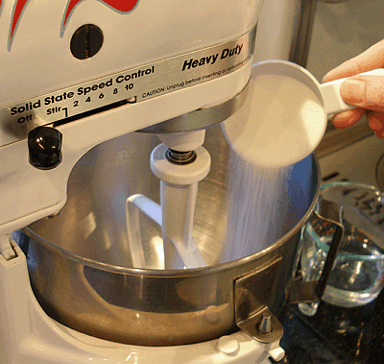
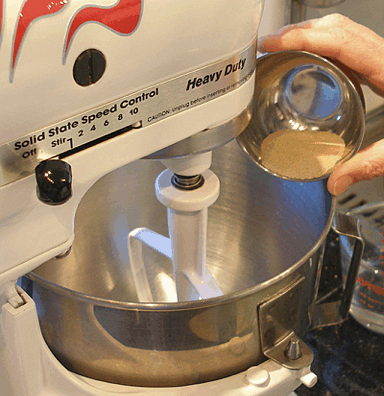

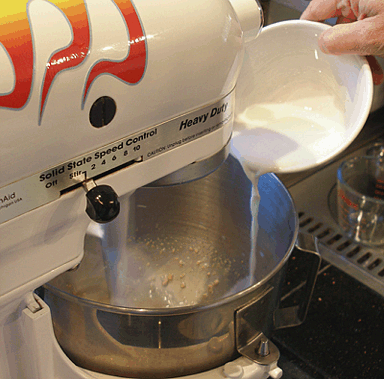
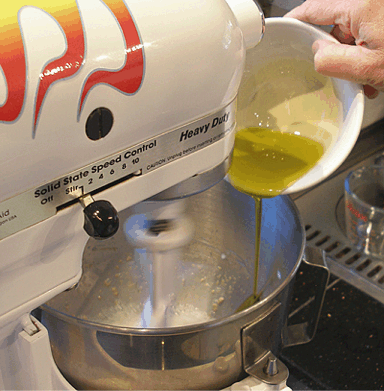
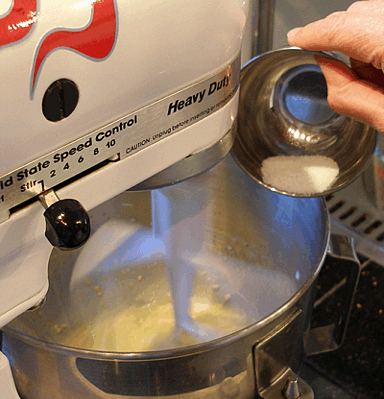
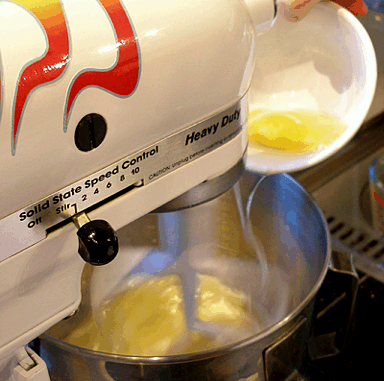
3. Add the milk, olive oil, salt and eggs to the bowl. Mix on low speed until combined.
4. Add about 3 1/2 cups of flour to the bowl and mix, at low speed until all the flour is absorbed.
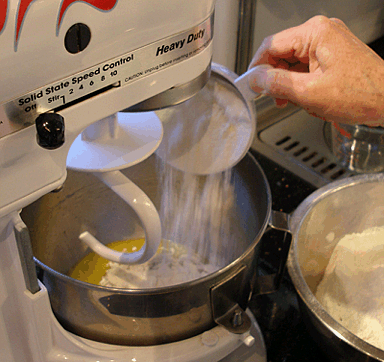
5. Turn mixer to medium and knead the dough for about 4 minutes.
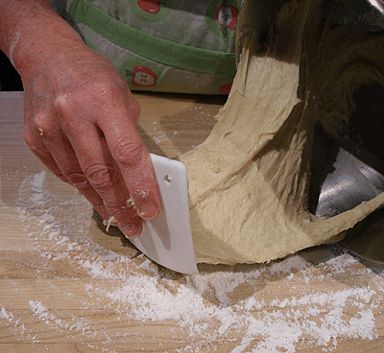
6. Then, scrape the dough out onto a well floured surface and knead for a few more minutes, adding as much of the remaining 1/2 cup flour you need, to keep the dough from sticking to your hands. You may not need all of the flour.
The dough should be soft and slightly sticky.
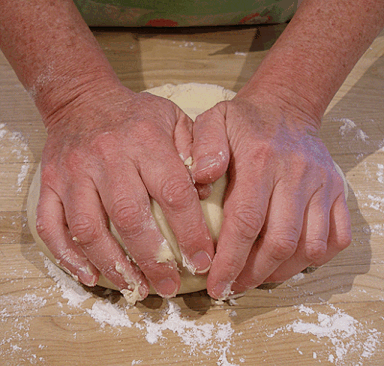
7. Finish by rounding the dough.
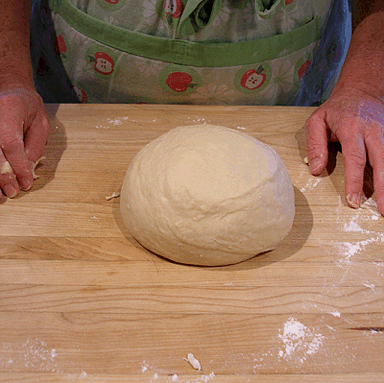
8. Place dough in a large oiled bowl, turning the dough so the top is oiled. Cover bowl with plastic wrap.
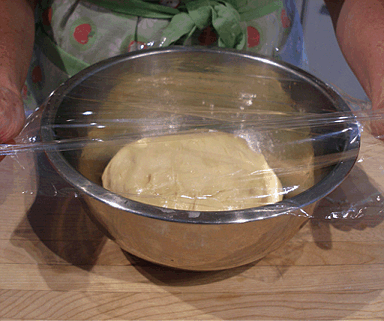
9. Set the dough aside to rise for about an hour, or until doubled in bulk.
NOTE: Sarah's Microwave Bread Proofer is PERFECT for this step and will shorten the rising time.
STEP III: MAKE THE BUNS
Roll out the dough and fill the buns:
1. Line a baking sheet with parchment paper or a nonstick baking mat. Set aside.
2. Remove the plastic wrap from the bowl and turn out the dough onto a lightly floured surface.
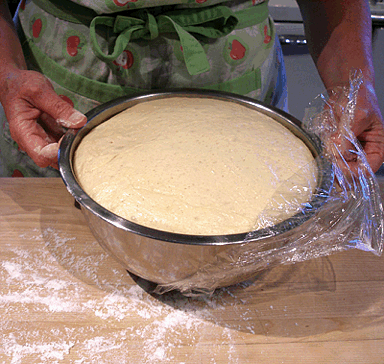
3. Cut the dough in half, and return one half to the bowl. Recover the greased bowl with plastic wrap.
Place the covered dough in the refrigerator.
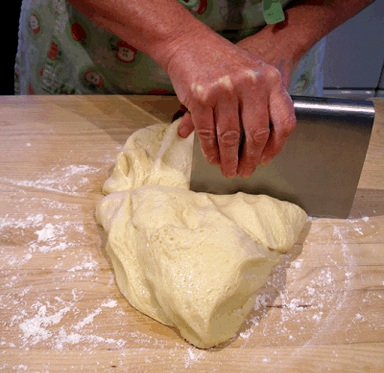
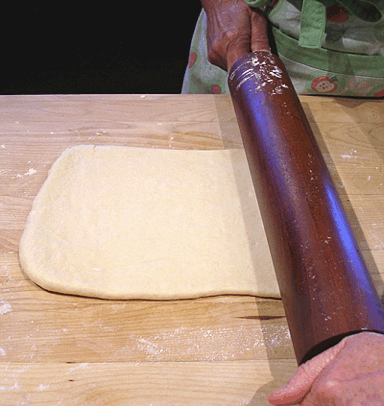
4. Roll the dough out to a rectangle measuring approximately 10 1/2-inches wide x 7-inches high.
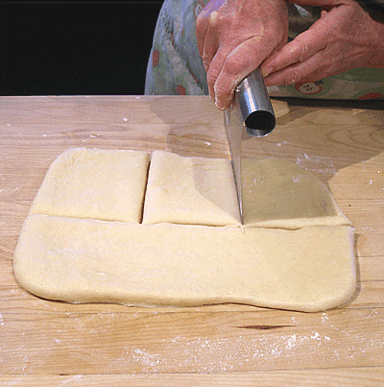
5. Cut the dough into 6 equal squares, using a bench scraper or pizza cutter. First divide the dough in half horizontally, and then cut out each piece
NOTE: If you use a large sharp knife, make sure it is not serrated. Cut straight down through the dough when using; do not use a back-and-forth sawing motion.
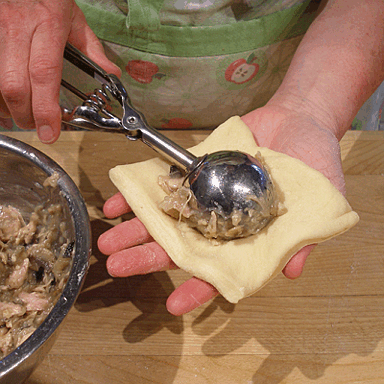
6. Using a 1/4 cup scoop, place one level scoop of your chosen filling in the center of the square.
NOTE: The filling must be chilled.
Shape the buns:
1. After filling the dough, pinch the opposite corners together.
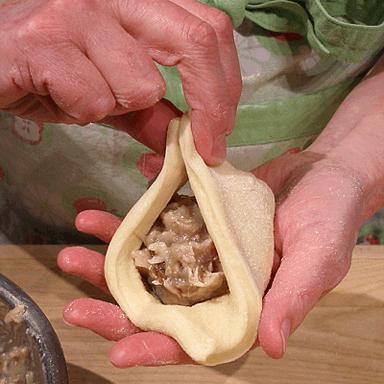
2. Repeat with the two remaining corners.
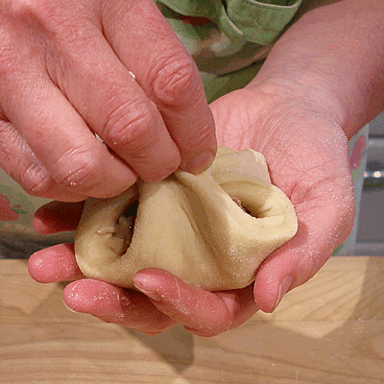
3. Pinch the 4 edges together, all the way around.
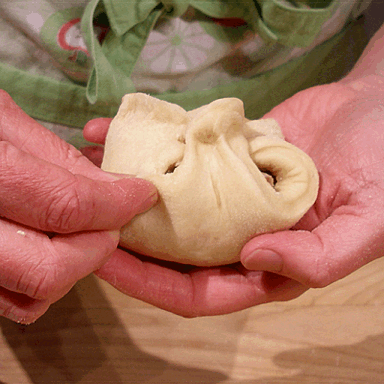
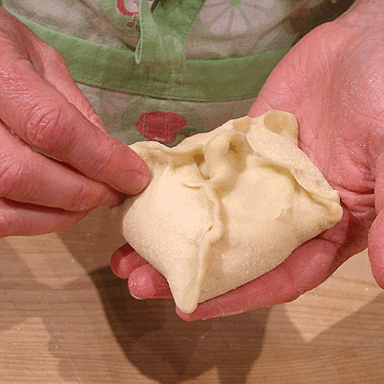
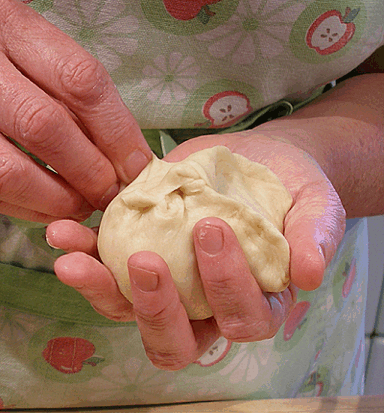
4. Then, bring the edges up toward the center of the bun and pinch all of them together, to seal.
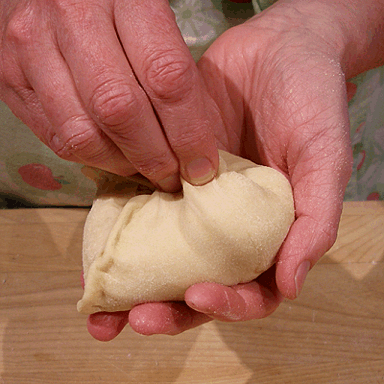
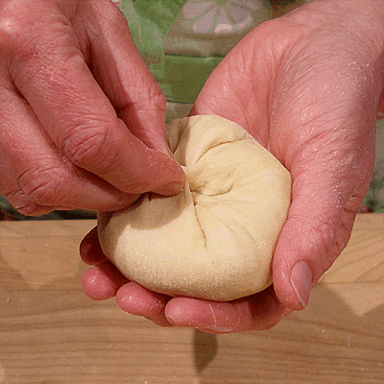
5. Turn the buns over so it's seam side down. Cup it in your hands and turn it a few times to from a tight round bun.
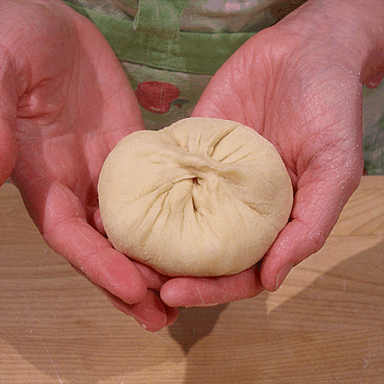
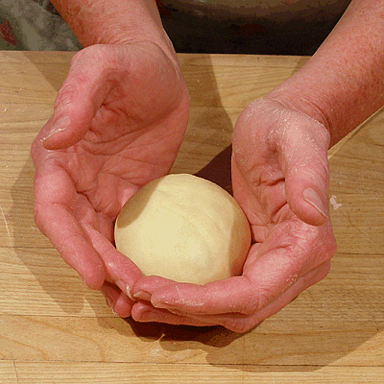
6. Repeat the process with the rest of the dough, placing the finished buns on a parchment or silpat lines baking sheet, 3 across and 4 down.
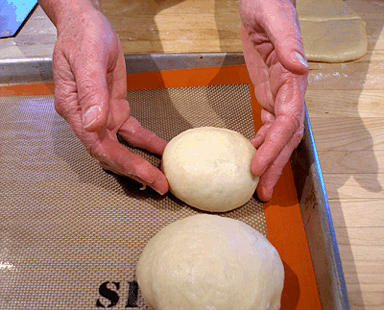
7. Cover the pan with greased-side-down piece of plastic wrap and let the buns rise for about 20 to 30 minutes.
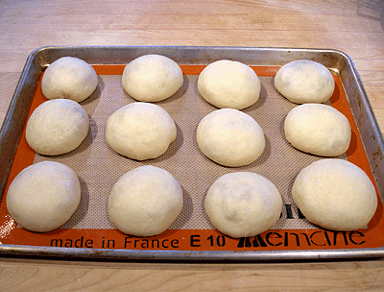
8. Meanwhile, complete the forming-the-bun steps with other half of the dough.
STORAGE
Do not let the finished buns stay at room temperature in order to rise for more than 30 minutes. If not baking right away, cover and refrigerate.
Refrigerate for no more than 2 – 3 days.
They can also be frozen for a month.
STEP IV: BAKE THE BUNS
1. While the buns are rising, position and oven shelf in the middle of the oven. Preheat oven to 350 degrees F.
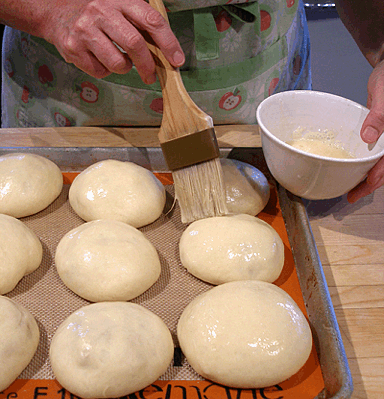
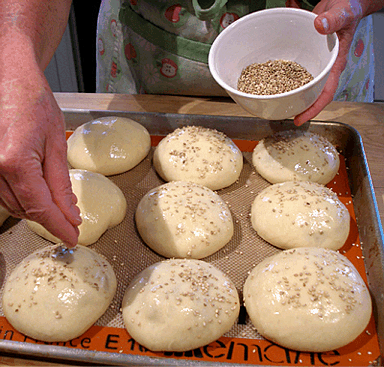
2. After 20 minutes rise time, brush the buns with egg wash and sprinkle with sesame seeds.
3. Bake for 15-20 minutes, or until golden brown.
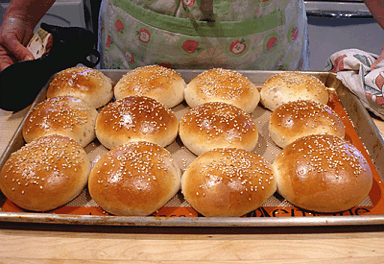
4. Cool on a wire cake rack until warm or cool completely.
STORAGE
The buns are best eaten right away or within a day.
After cooling completely, store buns in a resealable plastic bag in the refrigerator. They'll keep for a few days.
The baked buns can be frozen for a month.
BBQ Pork Variation:

Turkey and Gravy Variation:


