Variations: Creative Cut Out Chocolate Sugar Cookies, Creative Cut Out Peanut Butter Sugar Cookies, Creative Cut Out Lemon, Orange or Lime Sugar Cookies
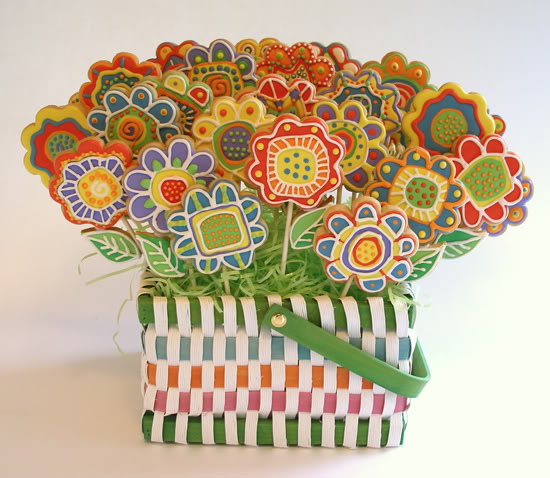
Flower cookies and photo by Kelly Hong © Sarah Phillips
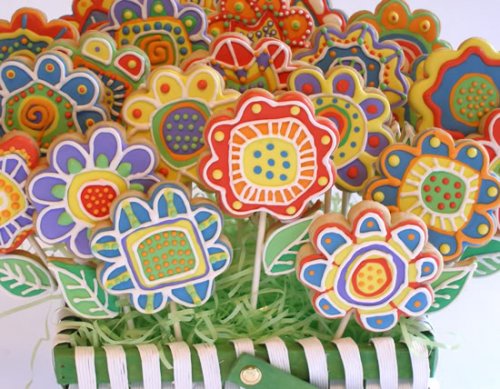
Flower cookies and photo by Kelly Hong © Sarah Phillips
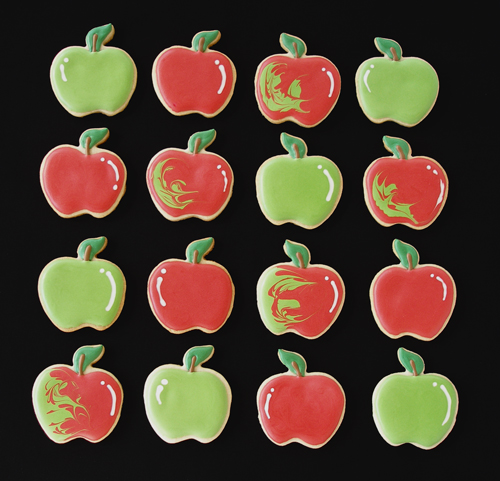
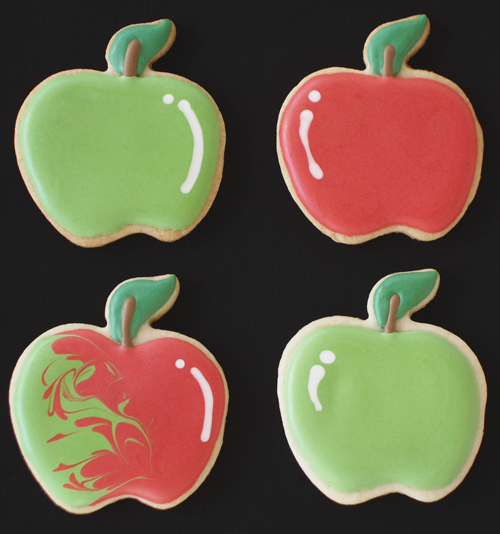
Creative sugar cookies are buttery, crispy, flavorful and beautiful when decorated with a Simple Safe Royal Icing Glaze, Simple Fondant Glaze, or Marshmallow Fondant or MMF. They have little baking powder so they bake with flat, smooth surfaces, perfect for decorating on. The cookies start out on the crispy side—necessary when covering with a royal icing glaze made with egg white powder; the water and sugar in the glaze provides and attracts moisture so they soften slightly when the glaze is applied, making them the perfect eating consistency when decorated. Cookies glazed with royal icing made with meringue powder dry harder.
COOKIE RECIPE HELP
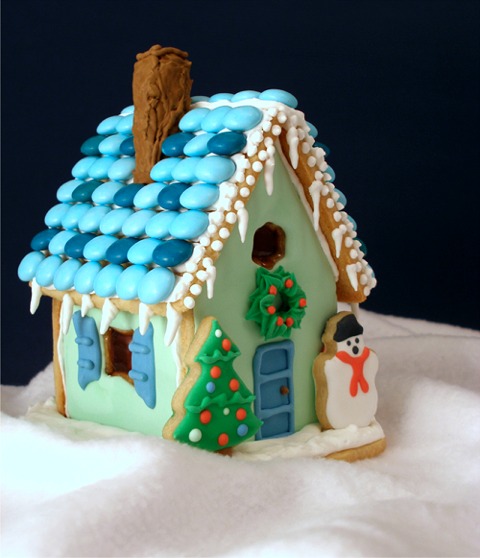
Cottage and photo by Kelly Hong © Sarah Phillips
Christmas Cookie Cottage Tutorial
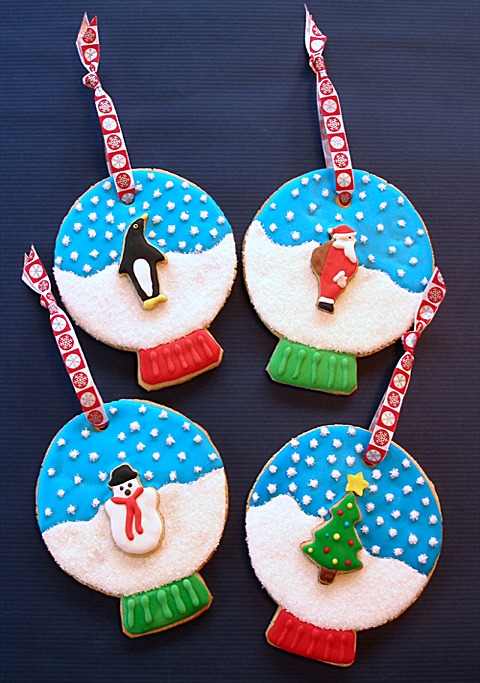
Cookies and photo by Kelly Hong © Sarah Phillips
Snow Globe Cookie Ornaments

Cookies and photo by Kelly Hong © Sarah Phillips
Cookie Decorating Tutorial 2
INGREDIENTS
2 cups unbleached all-purpose flour; spoon into measuring cup and level to rim
1/2 teaspoon baking powder
1/2 teaspoon salt
1 1/4 sticks (10 tablespoons) unsalted butter, cold from the refrigerator
1 cup sugar
1 large egg, cold from the refrigerator
1 teaspoon vanilla extract
INSTRUCTIONS
1. Position two oven racks: one of them 1/3 of the way from the bottom and the top rack 1/3 of the way from the top of the oven. Preheat the oven to 350 degrees F.
You'll need at least two (preferably four) UNGREASED non insulated cookie sheets or sheet pans. You can also cover them with parchment paper (not waxed), if desired.
2. In a medium bowl combine the flour, baking powder and salt. Set aside.
3. In a stand mixer fitted with a paddle attachment, beat the butter on low speed until softened. Add the granulated sugar, slowly at the side of the bowl. Increase the mixer speed to medium and beat for 45 seconds until lightened in color and creamy. Stop the mixer and scrape the bowl.
Add the egg and vanilla extract and beat on low until incorporated.
4. With the mixer on low, add the flour mixture slowly at the side of the bowl and mix until the mixture forms a STIFF dough; do not over mix. The dough will be stiff, but not dry. The dough should not be sticky, either. If it is, you need to add more flour, a teaspoon or two, and pulse the mixer to combine before deciding to add more. Do not overdo it because during the chilling step, the dough will firm up.
Pat the dough into a large, 1-inch thick rectangle and wrap it in plastic wrap. Refrigerate the dough, 20 minutes to an hour until well-chilled. This is so the dough will be cold throughout and easier to handle.
5. When chilled, roll out a small portion of the dough to about 1/8- to 1/4-inch thick, on a non-floured surface. Keep the unused dough covered in the refrigerator.
SARAH SAYS: Rolling dough in flour is the main culprit in producing hard, dry cookies.
6. Cut cookies from the rolled out dough with cookie cutters. Start from one edge, cutting the cookies close together. Line up the cutter and cut, pressing down firmly to make a clean one. Lift the cutouts with a bench scraper or metal spatula to the cookie sheet and place about 1/2-inch apart; don’t crowd the baking sheet. This dough spreads about 1/8-inch on all sides.
Don’t place cookie dough on a warm cookie sheet because it will cause the cut-out dough to spread and become misshapen. Use one a fresh cookie sheet or one that has cooled thoroughly from the last batch.
If the cookies easily become misshapen, the dough is too warm. Carefully reshape any cookie, if necessary and chill the cut-out cookies on the baking sheet for about 20 minutes before baking. You can bake them right from the refrigerator.
After removing the scraps, quickly gather the scraps and press them together to loosely make a flattened rectangular shape without much handling, and rechill. Repeat rolling and cutting out the shapes one more time.
SARAH SAYS: For the best texture, avoid handling and re-rolling the scraps too many times. Both actions make a tough dough and cookie from excess gluten development.
7. Bake the cookies for 10 to 12 minutes until they just start to take on a light brown color around the edges; do not over bake – the browner the cookies, the harder and more inedible they become. Allow to cool on cookie sheet 1-2 minutes and remove to a wire cake rack to cool. If baked on parchment paper, cookies can be cooled right on its surface; simply slide the paper with the cookies on top to a wire cake rack to cool. Remove cookies when cooled.
Use a cold cookie sheet for the next batch.
STORAGE
Already baked cookies can be stored at room temperature or frozen. Crisp cookies should be stored in an airtight container. They will keep for about 4 days. Wrap cookies well for the freezer where they will keep for about a month.
COOKIE DECORATING TUTORIALS

Cookies and photos by Kelly Hong © Sarah Phillips Sugar Cookie Pop Tutorial / Easter Cookie Lollies

Cookies and photos by Kelly Hong © Sarah Phillips Cookie Decorating Tutorial
Teacher Appreciation Week