Variation: Birthday Cupcake Krispies Variation

Birthday Cupcake Krispies Variation
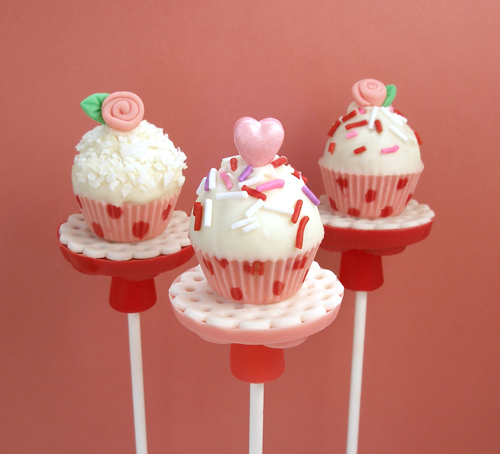
We thought it would be great to show you how to create sweet treats made from Rice Krispies Treats. Kelly created this inventive way of making cupcake treats from Rice Kripies Treats shaped like delicate cupcakes on a stick. Aren't they so special and very creative? Plus, everything is completely edible and delicious! We show you two easy-to-make variations: one, for Valentine's Day, and the other, for Birthday celebrations. But, you can use your imagination and come up with your own cupcake variation – even using real cake for cake pops – to “wow” your friends and family!
COOKIE RECIPE HELP
See also:
 Love Bites Rice Krispies Treats Cake Pops
 Cake Pops 101
INGREDIENTS
You will need:
2 packages red Wilton Candy Melts
2 packages pink Wilton Candy Melts
Wilton Flower-themed Oreo Candy Mold
Wilton Candy Cup Candy Mold
Disposable piping bags
1 1/2-inch round cookie cutter
30 Wilton 8-inch paper lollipop sticks
2 packages white Wilton Candy Melts
1 large package Dots (7.5 ounces), gum drop candies. You need a large package to insure that you have enough red and/or pink drops for the project
1 recipe “1/2 Recipe Variation Rice Krispies Cereal Treats Tweaked”; gluten-free variation, if desired
Round metal skewer
1/2 cup white MMF or regular fondant(for doilies)
1 1/2″ fluted circle cutter(for doilies)
Sprinkles or small hard candies, for decorating
Small fondant flowers, for decorating (optional)
Sweetened flaked coconut, chopped (optional)
Block of Styrofoam or a wooden block with holes drilled in it, to hold the pops upright as you work
INSTRUCTIONS
STEP I: MAKE THE CUPCAKE DETAILS
Make the cake plate stands:
1. Melt about 1/2 cup red or pink candy melts in the microwave, according to the directions on the package.
Place one tablespoon in the 4 daisy molds in the Wilton flower Oreo candy mold.
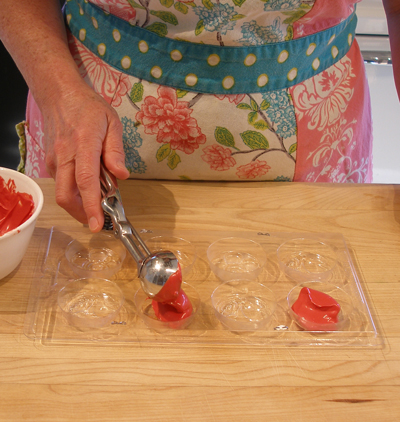
2. Tap the mold gently on the counter to settle the candy and remove bubbles.
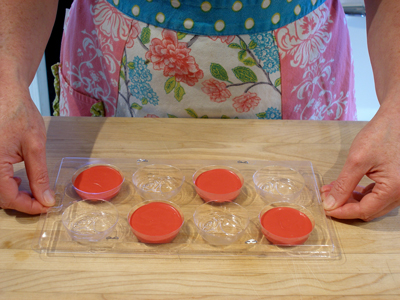
3. Place tray in the refrigerator for about 15 minutes, or until the coating has set.
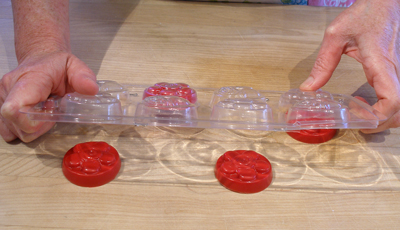
When they are set, gently twist the mold to release the candy.
Repeat the process until you have about 30 disks.
NOTE: If you do not need 30 pops, you can use some of the Rice Krispies Treats mixture to make RKT squares.
Make the doilies:
1. Roll fondant out very thin, on a silpat, or cornstarch dusted work surface. Use the 1/2″ scalloped circle cutter to cut out a round.
NOTE: You might think this cutter is too small to fit on the little “plates” but making the holes will make it big enough for a perfect fit.
Do not cut out more than one at a time. If the fondant dries too much, the doily will crack when you try to cut out the holes.
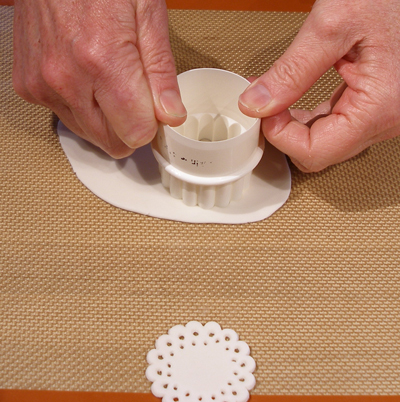
2. Use a Wilton #3 plain tip to cut out a hole near each of the scallops.
Do not get too close to the edge or the edge of the doily may crack.
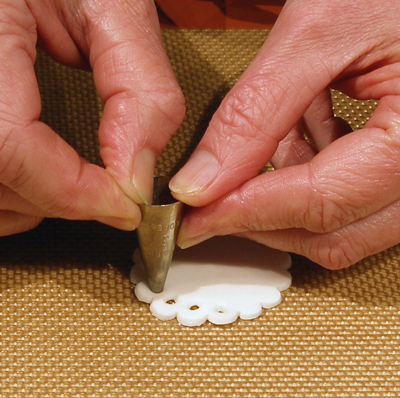
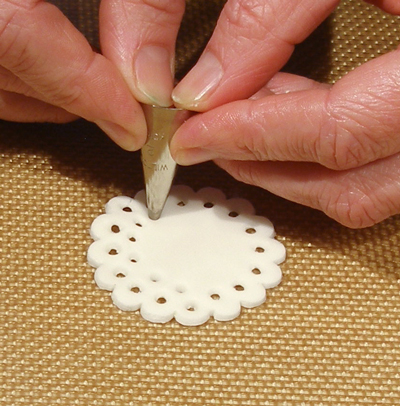
3. Use a Wilton #2 plain tip to cut out an inner circle of holes.
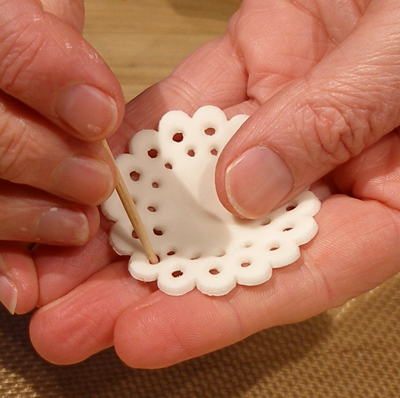
Clean-up the edges with a toothpick.
Place finished doilies on a silpat lined baking sheet, or a piece of parchment, and loosely cover with plastic wrap to keep them from drying out.
Make the polka dots on the cupcake cups:
This step is optional
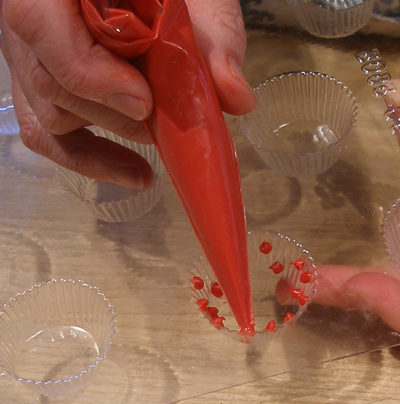
1. Melt about a 1/4 cup of the red candy melts and spoon it into a disposable piping bag. Cut a very small hole in the tip, then pipe polka dots in the candy cup mold.
Place mold in the refrigerator until the dots have set.
NOTE: This step is optional! If you want plain cups on your cupcakes, skip this step.
STEP II: MAKE THE RICE KRIPIES TREATS RECIPE. ASSEMBLE THE CUPCAKE POPS.
Make the Rice Kripies Treats Recipe:
1. After you make the 1 recipe “1/2 Recipe Variation Rice Krispies Cereal Treats Tweaked” place about 1/2 cup of the mixture, using greased hands, into several small bowls, which you have sprayed with non-stick spray. You will need to reheat small amounts of the mix so you can mold them into balls for the cupcake.
2. Reheat one bowl of the mixture in the microwave for about 15 seconds, or until is it soft and moldable.
Scoop out a tablespoon of the mixture and roll it into a neat, compressed ball with your hands.
Place each ball on a parchment, or silpat lined baking sheet.
Continue re-melting and making balls until you have used up all the RKT mixture.
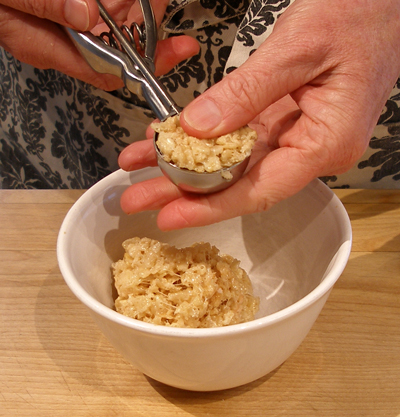
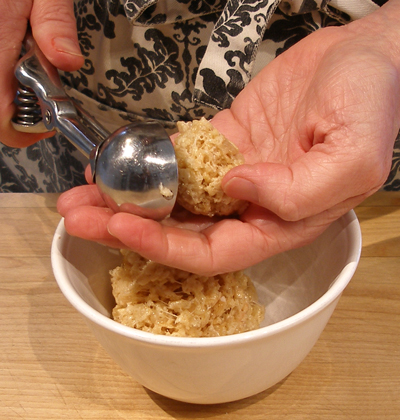
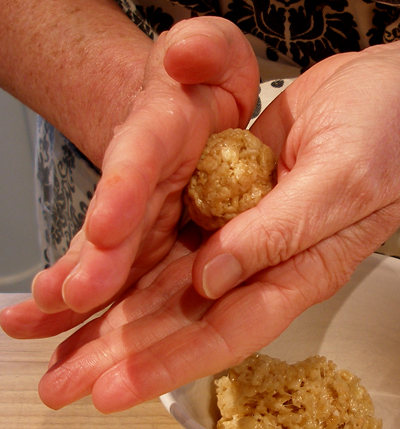
Assemble the Cupcake Pops:
1. Melt about 1 1/2 cups of pink candy melts then place them in a squeeze bottle.
Squeeze the melts into the mold cavity until it is about 1/2 way full.
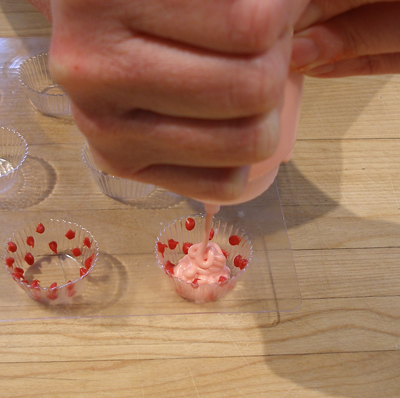
2. Take one ball and press it down into the candy immediately, pressing until the candy rises up to the top of the mold.
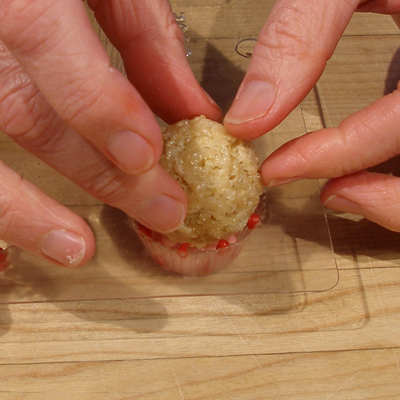
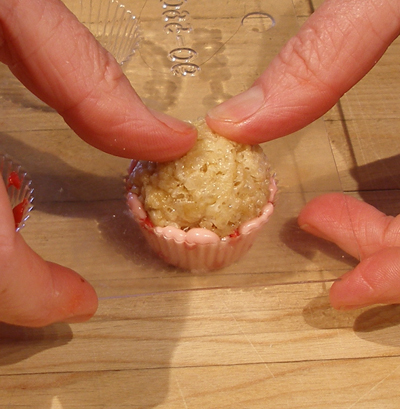
3. Use a toothpick to make sure all the edges are evenly filled. If any candy seeps out onto top of the mold, wipe it away with your finger.
Repeat this process until the entire mold is full, then place the mold in the refrigerator for about 20 minutes, or until the candy is fully hardened.
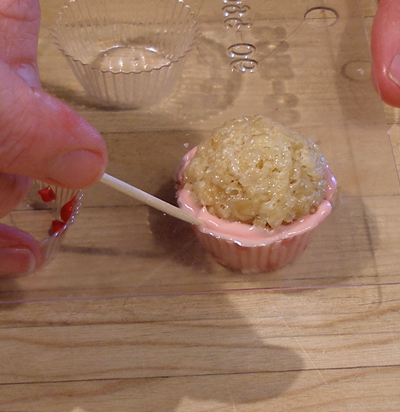
4. When candy has hardened, gently pop the cups out of the mold and repeat the process until all the RKT balls have cups.
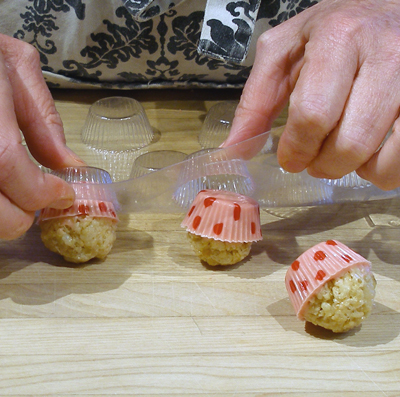
5. Gathering your Decorations
Depending on how you want to decorate your Cupcake Cups, you should gather various sprinkles, small candies, small fondant flowers, etc. Just remember that the decorations you choose should be very small, so they are in scale with the tiny cupcakes and don't end up looking out of place.
One option is tiny ribbon roses. I have done a little tutorial for you, if you do not know how to make them.
a. Roll out some MMF very thinly and cut it out in a rectangle 1/2- x 2-inches.
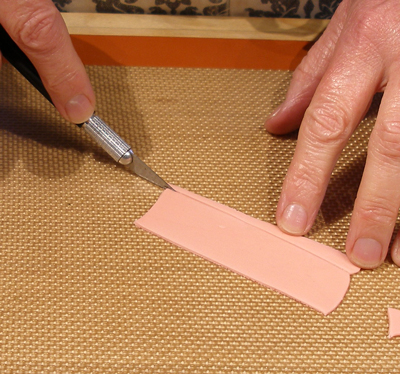
b. Fold the ribbon of fondant in half, but do not press down on the folded edge, instead, press the open edges together.
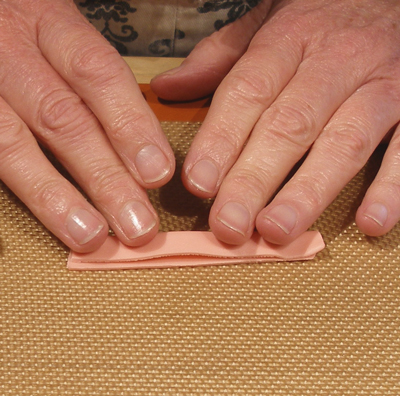
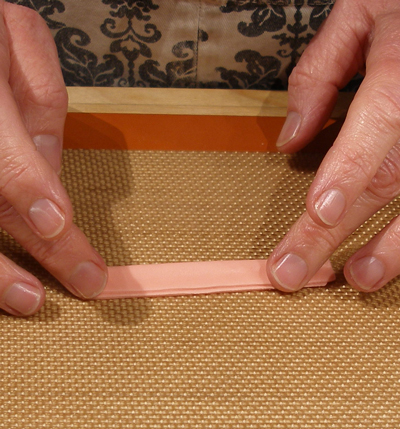
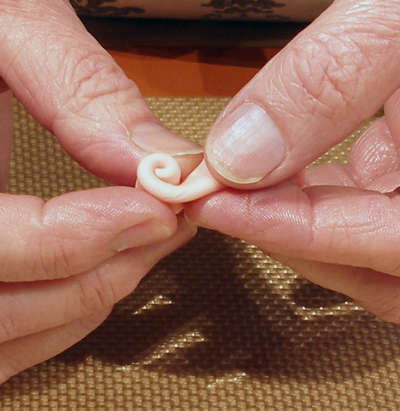
c. Start at one end, and start rolling up the rose. When it is as big as you want it, pull the loose end down slightly, press it onto itself and pinch off the excess fondant on the bottom of the rose.
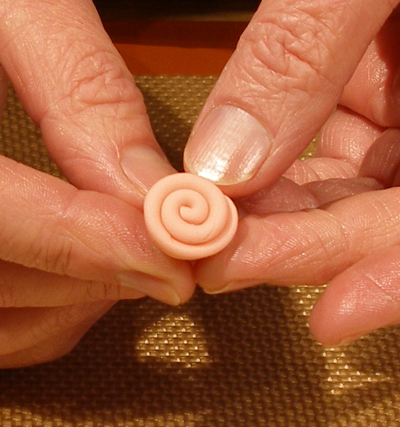
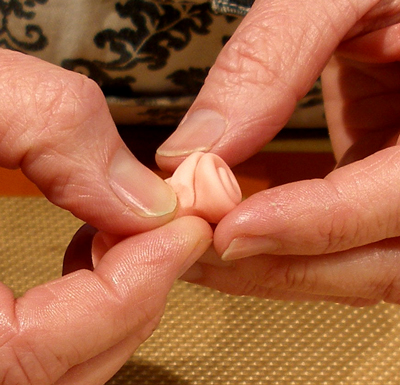
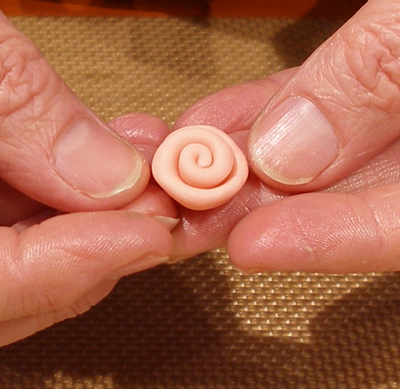
d. Roll out some green MMF very thinly and cut out a very small leaf. If you do not have a tiny leaf cutter, you may use a craft knife, but this is more difficult to do.
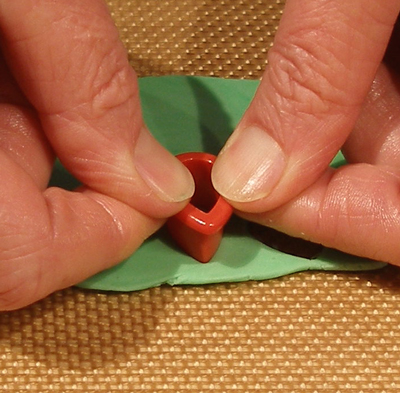
e. Use a metal cake tester, or a toothpick, to press veins in the leaf.
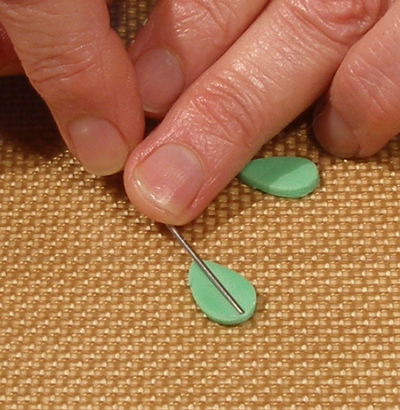
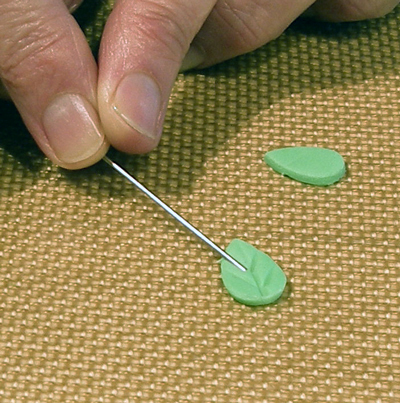
f. Brush a little water on side of the rose and press leaf into place.
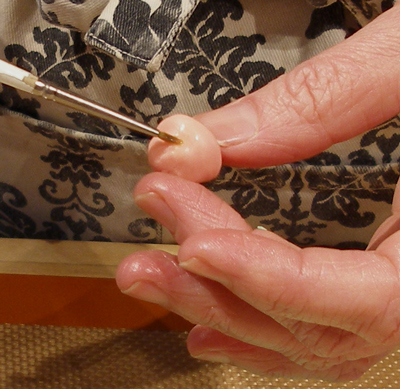
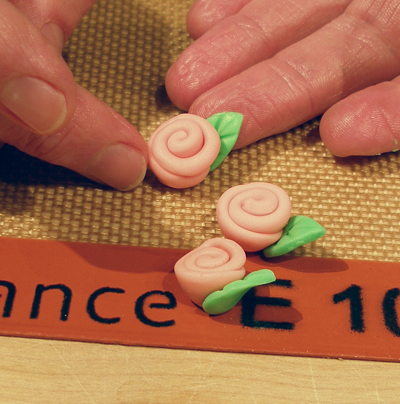
6. Coating and Decorating the Cupcake Cups
a. Melt about 1 cup of white candy melts.
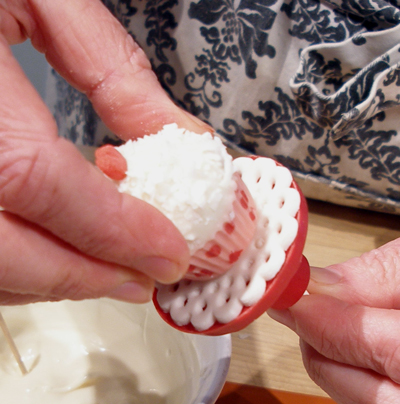
Dip cupcake cup into the candy, tipping to make sure the entire top is covered, then lift it out of the candy, letting any excess drip back into the cup.
Turn cupcake cup right side up.
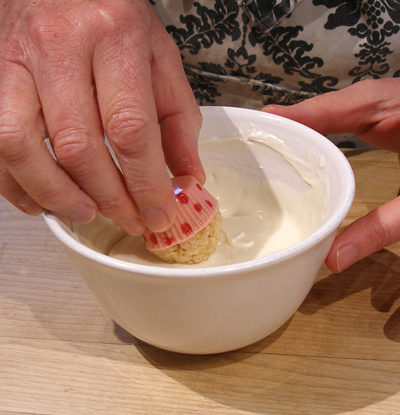
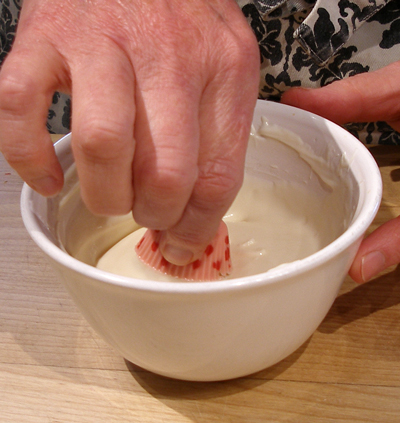
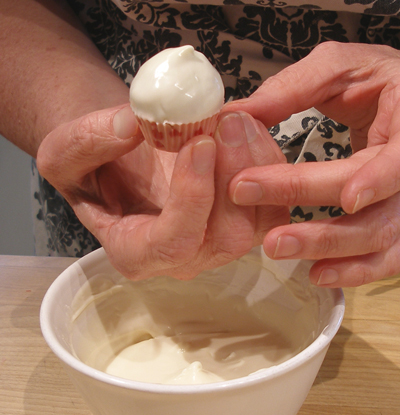
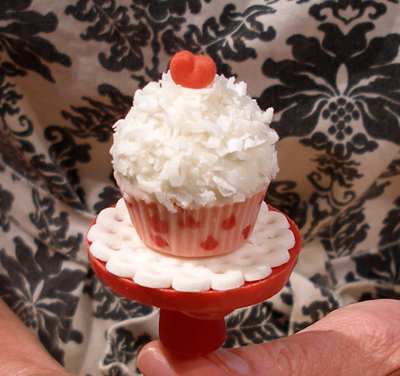
b. If you are going to adorn your cupcake cup with sprinkles, or coconut, you must do it when the candy coating is still wet, then add small dot of candy melts to the top of the cupcake and place the topper on top.
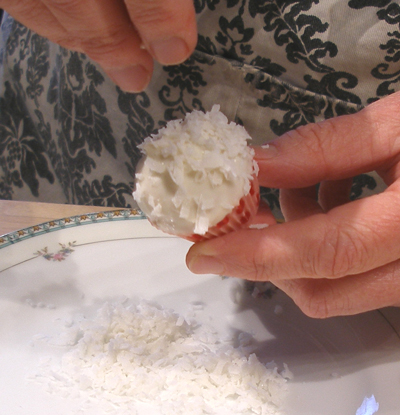
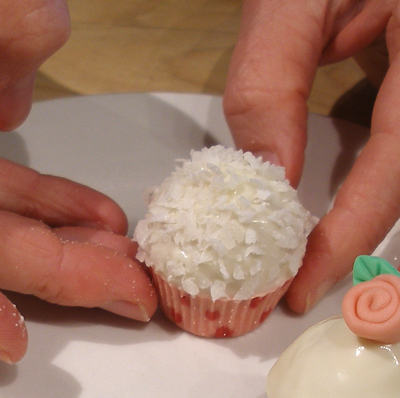
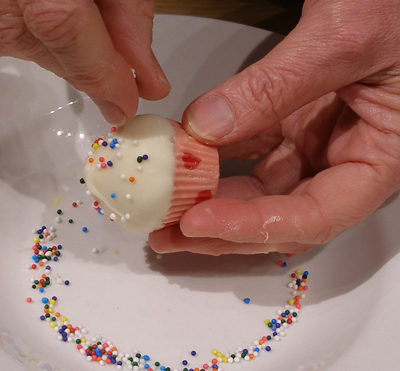

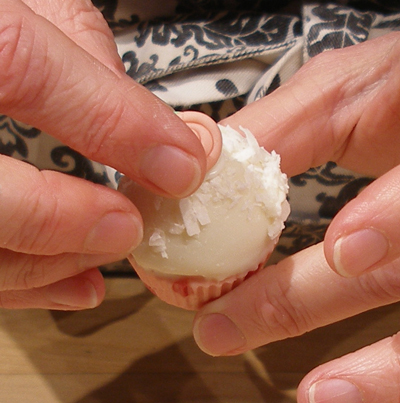
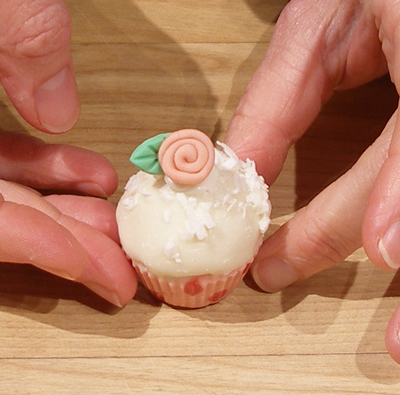
c. If you prefer a cleaner look, without sprinkles, simply place your topper on the cupcake cup while the candy coating is still wet.
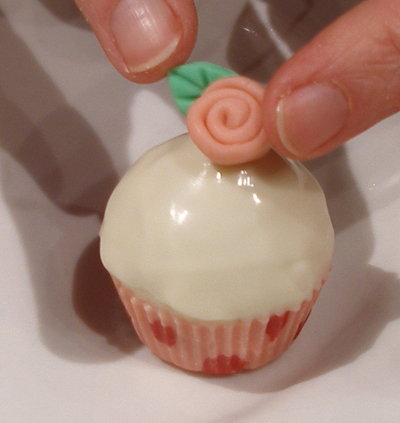
STEP III: ASSEMBLE THE CUPCAKE POPS
1. Take one red(or pink) Dot candy, wide side down, and push the lollipop stick through the center. Push it down until 3/4-inch of stick is showing at the top.
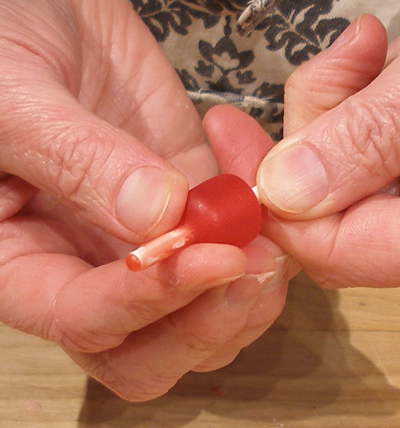
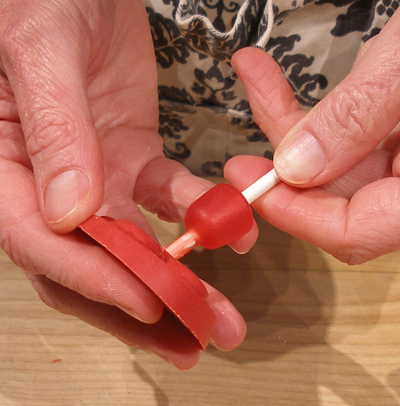
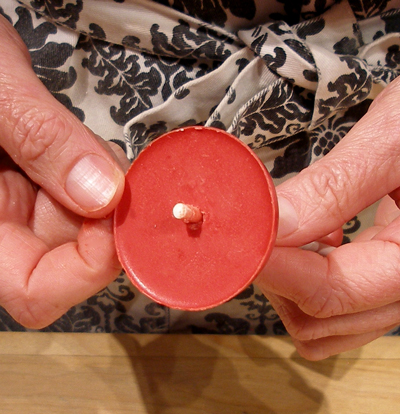
2. Take one of the cake 'plates' and melt a hole through the center with a heated metal skewer.
Immediately place it on the stick, pressing it down on top the Dot so the melted candy will hold it in place.
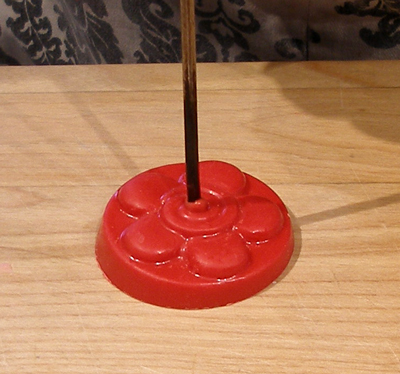
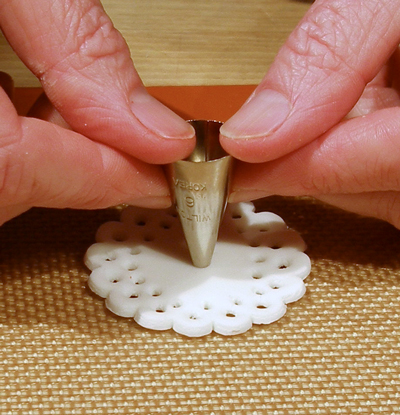
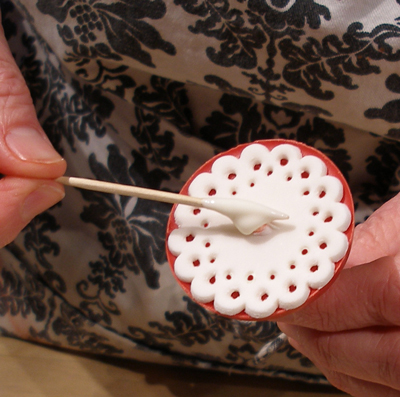
3. Take one of the doilies and cut a hole in the center of it with a Wilton #6 plain tip.
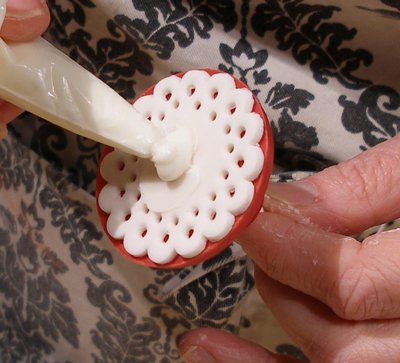
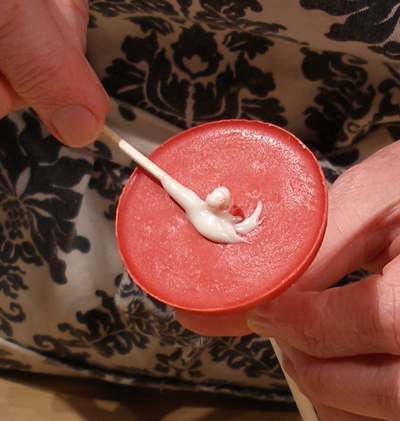
4. Place a small dab of white candy melt on the plate and gently press the doily in place.

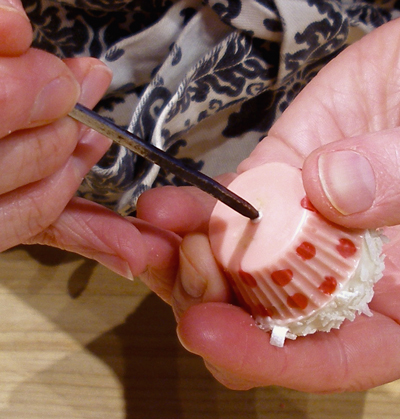
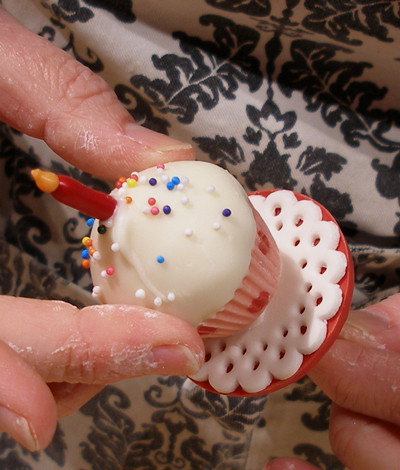
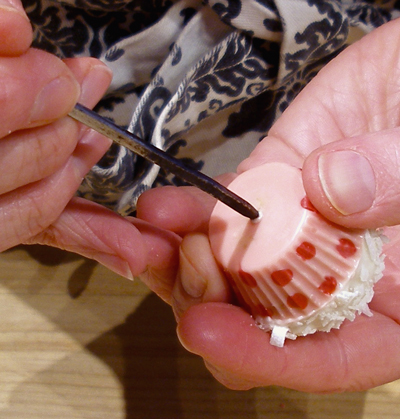
5. Reheat the metal skewer and melt a hole in the center of the bottom of a Cupcake Cup. You only need to go about 1/4″ in.
6. Place a small dab of white candy melt on the stick, and press the cupcake cup in place.
Birthday Cupcake Krispies Variation

INGREDIENTS
In addition to the above supplies, you will need:
Candy coated licorice pastels
Orange Wilton Candy Melts
Disposable piping bag
INSTRUCTIONS
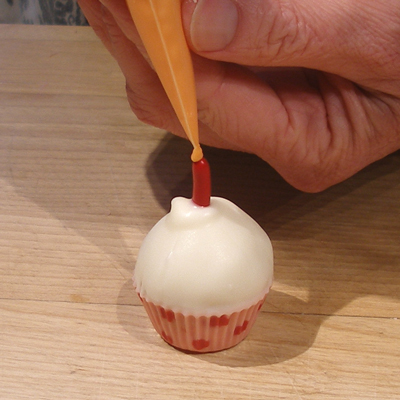
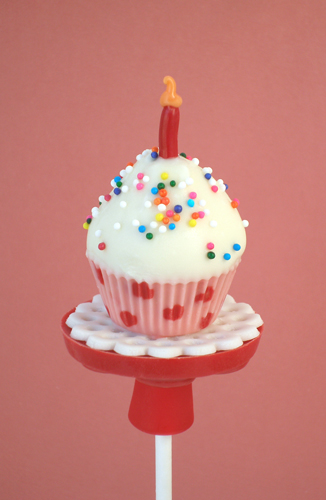
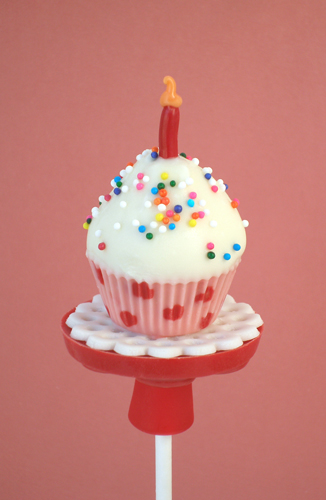
1. After dipping the cupcake cups, apply sprinkles if desired, then take 1 candy coated licorice bit and press it into the still melted candy coating at the top of the cupcake. Set the cupcake cup aside, until the coating is set, and the 'candle' is secure. Repeat the process with the rest of the cupcake cups.
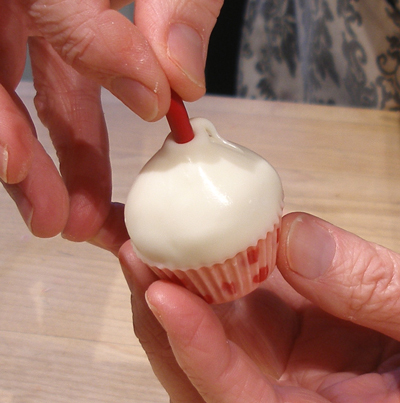
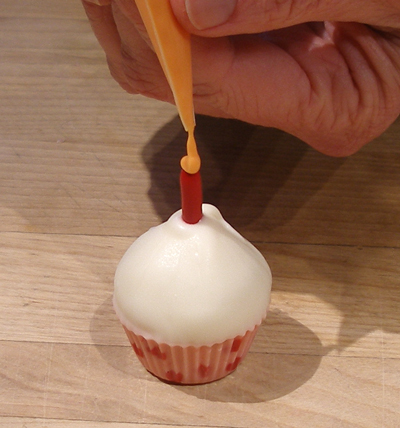
2. When the candle is secure, melt a small amount of orange Wilton candy melts and then place it in a disposable piping bag.
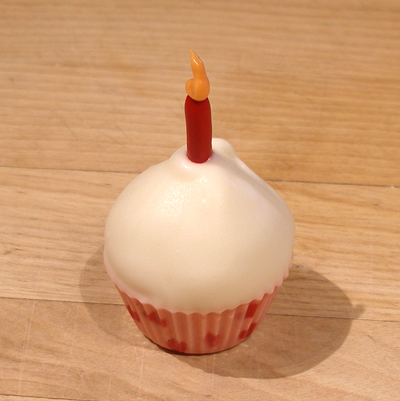
Cut a VERY tiny hole in the tip, and squeeze a tiny blob on top of the 'candle' Stop squeezing and pull upward, to form the flame shape. Gently set it aside, so you do not distort the shape of the flame, then let the flame harden completely. Repeat the process with the rest of the cupcake cups.