
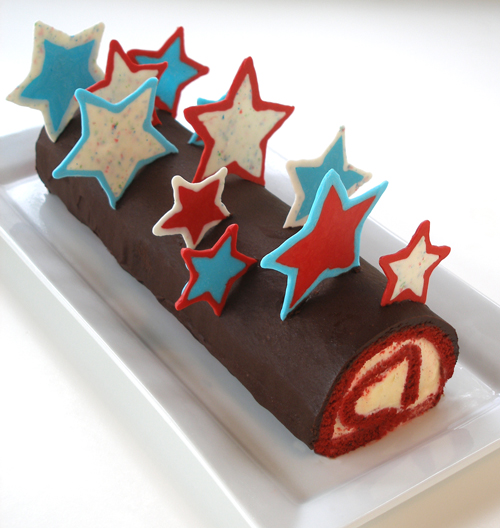
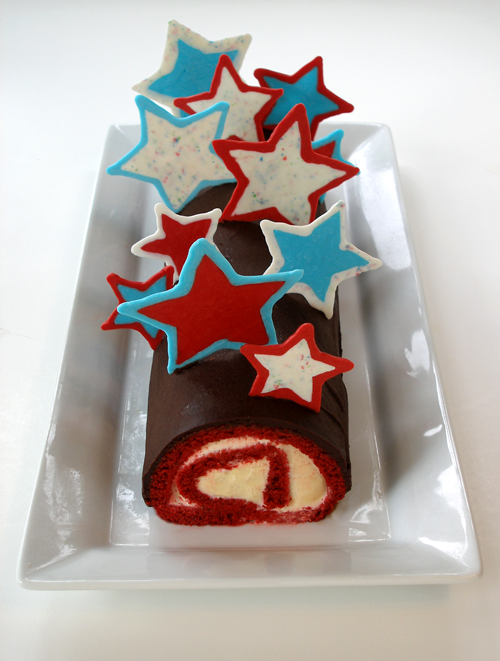
The combination of red velvet cake, peppermint candy ice cream and chocolate is festive and sinful! This makes the perfect summer birthday cake, celebration cake or Fourth of July (July 4) Cake. It's so colorful when served and refreshing! Your family and friends will certainly ask for seconds! This dessert can be made a few days ahead of time. We include a Fancy Stars Piping Template so you can make your own, and adorn the cake with them just as we have. We show you how the properly cream the butter and sugar, called the Creaming Mixing Method.
CAKE RECIPE HELP
INGREDIENTS
Preparing the pan:
Nonstick oil spray
Softened unsalted butter for pan
Unbleached all-purpose flour
Red Velvet Cake Roll:
1 cup unbleached all-purpose flour; spoon into measuring cup and level to rim
2 tablespoons natural cocoa powder
1/2 teaspoon baking soda
1/8 teaspoon salt
1/2 cup whole or 2% milk
1 tablespoon (1/2 fluid ounce) liquid red food coloring
2 teaspoons vanilla extract
1 teaspoon apple cider vinegar or white vinegar, 5% acidity
4 ounces (1 stick or 8 tablespoons) unsalted butter
3/4 cup sugar
1 large egg, lightly beaten
Filling:
2 pints (1 quart or 4 cups) Peppermint or any flavor ice cream, softened; can substitute with 1 recipe Basic Vanilla Ice Cream
Glaze:
1/2 cup heavy cream
6 ounces bittersweet or semisweet chocolate, chopped
2 tablespoons light or dark corn syrup
1 1/2 teaspoons vanilla extract
a few drops peppermint extract, optional
1/8 teaspoon salt
Garnish:
Chocolate curls
Or
BONUS: HOW TO Decorate the Cake with Fancy Stars:
1/2 cup red Wilton candy melts
1/2 cup blue Wilton candy melts
1/2 cup speckled Wilton candy melts
1 tablespoon shortening
3 squeeze bottles with fine tips
Fancy Stars Piping Template; Download and print on paper
INSTRUCTIONS
STEP I: MAKE THE CAKE
Prepare the baking pan and preheat the oven:
A. Position the oven rack in the lower third of the oven. Preheat the oven to 375 degrees F.
The oven must be well-preheated.
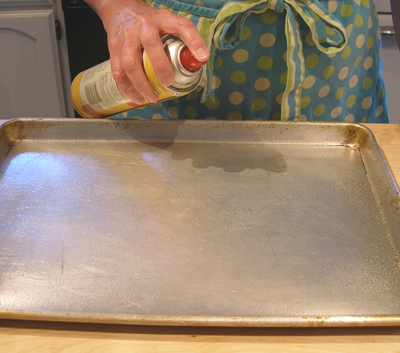
B. Prepare, one 16-by-11-by-1-inch or nearest size half-sheet jelly-roll pan:
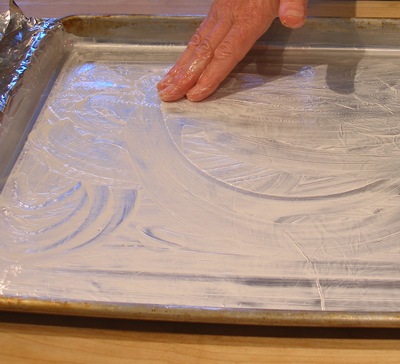
Spray the baking pan with nonstick oil.
Line the pan with aluminum foil, pressing the foil into the contours of the pan and leaving a 2-inch overhang at each short end.
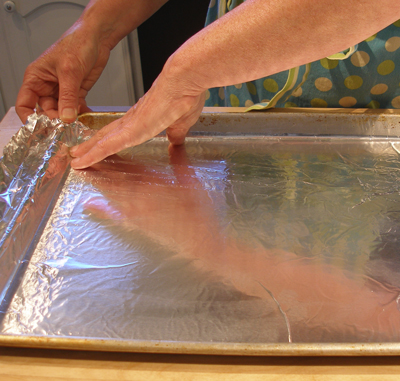
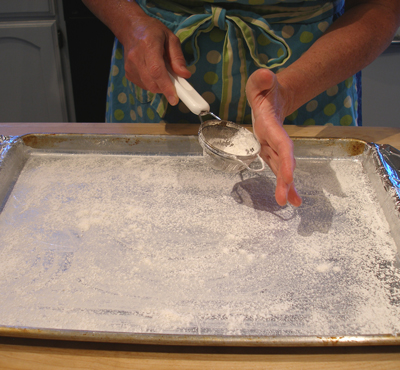
Butter the foil, then flour it, by sifting a small amount of flour all over into the baking pan. Then tap out excess flour.
Prepare the cake roll:
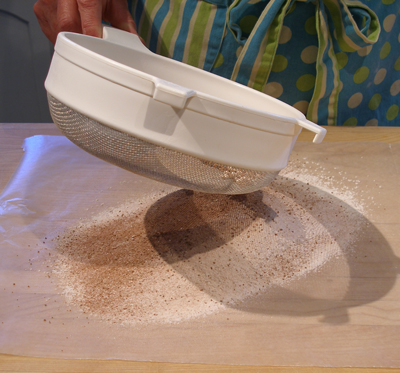
1. Sift together the flour, cocoa, baking soda and salt onto a sheet of waxed paper; set aside.
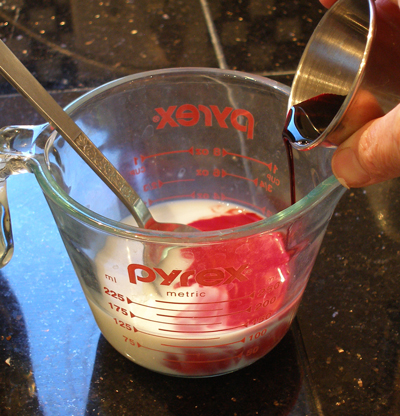
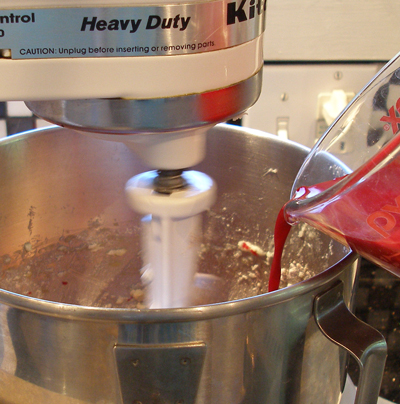
2. In a measuring cup or small bowl, stir together the milk, red food coloring, vanilla, and apple cider vinegar; set aside.
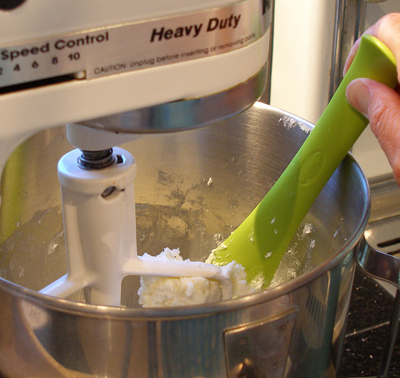
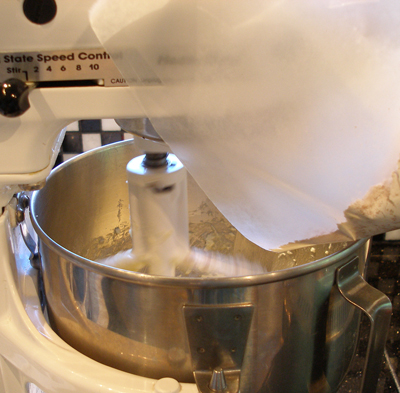
3. In the bowl of a stand mixer fitted with the paddle attachment, beat the butter on medium-low speed until softened, about 1 minute. (If the butter is cold, it will warm quickly from the beaters – taking about 60 seconds).
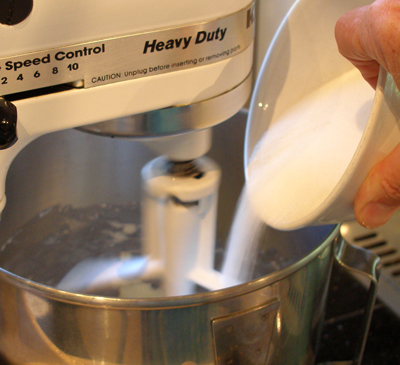
4. Increase the speed to medium and add the granulated sugar in a steady stream at the side of the bowl. Continue to beat until light in color and aerated in texture, about 1 to 2 minutes more, stopping the mixer occasionally to scrape down the sides of the bowl.
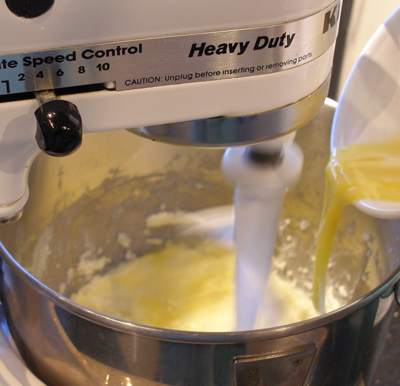
5. With the mixer on medium speed, add the lightly beaten egg slowly at the side of the bowl.
6. Stop the mixer, and scrape the side and bottom of the bowl with a large rubber spatula.
7. With the mixer on LOW speed, add the flour mixture in 3 equal portions, alternating with the milk mixture in 2 equal portions, beginning and ending with the flour. (If the milk is cold, the batter will curdle slightly. It's ok. It will come together when you add the flour.)
SARAH SAYS: Add the flour and liquid ingredients in increments quickly; do NOT wait in between additions too long as you don't want to overmix the batter.
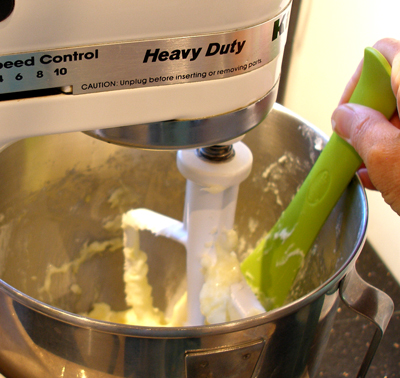
8. After completing the last addition of flour, stop the mixer, and scrape the side and bottom of the bowl with a large rubber spatula.
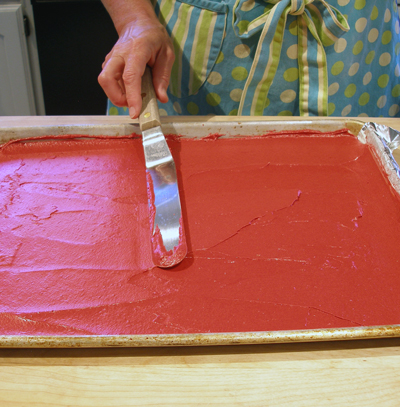
9. Without delay, spoon the batter into the prepared pan, spreading evenly with a large offset icing spatula.
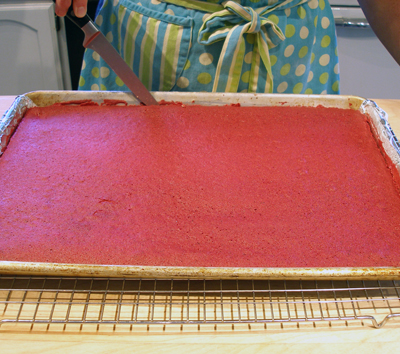
10. Bake the cake about 10 minutes or until it is set on top and springs back when lightly pressed in the center.
Immediately loosen the edges with a small metal spatula or sharp knife.
Make sure you go all around the cake. DO NOT SKIP THIS STEP!!
11. Then pull up on the foil overhang and carefully transfer the cake to a wire rack.
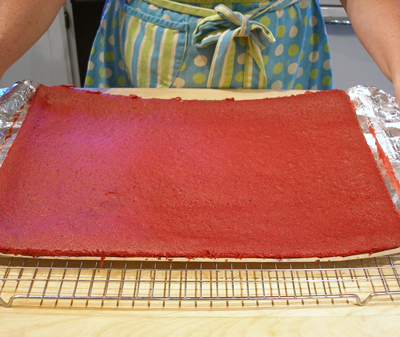
12. Without delay, place a sheet of foil over the cake and manipulate the foil to make a shallow tent (a tent holds in the moisture as the cake cools, but prevents the foil from sticking to the cake). Let cool for about 45 minutes, then proceed to assemble the dessert.

STEP II: ASSEMBLE THE CAKE ROLL AND FREEZE
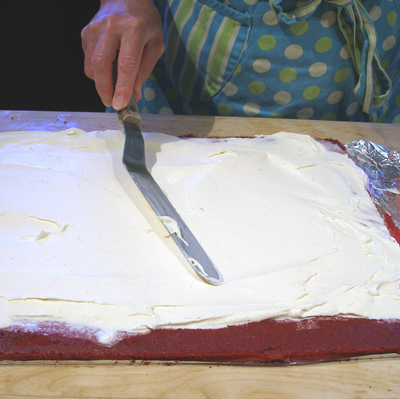
1. Remove the foil from the top of the cooled cake. Transfer the cake on its bottom sheet of foil to a work surface, placing it so that one of its long sides is parallel to the edge of the surface closest to you. Place another long sheet of aluminum foil on the work surface nearby.
2. Using a large offset icing spatula, spread the softened Peppermint Ice Cream evenly over the cake, leaving a 1/2-inch border uncovered on the long side farthest from you.
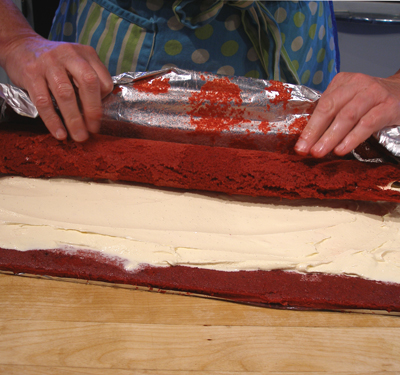
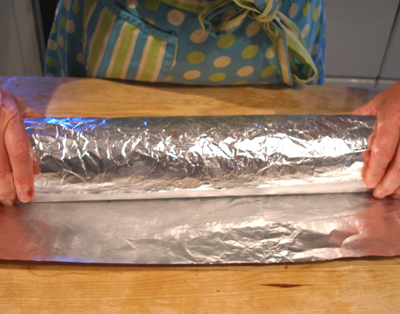
3. Begin rolling the cake by flipping the edge nearest you over onto itself. Then, with the aid of the foil that extends beyond the short sides, roll up the cake lengthwise until you reach the far long side. As you work, wrap the foil around the roll to assist in rounding the shape (otherwise the cake will stick to your hands). To insure the roll is uniform, place the roll in its foil across the bottom third of a 24-inch-long piece of parchment paper, bring the top edge of the paper toward you, and drape it over the cake roll, allowing a 2-inch overhang.

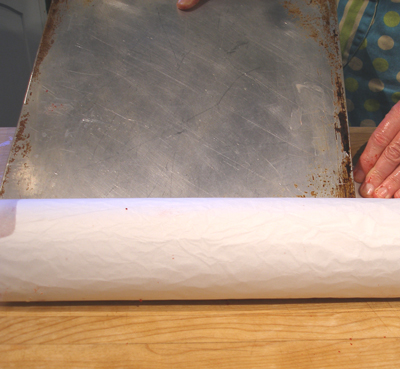
4. Place the edge of a rimless baking sheet at a 45-degree angle to the roll and your work surface. Apply pressure against the roll, trapping the 2-inch overhang, and push while simultaneously pulling the bottom portion of paper toward you. This push-pull motion creates a resistance that results in compressing the log into a uniform shape. If any cracks appeared as you rolled the cake, they are consolidated in this compression and disappear from view.
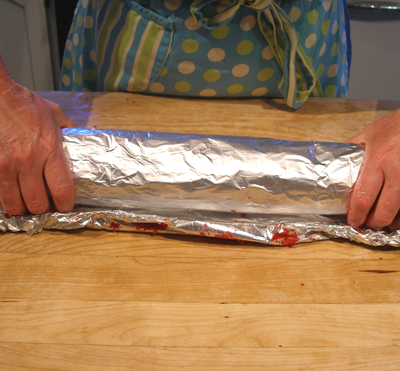
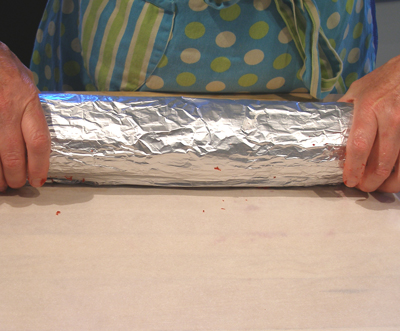
5. Carefully lift the roll in the aluminum foil and set it, seam side down, on the fresh sheet of foil. Wrap the cake securely in the foil. Transfer the foil-wrapped roll to the baking sheet or shallow tray and freeze for about 30 minutes to an hour to help set the ice cream filling.
STEP III: GLAZE THE CAKE ROLL AND SERVE
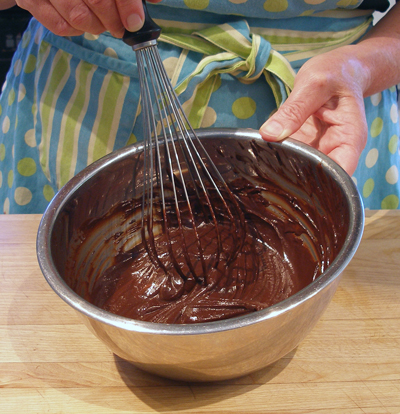
1. Place chopped chocolate in a heat-proof bowl. Bring heavy cream to a boil in a heavy bottomed saucepan.
SARAH SAYS: Make sure you stir the mixture so it does not burn.
Pour hot cream over the chocolate. Let sit for 60 seconds before stirring.
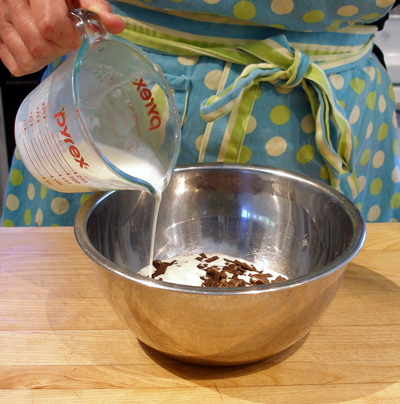
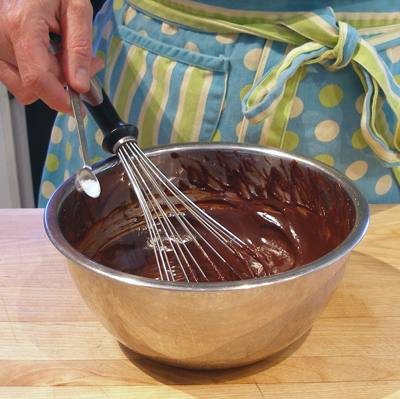
2. Immediately pour the cream mixture over the chocolate. Let stand for one minute, pushing any chocolate pieces under the hot cream with a wire whisk. Then, starting slowly, whisk together in one direction until the chocolate is melted and the cream and chocolate are thoroughly combined, shiny and smooth.
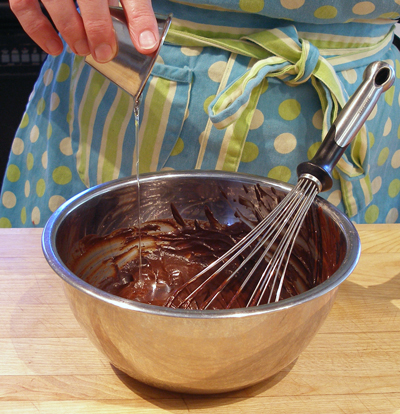
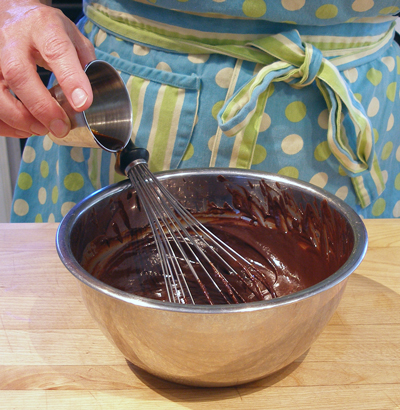
3. Add in the corn syrup, extracts and salt. Whisk until combined. Cool to room temperature.
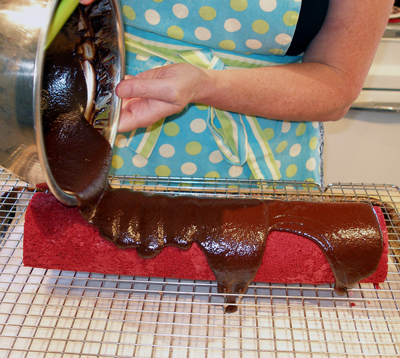
4. Remove the cake from the freezer and unwrap. Trim ends. Place cake on a wire rack over waxed paper.
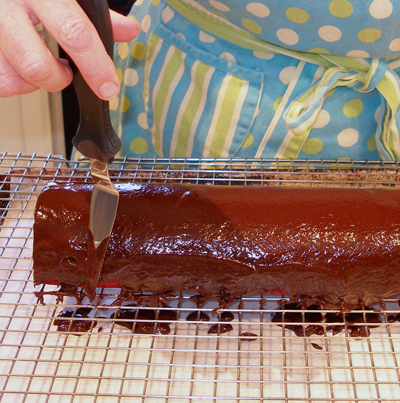
5. Pour glaze along top of cake roll, spreading with a small offset icing spatula to cover sides.
6. Optionally, garnish top of cake with chocolate curls or shavings, or decorate with Fancy Stars, below, after freezing.
7. Freeze cake until firm, about an hour.
BONUS – HOW TO DECORATE THE CAKE WITH FANCY STARS:
Make the Fancy Stars:
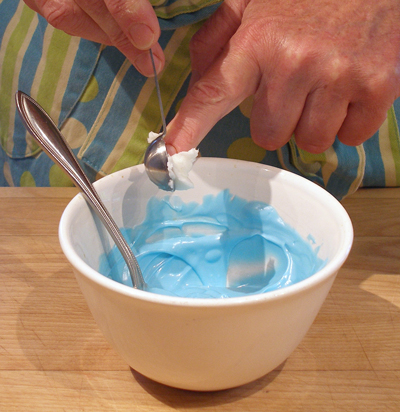
1. While the cake is in the freezer, melt each color of candy melts in 3 small bowls according to the directions on the package.
2. Add 1/2 teaspoon shortening and stir until completely melted. Check to make sure that the mixture flows nicely, if not, add a LITTLE more shortening, and stir it in.
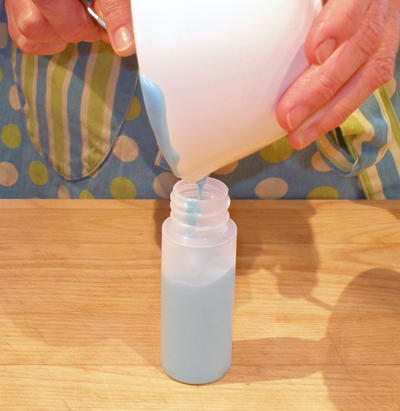
3. Place each color in a squeeze bottle.
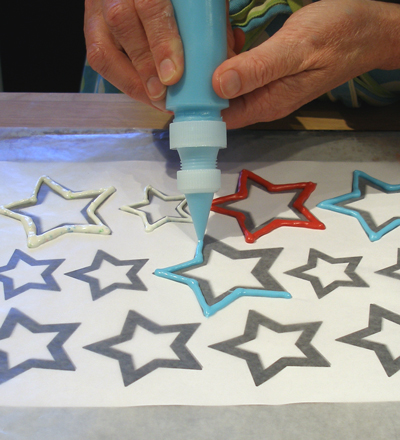
4. Tape the Fancy Starts Piping Template (see Ingredients Section) to a flat baking sheet, then tape a piece of waxed paper over it.
Pipe the outlines of the stars with the colors of your choice.
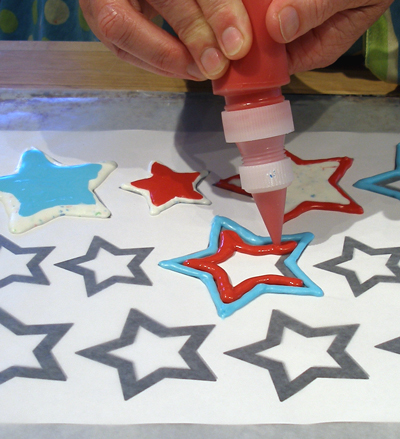
5. Let the melts set up a little(a few minutes), then pipe the centers of the stars.
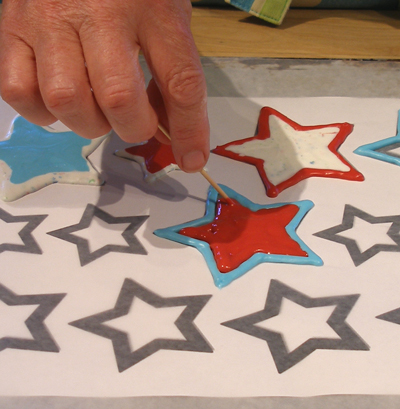
Use a toothpick to make sure all the points of the stars are filled, then gently tap the baking sheet, to level the melts.
Continue in this manner until all the stars are outlined and filled.
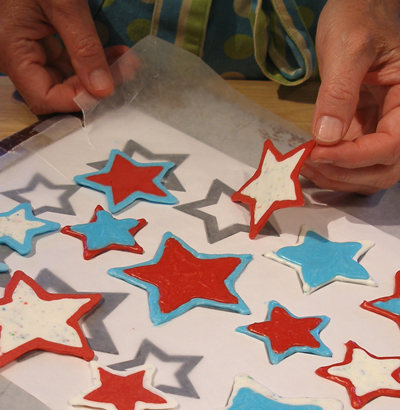
6. Place the baking sheet in the refrigerator for about 15 minutes, to set the melts.
After the melts are set, gently peel them away from the waxed paper and place them on a large plate, bottom side up.
Finish the cake:
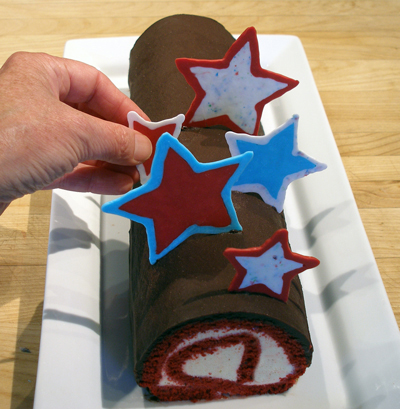
1. Ten minutes before you want to serve the cake, remove it from the freezer and immediately begin laying out the stars on the top of the cake.
You must work quickly, so the ice cream doesn't start to melt.
2. Make sure to place the flat side(the side that was against the waxed paper) of the stars toward the front of the cake, because they are prettier than the other side.
Take a star decide where you want to place it, then gently press in into the ganache to create two marks.
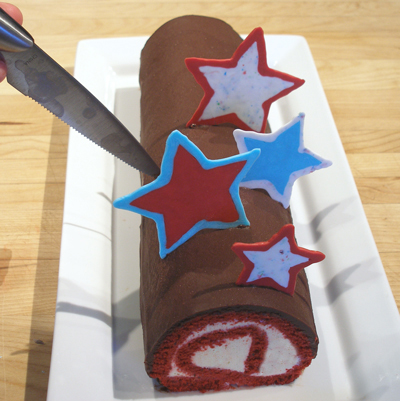
3. Make two small cuts in the ganache and cake, using a sharp pointed knife.
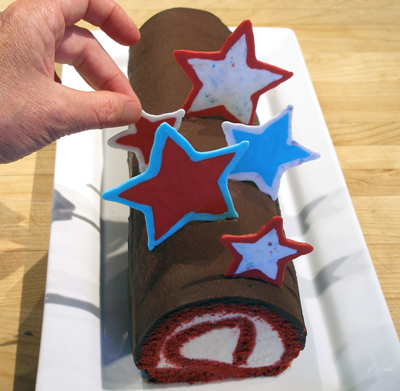
4. Gently press the star in place, until it can stand on its own. Continue placing the stars on the cake, varying sizes and colors to create a lively design.
SERVE
Serve immediately. After showcasing the whole cake, cut into slices.
STORAGE
The cake can be made up to 2 to 3 days before you serve it; freezing any longer will alter the flavor and texture of the cake. Wrap well in plastic wrap and keep frozen.