

Most checkerboard cookies are made with vanilla and chocolate cookie dough. Since we invented a cookie dough which takes on color so well, we decided to shake things up a bit by using our popular Red Velvet Sandwich Cookie dough, in this pretty red and white version of the classic cookie. It's very festive for the holiday season! You can tint either one or both dough recipes in any colors you desire, following the Vanilla Shortbread Cookie Recipe, but make sure they are of contrasting shades so the checkerboards show up clearly.
COOKIE RECIPE HELP
You will need:
1 recipe Red Velvet Shortbread Cookie Dough
1 recipe Vanilla Shortbread Cookie Dough
1 to 2 large egg whites, lightly beaten
STEP I: FORM THE RED VELVET AND VANILLA SHORTBREAD COOKIE DOUGHS INTO A CHECKERBOARD PATTERN
Roll and cut the dough strips:
1. Remove the red velvet cookie dough from the refrigerator and cut in half. Rewrap and return the other half to the refrigerator.
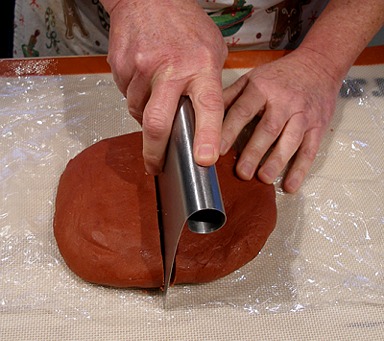
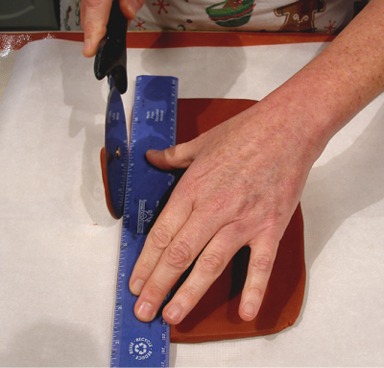
2. Roll dough into a 9- x 5-inch rectangle, on a sheet of parchment paper. The dough should be about 3/8-inches thick.
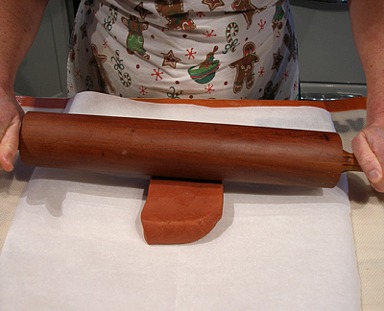
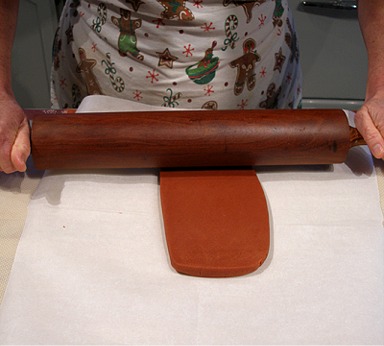
Use your bench scraper to neaten up the sides of the dough as you roll, so you get a uniform rectangle.
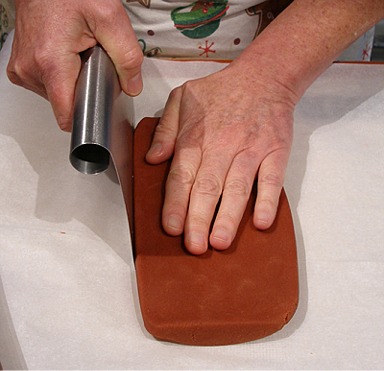
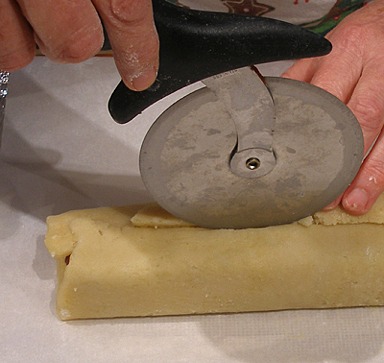
3. Using a pizza cutter, straight edge, and or sharp knife, cut the sides of the rectangle straight and even.
A pizza cutter is the perfect tool for the job.
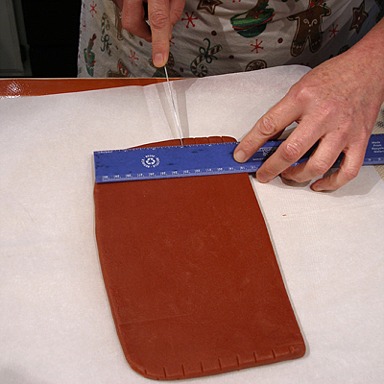
4. Using the ruler, mark the dough at 1/2-inch intervals, to get 9 strips of dough.
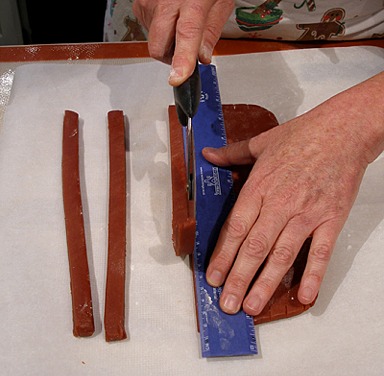
5. Place the 9 strips of dough on a baking sheet and place them in the refrigerator.
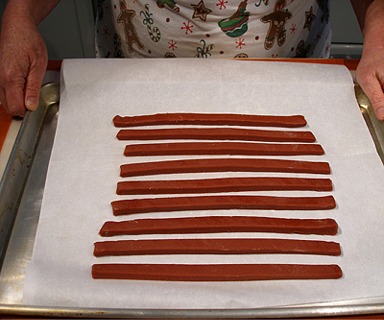
6. Repeat steps 1 – 5, above with the vanilla cookie dough, then place the strips on the baking sheet with the red strips and chill for at least 10 minutes.
It is important that the strips are cold when you work with them, or your checkerboard will not be neat and tidy, and you will lose the sharp edges.
Assemble the dough strips into a checkerboard pattern:
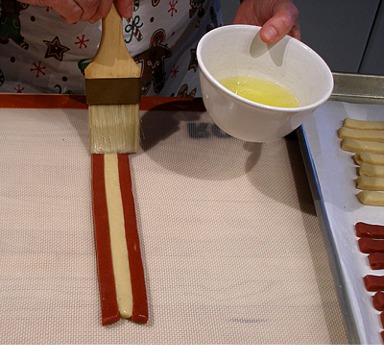
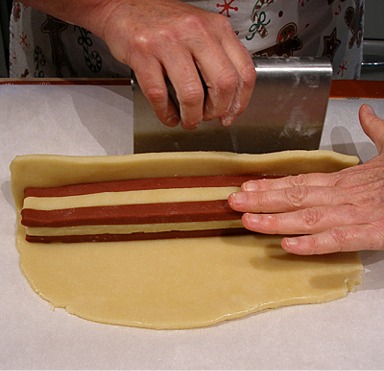
1. When the strips are nice and chilled, remove the baking sheet from the refrigerator and place one sequence of red-white-red strips on your lightly floured work surface.
Gently press them together with the sides of your hands, being careful, so you don't distort them.

2. Brush the three strips with the lightly beaten egg white.
3. Place three more strips on top of the first three, with the sequence white-red-white.
Gently press them together, as you did with the first three strips.
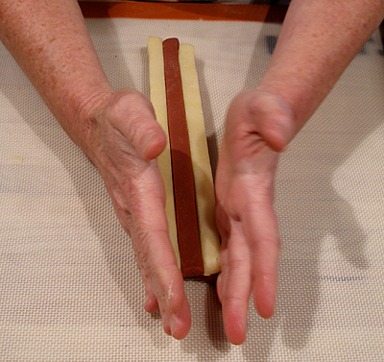
4. Brush the strips with egg white, then add three more strips on top of the second set of strips, with the sequence red-white-red.
You will now have three alternating strips of 3. Nine strips in all.
NOTE: There will be 9 strips remaining on the baking sheet…4 red strips and 5 white strips.
Recover the strips and place the baking sheet back in the refrigerator, until you are ready to build the second log, with the remaining strips.
Wrap the checkerboard patterned dough with outside dough:
1. Remove the second half of the vanilla dough from the refrigerator and roll it into a 6 1/2- x 9-inch rectangle.
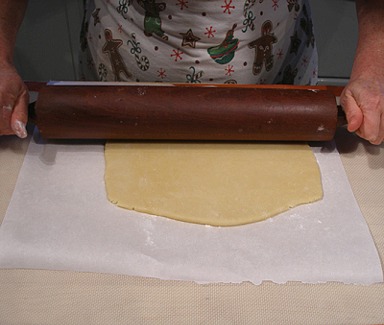
2. Brush the rectangle with egg white.
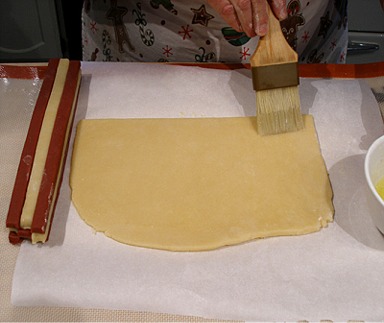
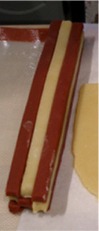
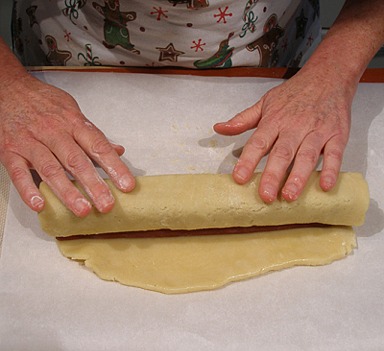
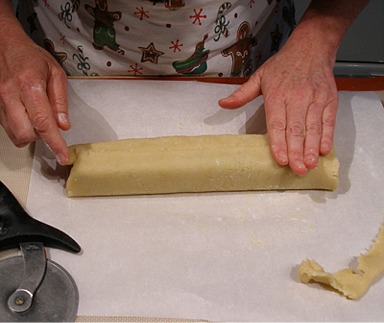
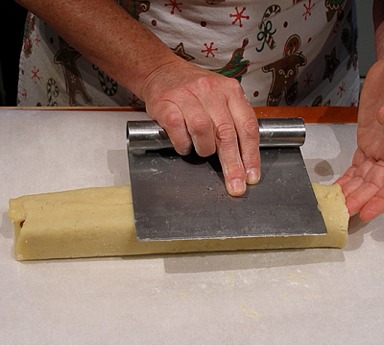
3. Then, place the layered strips in the center of the dough and bring one side up and over the side of the dough, using a bench scraper to help you get nice sharp edges.
4. Roll the block of dough over, until it is completely covered in the vanilla dough.
5. Use a pizza cutter to remove any excess dough. Take care not to cut into the dough below. Press the seam to seal.
6. Use a bench scraper to help form sharp corners on the log, then wrap the log in plastic wrap and chill it for at least two hours.
7. When you have one log completed, repeat the process with the 9 remaining strips, and the second half of the red dough.
Start the stacking sequence with “white-red-white”, then “red-white-red” and finally, “white-red-white”.
Wrap the finished log with the red dough, then wrap in plastic wrap and chill.
8. Chill both logs for AT LEAST two hours, or overnight.
STORAGE
The cookie dough can remain refrigerated for 2 to 3 days, TOTAL, including the time it was refrigerated as dough, Steps I and II, before it was formed into checkerboards.
Then, it must be frozen.
Wrap the logs very well and place them in the freezer for a month or more, to bake at a later date.
When you want to bake the cookies, remove the logs from the freezer and let them warm a bit in the refrigerator, not at room temperature.
Slice and bake semi-frozen.
STEP II: SLICE AND BAKE THE COOKIES
1. Position an oven shelf in the middle of the oven. Heat the oven to 325 degrees F.
NOTE: We like to bake one cookie sheet at a time for even color.
Line two baking sheets with a nonstick baking mat or with parchment paper.
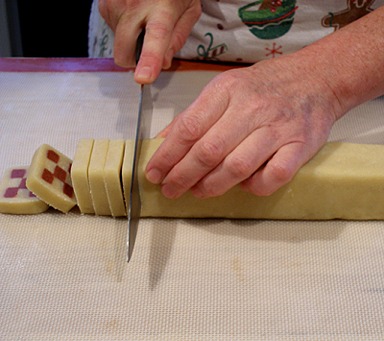
2. Remove one log of checkerboard cookies from the refrigerator and remove the plastic wrap.
Trim the uneven ends of the log, then slice the log into 1/4-inch thick slices.
3. Place the cookies on a parchment or silpat-lined baking sheets, leaving 1-inch spacing around cookies.
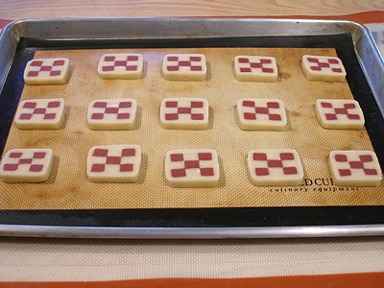
4. Bake cookies for 12-15 minutes or until the edges of the cookies JUST begin to color.
The cookies should still be pale, but the bottoms should be light golden brown.
NOTE: Chill any sliced and unbaked cookie dough.
5. Remove cookies from oven and let them cool for 5 minutes on the pan, then transfer them and let them cool completely on a rack.
6. Repeat the process with the second log of dough, being sure to place cookie slices on COOL baking sheets.
STORAGE
Store in an airtight container for up to 2 weeks or freeze for up to 2 months.