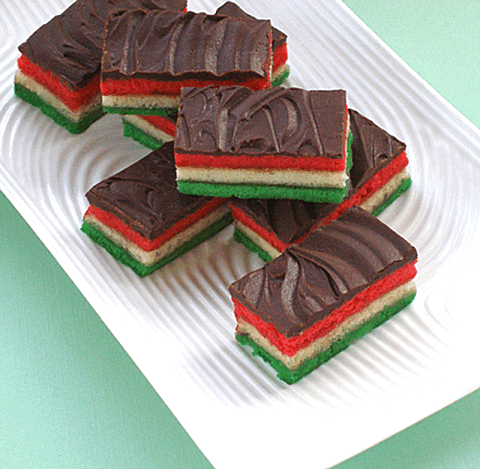
Rainbow Cookies, also known as Neapolitan or Venetian cookies, perhaps to denote the colors of the flag of Italy, are popular at Christmas time. The classic Rainbow Cookie is made with tinted layers of an almond-paste flavored cake batter (which some call cookie dough), that, after baking, is spread with seedless raspberry preserves, then divided into long strips, coated with melted dark chocolate, and cut into diamond shapes or slices. They are sometimes associated with the Passover holidays (when made with 3/4 matzo cake meal instead of 1 cup wheat flour).
COOKIE RECIPE HELP / CAKE RECIPE HELP
Kelly Says: “Boy are these ever tasty!! Tender, with a little chew, with a rich almond flavor. YUM!”
NGREDIENTS
1/2 cup bleached cake flour; spoon into measuring cup and level to rim
1/2 cup bread flour; spoon into measuring cup and level to rim
—-or optionally, instead of 1 cup total combined cake and bread flour, use 3/4 cup bleached or unbleached all-purpose and 1/4 cup cake flour; spoon into measuring cup and level to rim
1/4 teaspoon salt
8 ounces almond paste, room temperature (available from the grocery store or you can make your own)
4 large eggs
3/4 cup sugar
1 1/2 sticks (12 tablespoons) unsalted butter; softened
8 to 10 drops red food coloring, preferably AmeriColor
6 to 8 drops green food coloring, preferably AmeriColor
1/4 cup raspberry jam (preferably seedless)
6 ounces semi-sweet chocolate chips
INSTRUCTIONS
STEP I: PREHEAT THE OVEN AND PREPARE THE BAKING PANS. MIX THE COOKIE BATTER
Prepare the oven and pans:
1. Position the oven shelves in the upper and lower thirds of the oven and preheat it to 325 degrees F.
2, Prepare THREE 13 x 9-inch sheet pans (or THREE 12 1/4 x 8 1/4 aluminum disposable pans) by spraying with nonstick vegetable oil spray and lining the bottoms with parchment paper. Then, spray, again.
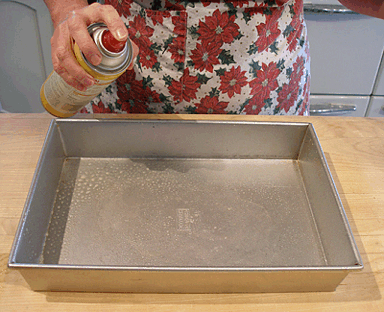
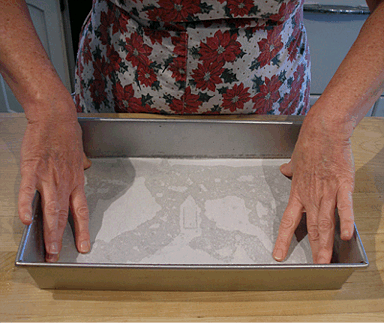
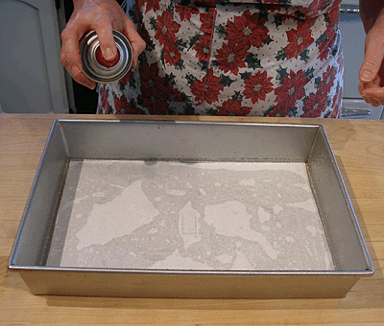
Mix the cookie batter:
1. Combine the bleached cake and bread flours, and salt in a medium-sized mixing bowl and set aside.
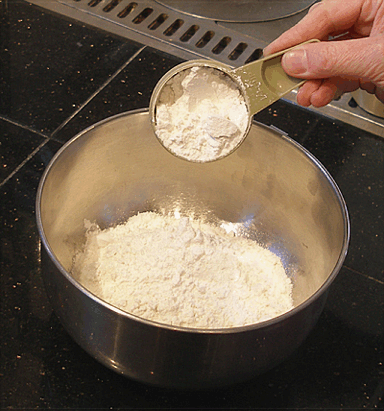
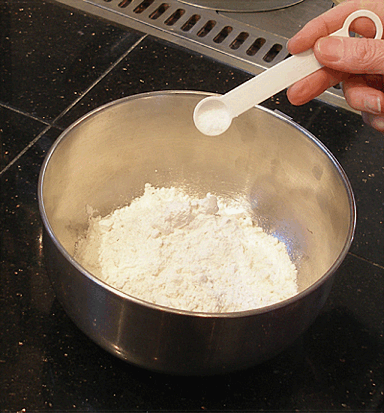
2. Break up the almond paste into a mixer bowl. Soften the almond paste by beating it for several minutes with a stand mixer fitted with a paddle attachment.
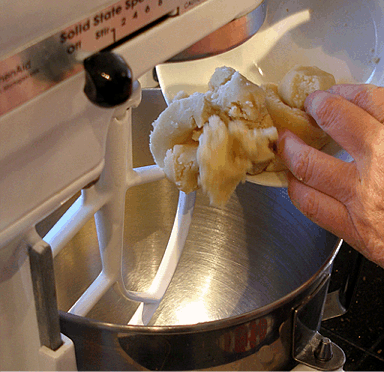
3. Lightly beat together the eggs in a medium-size mixing bowl.
Then add 2 tablespoons of the eggs to the beaten marzipan and mix on medium; this will help moisten the paste.
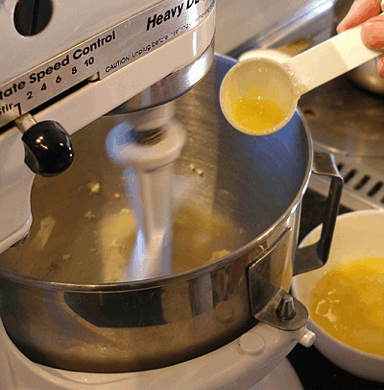
4. Add all of the sugar and mix on medium until until smooth.
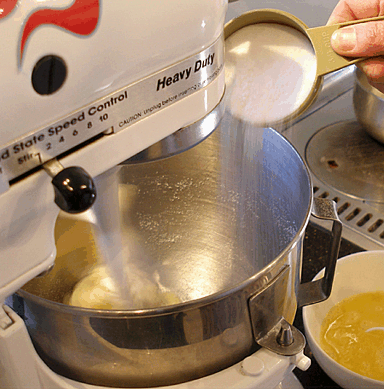
5. With the mixer on medium, add the butter one tablespoon at a time and cream until very light, about 7 minutes.
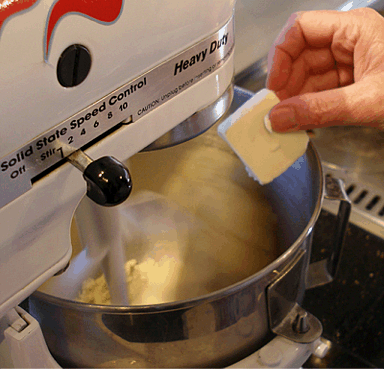
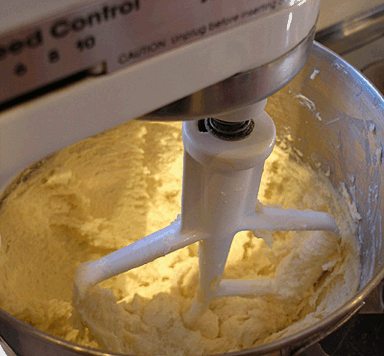
NOTE: After adding the butter, it is VERY important to scrape the bowl down, especially the very bottom of the bowl, to make sure that all the almond paste is incorporated into the mixture. After doing that, start adding the eggs.
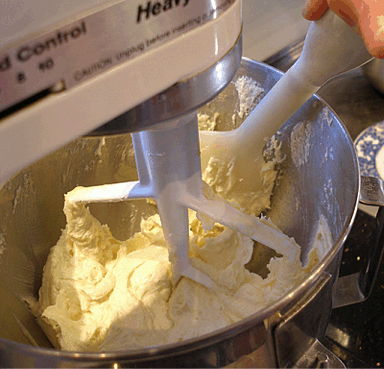
6. Over the course of the next 5 minutes slowly add the remainder of the lightly beaten eggs, a little at a time and allow them to incorporate with the mixer on medium, before adding the next amount.
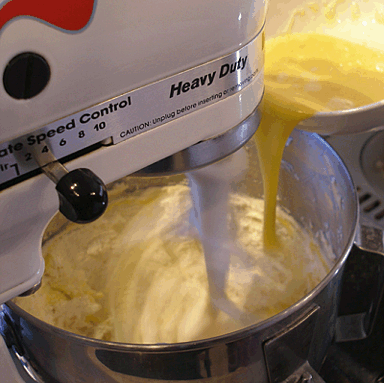
When done adding in the eggs and mixing, the batter should look light and fluffy.
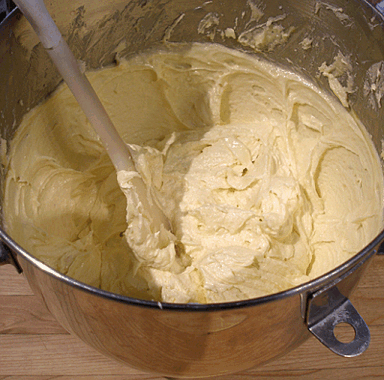
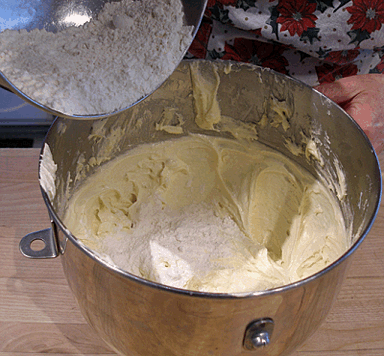
7. Remove the mixing bowl from the mixer, and with a large rubber spatula, fold the flour mixture into the batter. You can, instead, use the lowest setting on your mixer; just add in the flour in a steady stream with the mixer on.
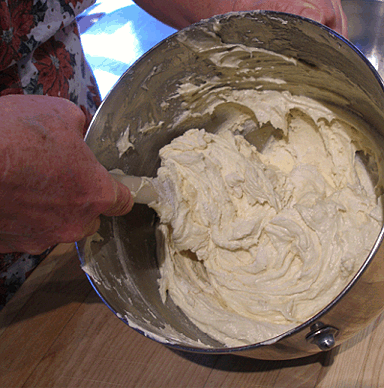
STEP II: TINT THE BATTER AND BAKE
1. Divide the batter into thirds (about 1 1/2 cups each).
2. Stir the red food coloring into one and green food coloring into another, leaving one bowl of batter plain.
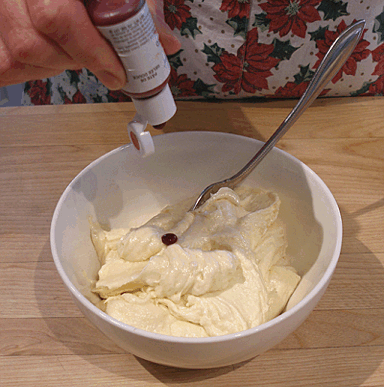
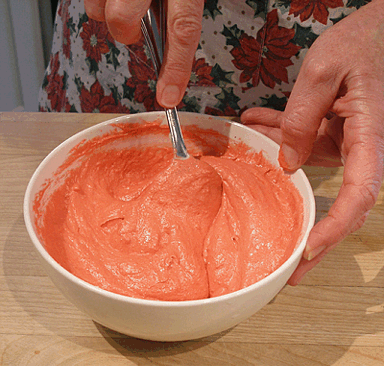
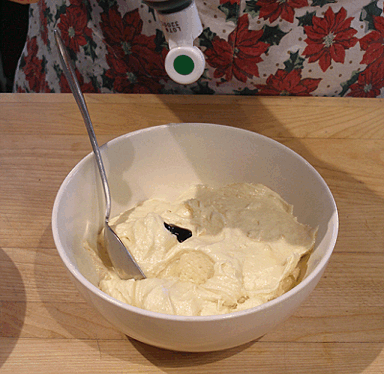
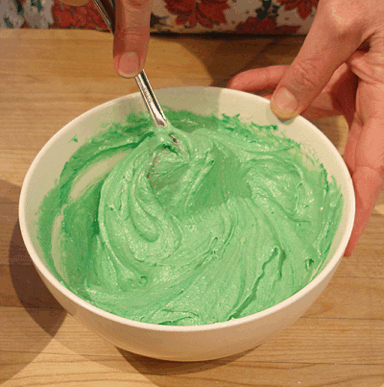
2. Spread the batter evenly and separately into each of the prepared pans. The batter will be thin. Make sure the batter is smooth so it bakes evenly, taking care to distribute it into the corners of the pan.
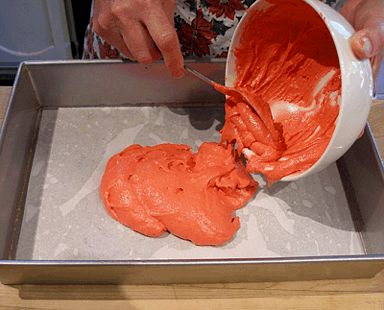
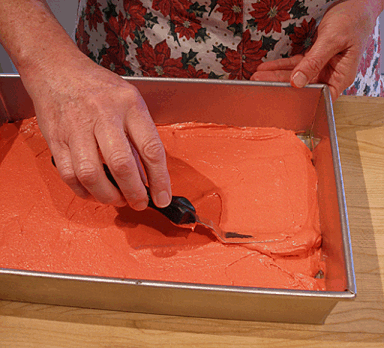
3. Bake the cakes for about 10 to 12 minutes or until they are just set and beginning to turn golden along edges. The cake will not rise very much.
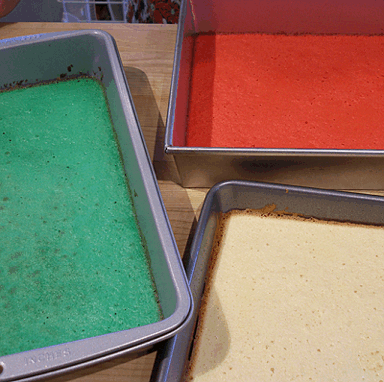
4. Let pans sit on wire cake racks until cool enough to handle in order to unmold. The cakes should be hot when unmolding; do not let them cool completely.
5. To unmold, first, place a piece of parchment paper over the wire cake rack. Run a knife along edges to loosen from pan.
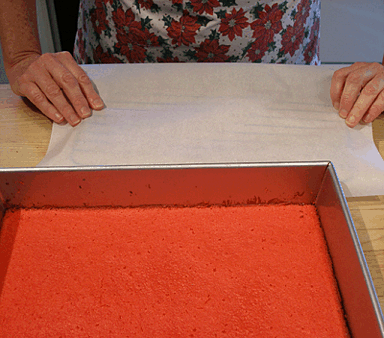
6. Then, while still hot, invert a large rack over its pan. Flip the pan and wire rack over, and the layer should release onto the covered cake rack.
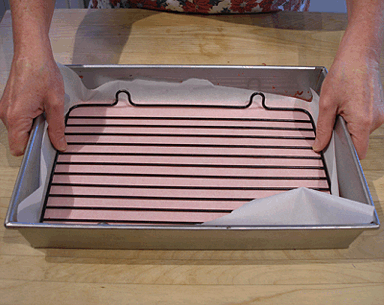
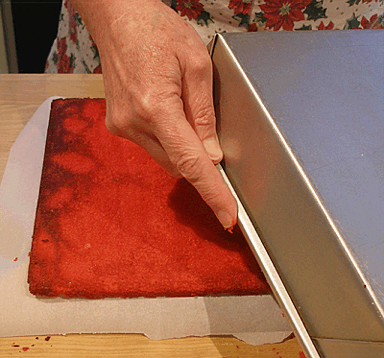
7. Let the layers cool completely.
STEP III: LAYER THE CAKES. TOP WITH MELTED CHOCOLATE. CUT INTO RECTANGLE SHAPES
Layer the cakes:
1. Place a large piece of plastic wrap on a baking sheet and top with the green layer, top side down.
NOTE: Use the parchment paper (from the rack) to help slide the layer onto the baking sheet. It works GREAT!
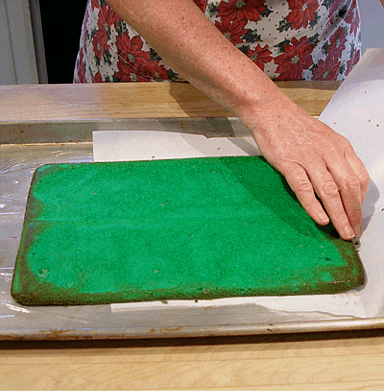
2. Spread with 2 tablespoons raspberry jam.
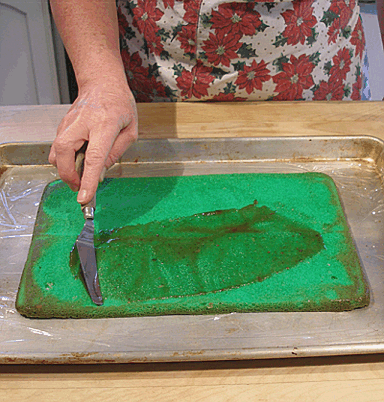
3. Place the plain layer next, again top side down, on top of the raspberry preserves, making sure the two layers are aligned.
NOTE: Use the parchment to help slide the plain layer on top.
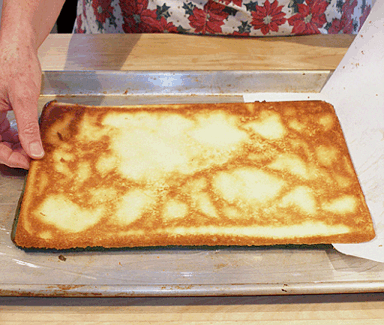
4. Place a sheet pan on top and lightly press them together.
5. Spread the remaining 2 tablespoons raspberry jam over the plain layer, again using a small offset spatula.

6. Then place the red layer, top side up, on top of the raspberry preserves, making sure that the three layers are evenly aligned.
NOTE: Use the parchment paper to help slide the red layer on top.
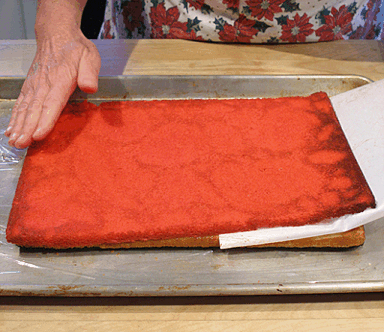
7. Place a sheet pan on top and lightly press them together again.
8. Place a large piece of plastic wrap on top to cover the layers.
Then, place another baking sheet on top, weighed down with a couple of heavy pans evenly distributed over the surface, to compress the layers.
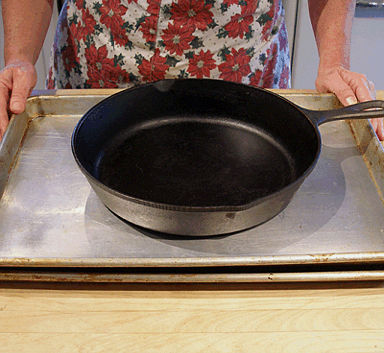
9. Let sit at room temperature for 12 hours, preferably overnight.
Top with melted chocolate:
1. Melt chocolate chips in a double boiler or a metal bowl set over a pan of barely simmering water.
Set aside to cool slightly.
2. Meanwhile, remove weight and plastic wrap from the layered cake and set it on a large cutting board.
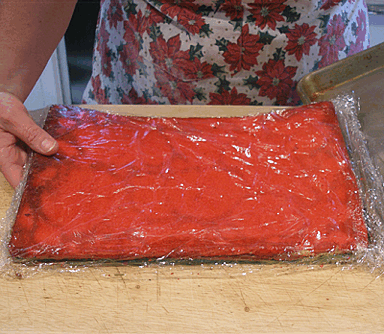
3. Using a large serrated knife, trim 1/4 inch from all sides.
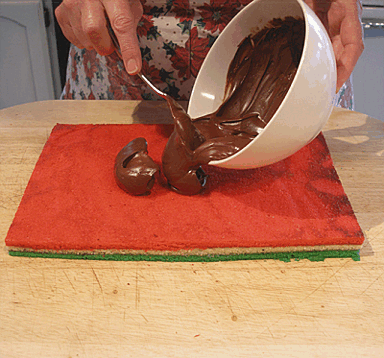
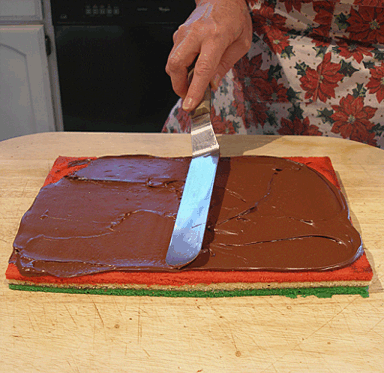
4. Spread the melted and cooled chocolate evenly over top, but not sides, of red layer.
5. Optionally, use an icing comb to make a swirl pattern on the chocolate. It really adds a “professional” touch to the finished cookies.
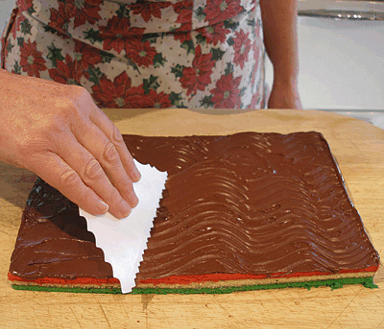
Let stand at room temperature until set, about 1 hour.
6. Then, place unwrapped in the freezer for about 15 minutes; it was WAY easier to cut them into rectangles, and the colors didn't get smeared by the melted chocolate.
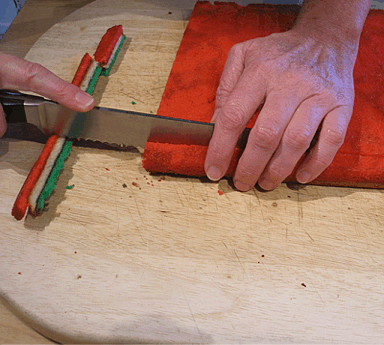
Cut the cookies into rectangle shapes: The recipe will yield about 48 1- x 1 3/4-inch rectangles.
1. Cut 12 rows, each one about 1-inch wide. Start from the long side facing you, and make sure you cut with a long sharp, serrated knife.
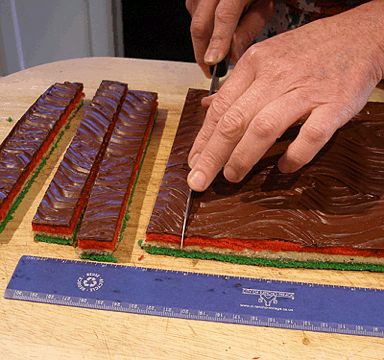
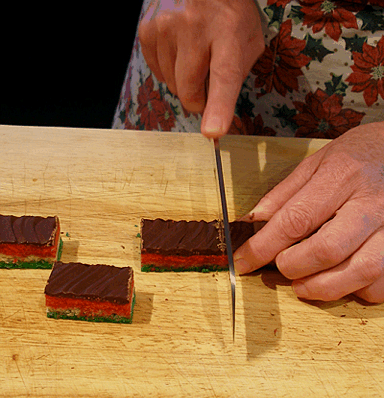
2. Then cut each row in half, and then in half again, making 4 equal sized pieces. Each one will be about 1 3/4-inches long.
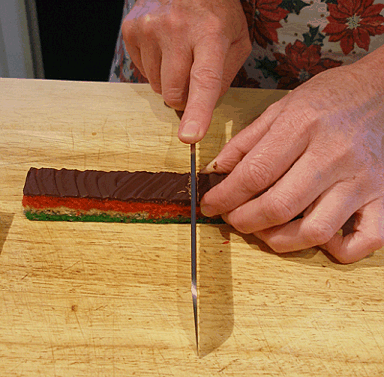
This gave a nice sized cookie…two bites!
STORAGE
Store in an airtight container, layered between strips of wax paper, for up to 3 weeks. The cookies freeze well, preferably before slicing, layered between strips of wax paper, for a month or more. Thaw in its airtight container at room temperature. This cookie improves with age.


