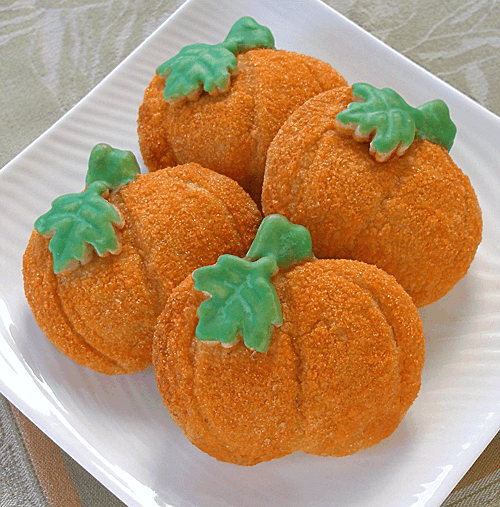
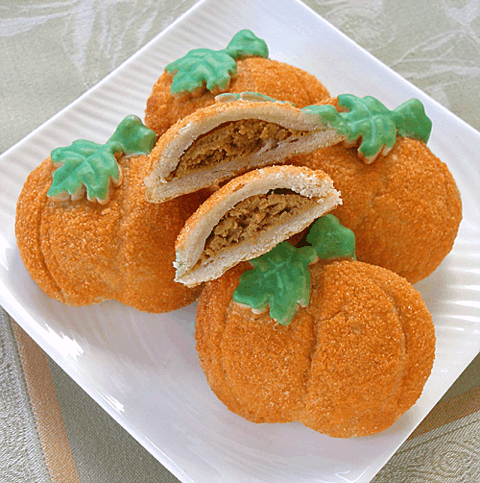
A new and fun way to enjoy the classic pumpkin pie. Bite sized and delicious, PERFECT for Thanksgiving! If you wish, you can make the filling, dough and colored sugar one day ahead, then assemble the Pielettes the next day. We also show you how to tint sugar and how make painted pie crusts.
PIE RECIPE HELP
KELLY SAYS: “They taste SO GOOD! The extra sweetness from the sugar coating is needed because the crust to filling ratio in hand pies is not the same as a regular pie, more crust/less filling.”
INGREDIENTS
You will need:
1 recipe Kelly's Perfect Food Processor Pie Dough* – for double crust; chill for at least two hours
1 recipe Pumpkin Pie Filling, recipe below
1/2 cup Orange Colored Sugar, recipe below
Egg wash, recipe below
Milk glaze, recipe below
Green Pie paint, recipe below
1 3-inch pumpkin cookie cutter
1 small leaf cookie cutter; I prefer to use the leaf plunger cutter
STEP I: MAKE THE TINTED SUGAR
TINTED SUGAR
INGREDIENTS
1/2 cup sugar
1 to 2 drops orange gel food coloring
INSTRUCTIONS
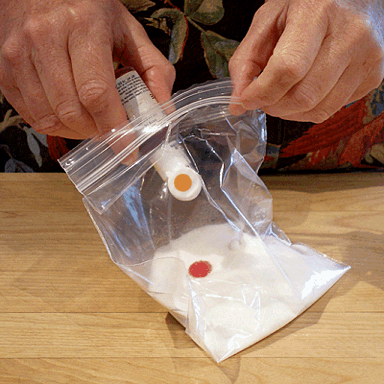
1. Place sugar in a small resealable plastic bag.
2. Add one drop gel food coloring. Do not to add any more because you will dissolve the sugar.
3. Massage the bag until the sugar is uniform in color. If you want a deeper orange, add a second drop of color and massage the bag.
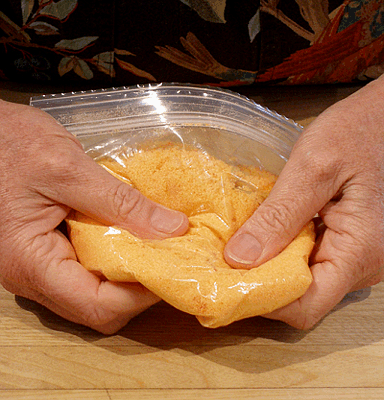
4. Pour colored sugar in a small bowl and set aside.
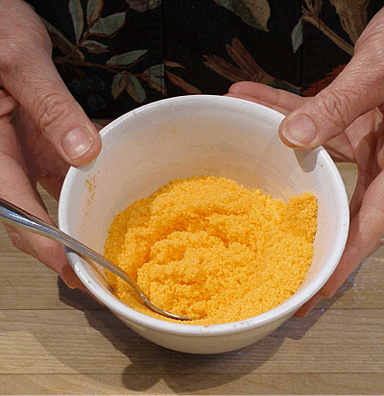
NOTE: The resulting colored sugar will be slightly moist. While you are waiting for the filling and dough to chill, stir the mixture occasionally to help it dry out.
STORAGE
After the sugar has dried, it can be stored in an airtight container for at least a month or more.
STEP II: MAKE THE PUMPKIN PIE FILLING AND BAKE
PUMPKIN PIE FILLING
Makes one 9-inch deep dish pie
INGREDIENTS
3/4 cup sugar
1 teaspoon ground cinnamon
1/2 teaspoon salt
1/2 teaspoon ground ginger
1/4 teaspoon ground cloves
2 large eggs
1 can(15 oz.) Libby's 100% Pure Pack Pumpkin
1 can (12 fl. oz.) Evaporated Milk
INSTRUCTIONS
1. Position an oven shelf in the middle of the oven. Preheat the oven to 350 degrees F.
Spray a 9-inch deep dish pie pan with non-stick spray.
Cover a baking sheet with foil or parchment paper. Set aside.
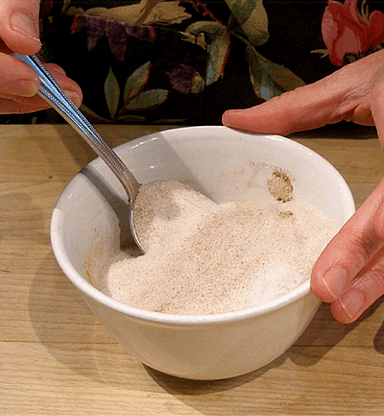
2. Mix sugar, cinnamon, salt, ginger and cloves in small bowl.
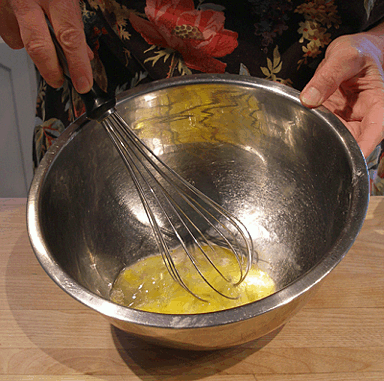
3. Beat eggs in large bowl.
4. Stir in pumpkin puree and sugar-spice mixture.
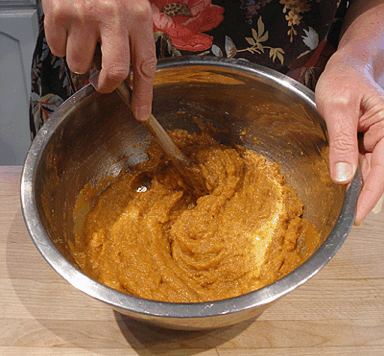
5. Gradually stir in evaporated milk.
NOTE: I find it easier to pour in about 1/2 the can, stir, and then add the second half and stir until incorporated.
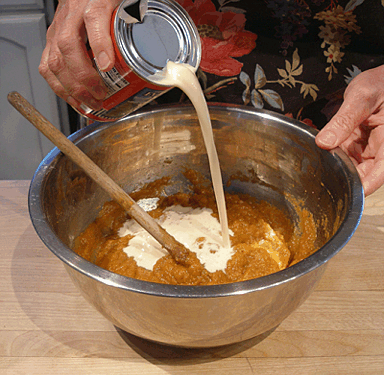
6. Place the prepared pie pan on the baking sheet. Pour filling into it.
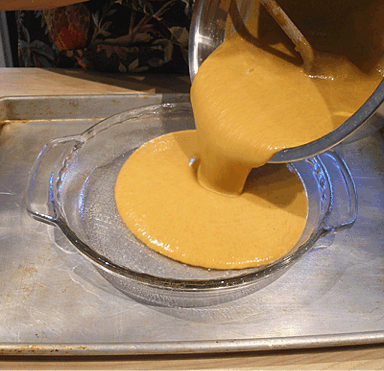
7. Bake filling for about 40-45 minutes, or until the center of the filling jiggles slightly when you shake the pan.
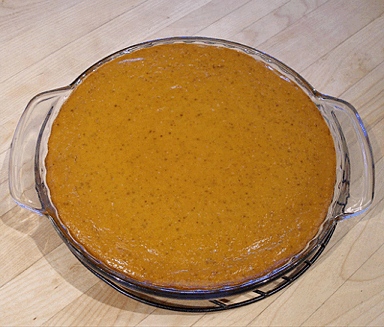
8. Remove pan from oven and cool on a wire rack for an hour. Cover and place in the refrigerator to cool completely.
STORAGE
Cover and refrigerate baked filling. Keeps for a few days.
STEP III: ROLL AND CUT-OUT THE PIE DOUGH
Prepare the cut-outs:
1. Cover two baking sheets, each with parchment paper or line with a nonstick baking mat.
2. Remove 1/2 of pie dough, at a time, from the refrigerator. Roll it out on a lightly floured surface to about 3/8-inch thick.
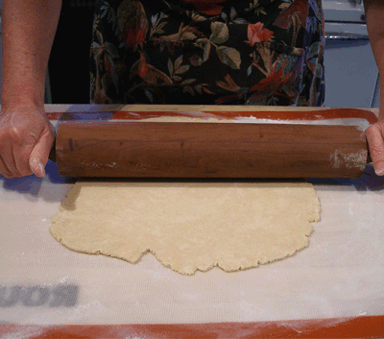
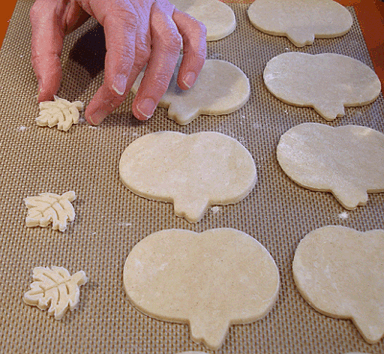
3. With the Pumpkin Cookie Cutter, cut the shapes from the rolled pie dough.
You will need two per pielette (one top and one bottom), or 28 if making 14 pielettes.
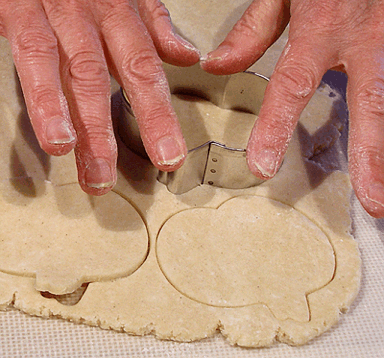
NOTE: Stack the scraps on top of each other and press them together and reroll. If the scraps are too soft to roll out, wrap them in plastic and pop them in the freezer for a few minutes.
4. Place the cut-outs on the prepared baking sheet as closely as possible, leaving as little space as you can.
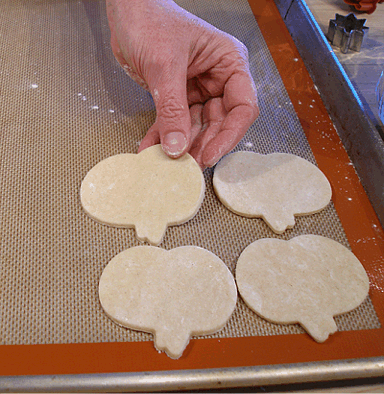
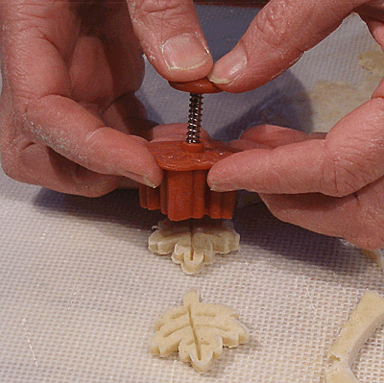
5. With the Small Leaf Cookie Cutter, cut leaf shapes out of the rolled pie dough.
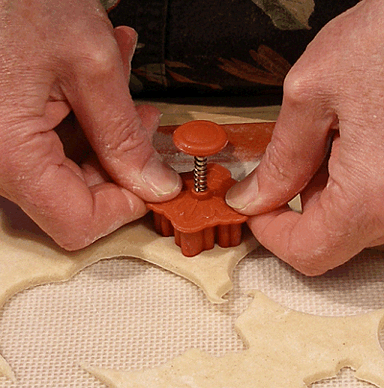
6. Place a leaf shapes on the baking sheet, next to each pair of pumpkin cut-outs, just to keep yourself organized.
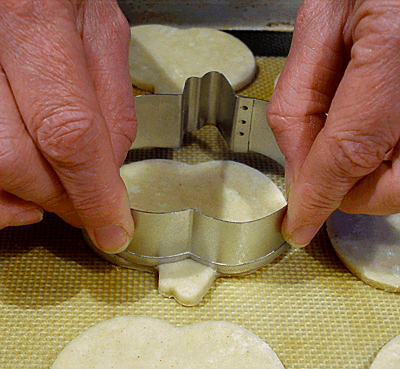
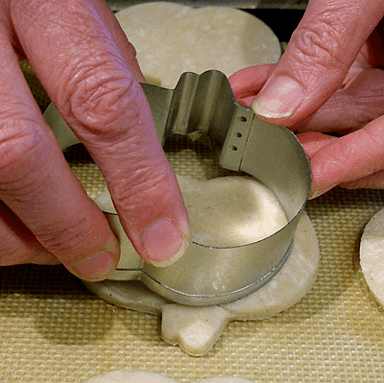
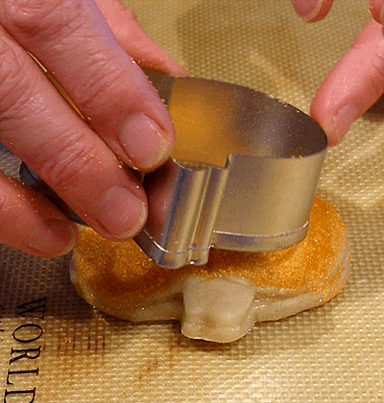
3. Use the curved side of the cutter to press in each side of the pumpkin to make it look like pumpkin ridges.
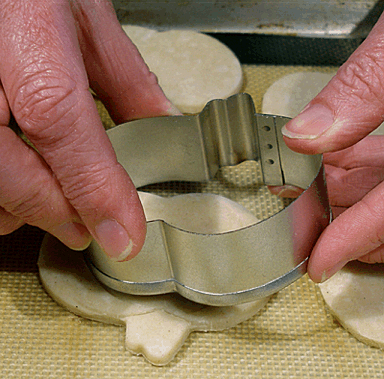
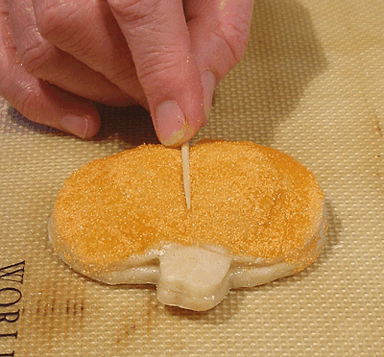
4. Use a toothpick to press in the center ridge.
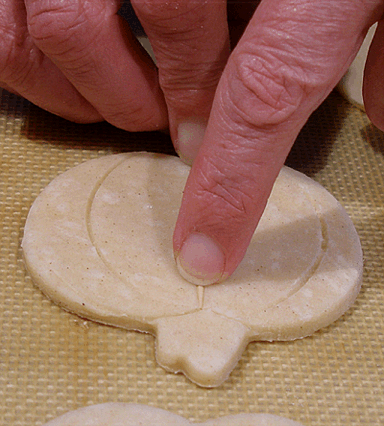
COMPLETE! Make sure you place details on half of the pumpkin cut-outs, or 14 out of the 28.
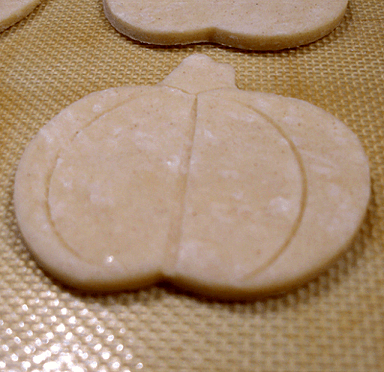
5. Cover and place the baking sheet back into the refrigerator.
STEP IV: ASSEMBLE AND BAKE
Fill the pumpkin cut-outs:
1. Position an oven shelf in the middle of the oven. Preheat the oven to 350 degrees F.
2. Remove the pumpkin filling from the refrigerator.
Using a 2 teaspoon scoop, scoop out a level portion of pie filling and place it in the center of the bottom pumpkin cut out. The bottom pumpkin cut-out
does not have any details, and you should have half or 14.
NOTE: It is VERY important that you keep the pumpkin pastry cut-outs COLD while you work with them.
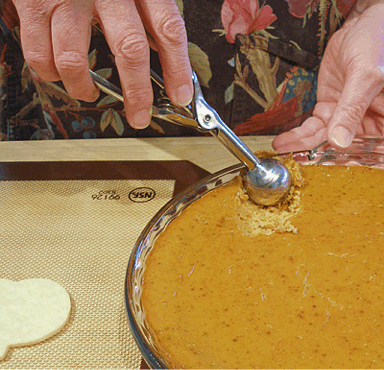
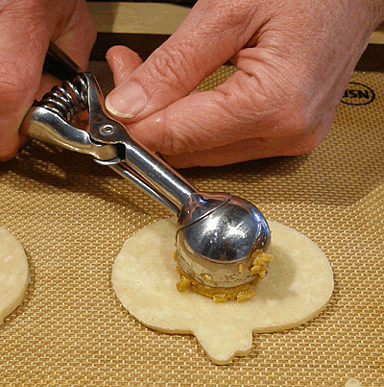
Repeat with the remaining pumpkin-pie cut-out bottoms.
Seal the Pimpkin Pielettes:
Make the egg wash.
EGG WASH
INGREDIENTS
1 large egg
1 tablespoon milk
INSTRUCTIONS
Place the egg in a small bowl and beat it with the milk.
Seal the pielettes:
1. Brush the resulting egg wash around the perimeter of the filled pumpkin half.
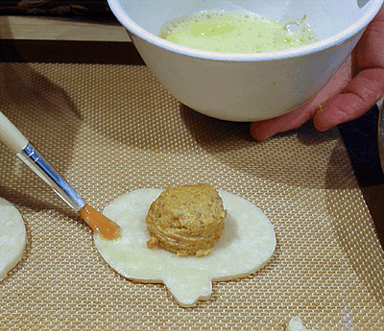
2. Place the top half of the pumpkin cut-out, the one with details, on the lower filled half.
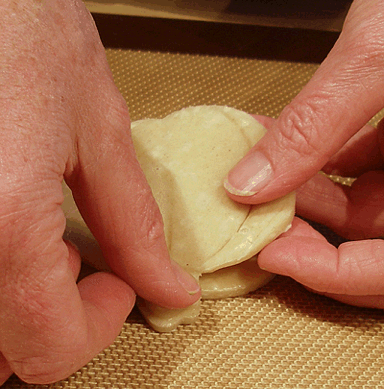
Press to seal the edges together, starting with the stem end, and working your way around.
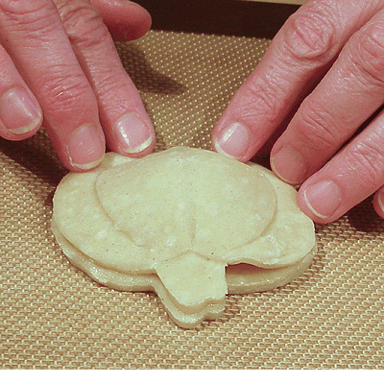
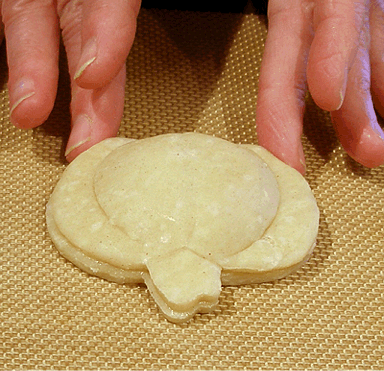
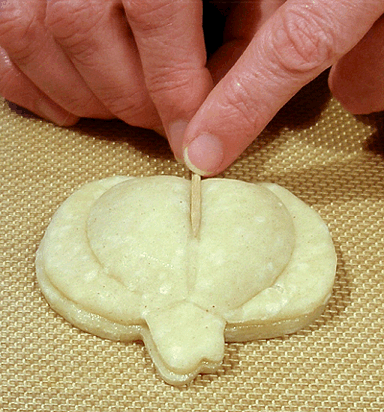
3. Take a toothpick and re-impress the center line. Make sure you use a gentle touch!
Apply a milk glaze:
MILK GLAZE
INGREDIENTS
1/4 cup milk
INSTRUCTIONS
1. Place a 1/4 cup of milk in a small bowl.
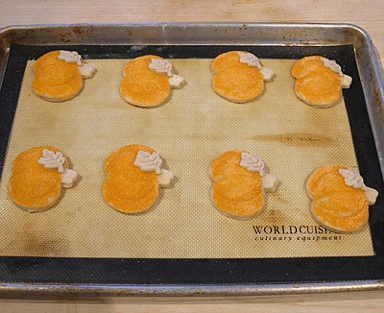
2. Paint the milk glaze on the top of the pumpkin, avoiding the stem.
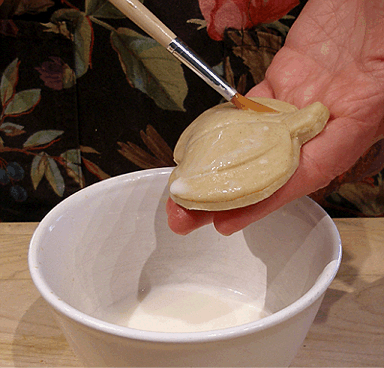
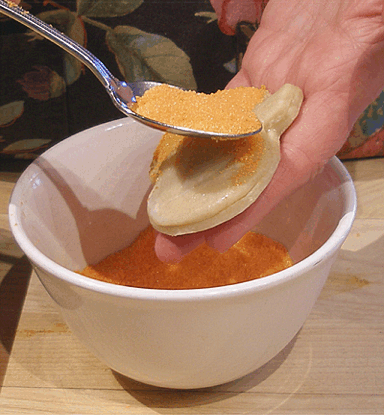
3. Hold the pumpkin in your hand, and sprinkle the moistened surface(still avoiding the stem) with the colored sugar.
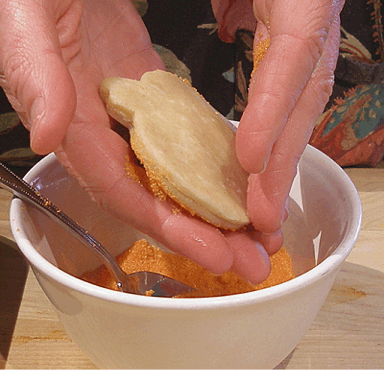
4. Tip the pumpkin over onto your other hand, to shake off the excess sugar.
5. Place sugared pumpkin on a silpat or parchment covered baking sheet.
NOTE: If necessary, re-impress the lines with the toothpick and cookie cutter. This helps with the realism in the finished product.
6. Brush a little milk on the top left corner of the pumpkin, then gently press one leaf cut-out into place.
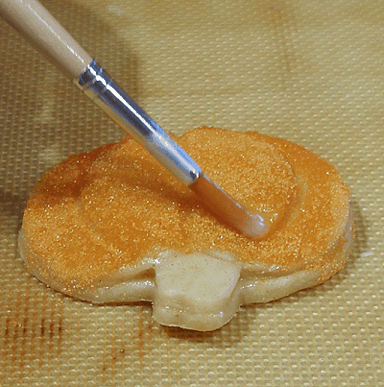
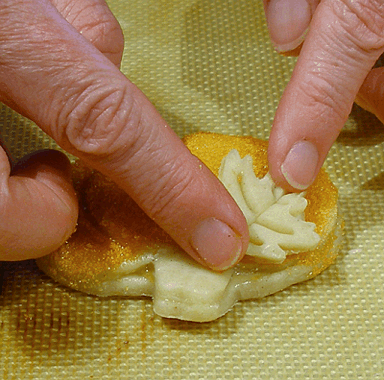
7. Repeat process with the rest of the pumpkin shapes.
When one tray of pumpkins is finished, place it in the refrigerator while you work on the second sheet.
Bake:
1. Bake the filled Pielettes for 18-20 minutes or until the leaf and edges are just starting to brown.
STEP V: PAINT THE LEAVES WITH THE GREEN PIE PAINT
Make green pie paint for leaves.
GREEN PIE PAINT
This simple glaze can be use to paint details on baked pie dough, adding beauty, visual interest and flavor.
INGREDIENTS
1/2 cup powdered sugar, sifted
1 1/2 teaspoons milk
1 1/2 teaspoon corn syrup
1/8 teaspoon vanilla
Gel paste food coloring
INSTRUCTIONS
1. Place the powdered sugar and milk in a small bowl. Mix until you have a smooth paste.
2. Add corn syrup and vanilla and stir until you have a smooth glaze.
3. Color with a small amount(less than a drop) of green gel paste food coloring(I used AmeriColor.)
Make sure you stir well.
4. Using a small brush, paint the leaves and stem with glaze.
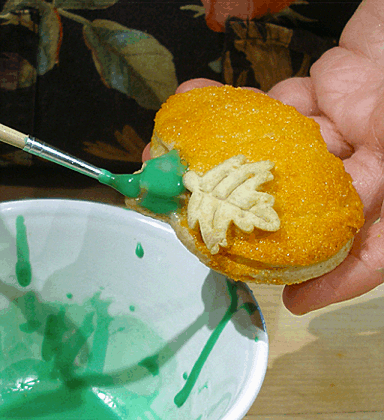
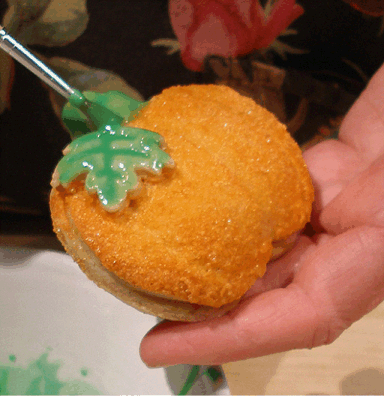
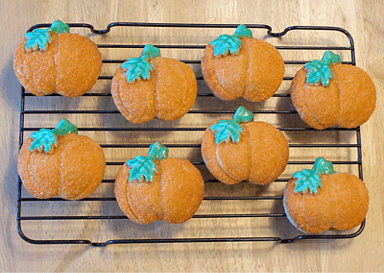
5. Place the pumpkins on a wire cake rack until the glaze is dry.
SERVE AND STORAGE
1. When glaze is dry, the pielettes can be served.
2. Place Pielettes in an airtight container and refrigerate for up to 3 days. Bring Pielettes to cool room temperature before serving.


