
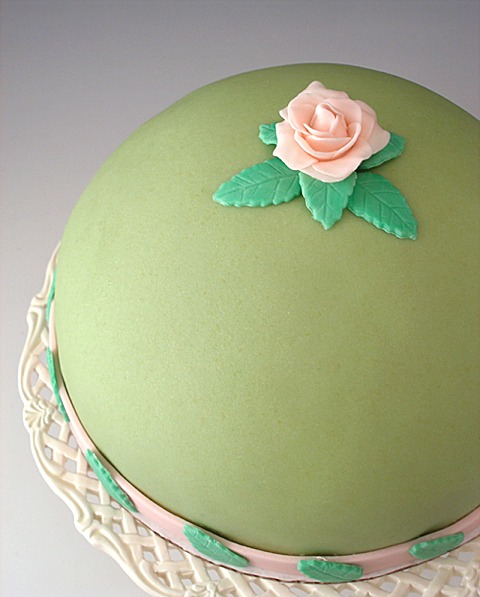
Princess cakes are thought to have originated in Sweden, known as Prinsesstårta, but are also popular in Norway, known as the Prinsessins Kramkake, as well as in Finland, and around the world. They look exactly the way Kelly made hers – but she has made a most spectacular one, garnished with a band at the bottom and hers is especially domed. I have used my special recipes with this dessert to make it extra tasty and more foolproof!
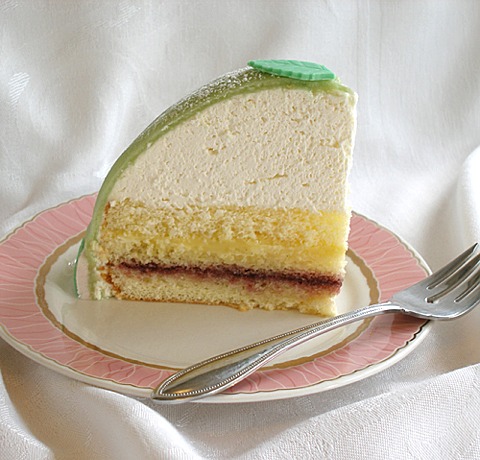
The cakes are made with a delicate sponge cake, moistened with a sugar syrup or St. George Raspberry Eau de Vie, spread with raspberry jam and filled with pastry cream. They are then frosted with whipped cream – I use stabilized for more structure – shaped in a traditional large dome shape, and covered in elegant pastel colored marzipan or white chocolate fondant (Satin Ice). They are garnished with a lovely design on top, traditionally being a rose! They are perfect served for a spring celebration such as Mother's Day, a wedding shower or special luncheon.
We made the whole thing into a tutorial so you can try making it yourself. We have always admired these cakes from afar – in very fine pastry shops – and wanted to be able to make them! So, Kelly and I figured out how and shared it with you!
CAKE RECIPE HELP
KELLY SAYS: “Yesterday I made the best cake I have ever tasted in my life, and I'm not exaggerating!
Sarah's Princess Cake is AMAZING tasting!…
Sarah, thanks for this fabulous recipe. Unfortunately, the cake keeps calling me from the fridge.”
This delicious and show-stopping dessert is made from a couple of recipes and steps:
STEP I: Bake 2 recipes Priscilla’s Orange Sponge Cake – can be made a month in advance and frozen
STEP II: Make 1/2 recipe Pastry Cream Tutorial – can be made two days in advance; NOTE: This recipe uses about 3/4 cup of the pastry cream
STEP III: Tint the Marzipan – How to, below. can be made a month in advance
STEP IV: Gather the Raspberry Jam and Make the Simple Syrup – Simple Syrup Recipe, below
STEP V: Assemble the Princess Cream Cake, Whip the Stabilized Whipped Cream (recipe below), and Finishing Touches – Can decorate with Marshmallow Fondant or MMF
INSTRUCTIONS
STEP I: TINT THE MARZIPAN AND STORE
Color a walnut size piece of marzipan with the green food coloring until the marzipan is deep green.
MARZIPAN
INGREDIENTS
1 1/2 pounds marzipan
Green food coloring
Powdered sugar for rolling
INSTRUCTIONS
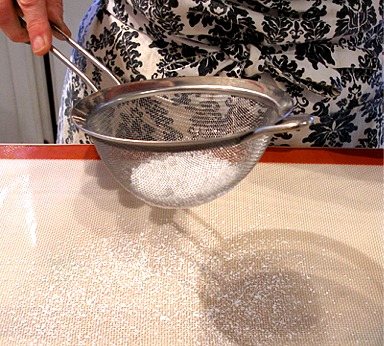
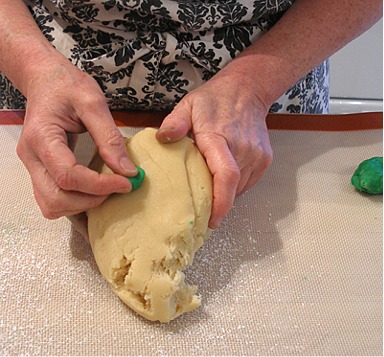
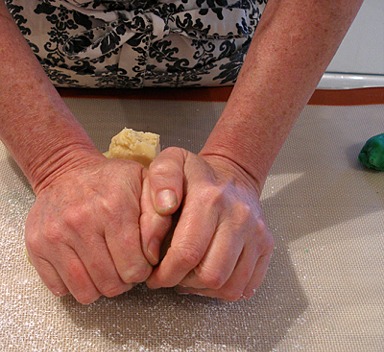
1. Using a sifter or a fine mesh strainer, dust a scrupulously clean work surface with powdered sugar.
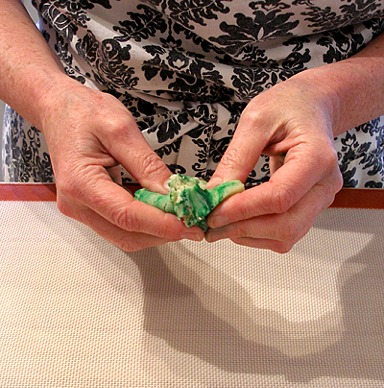
2. Tear off a pea-sized piece of green marzipan and knead it with the remaining marzipan until it is uniform in color.
Add additional pieces from the green marzipan until it achieves a light green color (it should be the color of a Granny Smith apple). Eat the leftover deep green marzipan.
STORAGE
Once made, store marzipan in a plastic bag placed in an airtight container for 1 month in the refrigerator. It can also be frozen for about 6 months.
Thaw in refrigerator overnight and then warm to room temperature before using. (I like to use mine at slightly cooler than room temperature).
Knead to soften, but don't let it get oily. If it does, press paper towels on its surface to absorb.
If at any time the marzipan smells rancid, toss — because it is made from nuts whose oils are perishable.
STEP II: GATHER THE RASPBERRY JAM AND MAKE THE SIMPLE SYRUP
RASPBERRY JAM
About 1 cup St. George Raspberry Eau de Vie
SARAH SAYS: Alternatively, I recently discovered this brand in my local gourmet store- Oregon Growers & Shippers – and it is so good!
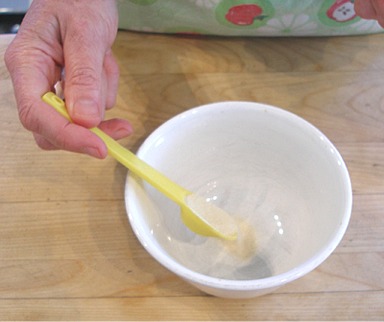
SIMPLE SYRUP RECIPE
INGREDIENTS
1 cup sugar
1 cup water
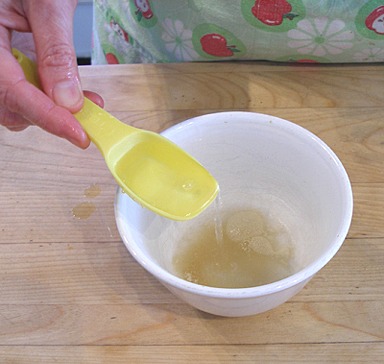
INSTRUCTIONS
1. Add sugar to a small saucepan, fitted with a lid. Pour in water and stir.
2. Allow the mixture to simmer until the sugar is completely dissolved. Turn off heat and let sit until cool.
STORAGE
Use immediately or refrigerate indefinitely in a covered container until needed.
STEP III: ASSEMBLE THE CAKE, WHIP THE STABILIZED WHIPPED CREAM AND FINISHING TOUCHES
A. Assemble the Cake, Part I:
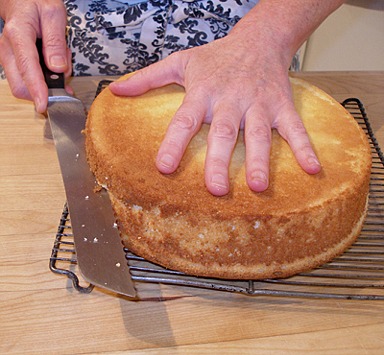
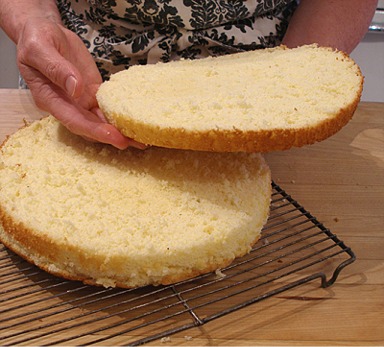
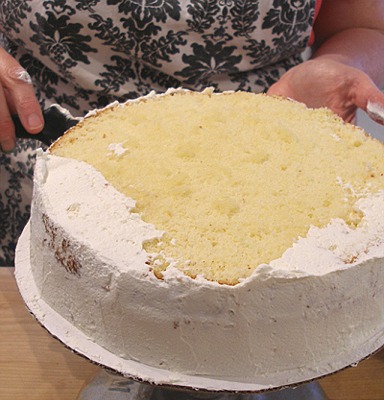
1. To assemble cake, Using a long serrated knife, slice TWO PRISCILLA'S ORANGE SPONGE CAKE LAYERS into 1/2-inch thick disks. You will end up with four, 1/2-inch thick torted layers.
Only THREE will be needed for the recipe, reserve it, well-wrapped in the freezer, for future use.
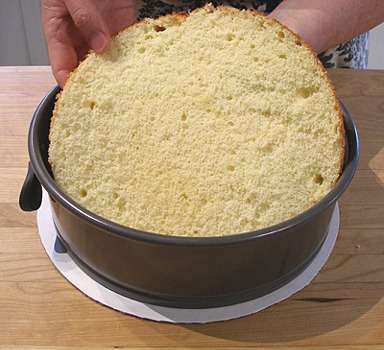
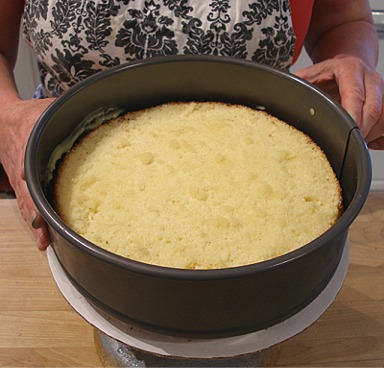
2. Place a 9-inch springform pan ring without a bottom on a 10-inch cake board.
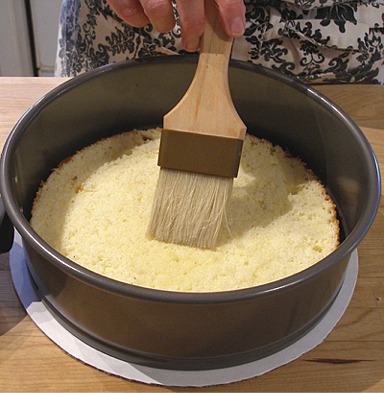
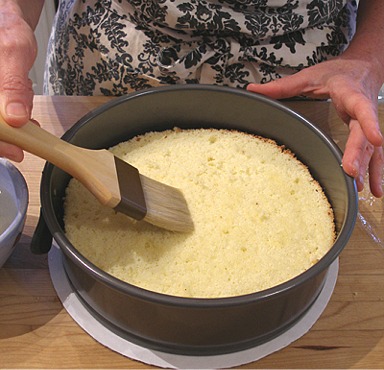
Place 1 layer (1/2-inch high disk) of the sponge cake on the bottom, and generously brush with the syrup, taking care not to over soak.
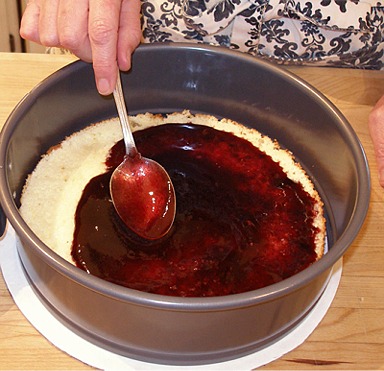
3. Spread the jam evenly over the syrup.
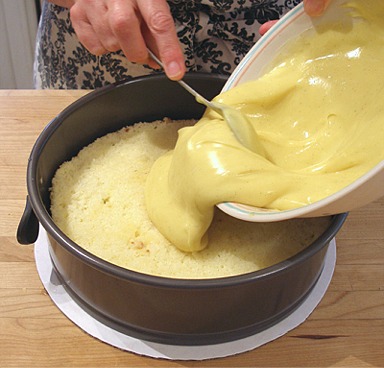
Place a second layer (1/2-inch high disk) of sponge cake on top of the jam.
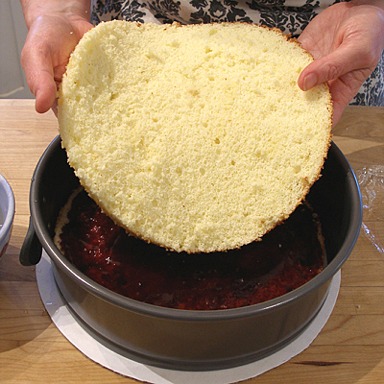
4. Brush this layer with syrup and spread the prepared PASTRY CREAM.

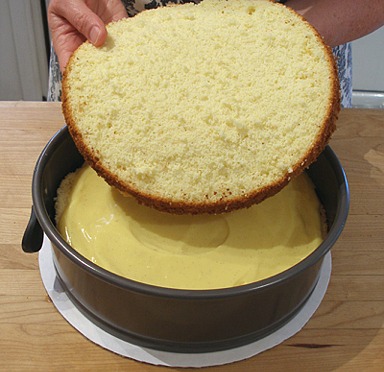
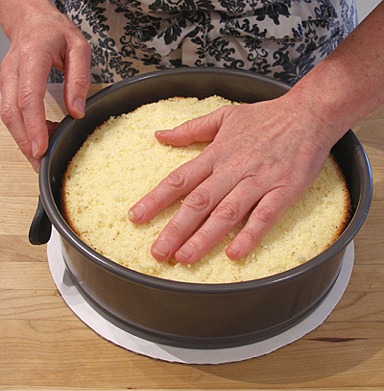
5. Top with a third and last layer of sponge cake (1/2-inch high disk) and again, brush with the syrup.
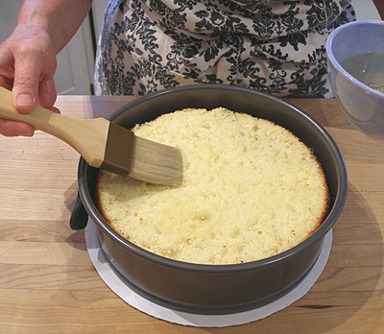
6. Using your hands, press lightly on the cake to ensure cake is level.
Refrigerate for 1 hour.
STORAGE
Keep the cake refrigerated for up to one day. The pastry cream will start to separate and leech water after that.
B. Whip the cream:
STABILIZED WHIPPED CREAM / Recipe alone
Whip cream with sugar on medium speed with whisk attachment until it holds a firm peak. If your whipping cream is high in butterfat (40 %) or ultra-pasteurized, then you do not need to stabilize it. Gelatin gives it a firm, mouse-like texture, which I like, and it does not weep (bleed water after awhile). You can frost your cake a day ahead, but it must be refrigerated. You can use cornstarch to stabilize whipped cream, but it is not as stable.
NOTES: Iced cake must be refrigerated. Colors to pastels only. Texture remains soft on decorated cake.
INGREDIENTS
Gelatin:
4 tablespoons cold water.
2 teaspoons unflavored gelatin
Whipped Cream:
4 cups (2 pints) chilled whipping cream
2 teaspoons vanilla extract
2-3 tablespoons sugar
INSTRUCTIONS:
Prepare the gelatin:
1. Sprinkle the gelatin over the water, and let soak for 5 minutes.
2. Dissolve the gelatin with the water by placing it in a container over a small pot of simmering water, or warm in microwave for about 20-30 seconds. Let cool, but do not let cool so long that it sets.

Prepare the whipped cream:
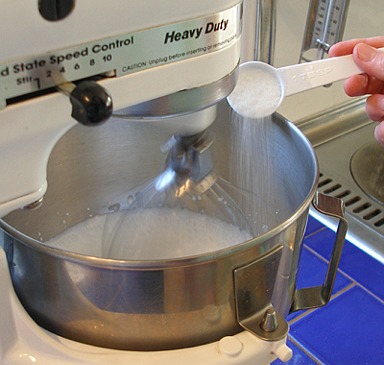
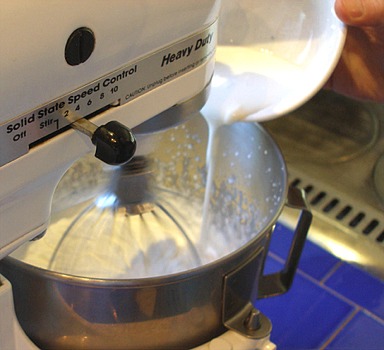
1. Using an electric mixer, fitted with a whisk attachment, beat cream on high speed in its pre-chilled mixer bowl.
Place the empty bowl in the freezer to quickly chill.
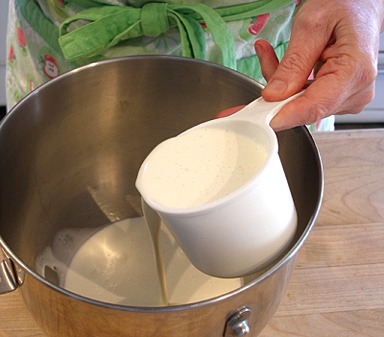
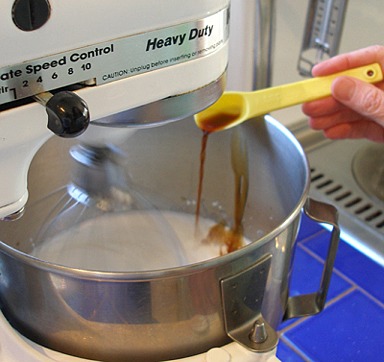
2. Just before it becomes soft and billowy, slowly add the sugar and flavorings to the whipped cream at the sides of the bowl.
Continue to whip on high as you do.
3. Whip the cream until it becomes barely stiffened. Stop the mixer.
4. Add melted and cooled gelatin to the cream mixture.
Kelly SAYS: I find there is less tendency for the cooled gelatin to for blobs in the finished whipped cream using my method:
a. First, take about 2 tablespoons of the cream from the mixer bowl.
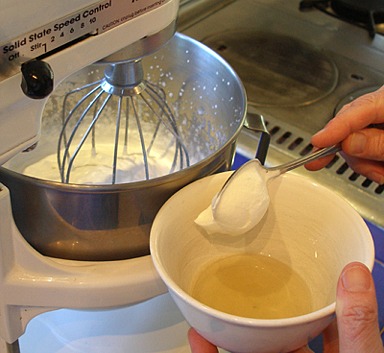
b. Stir it into the cooled gelatin.
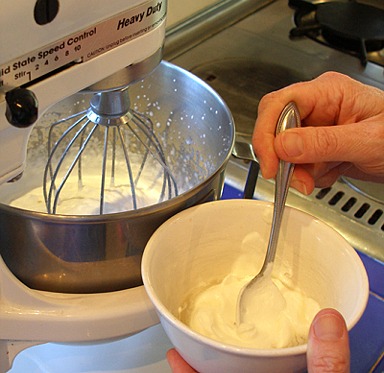
c. Return the cream/ gelatin mixture back into the main mixing bowl with the rest of the semi-whipped cream.
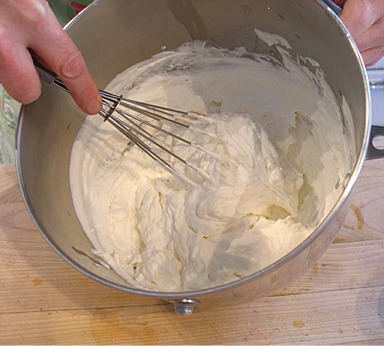
5. Stop whipping when cream forms soft peaks. Finish beating with whisk to adjust consistency.
6. Serve immediately or cover and refrigerate.
STORAGE
If storing, cover and refrigerate for up to 24 to 36 hours. If the cream separates in the refrigerator, whisk the cream together again with a large wire balloon whisk until it has come back together (do not rebeat with an electric mixer).
For longer storage, whipped cream can be frozen by teaspoonful on a wax paper lined cookie sheet. When frozen, remove to a resealable plastic bag and place back in the freezer.
C. Assemble the Cake, Part II:
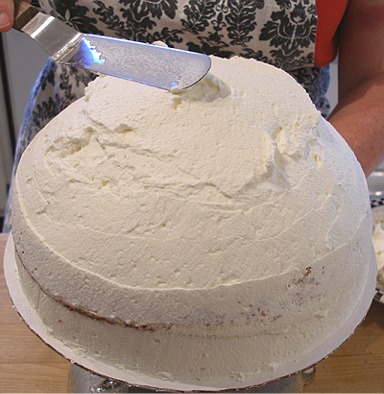
1 . Remove the springform mold from the cake and generously frost the sides with the whipped cream.
NOTE: You will want to use a cake decorating turntable to make the whipped cream dome. It is really the only way to achieve an even dome of whipped cream.
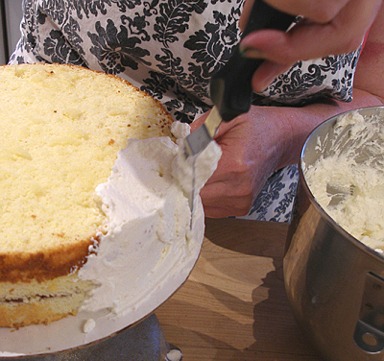
2. Scoop the remaining whipped cream directly on the center of the top of the cake and using a spatula, make a mound, working from the center out.
The height of the whipped cream should be approximately 1 1/2-inches in the center and about 1/2-inch on the edges.

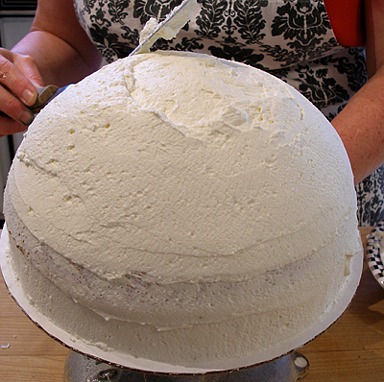
NOTE: Continue smoothing the whipped cream, by turning the turntable, till you have a perfect dome.
After the dome is complete, put the cake in the refrigerator, while you roll out the marzipan.
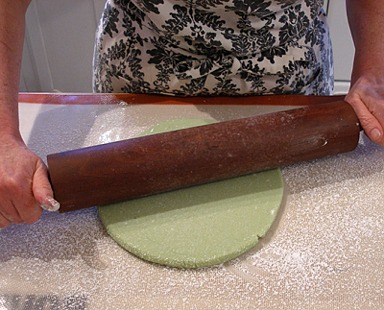
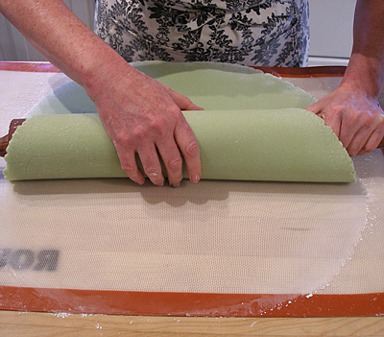
3. Dust a work surface again with confectioners' sugar and roll the light green marzipan to a 1/10-inch thick circle, using as much confectioners' sugar as necessary during rolling to prevent the marzipan from sticking to the work surface. When you're finished rolling, marzipan should be stretched enough to cover the entire cake and sides.
NOTE: To insure that the marzipan circle was large enough to cover the whole cake, I rolled it to approximately 16-inches in diameter.

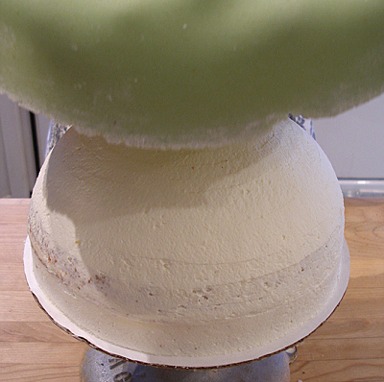
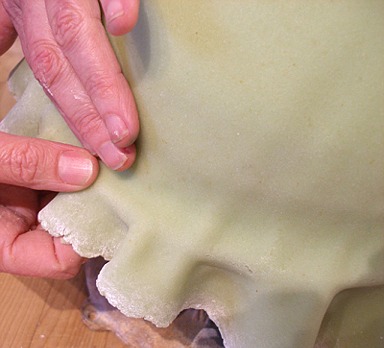
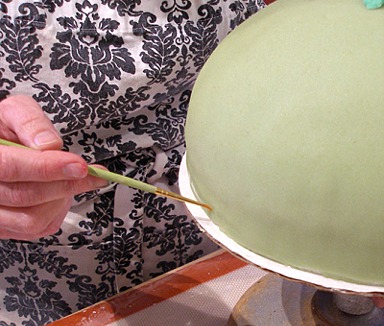
4. Roll marzipan on rolling pin and gently lay it down on top of the cake, smoothing out the dome and lightly pressing on the bottom edges of the cake to form a perfect dome.
NOTE: This is the scary part! Just try to do this in a nice smooth movement, visualizing the center of the cake, and gently placing the marzipan onto the cake.
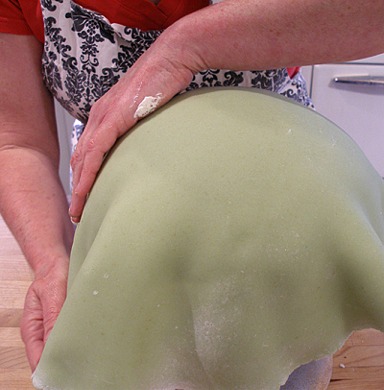
5. Continue smoothing the marzipan, going around the sides, gently lifting and smoothing the folds till they are flush with the cake.
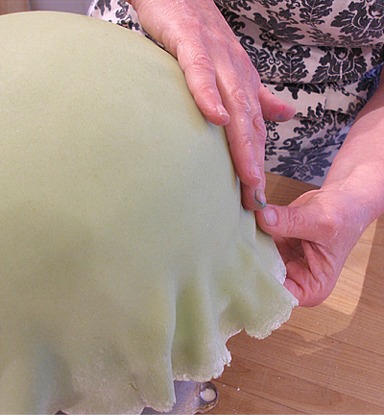
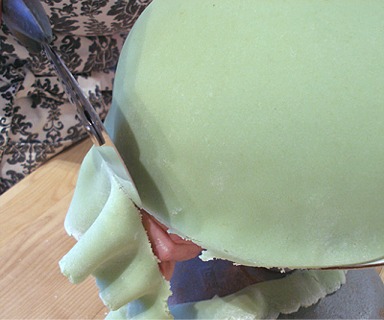
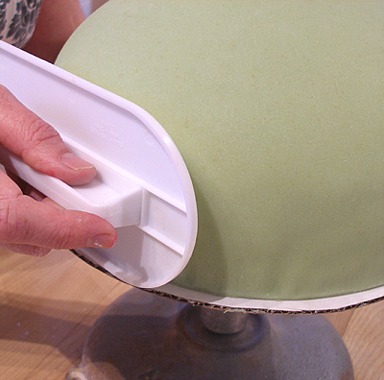
6. When the marzipan is smooth cut off the excess marzipan with a pizza cutter and continue to smooth with a fondant smoother, eventually trimming the marzipan so it is flush with the cake board.
D. Guild the Lily, So to Speak:
1. Decorate with Marshmallow Fondant or MMF, making a braided border on the edge of the cake.
KELLY SAYS: In doing my research about Princess Cakes, I saw that the center of the cakes are traditionally decorated with a rose, either a real rose, or one made of fondant or marzipan.
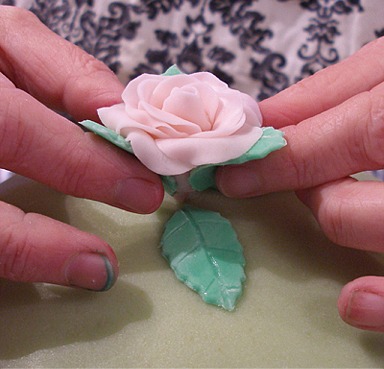
I decided to make a rose out of MMF and added some leaves at the base of the rose.
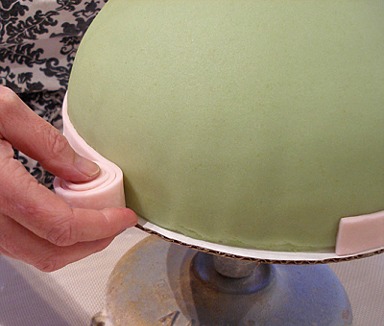
I also rolled a ribbon of pink MMF to finish the bottom of the cake, so there was a nice transition from the cake to the cake board.
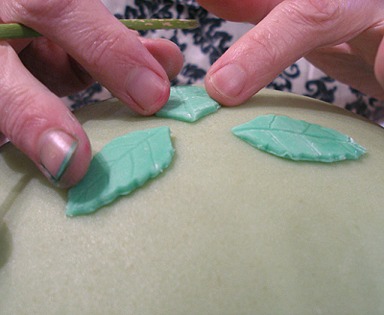
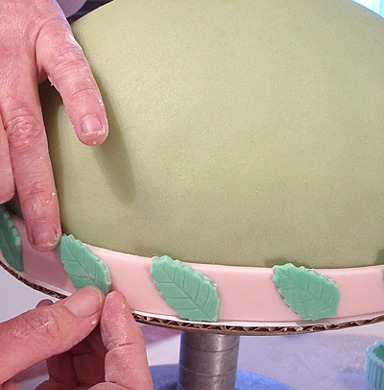
I cut out rose leaves and used a leaf vainer to make them look more realistic.
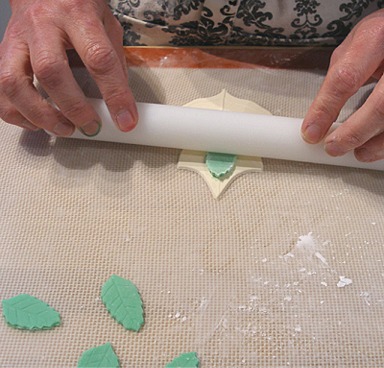
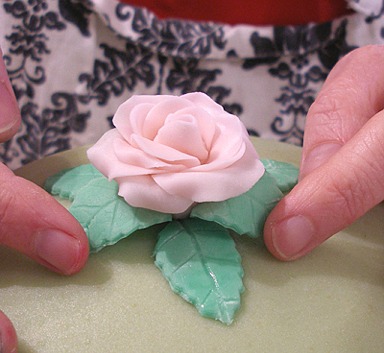
2. I placed three leaves on the center of the cake, adhering them to the marzipan with a little water.
I then placed the rose in the center of the leaves.
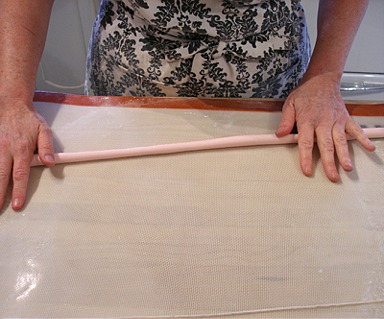
3. To make the ribbon, measure the base of the cake with a piece of string, roll out a “snake” of MMF and then roll it flat, and trim it with a straight edge, so it is an equal width, all the way down the length.
Roll the ribbon up, then lightly paint water on the base of the cake and unroll the ribbon onto the base of the cake. Press it gently into place.
4. I decided that the cake still needed something, so I placed some leaves along the ribbon, adhering them to the MMF by painting on a little water.

STORAGE
Cake must remain refrigerated, well covered with plastic wrap, because it contains pastry cream and whipped cream. Lasts for up to three days, or more.
TADA!