
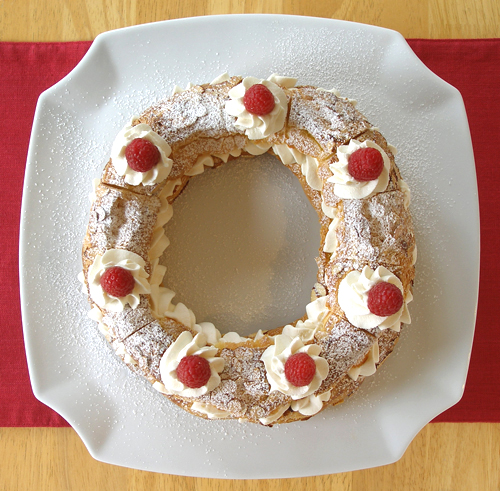
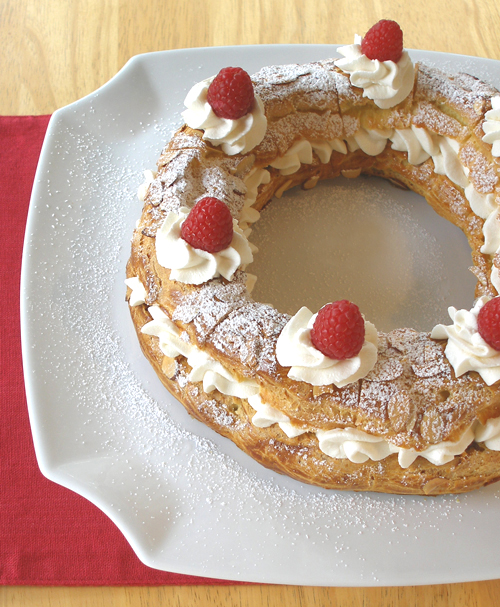
Classically French, this showstopper of a dessert is comprised of a large ring of airy pâte à choux pastry – the same pastry used to make éclairs and cream puffs – that is split and filled with pastry cream and whipped cream, and topped with powdered sugar and almonds. Resembling a wheel, this French pastry is thought to have been created by a Parisian pastry chef to celebrate a famous 1891 bicycle race from Paris to Brest and back again; thought to be the precursor of the Tour de France. See also our Choux Pastry or Pâte à Choux information for helpful how-to techniques and tips.
We worked hard to come up with a foolproof, and incredibly delicious, recipe for this classic. We'll show you how to pipe the pastry circle properly so it remains sturdy, does not crack or separate, and rises high, some of the common pitfalls when making this recipe. We've also come up with the perfect pastry cream recipe – rich and chocolaty – made sturdier with the right ingredients and techniques so it remains stable and doesn't squish from the sides when the “lid” of the pastry is placed on top. Plus, we'll show you how to stabilize and pipe the whipped cream for a foolproof presentation.
PASTRY RECIPE HELP
INGREDIENTS
Choux Pastry or Pâte à Choux Pastry Dough:
3/4 cup whole or 2% milk
3 tablespoons unsalted butter
1/4 teaspoon sugar
Large pinch of salt
3/4 cup unbleached all-purpose flour; spoon into the measuring cup and level to rim
3 large eggs; must be close to room temperature
2 – 3 tablespoons sliced almonds
Filling:
1 recipe Chocolate Thick Pastry Cream; Make ahead. Refrigerate until ready to use.
1 recipe Stabilized Whipped Cream (from 2 cups cream); Make ahead. Refrigerate until ready to use.
Garnish:
Powdered sugar
Raspberries or small strawberries of your choice
STEP I: HEAT THE OVEN AND PREPARE THE TEMPLATE. MAKE THE PATE A CHOUX DOUGH.
Heat the oven and prepare the template:
1. Position an oven shelf in the middle of the oven. Heat the oven to 375 degrees F.
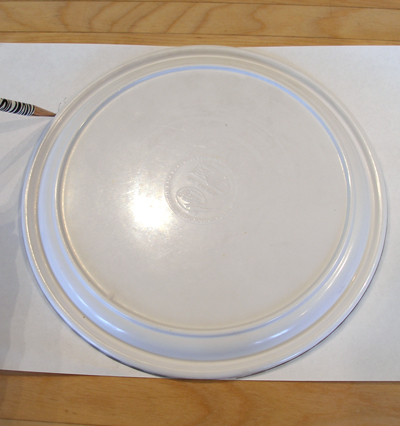
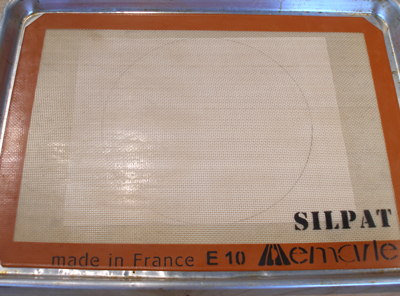
2. On a plain piece of paper, draw around the outside of an 8-8.5-inch plate with a pencil. Place the paper under a silpat mat. This will be your piping guide.
Make the Pâte à Choux Pastry Dough:
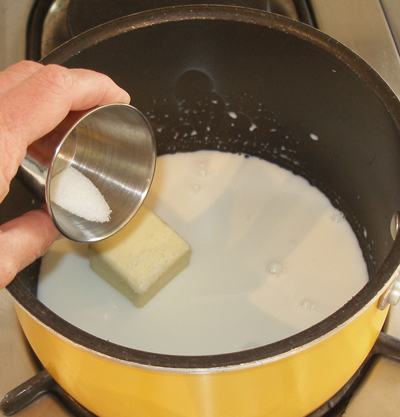
1. Combine the milk, butter, sugar, and salt in a heavy-bottomed saucepan and bring to a boil over medium-high heat.

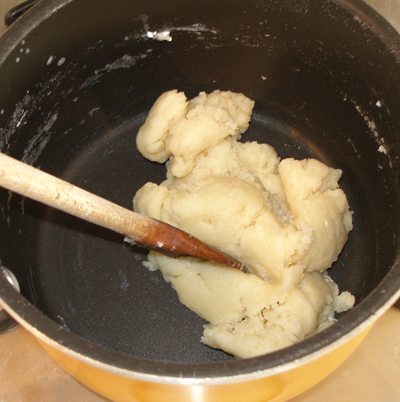
2. Remove from the heat. Add the flour in one stroke, and mix well with a wooden spoon until smooth.
NOTE: I slid the pan over to a cool burner when I added the flour.

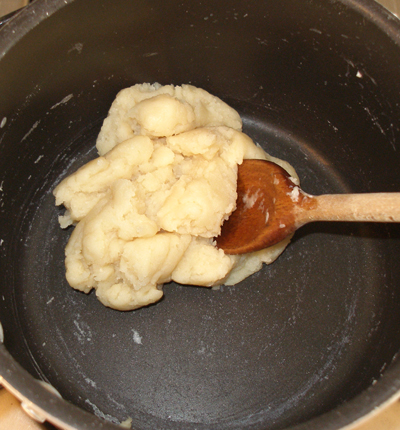
3. Then place back over the heat and cook, stirring constantly, for 15 to 20 seconds, until the mixture comes away from the sides of the pan.
This is to evaporate all excess moisture from the mixture.
SARAH SAYS: Avoid overcooking the paste and letting the fat separate out from the butter, where the mixture will become greasy. If it does, you will need to start over again.
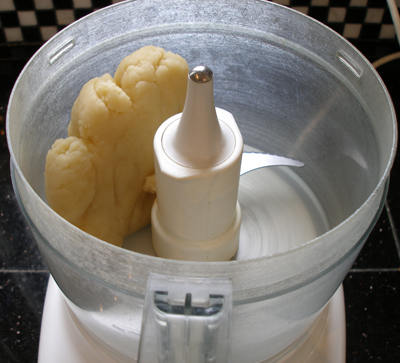
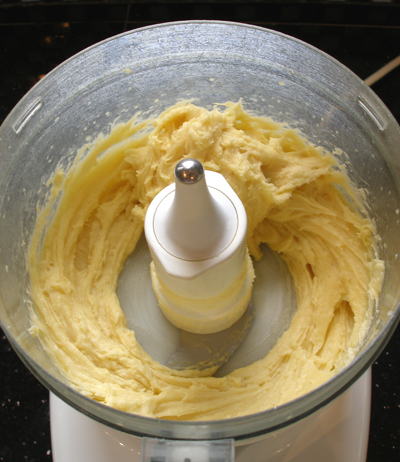
4. Transfer the dough to a food processor fitted with a steel blade. Let cool for 10 minutes.
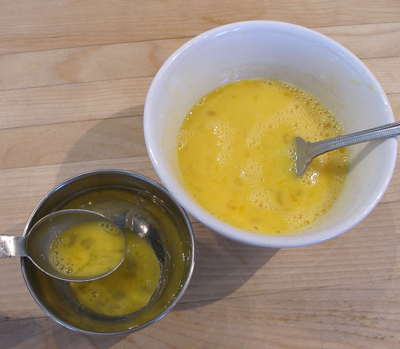
5. Crack the eggs into a small bowl and mix them well with a fork. Set aside 1 tablespoon of the beaten egg for use as a glaze.
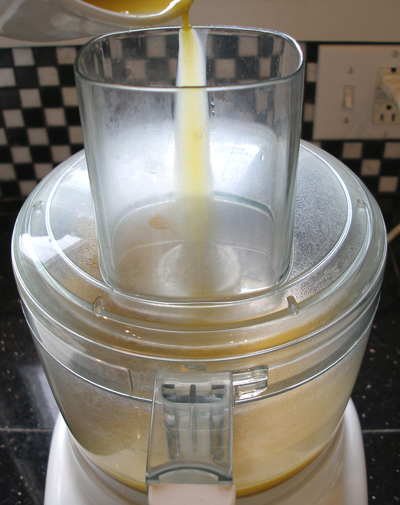
6. Pour the remaining eggs into the processor bowl and pulse on and off for 20 to 30 seconds, until the eggs are well incorporated and the dough is smooth.
STEP II: PIPE THE PARIS BREST AND BAKE.
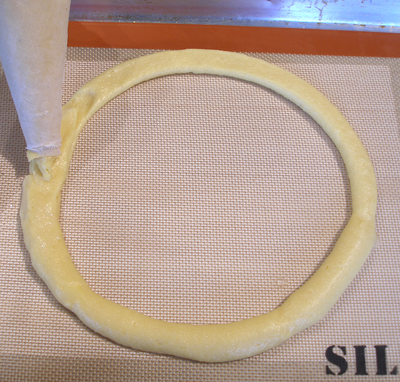
Pipe the Paris Brest:
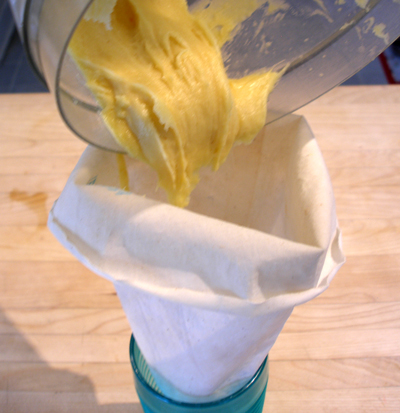
1. Spoon the dough into a pastry bag fitted with a 3/4-inch plain tip.
SARAH SAYS: If you do not have a piping tip of this size, you may use a pastry bag with a 3/4-inch opening, and pipe the dough without a tip; it will be OK.
2. Pipe a ring that is just INSIDE the circle on your template if you used an 8 1/2-inch plate.
If you used an 8-inch plate, pipe directly ON TOP of the drawn line.
SARAH SAYS: If you used an 8 1/2-inch plate for your template, and you pipe ON TOP of the drawn line, you may not have enough dough to complete the third circle of dough!
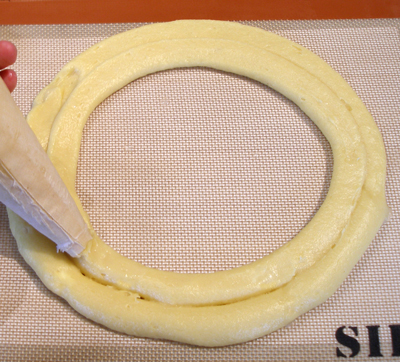
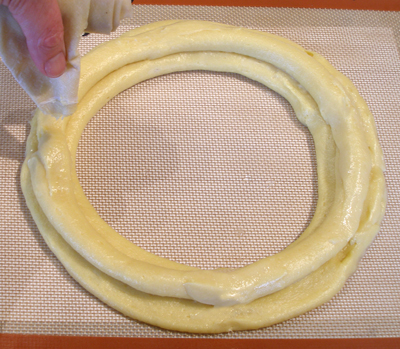
3. Pipe another circle of dough inside and another on top of the rings until you have used all the dough.
SARAH SAYS: You will have a circle that is 1 1/2- to 1 3/4-inches high with a hole in the center that measures about 5-inches across.
Do not start and end any of the dough circles in the same spot, since this can cause the pastry to open at the seam during baking.
SARAH SAYS: Your rings DO NOT have to be perfect! The choux paste is very forgiving because it puffs up beautifully when baked.
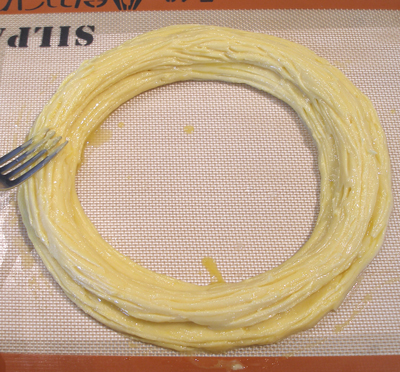
4. Brush the dough with the reserved tablespoon of egg.
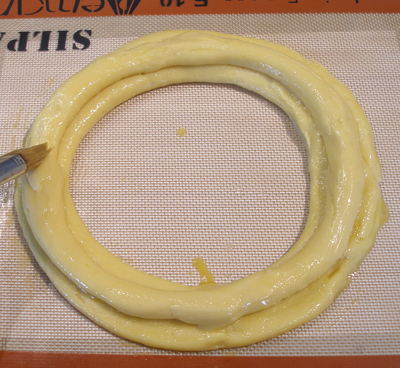
5. Then using a table fork, mark the surface and sides of the dough, running the tines of the fork gently around the circle to create a crosshatch effect.
SARAH SAYS: Doing this with the fork, also helps to bring the top and bottom rings together, for a more seamless look to the finished pastry.
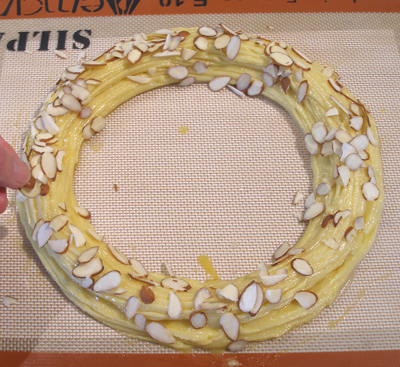
6. Sprinkle all over with the sliced almonds.
Bake:
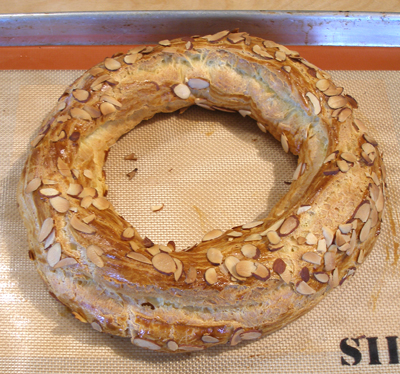
1. Bake in a heated oven for 20 minutes.
NOTE: Do not open your oven to check on the pastry during the first 20 minutes or your dough may deflate.
3. Reduce the heat to 350 degrees F and bake for an additional 30 minutes, or until browned.
SARAH SAYS: If the pastry begins to brown excessively, cover it loosely with a piece of aluminum foil.
4. Turn the oven off and let the pastry remain in the oven for 30 minutes with the door partially open to evaporate some of its moisture.
5. Remove the pastry from the oven and let cool to room temperature before removing from the baking sheet to a wire cake rack to cool completely.
STORAGE
Cover the baked pastry loosely with foil, and store at room temperature where it will keep for about 8 hours. Do not refrigerate.
For longer storage, wrap in plastic and freeze for a week or so. Thaw, unwrapped on a wire cake rack to prevent sogginess.
If necessary, recrisp in a preheated 350 degree F oven 10 minutes. Cool to room temperature before proceeding.
STEP III: ASSEMBLE THE PARIS BREST AND SERVE
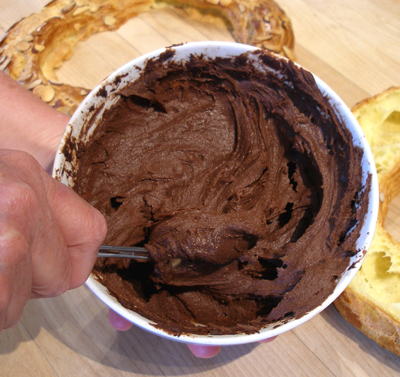
1. Remove the Chocolate Thick Pastry Cream Recipe from the refrigerator so it can warm a bit to room temperature.
SARAH SAYS: Pastry cream is highly perishable, so it cannot remain out of refrigeration for more than 2 hours maximum.
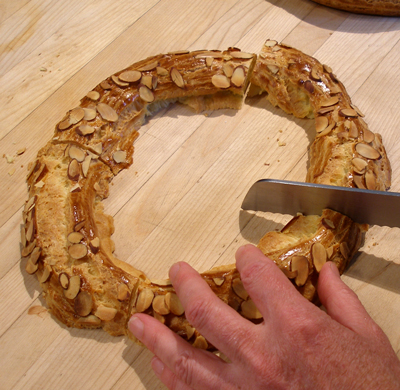
2. Use a sharp serrated knife to remove a 1/2-inch-thick horizontal slice, or “lid,” from the top; set it aside.
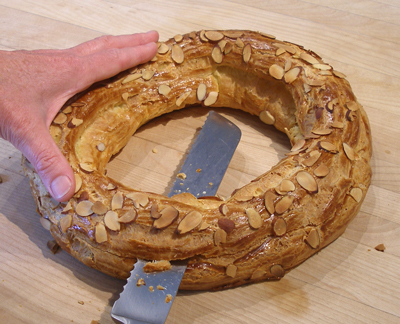
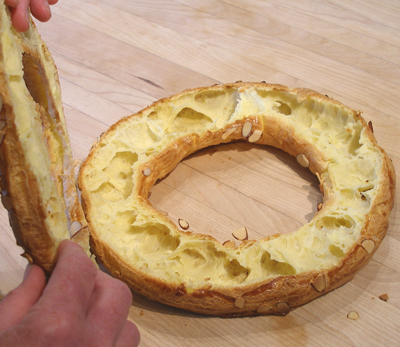
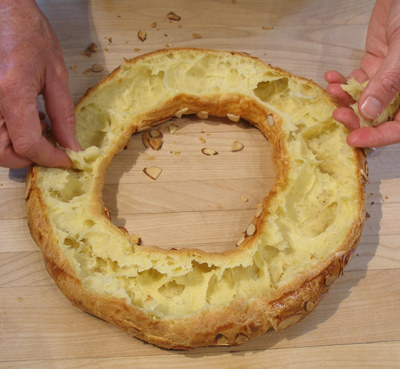
2. Remove a small amount of the excess dough from the inside so there will be room for the Chocolate Thick Pastry Cream.
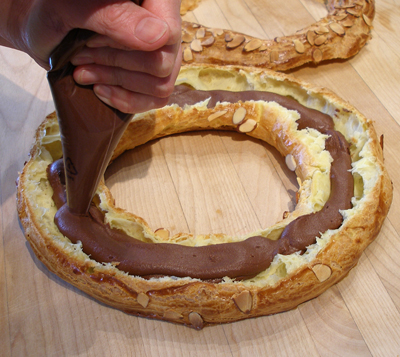
3. Stir the Chocolate Thick Pastry Cream briskly with a spoon to loosen it up a bit.
4. Then place it in a disposable pastry bag.
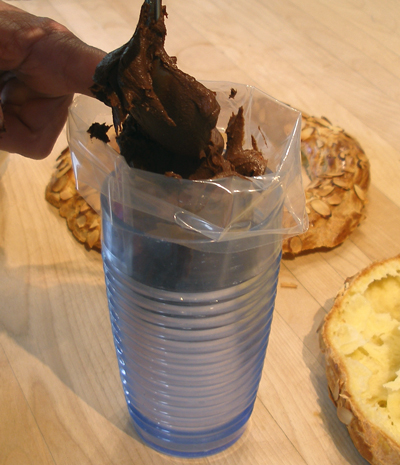
5. Cut a 3/4-inch opening in the bottom of the pastry bag and pipe the cream evenly inside the cavity made in ring.
SARAH SAYS: You will use all of the pastry cream.
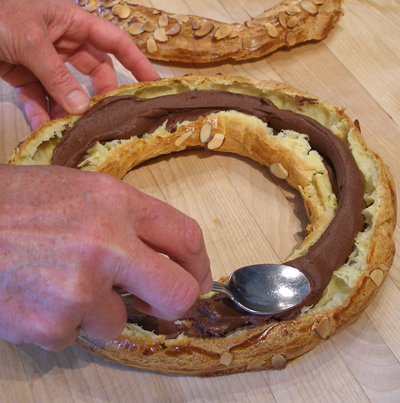
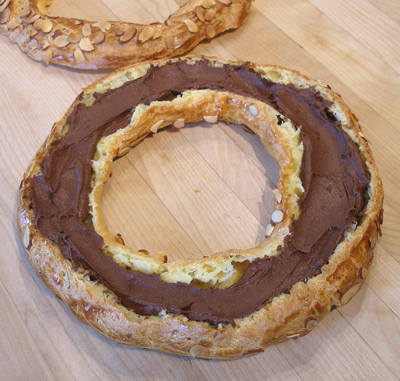
6. Using the back of a spoon, spread the chocolate cream in the bottom of the pastry round, pushing it gently into its cavities.
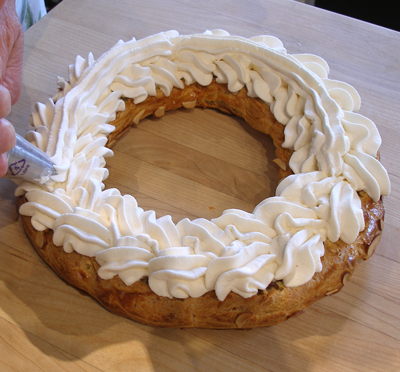
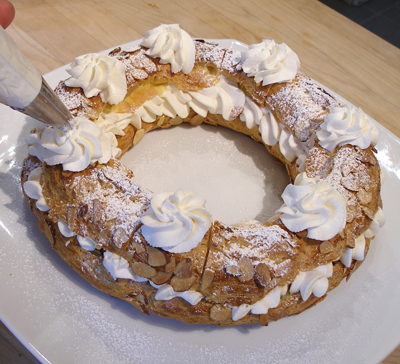
7. Transfer the Stabilized Whipped Cream Recipe to a pastry bag fitted with a 1/2-inch star tip.
Pipe the whipped cream on top of the chocolate cream. It should come at least 1-inch above the rim of bottom part of the pastry.
SARAH SAYS: We piped the whipped cream in a v-shaped pattern so it looked pretty on the edges of the pastry.
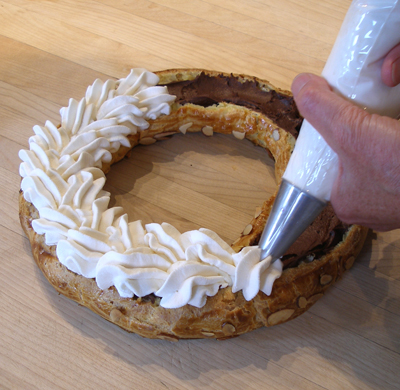
SARAH SAYS: We piped a circle of whipped cream in the middle of the whipped cream to give some extra height to the pastry when its “lid” was placed on top.
8. Cut the pastry lid into 8 to 12 equal pieces, and reassemble them in order on top of the pastry to make it easy to cut into portions.
SARAH SAYS: We cut the pastry in half, and then in quarters, and cut each quarter into three servings, making 12 pieces.
This dessert is very rich, so you don't want to make the pieces too large.
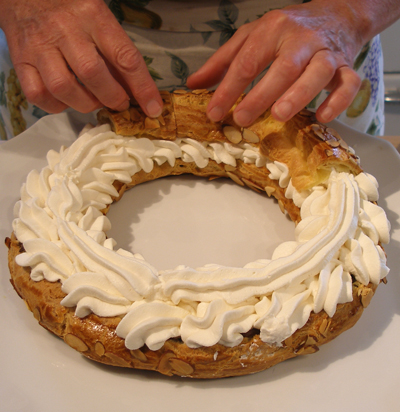
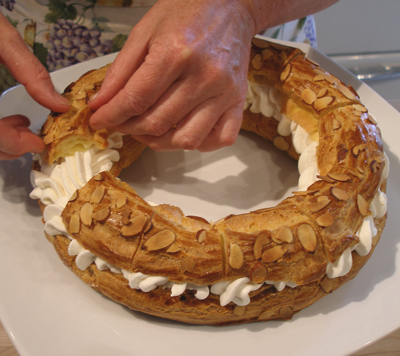
9. Place the filled pastry bottom on a flat serving platter.
Piece the lid back together, making sure to do it in the correct order.
Once all the pieces are in place, the cuts you made will almost disappear.
10. Sprinkle the top of the pastry with powdered sugar.
SARAH SAYS: We also piped some whipped cream rosettes on top of the pastry and placed some raspberries or small strawberries on the rosettes.
SERVE
Serve immediately. Use the separations on the lid as guides, cut through the bottom half of the pastry, and arrange on individual dessert plates.
STORAGE
The pastry can be assembled a few hours ahead and refrigerated. The filled pastry will soften somewhat while it is stored.
The filled Paris Brest is highly perishable because it contains pastry cream and whipped cream, so it must be refrigerated.
It cannot remain out of refrigeration for more than 2 hours maximum.