
Fortune cookies are often made with a very thin batter, but these are made with a tasty vanilla tuile paste. We thought we'd use it because the flavor is very delicate and they are buttery and crisp.
Use your computer printer to make your “love notes” or write them out by hand – we have included a template, as well as one for the cookie shape.
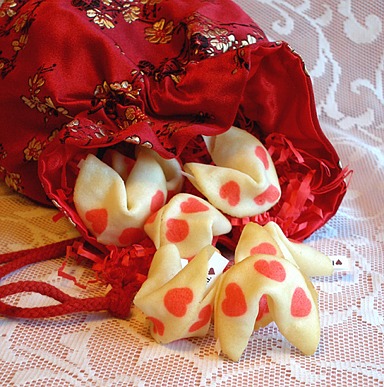
Traditionally, tuiles (pronounced “tool-ee”) are thin, crisp almond cookies that are gently molded over a rolling pin or into an arched form while they are still warm. Once set, their shape resembles the curved French roofing tiles for which they're named. Here, I created a Valentine's variation on the classic French tuile cookie by shaping them with a stencil, and while still warm, placing them in a bowl to retain a gently curved shape, to be later filled. We also also use this recipe with the Loving Cups Tutorial.
COOKIE RECIPE HELP
INSTRUCTIONS
STEP I: MAKE THE LOVE NOTES, COOKIE TEMPLATES AND COOKIE DOUGH
Equipment:
You will need:
1 recipe tuile paste
red gel paste food color
A 3- to 3 1/4-inch circle template, cut out of thin cardboard or plastic
A piping bag with a small plain tip
At least two silpat lined baking sheets
Pre-cut “love notes”, cut to about the same length as the diameter of your cookies.
Mini muffin tin, to hold folded cookies, until they crisp up
A. Make your “Love Notes”:
It is important that you have your “love notes” all printed and cut out before you make your cookies.
You have to move fast when you fold fortune cookies, so you have to be ready.
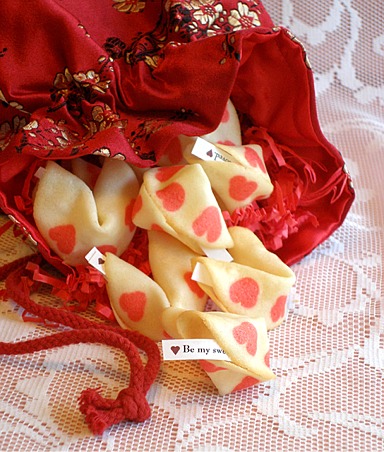
1. I made several different sentiments, and bordered them each with red hearts, just for fun.
I made my document size 3″ wide, so the notes would fit inside the cookies.

2. Cut the notes into strips using a rotary cutter and x-acto knife, or, if you have a steady hand, use scissors.

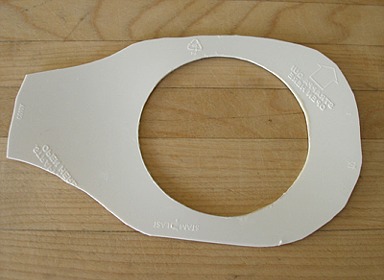
B. Make the templates: The real trick to making the cookies correctly, is to make good templates.
1. Make a template from a piece of thin cardboard, or a plastic food container lid.
I used a plastic lid from a 1/2 gallon of ice cream.
2. I marked a circle of 3 1/4-inch in diameter and cut the circle out with an x-acto knife.
The handle is there to help facilitate removal of the template, when you make your cookies.
KELLY SAYS: You can use a large coffee can lid, or the side of a large plastic food container. Just look around, you may have to be inventive.
You can also use thin cardboard, but these will get dirty and have to be tossed after use. This would be a shame, after going through all the work to make them.
C. Make the cookie batter:
TUILE PASTE by Sarah Phillips and Kelly CA © Sarah PhillipsCraftyBaking.com
This recipe makes a lot of tuile paste, but, it will keep in the refrigerator for several weeks. You can use this paste to make other kinds of tuiles, like little rolled and filled tuiles. It is a very versatile recipe. See also:
INGREDIENTS
8 ounces (2 sticks) unsalted butter, softened
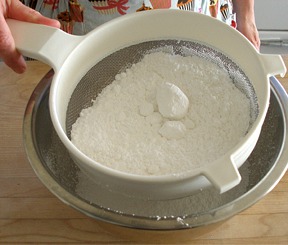
8 ounces powdered sugar, sifted; measure and then, sift
1 cup (about 7 large) egg whites, at room temperature
1 teaspoon vanilla extract
8 ounces bleached cake flour, sifted; measure and then, sift
red gel paste food color, preferably AmeriColor
NOTES:
Weigh and sift your sugar and flour separately before you start mixing the batter.

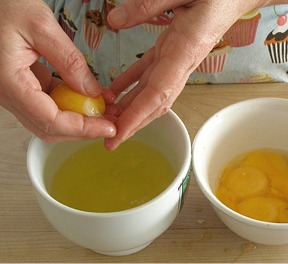
Separate your eggs and measure out one cup of egg whites, and set them aside.
INSTRUCTIONS
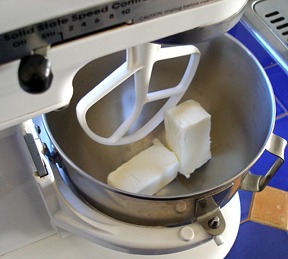
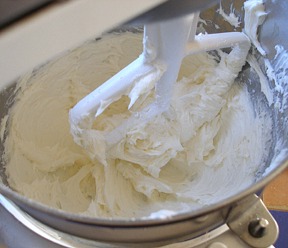
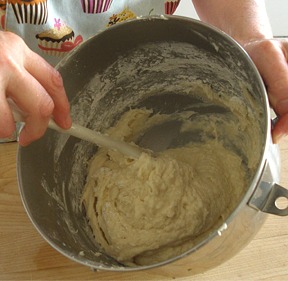
1. Fit your stand mixer with a paddle attachment. Place the butter in your mixer bowl and add the powdered sugar.
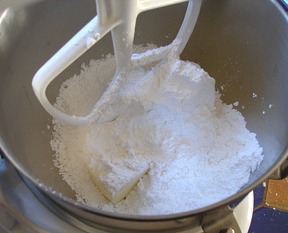
2. With the mixer on medium speed, beat the butter and powdered sugar together, until the mixture is light and fluffy. Stop the mixer and scrape the sides and bottom of the bowl with a large rubber spatula.
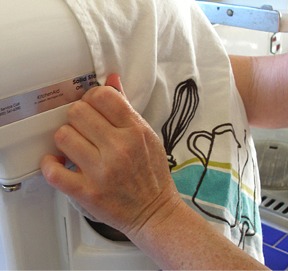
NOTE: While doing so, I find it helpful to cover your mixer with a clean kitchen towel, so the powdered sugar does not end up all over your counter, and in your lungs.
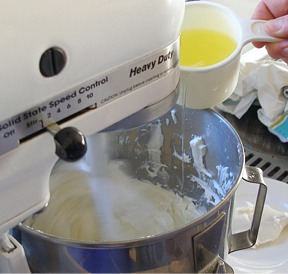
3. With the mixer on low speed, incorporate the egg whites, a little at a time at the side of the bowl, until they are all added.
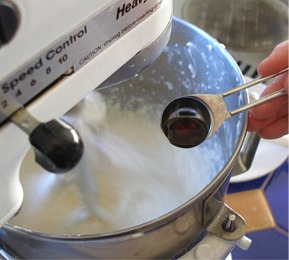
4. Add the vanilla and mix to combine. Stop the mixer and scrape the sides and bottom of the bowl with a large rubber spatula.
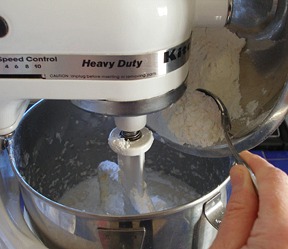
5. With the mixer on low, add the cake flour slowly at the side of the bowl and mix only until it is incorporated. DO NOT OVERMIX.
6. Remove bowl from mixer and give mixture a few turns with a spatula, to incorporate any flour that has stuck to the sides of the bowl.
Cover with a piece of plastic wrap, and set aside momentarily.
STEP II: PREHEAT THE OVEN, FORM THE COOKIES, PIPE THE RED HEARTS
A. Preheat the oven:
1. Position a shelf in the middle of the oven and preheat oven to 375 degrees F.
2. Line a baking sheet with a silpat mat.
Have another lined baking sheet ready to use when your fist batch of cookies come out.
When you are making tuiles, you CANNOT use a hot baking sheet.
You may want to put the first sheet in the refrigerator, while you are baking the second sheet of cookies, to make sure it is not hot, when you go to make the third batch.
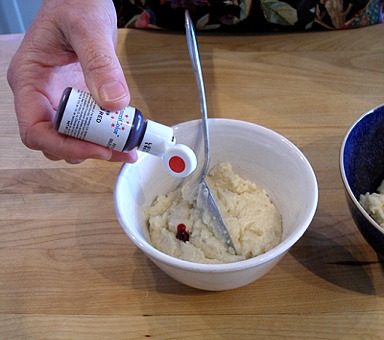
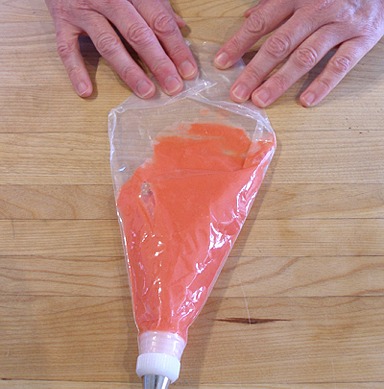
B. Prepare the red tuile paste:
Use this red tuile paste to make the hearts on the love note cookies.
1. Take about a 3/4 cup of tuile paste and place it in a bowl.
2. Add a couple of drops of red food coloring to the paste and stir until the color is uniform.
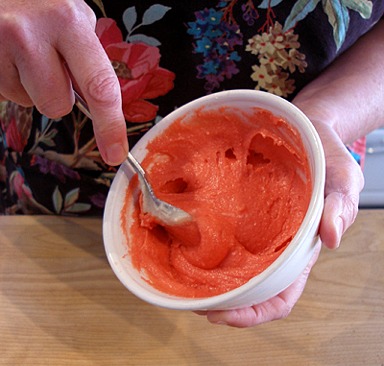
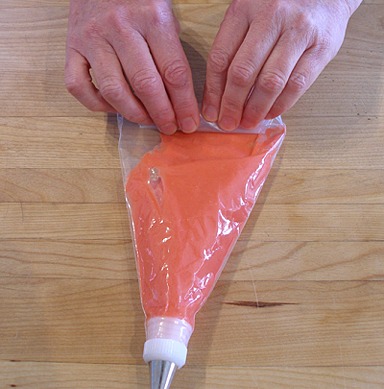
3. Put red tuile paste in a pastry bag, fitted with a small plain tip. I used a #3 tip.
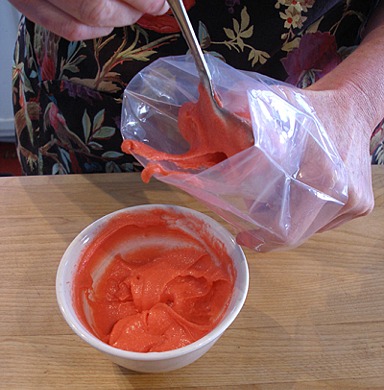
4. Fold up your bag and set aside.
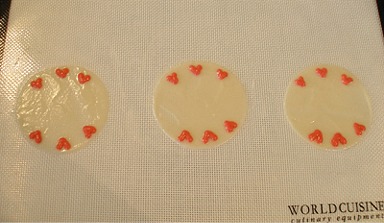
C. Form the cookies:
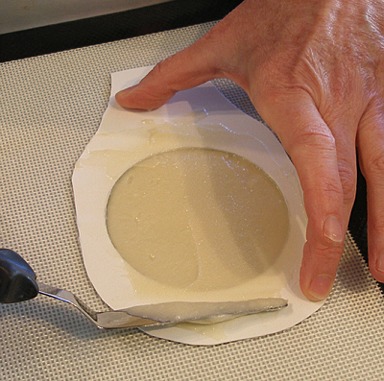
1. Take about a scant tablespoon of tuile paste and place it inside your circle template, holding the template down, so the paste doesn't seep underneath.
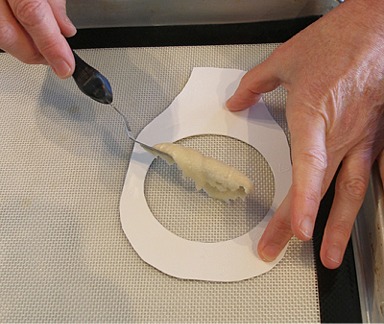
2. Using a small off-set spatula, spread the paste so it is even and thin. If you have excess paste in your template, wipe it off the spatula, on the side of the bowl.
KELLY SAYS: If the paste is spread too thick, the edges of your cookie will brown, but the center will be soft. This is not what we want in a fortune cookie!
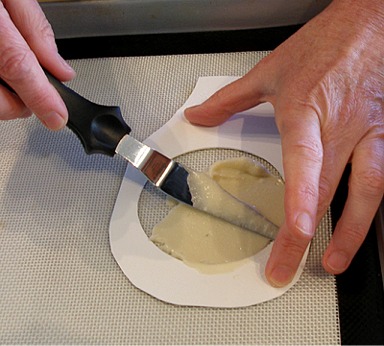
3. When the paste is thin and evenly spread, remove the template by holding one side down with your finger, and lifting the opposite side with your other hand.
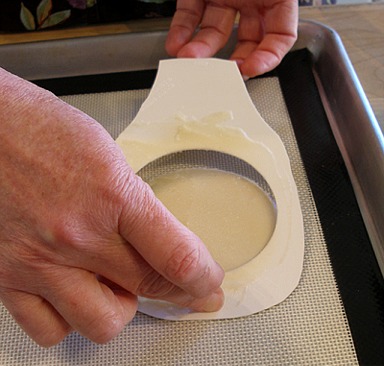
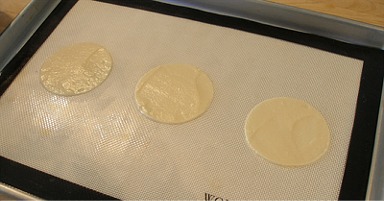
KELLY SAYS: Make no more than three cookies per sheet, because, when the cookies are done, you must work quickly to fold them, before they crisp-up.
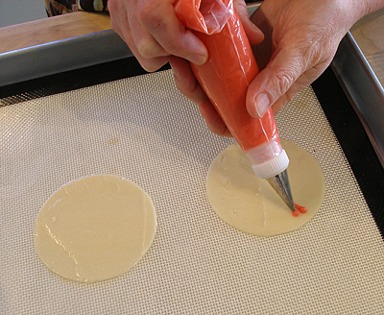
D. Pipe the red hearts:
1. After your three cookies are spread, take your piping bag, with the red tuile paste, and pipe three hearts on the top and bottom of each circle.
These piped edges will become the seam in your cookies, after they are folded.
STEP III: BAKE THE COOKIES AND FORM THE COOKIE SHAPES
A. Bake the cookies:
1. Place cookies in oven and bake just until the edges are golden brown. The middle of your cookies will still be pale.
In my oven, this took about 5 minutes, but, I began checking them at 4 minutes.
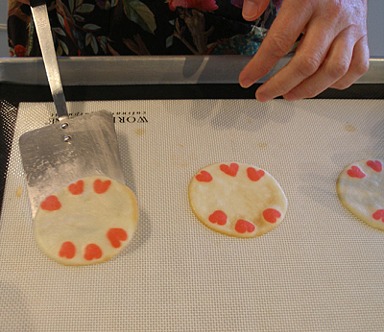
2. When cookies are done, remove the baking sheet from the oven.
Working quickly, remove one cookie from the sheet, with a thin metal spatula.
B. Form the cookie shapes:
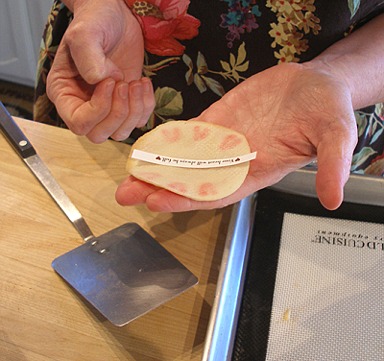
1. IMMEDIATELY TURN THE COOKIE OVER onto the palm of your hand, so the top side of the cookie is against your palm.
The cookie will be HOT. You may want to wear cotton gloves, if it is too hot for you to handle.
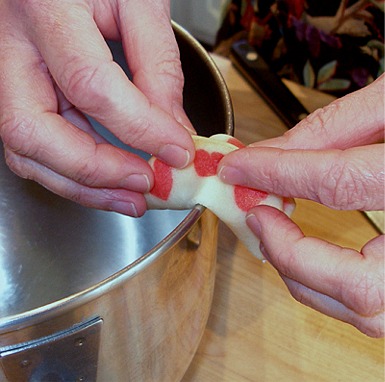
Take one fortune and place it across the center of the cookie, parallel to the piped hearts.
Notice the orientation of the hearts.
2. Quickly fold the cookie, but do not crease it, and hold the two piped edges together.
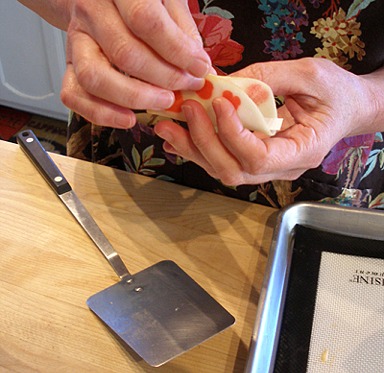
3. Using the side of a thin edged bowl, while still holding the two edges together, push the sides of the cookie down, over the edge of the bowl.
4. Place folded cookie in a mini muffin pan to keep them folded, until they crisp up.
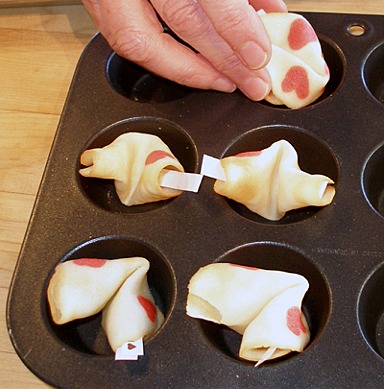
5. Repeat these steps with the two other cookies on the sheet.
If you find that your cookies are too stiff to fold, before you have finished the three cookies, pop the baking sheet back in the oven, ever so briefly, and the cookies will soften up again.
STORAGE
Store formed tuile cookies in an airtight container in a cool, dry place.
KELLY SAYS: This technique takes a little practice and, it may be a good idea to practice on some plain cookies, before you pipe them, just till you get the rhythm of things.
Do not get frustrated! You can do it!