

We love to think up creative ways of using cereal treats, such as Rice Krispies Treats, in our baking. Kelly thought it would be fun to use old fashioned oats and she created a Valentine's Day treat from them. We decided to make a “cookie pop” on a stick idea, with the option of using Certified Gluten-free Old Fashioned Oats available from Bob's Red Mill, found at Whole Foods or online. We think these are especially cute and they are so easy to make. You can create your own in any shape desired, and their fronts can be “decorated” any which way you desire!
Kelly's husband describes them as “super chocolaty, with a crispy goodness.”
COOKIE RECIPE HELP
INGREDIENTS
You will need:
1 recipe Oatmeal Lace Cookies, below
2 teaspoon cookie scoop
nonstick spray or softened butter for coating the bottom of a drinking glass
drinking glass
1/4 cup pink Marshmallow Fondant or MMF
Small alphabet stamps(use stamps that have only been used for food)
10 – 12 Wilton Jumbo Hearts Sprinkles
1 sharp metal heart cookie cutter 3-inches across
1 heart cookie cutter 1.5-inches across
6 ounces semi-sweet chocolate chips, or chocolate of your choice
10-12 paper lollipop sticks
INSTRUCTIONS
STEP I: MAKE THE LACE COOKIE HEARTS
OATMEAL LACE COOKIES
INGREDIENTS
1/4 cup dark brown sugar, packed
2 tablespoons sugar
2 tablespoons dark corn syrup
3 tablespoons unsalted butter, melted and cooled
1 scant cup Old Fashioned Rolled Oats or Gluten-Free (Gluten Free) Certified Old Fashioned Rolled Oats (Bob's Red Mill)
INSTRUCTIONS
1. Position an oven shelf in the middle of the oven. Preheat the oven to 325 degrees F.
Line one baking sheet with a silpat nonstick mat. Set aside.
2. In a medium bowl, stir together the dark and white sugars, add the corn syrup, and stir in the melted and cooled butter until smooth and the sugar is dissolved.
Stir in the oats to coat well.
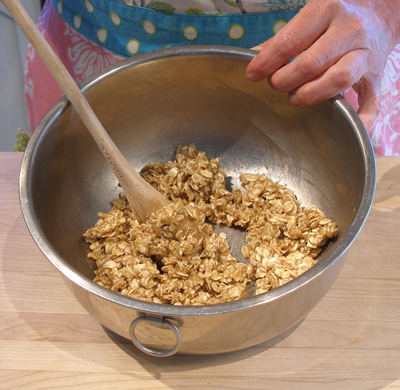
3. Cover with plastic wrap and chill for about 10 minutes or until the mixture is firm.
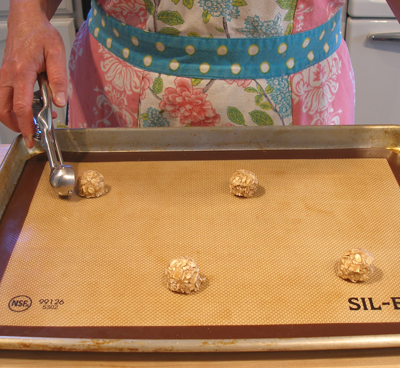
4. Using a 2 teaspoon cookie scoop to drop out 4 to 6 cookies on one sheet pan. Remember to leave plenty of room between each one because these cookie spread when completely flat in the next step!
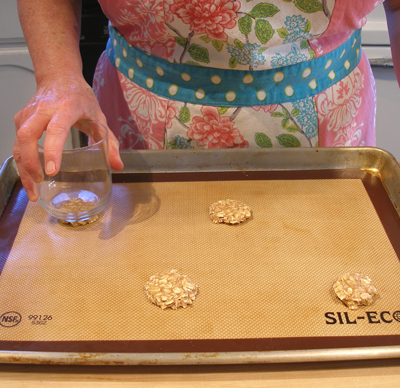
5. Press the ball flat on the sheet pan with the bottom of a lightly sprayed or buttered glass, so it doesn't stick. The cookies will be thin. Make sure there are no empty or too thin spaces showing within the pressed cookie shapes.
NOTE: Remember to re-spray or butter the bottom of the glass when necessary, so it doesn't stick! To butter the bottom of a glass, lightly coat a piece of wax paper with softened butter. Swipe the bottom of the glass over it when needed. You only need a light coating.
6. Bake approximately 7 to 8 minutes or until the cookie is evenly golden, but not too dark in color.
Be careful, these cookies will quickly burn.
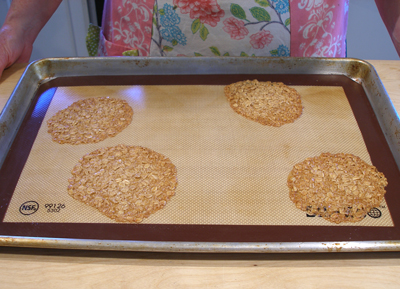
7. Let the cookies cool in the pan for 3-4 minutes, or until they firm up a bit.
NOTE: You do not want them to be completely cool when you cut them with a cookie cutter in the next step, but you do not want them to be molten either.
8. Spray the edges of a 3-inch metal heart cookie cutter and press down firmly to cut out the shape.
NOTE: After cutting, do not try to remove the hearts from the sheet until they are completely cool, because they are fragile.
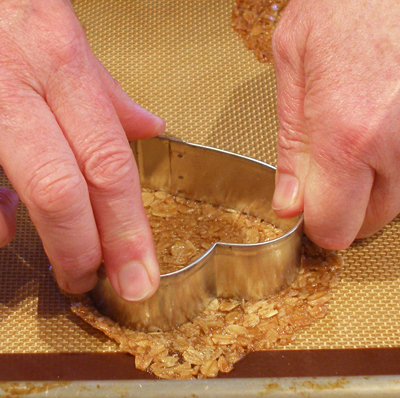
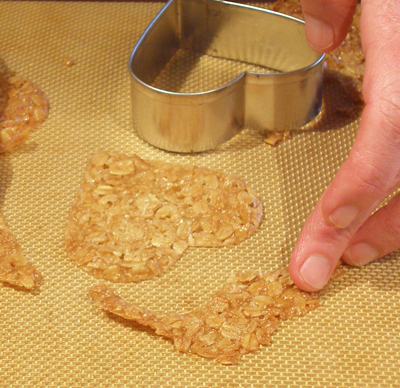
9. When completely cool, remove them to a cooling rack.
10. Repeat Step #s 3 – 7 with the rest of the cookie batter.
STORAGE
Store cookies in an airtight container in between layers of wax paper. They can be frozen for a month or more. Be careful because they are fragile. Thaw in their wrappers before using.
STEP II: MAKE THE FONDANT DECORATIONS
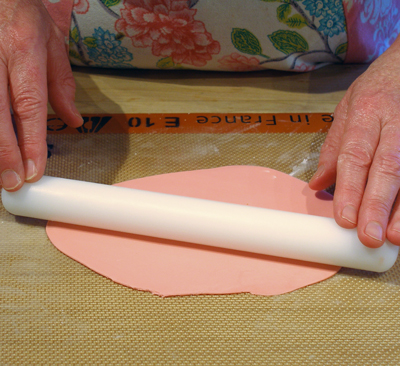
1. Roll a small amount of pink Marshmallow Fondant or MMF, very thinly, on a cornstarch dusted work surface.
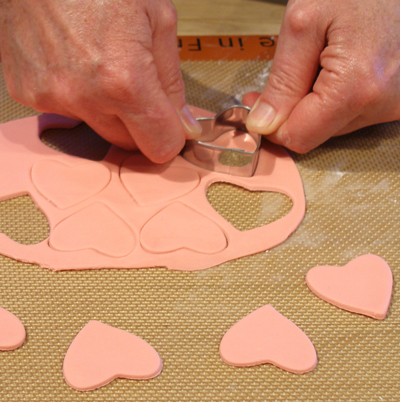
2. Cut out heart shapes with the 1.5-inch heart cutter.
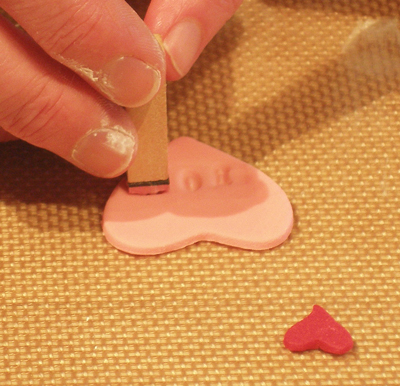
3. Use the alphabet stamps to write messages on the MMF hearts.
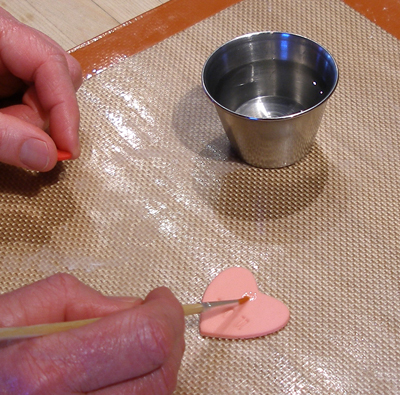
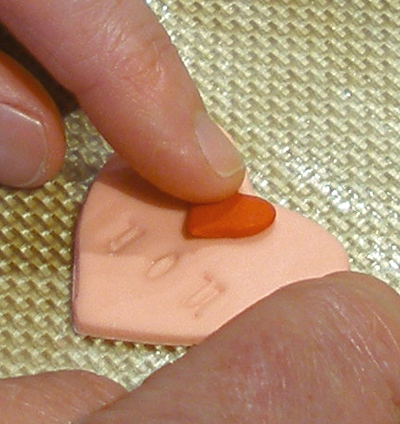
4. Use a small brush and paint a small amount of water where you want to place the jumbo heart sprinkle, then gently press the heart in place.
STEP III: ASSEMBLE THE COOKIE POPS
1. Pair up the cookies, using the prettiest hearts for the fronts of the pops.
2. Melt the chocolate chips in the microwave, then place them in a disposable piping bag. Snip a small opening in the end of the bag.
3. Pipe a small dot of chocolate in the upper center of the front cookie of one pair.
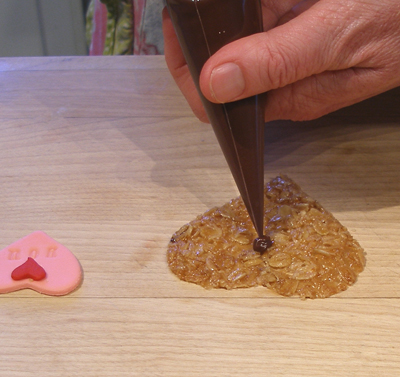
4. Gently place the MMF heart on the melted chocolate and press gently to adhere.
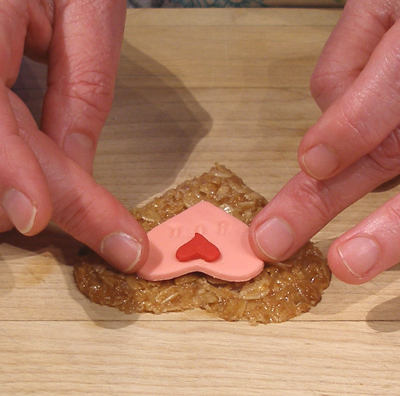
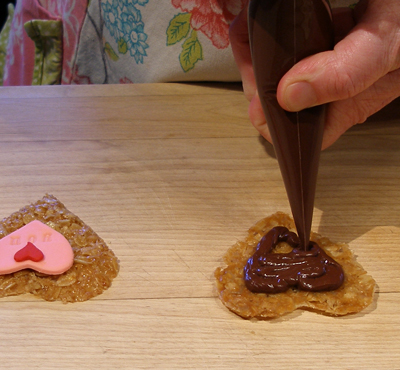
5. Pipe a heart with the melted chocolate on the other cookie, and pipe some chocolate all around one end of the stick, about 1″ from the tip.
Piping a heart only in the center of the cookie will let light shine through the edges of the lacy cookie.
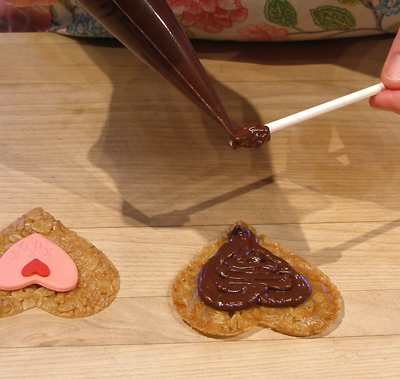
6. Set the stick in place and pipe a little extra chocolate on top to make sure there is no white showing, and to insure a strong adhesion.
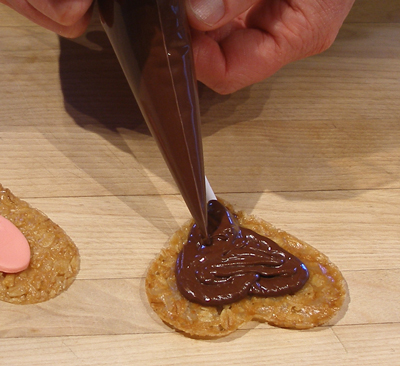
7. Gently place the decorated side of the pop in place, making sure not to press too hard, because the cookies are very fragile.
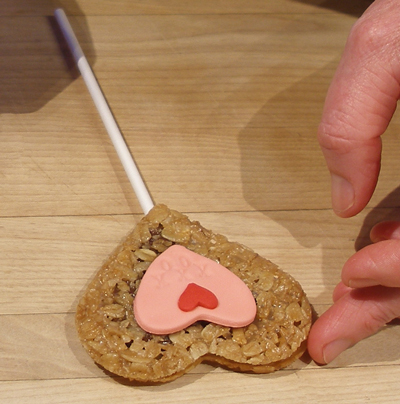
8. Set the pop aside on a rack for the chocolate to harden. Use a spatula to move the pops, making sure to support the stick with your other hand.
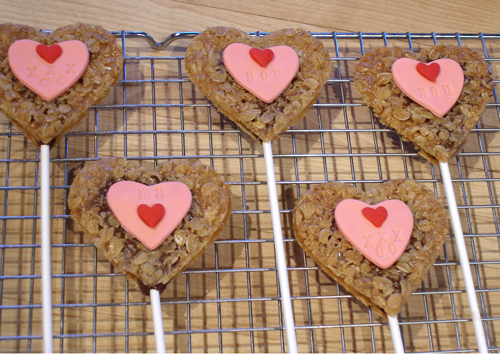
9. Repeat the process with the rest of the pops.
STORAGE
Store the pops flat in a large airtight container in between layers of wax paper, at room temperature for several days. The cookies will loose their crispness if exposed to moist air.


