
I had a bowl of cake scraps and frosting left over from making the Witch's Hat Treats Tutorial, so I decided to do something with them!
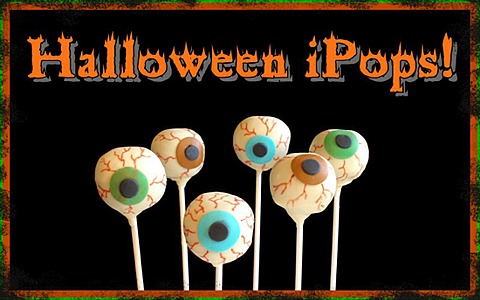
These “Halloween iPops” are tasty and fun, and they would be a perfect treat for a Halloween party.
CAKE RECIPE HELP
RECIPE
1 recipe two 9 x 2-inch buttercake layers made from a cake mix or bake-from-scratch buttercake
1 recipe Tami's or Perfect Buttercream, or a tub of store-bought frosting; about 2 cups if using two, 9 x2 -inch cake layers
30 paper lollipop sticks
two 14-ounce White Wilton Candy Melts
1 tablespoon shortening
Small amount of Marshmallow Fondant or MMF or Rolled Fondant, for the pupils (black) and irises (various colors) of the eyes
A large block of Styrofoam, to hold the pops while they set up
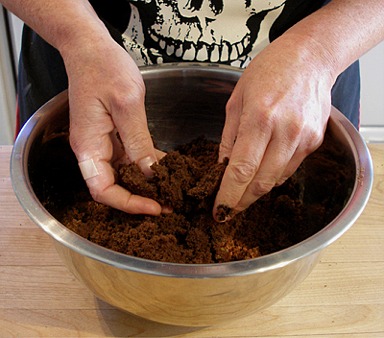
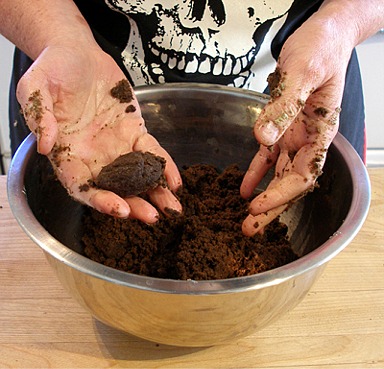
STEP I: MAKE THE CAKE BALLS
1. Crumble cake scraps or cake into a large bowl, with your hands.
It is a messy job, and you will get yucky, but your hands are the best tools for the job.
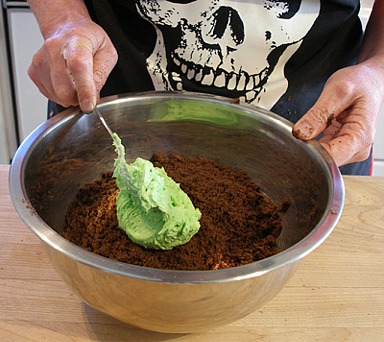
2. The amount of frosting you will need to bind the crumbs together, depends on how many crumbs you have in your bowl.
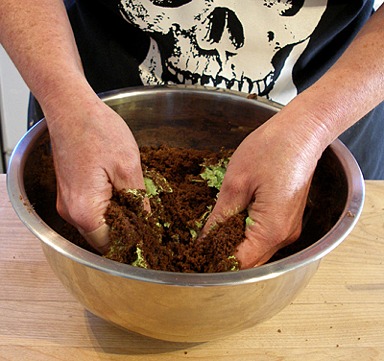
Start with a large dollop and mix it in with your hands.
When the mixture holds together when you squeeze a handful together, you have added enough frosting.
If your mixture is still too dry, add a little more frosting, and mix it in.
You do not want the mixture to get too wet.
If you are using a cake made from a mix, and store bought icing, you will need to use almost the entire can of icing.
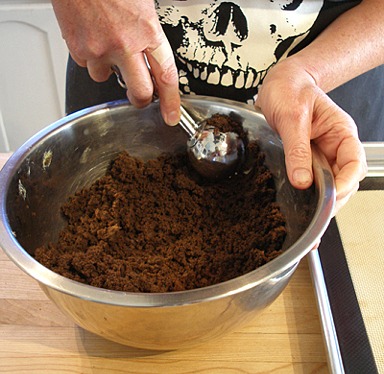
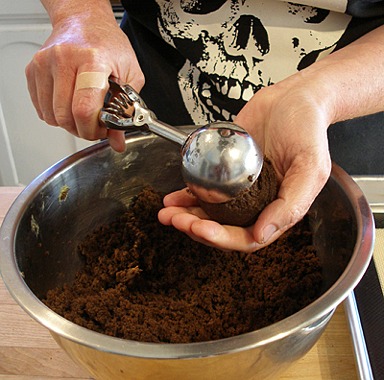
3. When your mixture is the correct consistency, scoop out portions with an cookie scoop.
Press it up against the side of the bowl to cut off any excess mixture. You do not want the ball to be too big.
4. Release scoop into your hand and squeeze the mixture to compress it, and then roll it into a uniform ball about 1 1/2-inches in diameter.
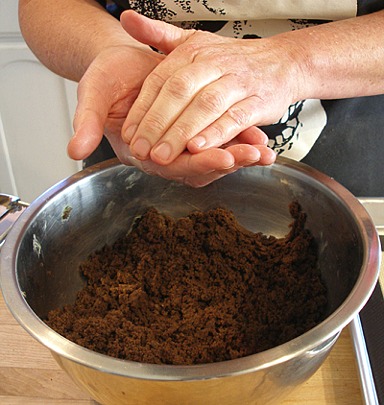
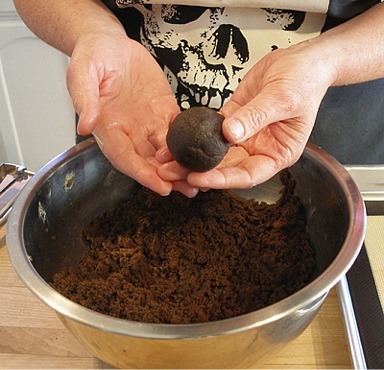
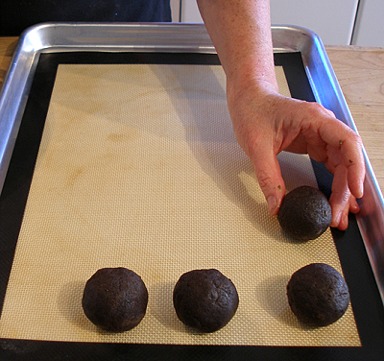
5. Place ball on a silpat, or parchment, lined baking sheet. Continue portioning and rolling mixture till it is all used up.
STEP II: DIP THE CAKE BALLS IN CANDY MELTS
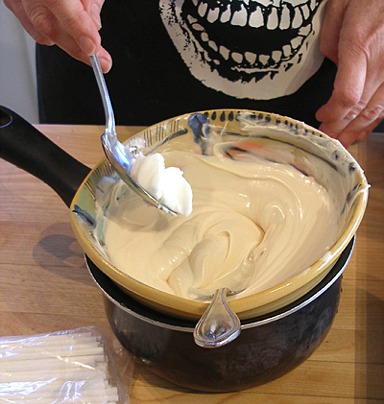
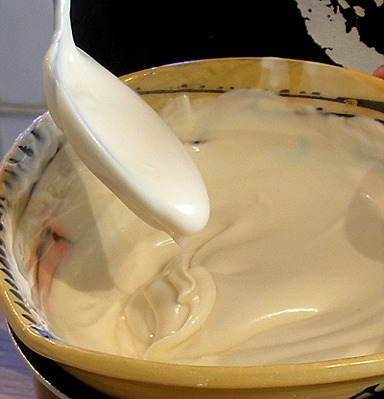
1. Melt Candy Melts in the microwave, using directions on the package.
When they are completely melted, add 1 tablespoon of shortening into the mixture and stir to combine.
The shortening will make the coating more fluid, so it coats the balls more evenly.
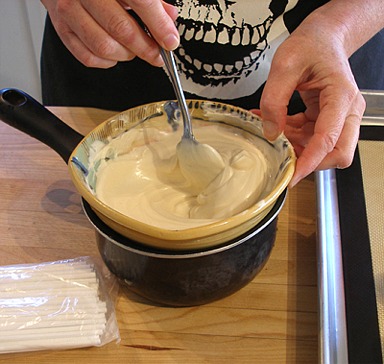
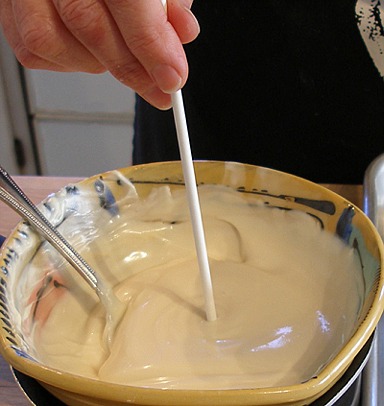
KELLY SAYS: I like to keep the candy melts over a pan of hot water, to help keep it flowing nicely.
2. Take a lollipop stick and dip bottom 1/2-inch of one end of the stick into the molten candy melts.
3. Immediately, poke the coated end of the stick into the cake balls, going a little less than 1/2 way into the ball.
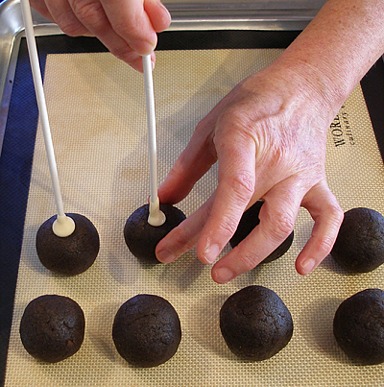
4. Place cake ball pops in the refrigerator for about 15 minutes so the candy melts can set up.
You do not want the cake pops to be too cold, or the candy coating may crack, when it cools.
5. When the candy melts have set, remove pan of cake pops from the refrigerator.
KELLY SAYS: Check to see if your bowl of melted coating is still fluid, if it has cooled down too much, and is no longer in flowing consistency, pop it in the microwave for about 20 seconds and stir, to equalize the temperature.
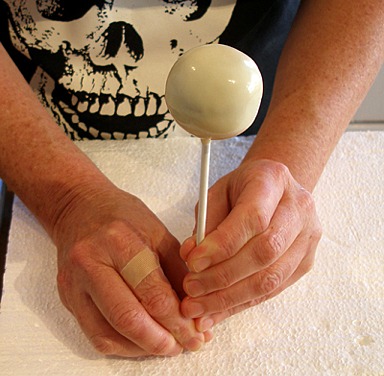
6. Take one cake pop and dip it into the coating.
Gently tap the stick on the side of the bowl to remove excess coating. Do not tap too hard, if you do, the ball might plop right off into your bowl, and that would be bad.
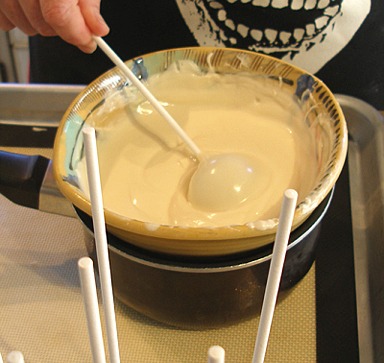
Place the end of the stick into a Styrofoam block so the coating can set up, undisturbed.
8. Continue until all the cake pops are coated, and then set them aside till coating hardens.
III: COMPLETE THE iPOPS
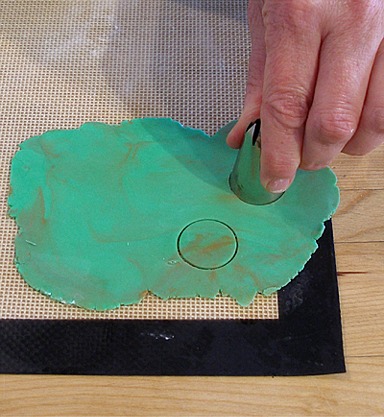
1. When coating is hard, roll out the MMF till it is very thin, about 1/16th of an inch.
Use small round aspic cutters, if you have them, to cut out the irises and pupils. I used the open end of a large piping tube for the irises, and the small end of a plastic coupler. Just use anything you can find, that will cut the right size. You may have to be inventive.
KELLY SAYS: I kneaded green and brown together, to make hazel eyes.

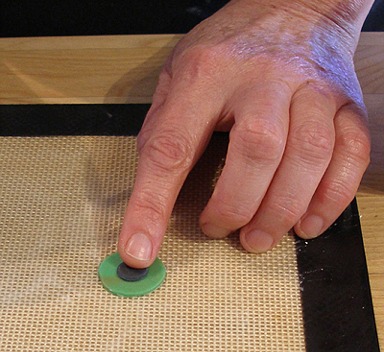
2. “Glue” the pupil to the iris with a tiny dab of water, and press gently, to adhere.
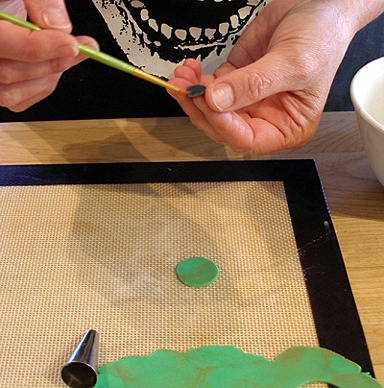
3. Paint a small amount of coating on the back of the iris. This will be the “glue” that holds the iris on the cake pop.
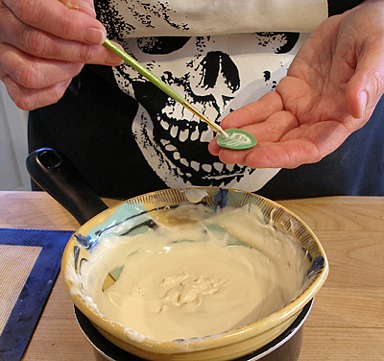
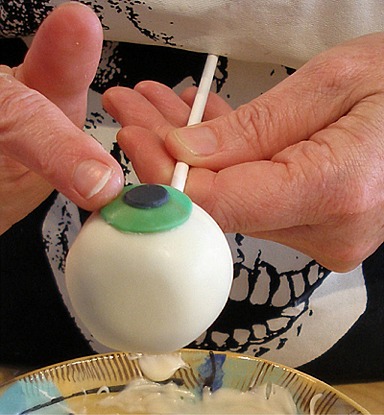
4. Carefully position the iris on the cake pop, and press gently to adhere.
The iPops look really funny when you place the irises in various locations, instead of just straight on.
5. Draw bloodshot lines on the iPops, using a edible marker.
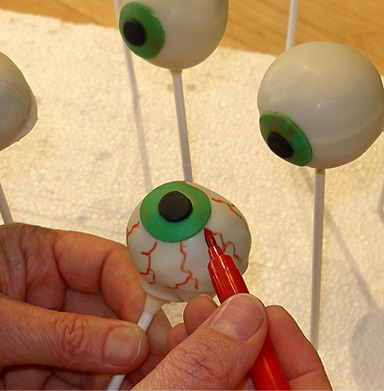
FINISHED!
Here's looking at you, kid!
STORAGE
Cake balls can be stored at room temperature, if using Tami's or Perfect Buttercream, for about 3 to 5 days, or frozen for up to a month or more.