
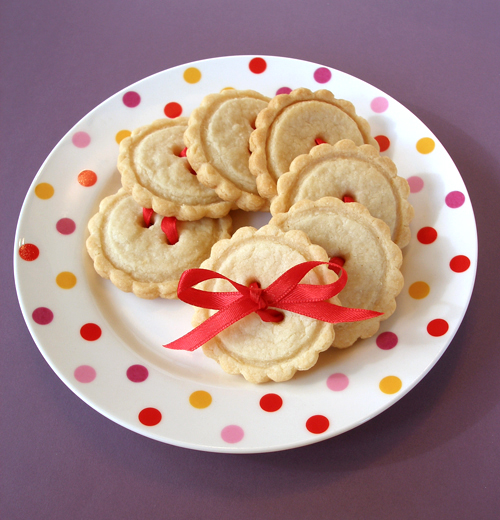
These delightfully crispy and buttery shortbread are perfect with a cup of tea or coffee. I promise, you won't miss the gluten! Find out below the special flour I use. It keeps the dough from being gummy or sticky, makes it easy to roll out, keeps the dough from cracking or crumbling when you cut out the cookies, and also helps the cookies hold their shape when baked. These are a revelation!
COOKIE RECIPE HELP / GLUTEN-FREE RECIPE HELP
INGREDIENTS
3/4 cup white rice flour
3/4 cup blanched almond flour
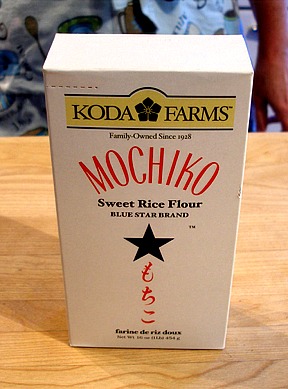
1/2 cup sweet rice flour*
1/2 cup cornstarch
1 teaspoon salt
1/4 teaspoon baking powder
1/2 cup (8 tablespoons or 1 stick) unsalted butter, cut into tablespoon size pieces, cold
3/4 cup granulated sugar
1/2 teaspoon xanthan gum
1 1/2 teaspoons vanilla extract
3 to 3 1/2 tablespoons heavy cream, cold
NOTES
KELLY CA SAYS: *Sweet rice flour is also known as Mochiko or GLUTINOUS, not regular rice flour!
INSTRUCTIONS
1. Position the oven shelves in the lower and upper thirds of the oven and preheat oven to 325 degrees F. Line about 3 or 4 cookie sheets with silpat or parchment paper.
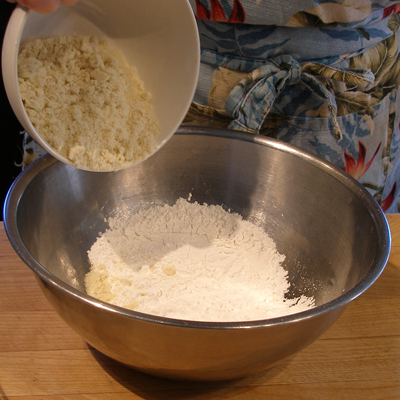
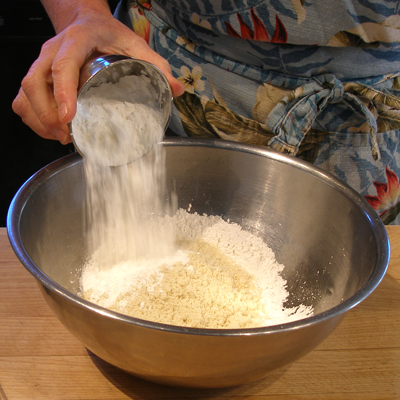
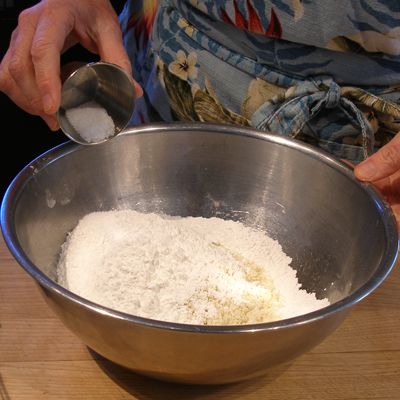
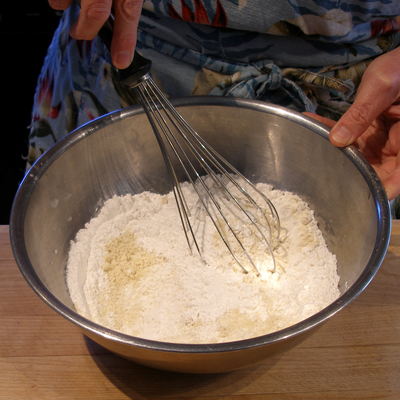
2. Add rice flour, almond flour, sweet rice flour, cornstarch, salt and baking powder to a large bowl, and whisk to combine. Set aside.
3. Put butter pieces in the bowl of a stand mixer fitted with a paddle attachment, and beat it on low, to soften.
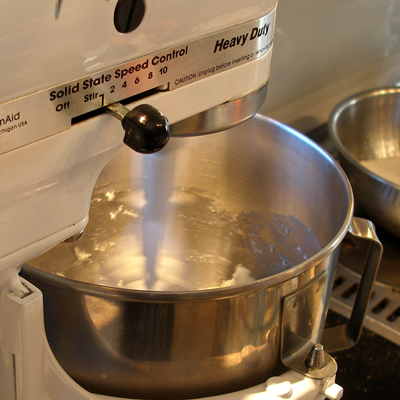
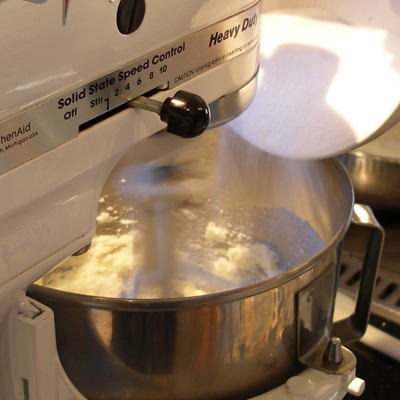
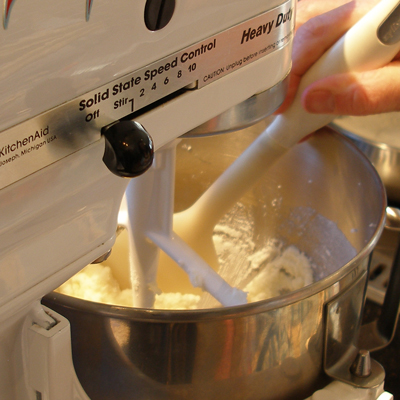
4. When butter is soft, add sugar in a steady stream at the side of the bowl and beat, at medium-low speed, until fluffy and light in color, then stop the mixer and scrape down the sides of the bowl.
5. Add the vanilla and the xanthan gum and mix on medium-low until combined and the mixture is light and fluffy.
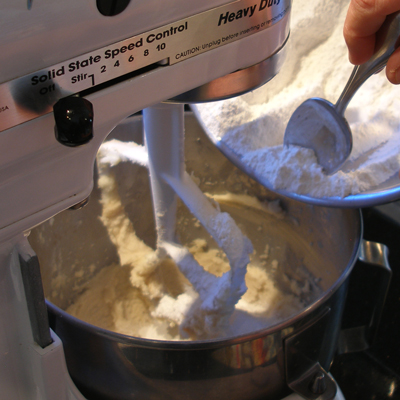
6. Add the flour and dry ingredients to the bowl and mix on low until fully combined, about 1 minute. At this point, the mixture will look very dry.

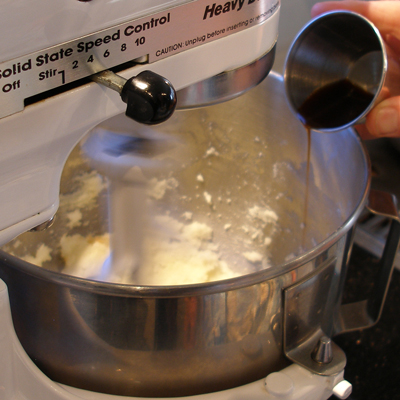
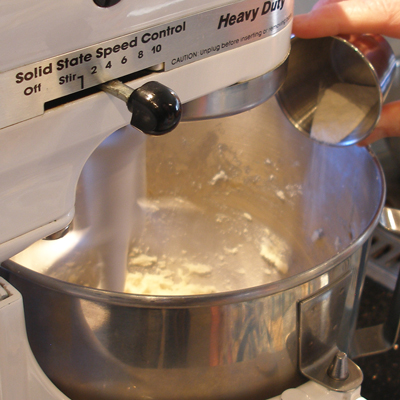
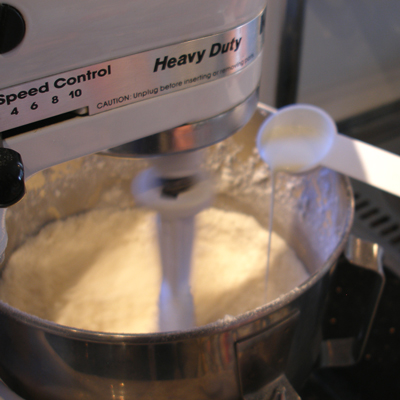
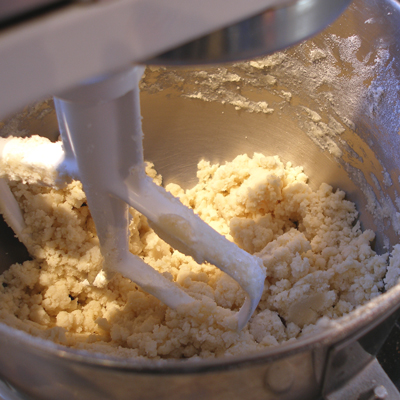
7. Slowly add the cream, one tablespoon at a time, with the mixture on low. When you add the third tablespoon of cream, the mixture should start to come together. if it still looks dry, add more cream, 1/2 teaspoon at a time, until it forms a dough that has large moist crumbs in the bowl.
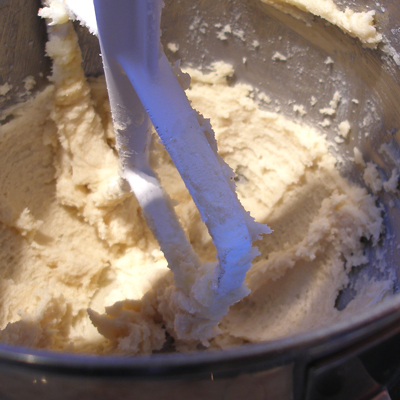
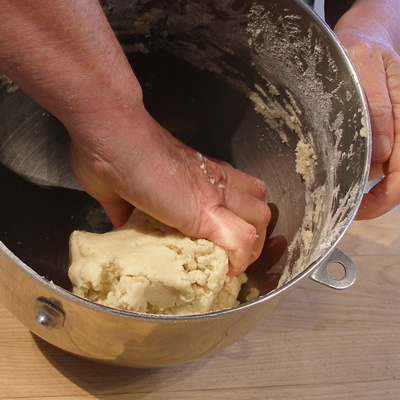
8. Remove the bowl from the mixer and briefly knead the dough in the bowl to form a cohesive mass.
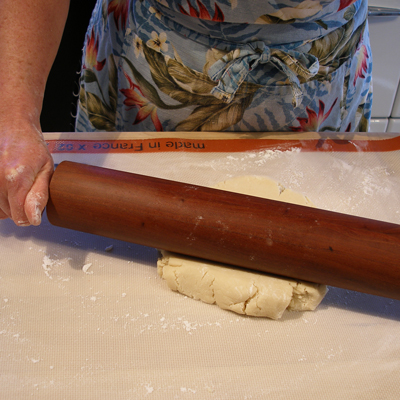
9. Roll the dough out, on a rice flour dusted surface, to a little less than 1/4-inch thick.
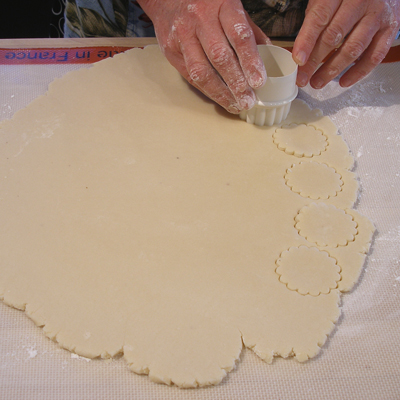
10. Cut out cookies with a round fluted cookie cutter. I used one that is 1 3/4-inches across.
Stack, reroll scraps, and cut more cookies.
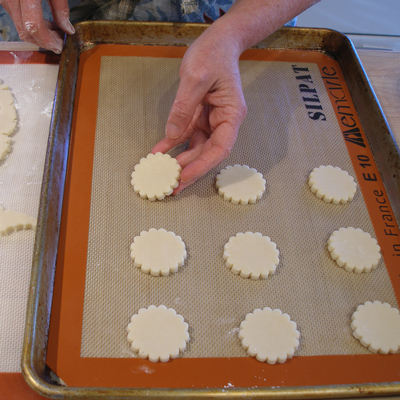
11. Place cookies on prepared cookie sheets, about 2-inches apart.
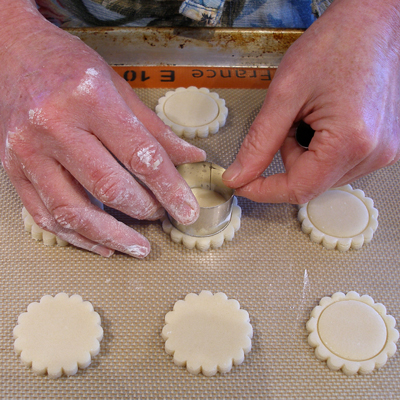
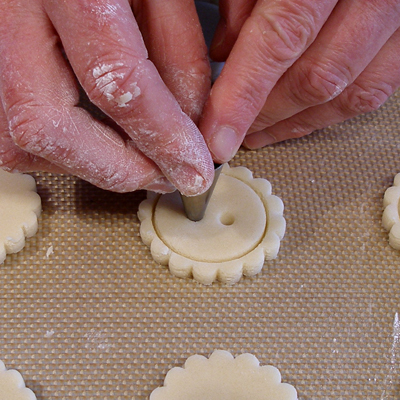
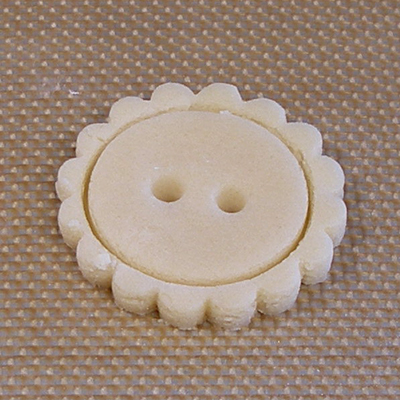
12. Center a 1 3/8-inches (or whatever you have, that is slightly smaller than the scalloped cutter) round cookie cutter on each cookie, and press the blunt side of the cutter into the cookies, being sure to not go all the way through.

13. Make the two “button holes” in each cookie, using a Wilton #3 plain round tip.
14. Bake the cookies for about 16 minutes, or until the edges are just starting to brown. Refrigerate the cut-out cookies not being baked.
Remove the cookie sheet from the oven, and immediately re-punch the button holes, using the piping tip. They will still be there, but will not be as defined as when they went in the oven.

15. Let the cookies cool on the baking sheets for about 3 minutes, then remove to a rack to cool completely.
16. Repeat baking with the remaining cut-out cookie dough.
SERVE
These cookies are delicious right away, but improve when aged for a couple of days.
STORAGE
Store in an airtight tin or lidded container.
Food styling and photos by Kelly CA © Sarah Phillips CraftyBaking.com