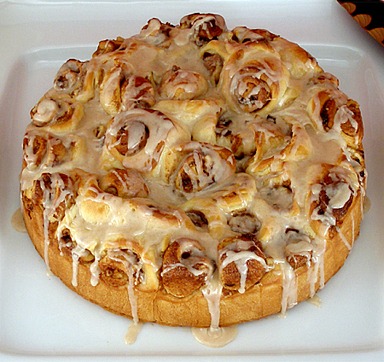
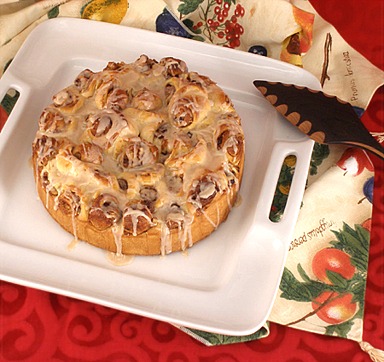
Who doesn't love fluffy buttery cinnamon rolls? They are the ultimate comfort food. Ours are topped with ample amounts of raisins, cinnamon, brown sugar, and pecans, drizzled with a creamy glaze.
BREAD RECIPE HELP
KELLY SAYS: “Who needs Cinnabon, when you have these? These are uber-fluffy and light. They are not “lite” (in calories), however!”
INGREDIENTS
Rolls:
1/4 cup water, heated to 100 to 110 degrees F; measured with an instant read thermometer
Two 1/4-ounce packages or 4 1/2 teaspoons active dry yeast
1 teaspoon honey or 2 teaspoons sugar
3/4 cups whole or 2% milk, heated to 100 to 110 degrees F; measured with an instant read thermometer
2 sticks (8 ounces or 16 tablespoons) unsalted butter, softened, divided
1/2 cup sugar
1 teaspoon salt
2 large eggs
4 1/4 cups unbleached all-purpose flour, divided; spoon into measuring cup and level to rim.
Topping:
1/2 cup dark brown sugar, packed
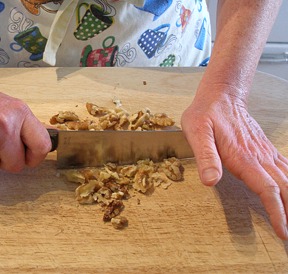
1/4 cup of chopped pecans or walnuts; chop and then, measure
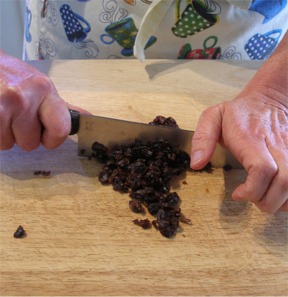
1/4 cup of chopped raisins; chop and then, measure
2 1/2 teaspoons ground cinnamon, divided
pinch salt
1 cup powdered sugar
2 tablespoons half-and-half or cream
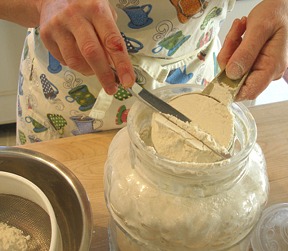
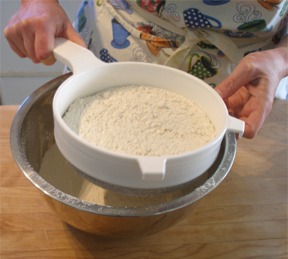
Kelly Says: I like to sift my flour after measuring!
Chop the walnuts and raisins before measuring:
INSTRUCTIONS
1. Rinse a medium size mixing bowl with hot water to warm it. Place the measured warm water in the bowl.
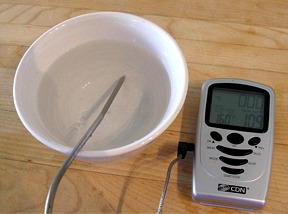
Sprinkle the yeast over its surface and let stand for a few minutes. Whisk the yeast until it has fully absorbed the water.
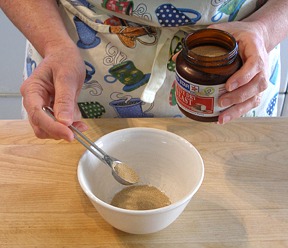
Add the honey to the yeast and stir. It will start to bubble a little.
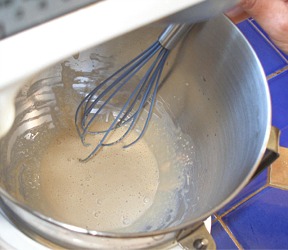
Immediately add in the warmed milk and stir.
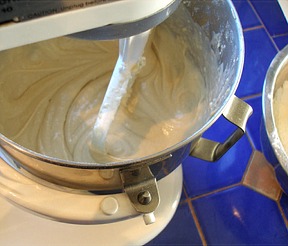
2. In the bowl of a standing electric mixer fitted with the paddle attachment, beat 1 stick (8 tablespoons) of the butter with the 1/2 cup of granulated sugar and the salt at medium speed until light and fluffy.
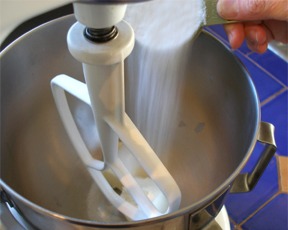
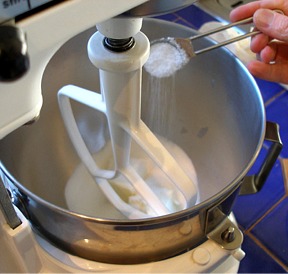
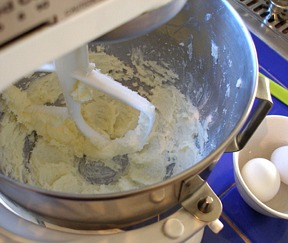
With the mixer on low, beat in the eggs, 1 at a time, until blended.
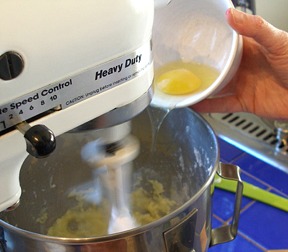
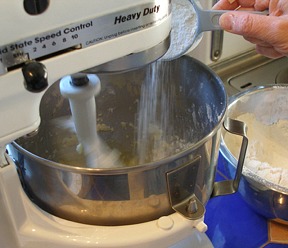
Turn the mixer on low, and add in 2 cups all-purpose flour in 1/2 cup increments until combined after each.
SARAH SAYS: This step is very important as you will start to develop the gluten in the bread, for a well-risen dough.
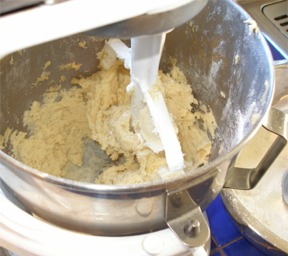
3. Beat in the yeast / milk mixture slowly at the side of the bowl with the mixer on low.
KELLY SAYS: It will be very bubbly at this point.
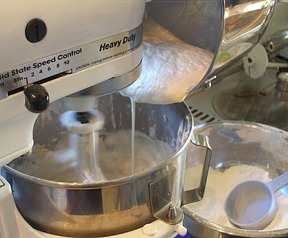
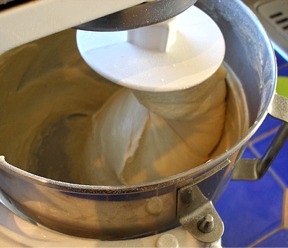
4. Switch to a dough hook.
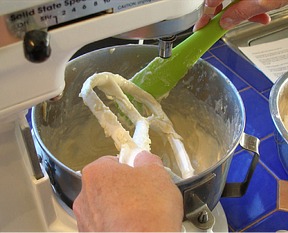
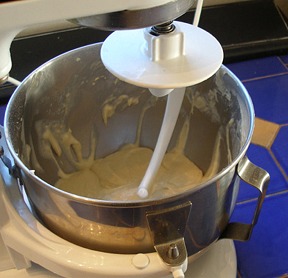
Gradually add the remaining 2 1/4 cups of flour and beat at medium speed until a soft, sticky dough forms, about 5 minutes.
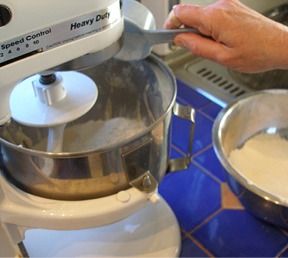
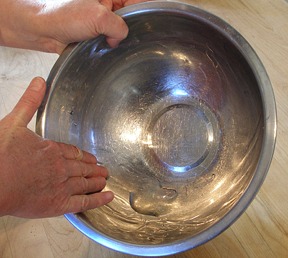
Grease a large straight-sided mixing bowl with a light coating of vegetable oil.
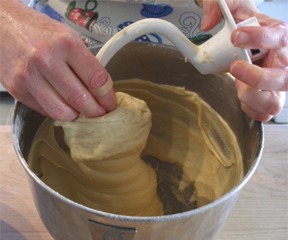
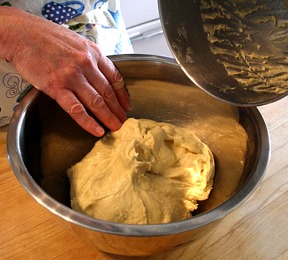
Take the dough from the dough hook without pulling at it so it tears. Do not break it into small pieces, either. Scrape the dough into the greased mixing bowl and cover with plastic wrap, greased side down.
SARAH SAYS: When washing a bowl used for mixing bread dough in, use cool soapy water, not hot water, to prevent hardening the flour mixture on the bowl.
Let the dough stand in a warm place until it is doubled in bulk, about 1 hour.
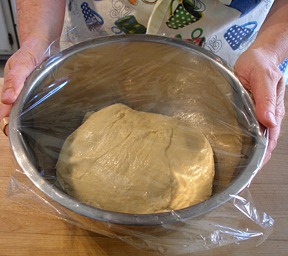
SARAH SAYS: Sarah's Microwave Bread Proofer, is my rising place of choice because it works well and fast every time.
Professional bakers use atmosphere-controlled “proof boxes” to keep the dough at the right temperature and humidity for the best possible rise. I devised a way to have a proof box in my own home, without the great expense: the microwave proofer.
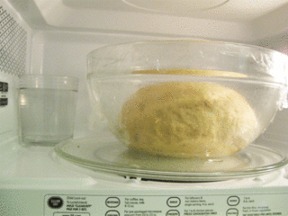
It normally takes 45 minutes to an hour in my microwave proofer for the yeast to accumulate a volume of carbon dioxide gas strong enough to stretch the gluten strands that hold it in and make the dough rise. It should typically double in volume (size).
5. Cut four 15-inch-long sheets of wax paper.
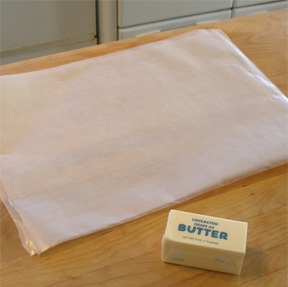
Punch down the risen dough and turn it out onto a well-floured work surface.
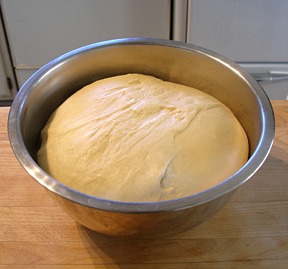
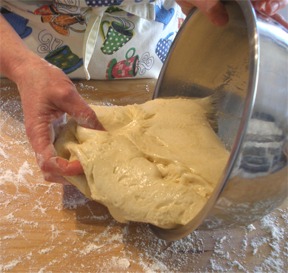
Divide the dough into quarters. Make sure you cut straight down with a bench scraper or sharp knife; do not pull or tear at the dough.
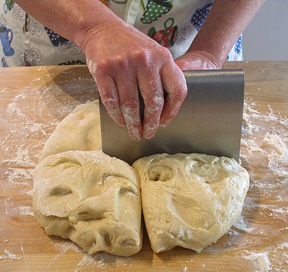
SARAH SAYS: If you are unsure about dividing the dough into evenly-sized quarters, weigh each piece; each one should weigh about 10-ounces each.
If you wish to add or subtract dough to or from a section, cut a piece straight down with a bench scraper; do not tear or pull at the dough.
And, then simply place the dough piece onto the other dough section. When you roll the dough, the piece will incorporate.
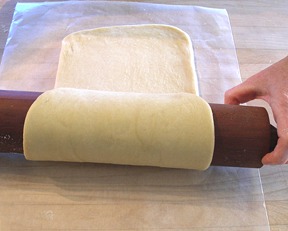
Working with 1 piece at a time, roll the dough to a 14-by-7-inch rectangle, about 1/4 inch thick.
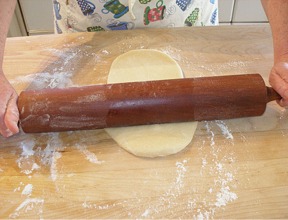

Roll the dough around the rolling pin and unroll it onto a sheet of wax paper. Repeat with the remaining 3 pieces of dough.
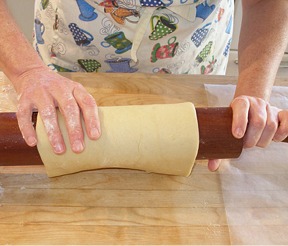
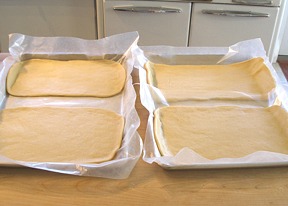
Transfer 2 sheets of dough to each of 2 baking sheets and freeze for about 15 minutes, until well chilled but still pliable.
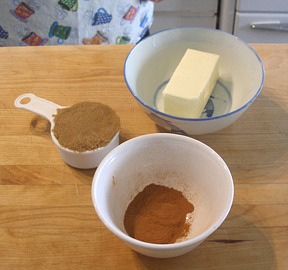
6. Meanwhile, in a medium bowl, blend the remaining stick of butter with the brown sugar, 2 1/4 teaspoons cinnamon and a pinch of salt.
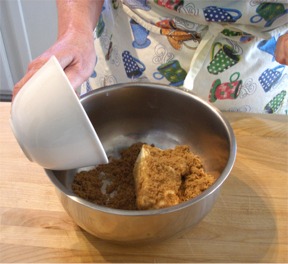
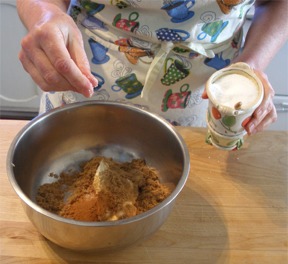
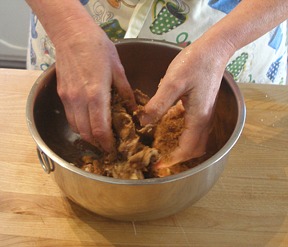
Add in the pecans and raisins and incorporate.
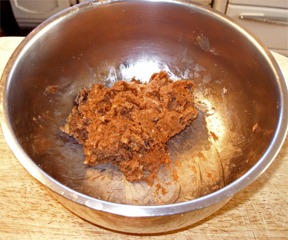
7. Evenly spread 1 sheet of dough with one-fourth of the cinnamon butter. Trim the edges to form a neat 12-by-6-inch rectangle.
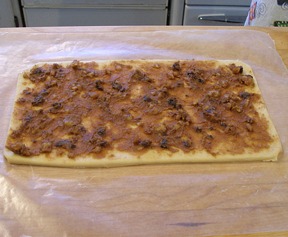
Working from a long side, tightly roll up the dough.
SARAH SAYS: Think of the long side as the side of the rug that does not have the fringe at either end.
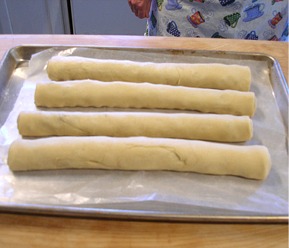
Repeat with the remaining sheets of dough and cinnamon butter.
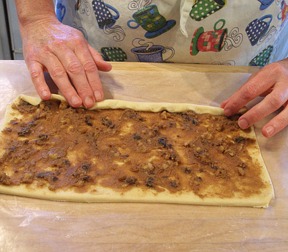
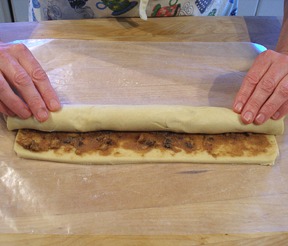
Return the dough to the freezer and chill until very cold, about 20 minutes.
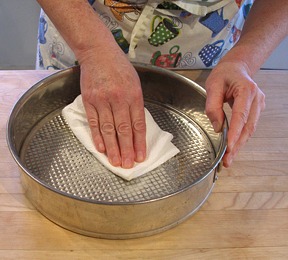
8. Butter a 10-inch springform pan.
KELLY SAYS: To do, cut the rolls 1 inch thick (you should have about 48). Cut in half first.
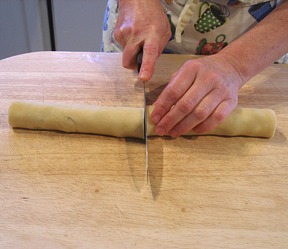
Then cut each half into thirds.
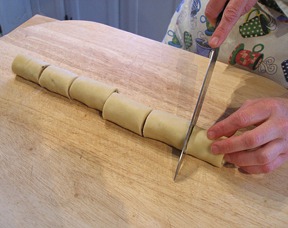
Then cut each 6th in half. That will give you 12 rolls per log. 48 rolls in all.
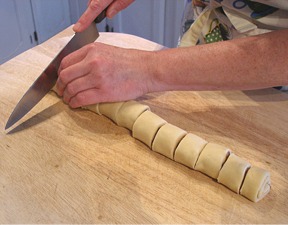
9. Arrange the cinnamon rolls, cut side up, in concentric circles in the pan, starting from the edge and working into the center. The dough will fit snugly in the pan.
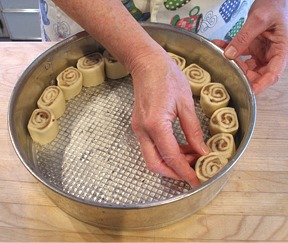
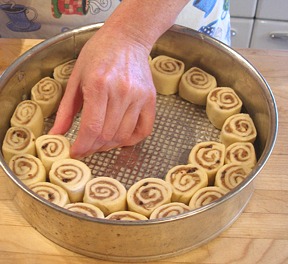
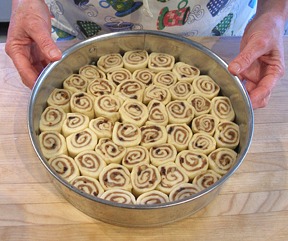
Cover the rolls with a lightly greased-side-down plastic wrap in their pan in a warm place for about 1 hour, and let them expand in their pan and become puffy .
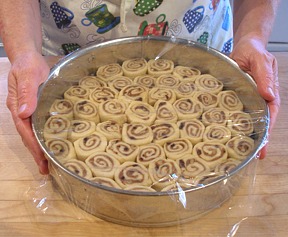
SARAH SAYS: You can use my microwave proofer to rise the dough in. For information, see Step #4.
10. Position a shelf in the middle of the oven and preheat it to 350 degrees F.
11. In a small bowl, mix the confectioners' sugar with the remaining 1/4 teaspoon of cinnamon.
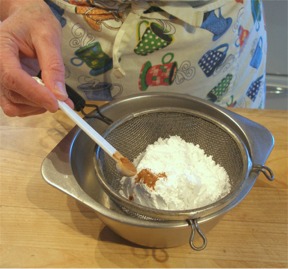
KELLY SAYS: After measuring, I always sift powdered sugar. See the lumps? If you did not sift, those lumps would give you problems. Just push them through the strainer with your fingers.
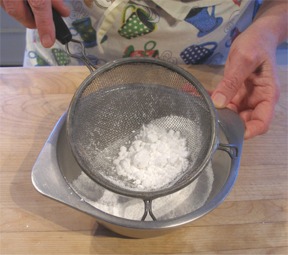
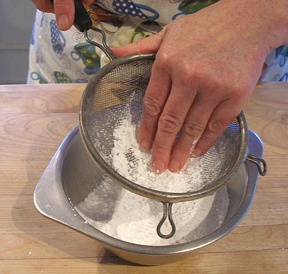
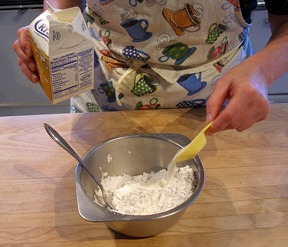
Add in the half-and-half and stir until well-mixed. Set aside.

12. Remove the plastic from the rolls. The rolls will fill in the pan and become puffy rather than rise high.
KELLY SAYS: I placed the pan on a baking sheet, lined with a silpat, in case it leaked. It did.
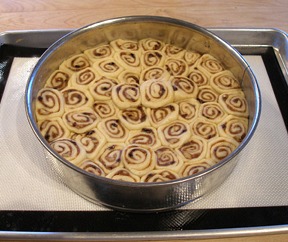
Bake the rolls for about 40 minutes, until golden and risen and an instant-read thermometer inserted in the center registers 180 degrees F.
SARAH SAYS: Take care not insert the thermometer's tip into any sugary filling when you insert it.
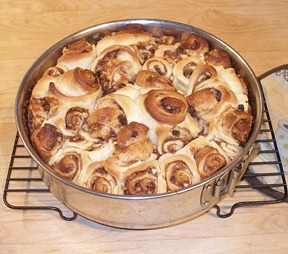
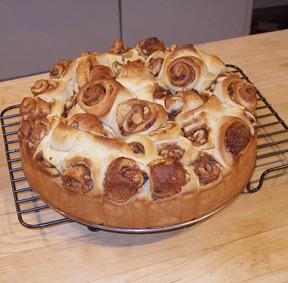
Let stand for 5 minutes, then run a knife around the inside of the pan to loosen the ring from the rolls. Carefully remove the ring and the rolls from the bottom of the pan; first, slide a long icing spatula between the rolls and the bottom, and then loosen the rolls.
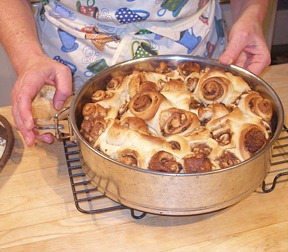
SARAH SAYS: Take care and wear oven mitts because the pan is very hot. Kelly does not use any oven mitts when handling the pan, because she has developed, what we call in the trade, “asbetos fingertips”; meaning, she has baked so much, that her fingertips can withstand hot pans without protection from the heat! HA!
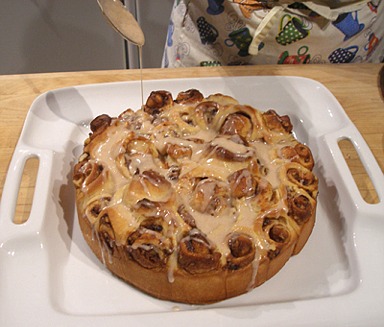
Slide the rolls onto a plate, drizzle with the glaze and serve.
KELLY SAYS: The glaze is very thick. You can spread it with a knife, or you can drizzle it if you heat it slightly first in the microwave on 50% power, for about 45 seconds to 1 minute at a time. Make sure you stir after every microwave session so the glaze does not burn. (And, use a microwave-safe bowl!)
MAKE AHEAD
The unbaked and shaped rolls can be covered in plastic wrap and allowed to rise overnight in the refrigerator; let warm to room temperature before baking. The baked cinnamon rolls can be covered in plastic wrap and stored overnight at room temperature. Reheat before serving
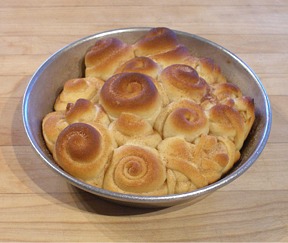
Kelly SAYS: NOTE: When you trim the edges of your dough, do not throw out that scrumptious scraps!
My frugal husband rolled them up, put them in a buttered pan, and sprinkled a little cinnamon sugar on top. He let it rise for a while and baked it.
Totally YUMMY!
STORAGE
Wait until the cinnamon rolls cools completely before wrapping in plastic wrap or a few times in foil and storing it at room temperature for a day. For a couple of days storage, store in an airtight container in the refrigerator. The baked rolls can be frozen where they will keep fresh for 1 month or more.


