

Our proprietary recipe is inspired by the wildly popular “Cronuts” that took New York City by storm. The Cronut, a cross between a croissant and a donut (doughnut), is the invention of pastry chef Dominique Ansel of Dominique Ansel Bakery. They are so popular that people wait in line for HOURS to get them at $5 a pop. Plus, you can only buy two at a time, due to the huge demand. Since we don't all live in NYC, and don't care to wait in line, we decided give this concept a whirl.
We tried several laminated pastry doughs, and found one that worked the best (see which one we use below!). The resulting pastry is light and airy on the inside, crispy on the outside, and the vanilla pastry cream adds a layer of heavenly perfection! Ours is finished with a swirl of vanilla icing, then garnished with edible candied lemon peel and a single red sugar pearl. Talk about decadently delicious!
PASTRY RECIPE HELP
CherBear, Premium Member, Says: “I, a novice baker learning most everything from this site, made these awesomely delectable Danuts yesterday. I was intimidated by the thought of making pastry and the cream but I followed the directions and they turned out almost perfect (a few lopsided ones and the cream was a little thick). But, friends inhaled them while telling me I definitely have 'the touch'. Thanks so much for a great recipe!!! Making them again today as I know I can make them turn out even better than my first attempt!”
INGREDIENTS
1 recipe Basic Danish Pastry Dough, well chilled; make in advance, instructions below
1/2 recipe Vanilla Bean Pastry Cream, well-chilled; make the day before
48 ounce bottle of flavorless vegetable oil, such as corn oil, canola oil, or grapeseed oil
Garnish:
1 recipe Vanilla icing, below see Step III
2 Tablespoons julienne candied lemon peel, or garnish of your choice
red sugar pearls or sprinkles, dragees
Sugar Coating and for Danut holes:
1 cup sugar, divided
1 teaspoon cinnamon, for Danut holes
Special equipment:
Deep Fry thermometer
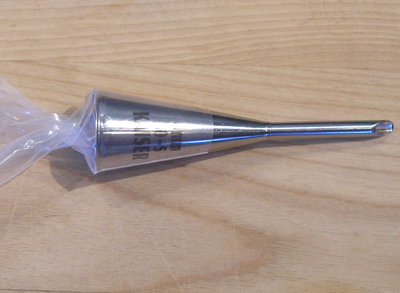
Bismarck metal piping tip, for filling the Danuts
2 disposable plastic piping bags
3 -inch round cookie cutter
1-inch round cookie cutter
STEP I: DAYS 1 AND 2 – PREPARE THE DANISH DOUGH
Making the dough is a two day process, so plan ahead.
The pre-dough is made on day one, and left to rest in the refrigerator overnight. On day two, you finish making the dough, wrap it in plastic and refrigerate it overnight.
STEP II: DAY 3 – ROLL OUT THE DANISH DOUGH
1. Remove the rested dough packet from the refrigerator and remove the plastic wrap.
2. Place it on a floured work surface and roll it out to a 10-inch square. The dough should be quite thick, about 3/8 of an inch.
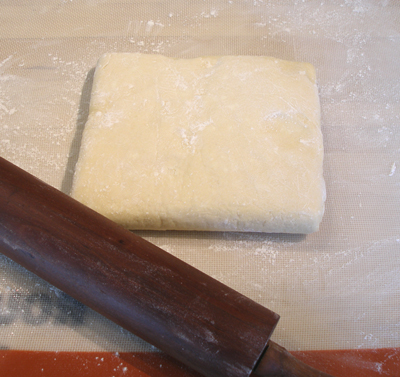
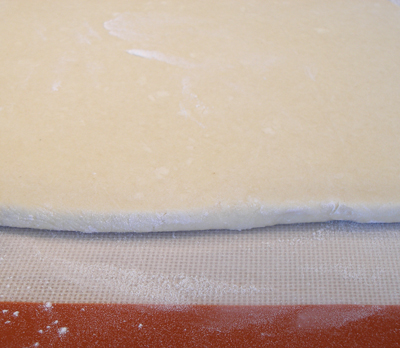
3. Cut out Danut rounds, using the 3-inch cookie cutter. Cut straight down, without turning the cutter, so you don't seal the layers of dough together.
Place the cut rounds on a lightly floured surface.
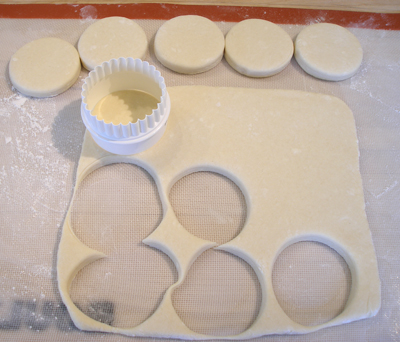
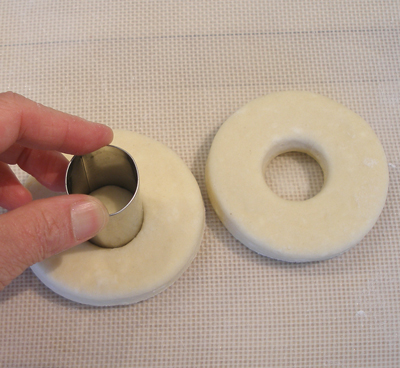
4. Cut out the Danut holes, in the center of the rounds, with the 1-inch round cookie cutter. Set the holes aside with the Danuts.
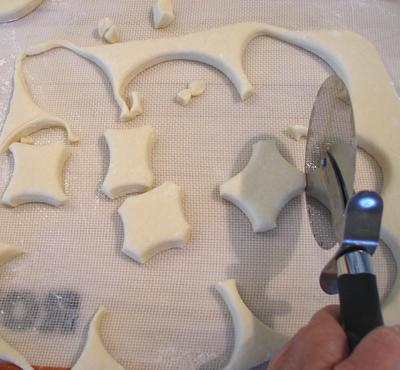
5. You will be left with scraps of dough. DON'T YOU DARE throw these away, as we will be transforming them into tasty morsels as well.
Cut the scraps into shapes with a pizza cutter. You can discard the tiny pieces of dough.
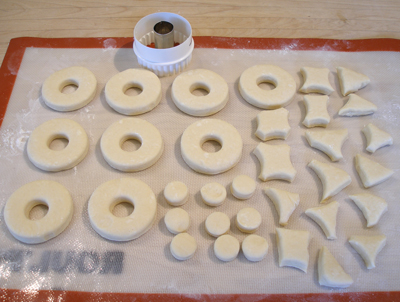
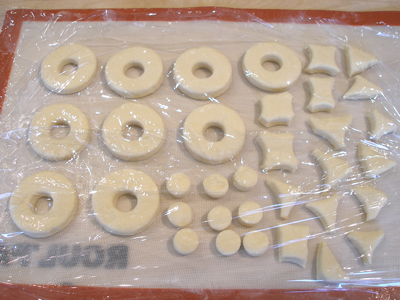
6. Arrange the Danuts, Danut holes and scraps on a lightly floured surface, cover loosely with plastic wrap and let them rise for an hour, or until doubled in bulk.
SARAH SAYS: Let rise at room temperature. Do not place them in an especially warm place to rise as you do not want the buttery layers to melt.
STEP III: MAKE THE VANILLA ICING
While the Danuts are rising, make the icing.
INGREDIENTS
1 cup powdered sugar, sifted
3 to 3 1/2 teaspoons whole or 2% milk
1/2 teaspoon vanilla extract
INSTRUCTIONS
1. Place the sifted powdered sugar in a bowl and add 3 teaspoons milk.
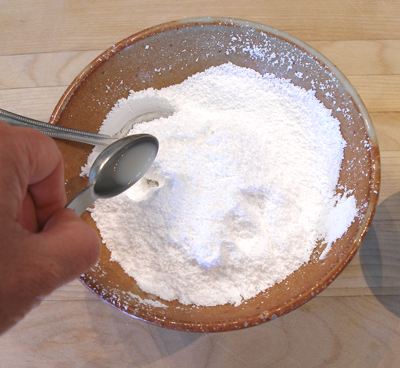
2. Stir until combined, then add the vanilla.
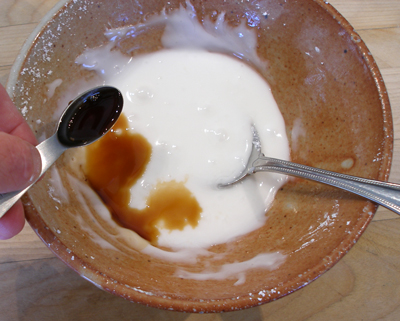
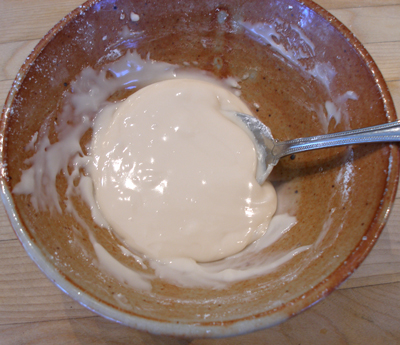
NOTE: The icing should be quite thick and flow like lava off the spoon. If it is still too thick add more milk, a few drops at a time, until it flows slowly off the spoon when it is lifted up.
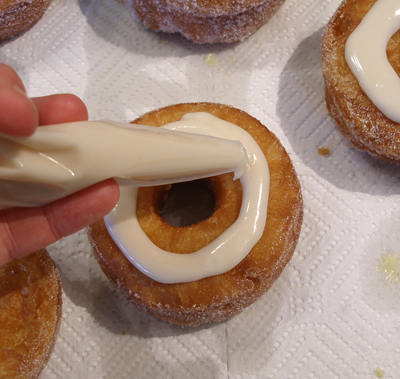
The icing should be thick, because we don't want it to flow off the sides of the Danut. It should stay in a fairly neat ring on top of the pastry.
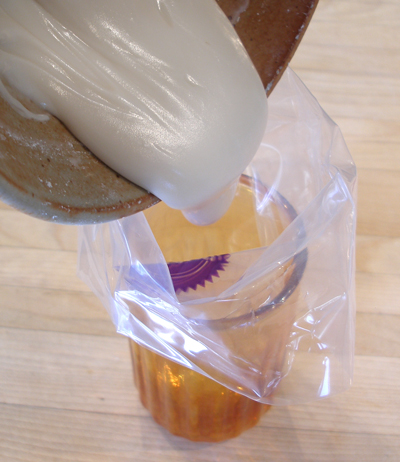
3. Place the icing in a disposable piping bag, without a tip in place, twist the top of the bag to seal it and set it aside until needed.
STEP IV: FRY THE DANUTS
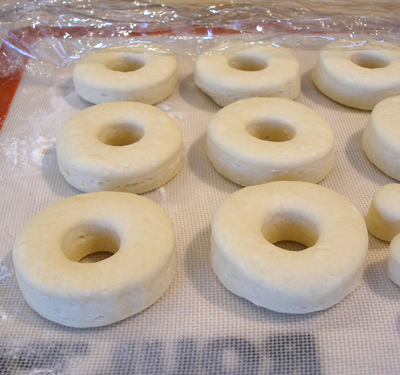
1. When the dough has risen an hour, it should look like this:
2. Place a flavorless oil in a heavy bottomed large saucepan.
NOTE: We used a 4 quart heavy-bottomed pan.
Clamp on the deep fry thermometer.
3. Bring the oil up to 350 degrees F, using medium-high heat.
When the oil reaches 350 degrees, carefully place a Danut in the oil. You *can* fry two at a time, if desired.
4. Cook on one side for 2 1/2 minutes, then flip the Danut over, and cook on the other side for 2 minutes, or until golden brown and insanely puffed.
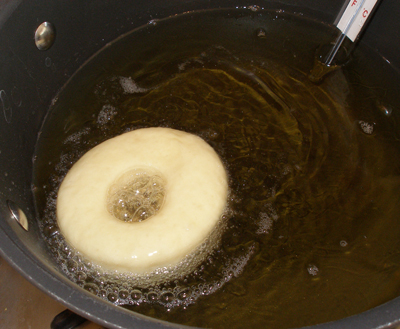
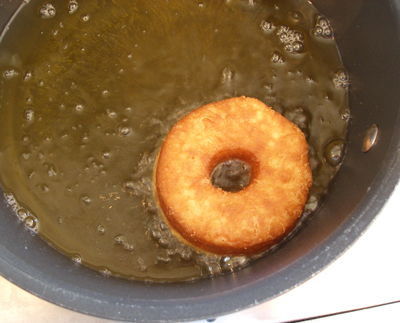
5. Continue frying the Danuts, placing them on a paper towel lined baking sheet when done.
Periodically check the temperature of the oil, adjusting the heat on the stove to maintain 350 degrees F.
Look how pretty and puffy they are!
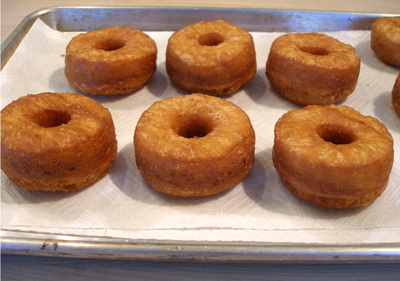
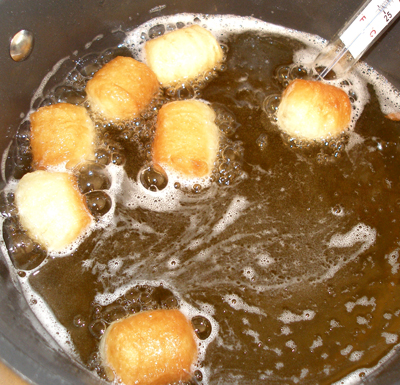
6. When you are done frying the Danuts, fry the scraps and Danut holes.
Just turn them when one side is browned and continue to fry them until evenly browned. They will not take two minutes on each side, because they are smaller.
Place them on the paper towel lined baking sheet to drain off the excess oil and cool.
STEP V: FILL AND FINISH THE DANUTS
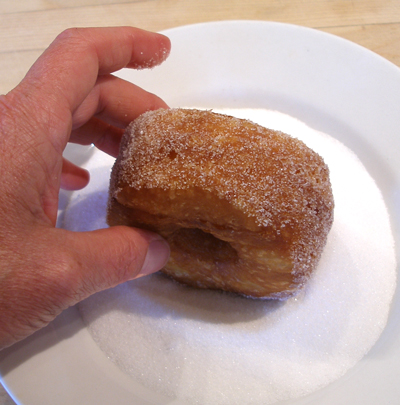
1. When the Danuts are completely cool, place 1 cup of granulated sugar in a shallow bowl, and roll THE EDGES of the Danuts in the sugar.
Reserve the remaining sugar in the bowl for covering the Danut holes.
2. Put the Bismarck piping tip in a disposable pastry bag and twist the bag above the tip before you fill the bag with the Vanilla Pastry Cream recipe.
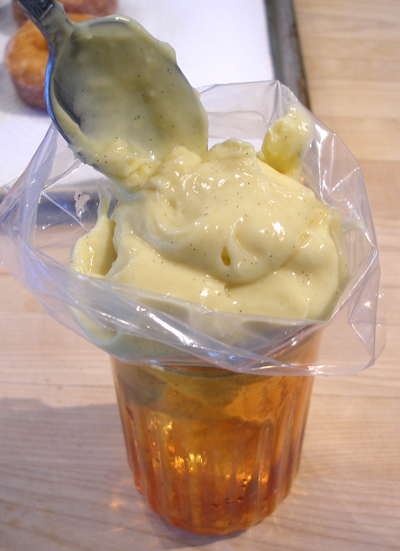
3. Place the twisted bag and tip in a glass and fill it with the pastry cream.
NOTE: Stir the cold pastry cream briskly, to loosen it up, before putting it in the pastry bag.
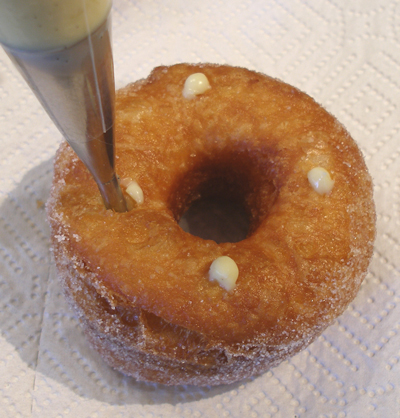
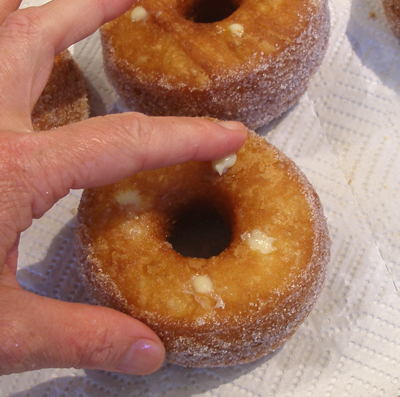
4. Fill the Danuts: Find the prettiest side of each Danut, then flip it over and fill it on the less pretty side.
Insert the pastry tip into the Danut, making sure not to go all the way through.
Squeeze some of the pastry cream into the hole, slowly raising the tip up as you squeeze.
Do this in 4 evenly place sections.
5. Wipe any excess pastry cream off the bottom of each Danut with the tip of your finger.
After the Danuts are filled, they should feel quite a bit heavier than they did when they were unfilled.
6. Snip a 1/4-inch hole in the icing piping bag and pipe a ring of Vanilla icing in the center of each Danut.
Before the icing sets, add the garnish of your choice.
NOTE: We used slivered candied lemon peel and a red sugar pearl, but sprinkles, dragees or other pretties could also be used.
STORAGE
The Danuts are best eaten fresh, right after frying. The crackly outer crust is a wonderfully delicious counterpoint to the fluffy innards and the sweet pastry cream.
If you want to keep them for more than two hours, place them in the refrigerator, in a covered container because the pastry cream is perishable.
Remove them from the refrigerator, and let them come to cool room temperature before eating. They will still be fabulous, but some of the crispiness will be gone.
NOTE: Finish the Danut Holes
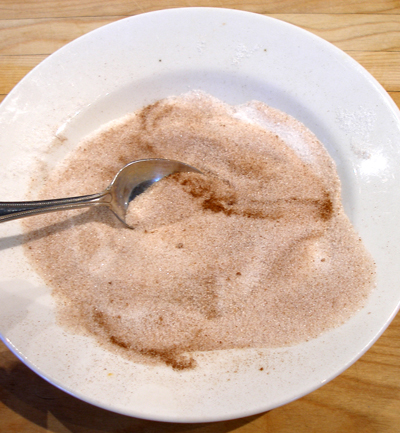
1. Add 1 teaspoon of cinnamon to the remaining sugar and stir to combine. Place the cinnamon sugar in a plastic bag.
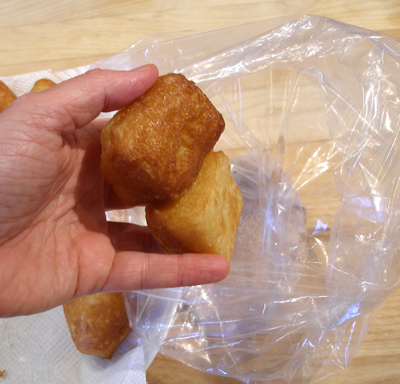
2. Add a few fried and cooled Danut pieces to the bag, then shake to coat them in the cinnamon sugar.
Continue until all of the holes and pieces are coated.

STORAGE
Keep the holes and pieces in a covered container, at room temperature, for up to three days, for best taste.


