Food styling and photo by Orange Piggy © Sarah Phillips

Food styling and photo by Orange Piggy © Sarah Phillips
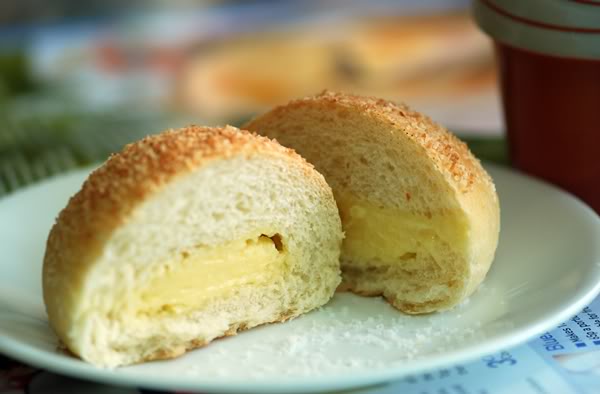
These are Asian style buns made filled with creamy milk powder filling.
BREAD RECIPE HELP
INGREDIENTS
Tang Zhong (湯種) (Water Roux) Starter:
20 g Bread flour
100 g water
Bread Dough:
210 g Bread flour
56 g Cake flour
20 g Milk powder
42 g Sugar
½ tsp Salt
6 g Instant dry yeast
30 g Egg (reserve the remaining egg for making the filling)
85 g Warm milk
84 g Tang zhong (Water Roux) Starter, at room temperature
22 g Unsalted cultured butter or regular unsalted butter
Filling:
40 g Cream cheese, softened
30 g Unsalted cultured butter* or regular unsalted butter, softened but not melted or greasy
30 g Powdered sugar
1/8 tsp Salt
20 g Egg
1 tbsp Corn starch
80 g Milk powder (or Vanilla pudding powder)
Topping:
Shredded coconut or flaked coconuts
*NOTES: If you can't find cultured butter, you can make your own cultured butter. It's easy. (I made only 1/4 of the recipe to use with this buns recipe).
UNSALTED CULTURED BUTTER
Makes about 4 cups

INGREDIENTS
4 cups heavy cream, choose pure milk cream with no other additives
1/3 cup plain unsweetened whole-milk yogurt
INSTRUCTIONS
1. In a large, deep and clean, dry bowl. (Rinse the bowl and the spatula or the spoon with hot boiling water and let dry) put the cream and add the yogurt. Stir gently until well combined. Do not beat or whip it. Cover the bowl tightly with a plastic wrap and let stand about 12 hours at a slightly warm place.
2. If the mixture thickens a little bit, it is ready. Beat the mixture with a handheld electric mixer until it breaks and liquid separates from the milk solid.
3. Strain the liquid out from the butter and rinse the butter with cold water until water runs clear. Keep the butter refrigerated until needed. The liquid can be used as buttermilk in other recipes.
BUN INSTRUCTIONS
1. Make tang zhong starter: In a small sauce pan over a medium-low heat, combine flour and water. Stirring constantly with a small whisk until thicken and the whisk leaves trail on the surface of the mixture. The right temperature of the mixture should be 65 degrees Celsius. Remove from heat and transfer to a small bowl. Cover with a sheet of plastic wrap directly on the surface. Let cool completely before using. Refrigerate if not using right away.
2. Make the bread dough: In a bowl of standing mixer fitted with a dough hook, put all the bread dough ingredients except the butter and knead on low speed for 3 minutes. Add the butter and knead until the butter is well incorporated then increase to medium speed and keep kneading until the dough is smooth and elastic. Add more flour, 1 tablespoon at a time until the dough stops sticking to the sides of the mixing bowl. It will still a little sticks at the bottom of the bowl. Transfer to a greased bowl and turn the dough so it is coated by the grease. Cover with a damp towel or plastic wrap and let rest for 40 minutes or until doubled in size.
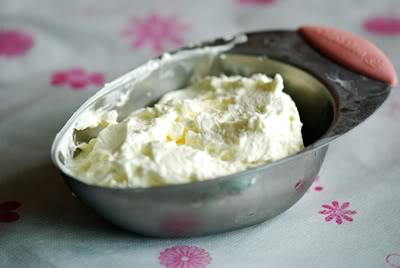
3. While the dough is resting, make the filling: In a medium bowl using a wooden spoon, cream the cream cheese and butter with sugar until light. Gradually add in the egg. Mix in the corn starch and milk powder with a spatula until everything well combine. Do not over mix. If the mixture is too liquid, add 1-2 teaspoons of milk powder to adjust consistency. Divide the filling into 9 portions. Keep refrigerated until needed.
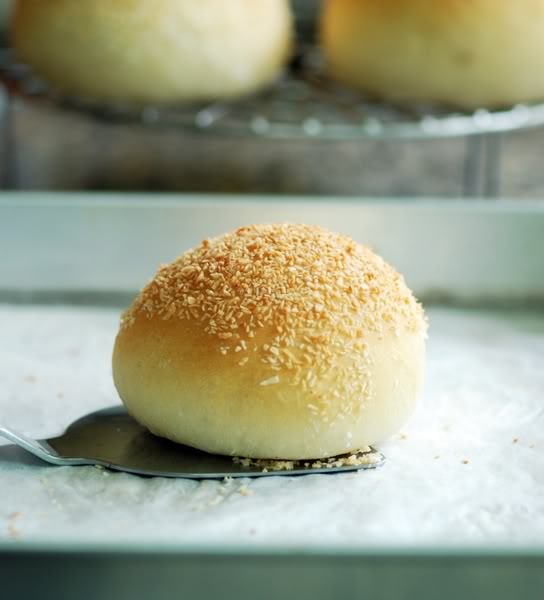
4. Deflate the dough and divide it into 9 pieces. Let rest for 10 minutes. Put the flaked coconuts in a small bowl. Flatten each dough lightly with your hands and wrap the filling. Mist or brush the top of each dough with water and dip in flaked coconuts so they can stick to the dough. Put the dough on a lined baking sheet. Repeat with remaining dough. Cover the dough with plastic wrap and let rise for 40 minutes.
%% Preheat the oven to 180 degrees C (350 degrees F). Position rack on middle shelf.
5. Bake for 13-15 minutes or until the top is golden brown. If the coconuts start to brown too quickly, cover loosely with a sheet of foil.
6. Let cool on wire rack, cool completely.
STORAGE
Refrigerate the leftover buns as the filling is perishable.

Food styling and photo by Orange Piggy © Sarah Phillips


