
Variations: Vanilla Batter: Coffee; Chocolate Batter: Mocha Batter or Orange Batter
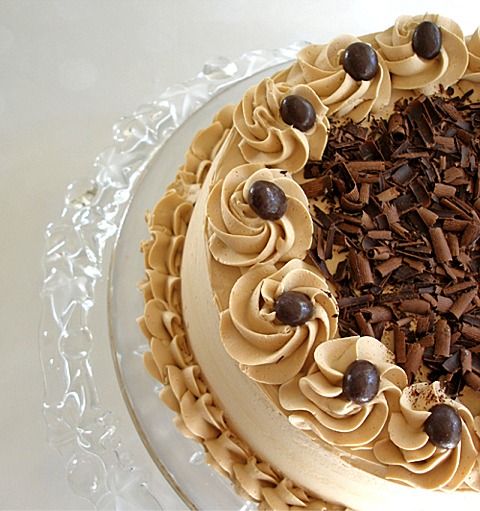
Marble cake filled and frosted with Caramel Swiss Meringue Buttercream, Caramel Mocha Variation, and adorned with chocolate covered espresso beans and chocolate curls.

Premium Member Cynd65i asked me for a better rendition of a marble cake – that the vanilla and chocolate swirls crack or shrink where they meet, the chocolate is not as flavorful or chocolaty. She asked: “…how can I make the chocolate darker? Can I use the Hershey's Special Dark cocoa or do you think it would be better if I just used some black food coloring in with the chocolate? Wouldn't that “bleed” into the white part?”
I love marble cake! I love the combination of the swirls of chocolate and vanilla running through the cake! Typically, marble cakes are made by adding melted chocolate to a portion of the vanilla batter, which to me, does not yield a great tasting cake. Plus, when melted chocolate is mixed into a pre-existing vanilla cake batter, the chocolate portion becomes overmixed and is often dry as a result, rather than chocolaty and flavorful.
And, then, the light bulb went off in my head! The recipe I created here made differently than a typical marble cake. Find out what I did! My way is much more flavorful and creative! I also developed a new way to marble the cake batter so the marbling really shows up when you cut the cake, which is included with this recipe.
CAKE RECIPE HELP
KELLY SAYS: “it tastes DELISH…and it is fabulously moist”
Lindat, Premium Member, Says: “I made the marble cake with the Swiss Meringue Caramel Espresso frosting – it was delish! I have some frosting left in the freezer and it is calling my name. I try to resist, but then a spoon JUMPS out of the drawer…. I mean, what can one person do??”
NicoleB, Premium Member, Says; “Sarah, I made this cake for my son's 3rd birthday and of course it was fabulous! We all loved it!! My husband loved it so much I had to keep the scraps I cut off to make the train shape!!! Thanks for sharing your bountiful knowledge of baking with us! “
lalmjid, Premium Member, Says: “I made (the) marble cake from your recipe, it is so goood!”
INGREDIENTS
Vanilla Batter:
2 1/2 cups PLUS 2 tablespoons (1/8 cup) bleached cake flour; spoon into measuring cup and level to rim
3 teaspoons baking powder
3/4 teaspoon salt
1/2 cup unsalted butter; cold from the refrigerator
1 1/2 cups sugar
3 large eggs; cold from the refrigerator
3/4 cups milk; cold from the refrigerator
2 teaspoons vanilla extract
Variations of the Vanilla Batter:
Coffee:
Use 1 teaspoon vanilla extract instead of 2 teaspoons
Add 1 teaspoon Instant Espresso Powder to the flour
Chocolate Batter:
3/4 cup bleached cake flour; spoon into measuring cup and level to rim
1/8 cup (2 tablespoons) plus 1 1/2 teaspoons Hershey's Special Dark cocoa powder or Natural cocoa powder
3/4 teaspoons baking powder
pinch baking soda
1/4 teaspoon salt
1/4 cup milk; cold from the refrigerator
1 teaspoon vanilla extract
2 tablespoons plus 2 teaspoons unsalted butter; cold from the refrigerator
1/2 cup sugar
1 large egg; cold from the refrigerator
Variations of the Chocolate Batter:
Mocha:
Add 1/2 teaspoon Instant Espresso Powder to the flour
Orange:
Omit the cocoa powder, and use 3/4 cup plus 1/8 cup (2 tablespoons) plus 1 1/2 teaspoons bleached cake flour; spoon into measuring cup and level to rim
Use 1 teaspoon baking powder and omit the baking soda
Use 1/2 teaspoon vanilla extract instead of 1 teaspoon
Add in 1/2 teaspoon orange extract or 1/8 teaspoon orange oil
Add in 1 teaspoon orange peel, optional
2 – 4 drops orange gel paste food coloring, optional
INSTRUCTIONS
Prepare:
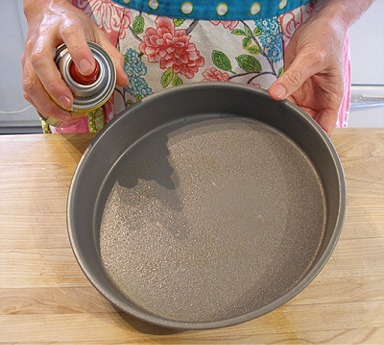
1. Generously grease two, 9- x 2- inch cake pans.
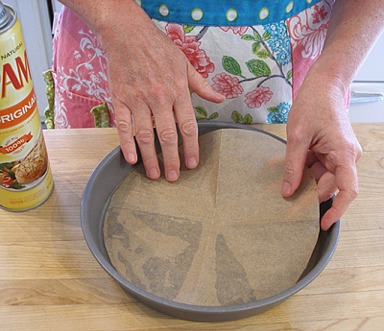
KELLY SAYS: NOTE: I like to use parchment circles, to insure that the cake won't stick.
Grease the pans.
Place a parchment paper round in the bottom of each the greased pans.
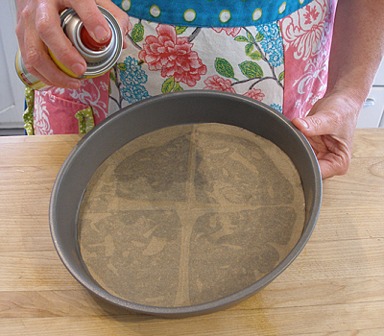
Grease the tops of each parchment paper round. Set the prepared pans aside.
Vanilla Cake Batter:
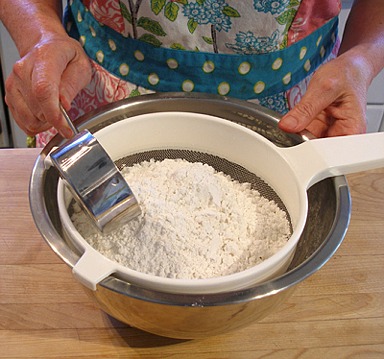
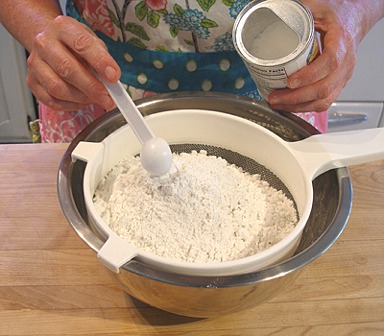
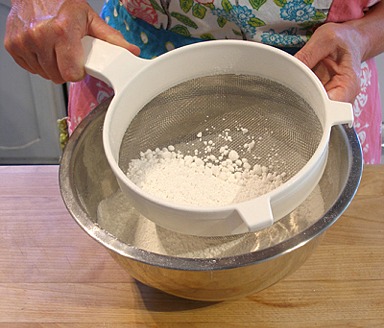
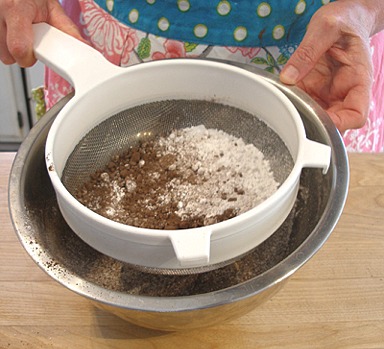
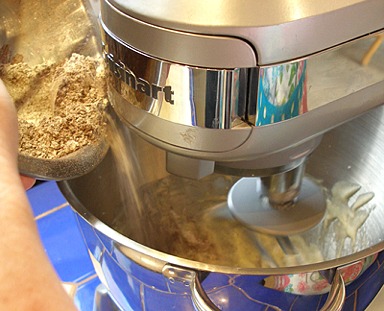
1. In a medium size bowl, combine the flour, baking powder and salt. Set aside.
KELLY SAYS: I like to sift the dry ingredients together, after measuring, to get out any possible flour lumps.
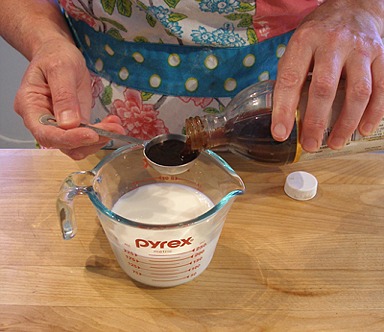
Add the vanilla extract to the milk. Set aside.
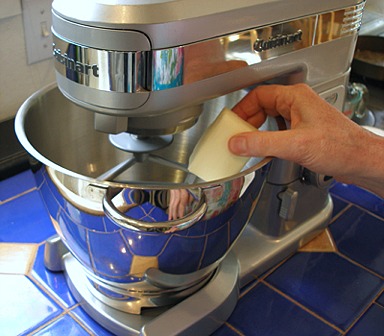
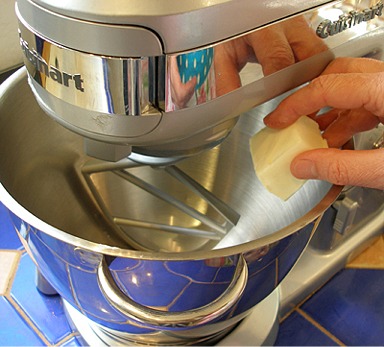
2. Beat the butter in the bowl of a stand mixer, fitted with a paddle attachment, on low until softened. (If the butter is cold, it will warm quickly from the beaters – taking about 60 seconds).
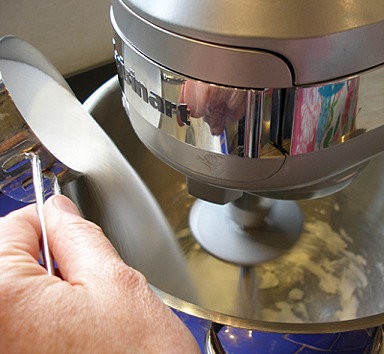
3. Add the sugar in a steady stream at the side of the bowl. Increase speed to medium and beat for 1 minute until the butter is lighter in color and aerated.
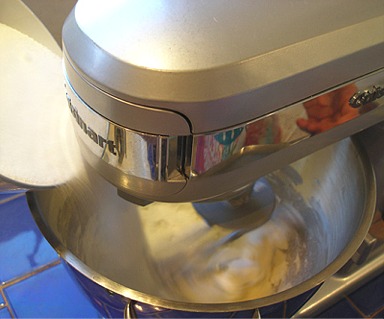
SARAH SAYS: A way to tell when the butter and sugar mixture is aerated properly, is when there are ridges of butter and sugar left at the side of the bowl as the beater moves through it. The butter should be tacky and not too soft in feel, and should not have melted or be greasy or oily.
If it is, unclamp the mixer bowl, and place it in the refrigerator for about 5 to 10 minutes to firm-up the butter. Resume the creaming step or beating the butter with the sugar.
Stop the mixer and scrape the side and bottom of the bowl with a large rubber spatula.
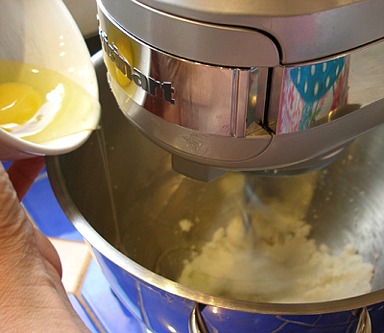
4. With the mixer on low, add the eggs one at a time and beat for 20 seconds after each addition.
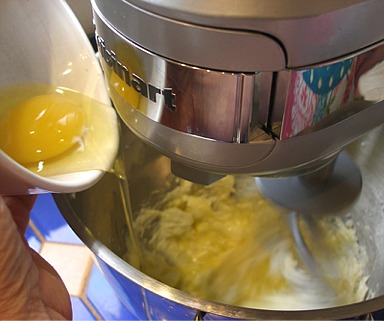
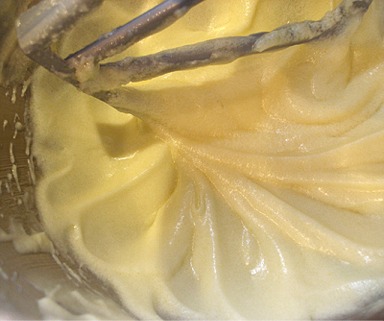
After the eggs have been added, increase the mixer speed to medium and beat the mixture for 2 minutes. (If the eggs are cold, the batter will curdle slightly. It's ok. It will come together as the batter warms from the beaters. ) Set the kitchen timer to help you keep track of the time.
The mixture will become fluffy and aerated.
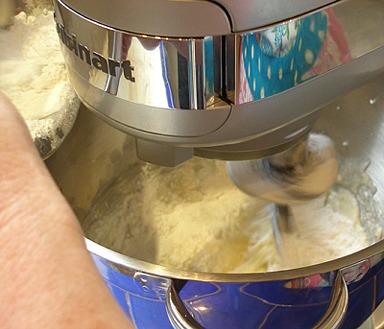
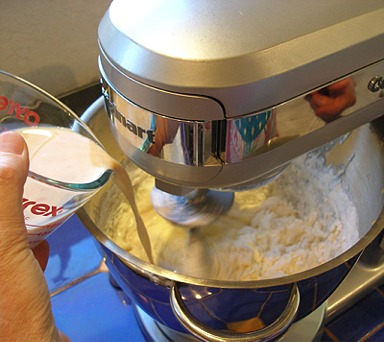
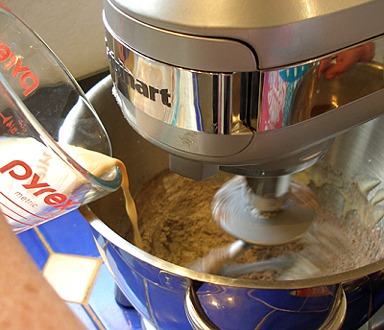
5. With the mixer on low, add the flour mixture in 3 equal portions, alternating with the milk / vanilla mixture in 2 equal portions, beginning and ending with the flour. (If the milk is cold, the batter will curdle slightly. It's ok. It will come together when you add the flour.)
SARAH SAYS: Add the flour and liquid ingredients in increments quickly; do not wait in between additions too long as you don't want to overmix the batter.
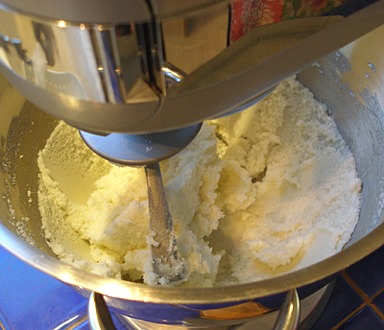
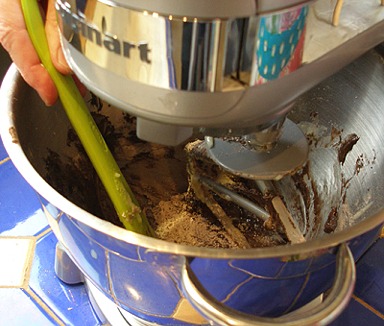
After completing the last addition of flour, stop the mixer, and scrape the side and bottom of the bowl with a large rubber spatula. Then, let the mixer run for 30 seconds on LOW. The batter will form ridges on the side of the bowl as the beater pulls through the batter. STOP the mixer. Do NOT overmix.
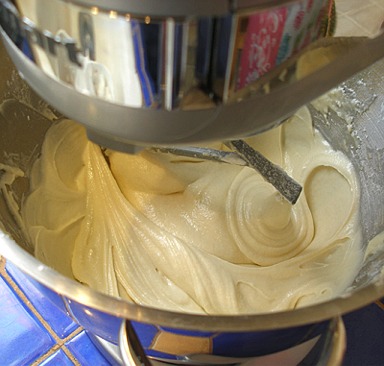
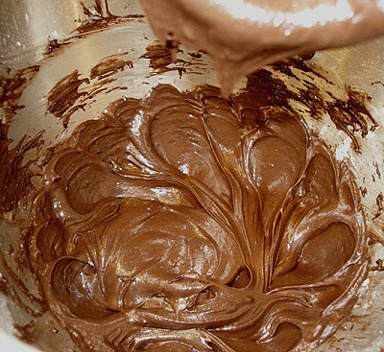
SARAH SAYS: The batter is an excellent temperature. Notice that it forms ridges on the side of the mixing bowl after the beaters pull through the mixture; the batter is tacky and not too warm so it sticks to the side of the mixing bowl! The batter will become light and fluffy, as well!
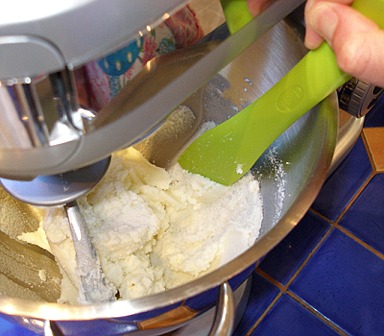
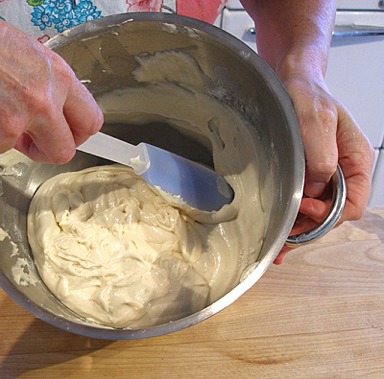
6. Remove the mixing bowl from the mixer. With a large rubber spatula, give the batter ONE or TWO quick folds to incorporate any stray flour or milk left at the sides and bottom of the bowl. Then, STOP!
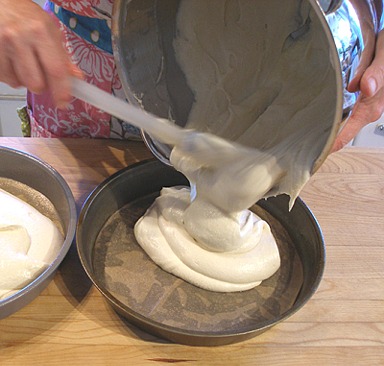
7. Divide the vanilla batter evenly between the prepared pans, cover and place in the refrigerator.

8. Prepare the Chocolate Cake Batter.
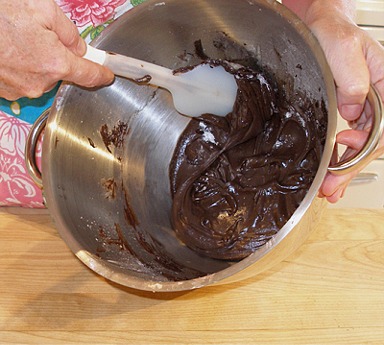
Chocolate Cake Batter:
The chocolate cake batter can be mixed with a hand-held mixer, fitted with beater attachments or a stand mixer, fitter with a paddle attachment. If you use
a stand mixer, take care NOT to overmix the chocolate batter because it is such a small amount.
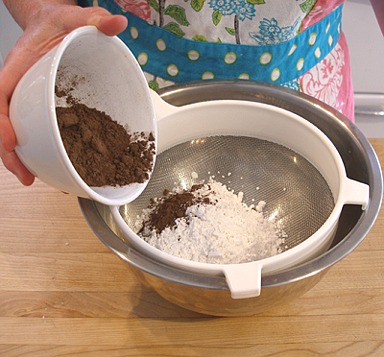
1. In a medium size bowl, combine the flour, cocoa powder, baking powder and salt. Sift ingredients to combine better. Set aside.
SARAH SAYS: When cocoa powder is in the ingredient list, it's always a good idea to sift the ingredients together because it often lumps and does not combine well.

Add the vanilla extract to the milk. Set aside.
2. Beat the butter in the bowl with a mixer on low until softened. (If the butter is cold, it will warm quickly from the beaters – taking about 60 seconds).
3. Add the sugar in a steady stream at the side of the bowl. Increase speed to medium and beat for 1 minute until the butter is lighter in color and aerated.
Stop the mixer and scrape the side and bottom of the bowl with a large rubber spatula.
4. With the mixer on low, add the eggs one at a time and beat for 20 seconds after each addition.
After the eggs have been added, increase the mixer speed to medium and beat the mixture for 2 minutes. (If the eggs are cold, the batter will curdle slightly. It's ok. It will come together as the batter warms from the beaters.) Set the kitchen timer to help you keep track of the time. The mixture will become fluffy and aerated.
5. With the mixer on low, add the flour mixture in 3 equal portions, alternating with the milk / vanilla mixture in 2 equal portions, beginning and ending with the flour. (If the milk is cold, the batter will curdle slightly. It's ok. It will come together when you add the flour.)
SARAH SAYS: Add the flour and liquid ingredients in increments quickly; do not wait in between additions too long as you don't want to overmix the batter.
After completing the last addition of flour, stop the mixer, and scrape the side and bottom of the bowl with a large rubber spatula. Then, let the mixer run for 30 seconds on LOW. The batter will form ridges on the side of the bowl as the beater pulls through the batter. STOP the mixer. Do NOT overmix.
SARAH SAYS: The batter is an excellent temperature. Notice that it forms ridges on the side of the mixing bowl after the beaters pull through the mixture; the batter is tacky and not too warm so it sticks to the side of the mixing bowl! The batter will become light and fluffy, as well!
6. Remove the mixing bowl. With a large rubber spatula, give the batter ONE or TWO quick folds to incorporate any stray flour or milk left at the sides and bottom of the bowl. Then, STOP!
Swirl Vanilla and Chocolate Batters Together the Sarah Phillips Way!:
1. Position the oven shelf in the middle of the oven and heat the oven to 350 degrees F.
SARAH SAYS: Make sure the oven has had a chance to preheat for a good 20 – 30 minutes before baking the completed swirled batter.
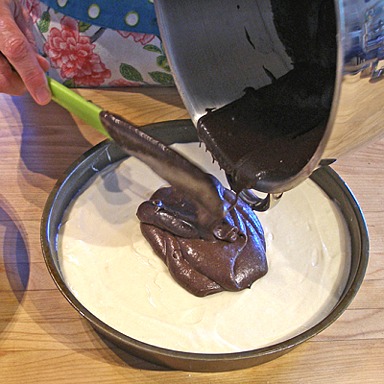
2. Remove the baking pans containing the vanilla batter from the refrigerator. Uncover.
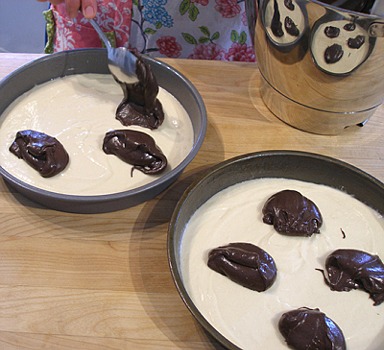
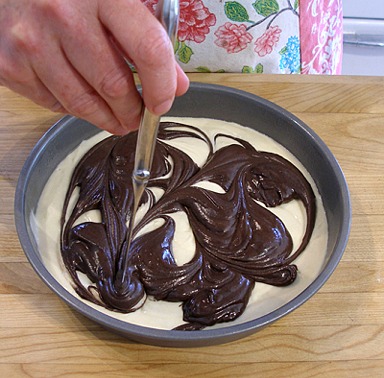
3. Place the darker batter into the center of the white batter.
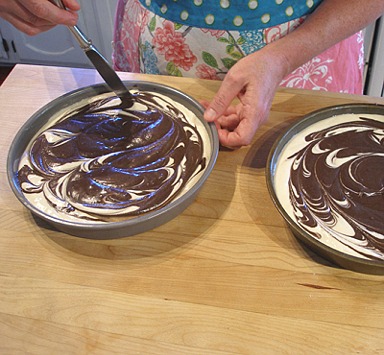
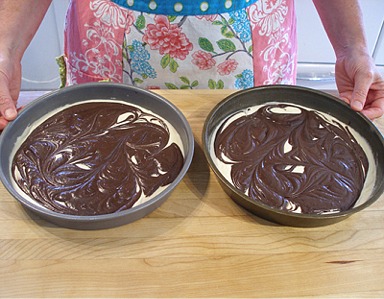
4. Drag a rubber spatula on its edge or a table knife through the batter to create lovely swirls or perfect marbling!
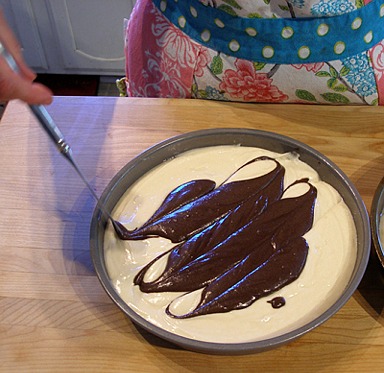
Make sure you touch the bottom of the pan with the spatula or knife as you drag it through the batter.
SARAH SAYS: DO NOT MARBLE THE BATTER THIS WAY!
Note how marbling is typically done, as instructed in other cookbooks by other cookbook authors. They recommend that dollops of the darker batter be placed around the baking pan. When the batter is swirled, note how you do not get as good swirls and the chocolate batter becomes lumped together, ruining the marble effect in the cake, a common problem!
BAKE
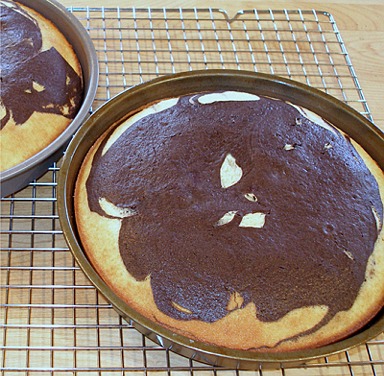
Bake for 25 to 30 minutes, or until a toothpick inserted in the center comes out clean and the cake top is golden brown and springy to the touch.
Cool cake in its pan for 10 minutes, before unmolding to cake rack to cool completely on the rack.
NOTE: The cake can be baked in a 9 x 13 x 2-inch, greased cake pan, taking 45 – 55 minutes to bake. Cupcakes (about 24) take 20 – 30 minutes to bake.
SERVE
Fill and frost layers when they have cooled.
STORE
Cake layers can be wrapped in plastic and stored at room temperatures for two to three days. Frozen for a month or more.
Frosted cake can be stored the same, depending on the type of frosting used.