Variation: Cinnamon Swirl Raisin Bread
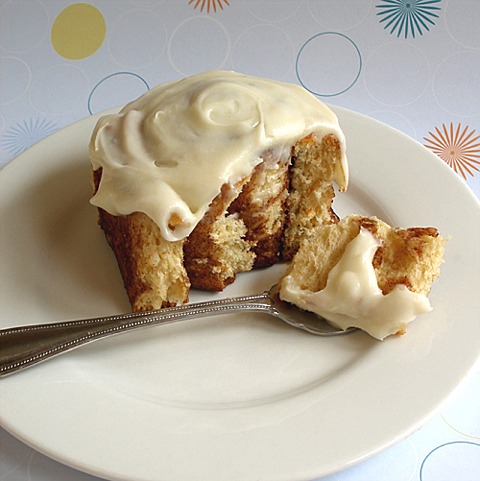
These are fluffy cinnamon buns with a delectable cream cheese icing. Very much like Cinnabons, without the huge price tag. See also our Cinnamon Swirl Raisin Bread Recipe.
BREAD RECIPE HELP
INGREDIENTS
Dough:
1 cup whole or 2% milk, heated in microwave to 100 degrees F; divided
2 teaspoons sugar
2 1/2 teaspoons active dry yeast
1/2 cup sugar
1/3 cup unsalted butter, melted and cooled to lukewarm
2 large eggs
1 teaspoon vanilla extract
1 teaspoon salt
4 1/2 – 5 cups unbleached all purpose flour, sifted; spoon into measuring cup and level to rim and, then sift
Filling:
1 cup light or dark brown sugar
3 tablespoons cinnamon
1/2 cup unsalted butter, softened
Icing:
5 ounces cream cheese, softened
1/2 cup unsalted butter, softened
3 cups powdered sugar, sifted; measure and then, sift
1 teaspoon vanilla extract
1/4 teaspoon salt
1- 1 1/2 tablespoons heavy cream
INSTRUCTIONS
STEP I: MIX THE BREAD DOUGH
Proof the yeast to activate it for use in the recipe.
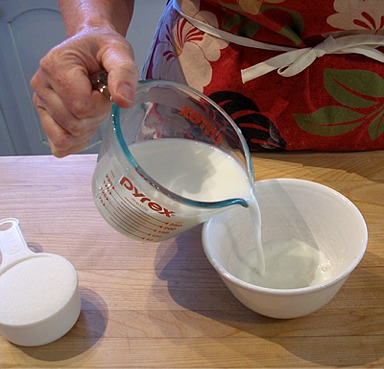
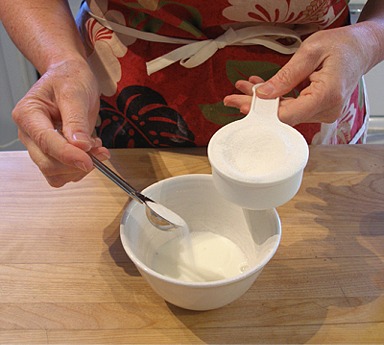
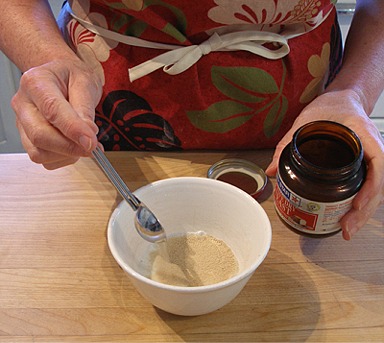
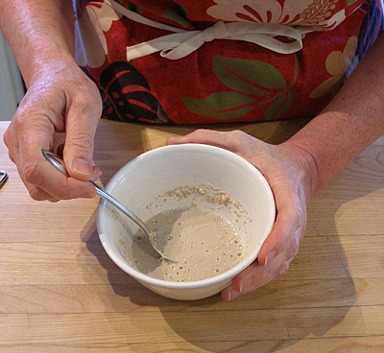
1. Place 1/4 cup of the warm milk in a small bowl. Stir in 2 teaspoons sugar.
Sprinkle the yeast over the surface of the milk / sugar mixture. Let sit for about 20 seconds until moistened.
Stir. Set the mixture aside to proof for 10 minutes.
Tiny bubbles should begin to appear on the surface or around the edge of the container and it should start to smell yeasty.
Mix the initial bread dough:
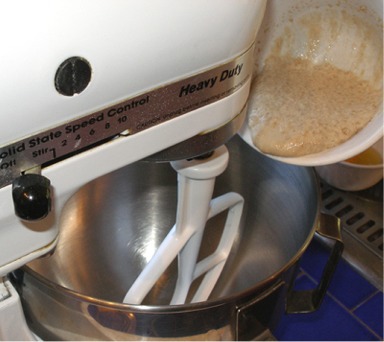
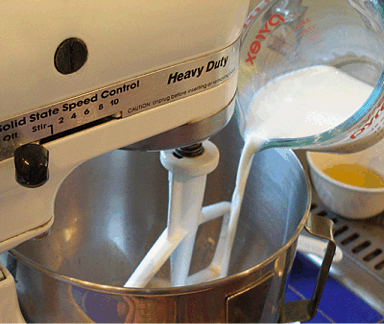
1. Place yeast mixture, the remaining 3/4 cup milk, 1/2 cup sugar, melted butter, eggs, vanilla, and salt to the bowl of a stand mixer, with paddle attachment in place, and stir to combine.
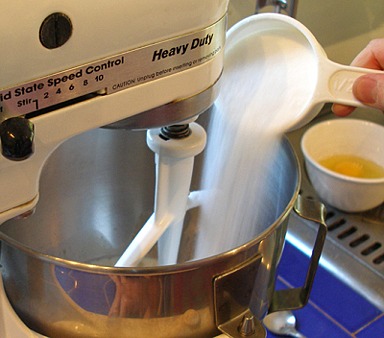
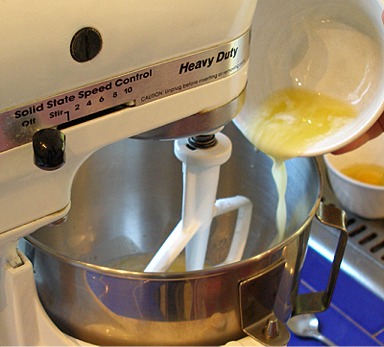
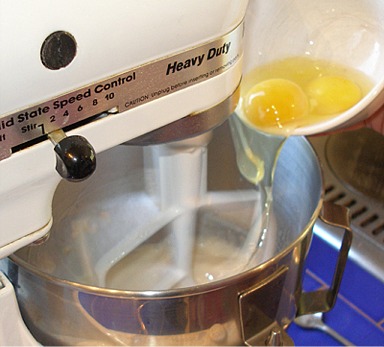
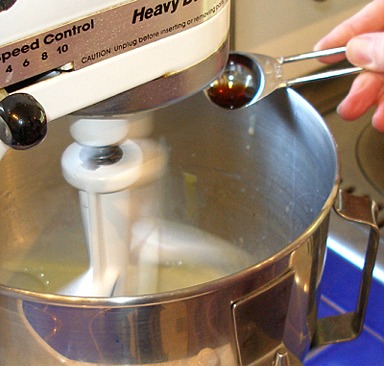
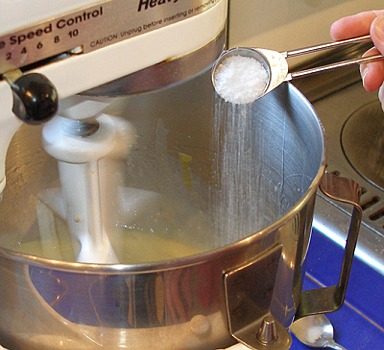
2. With the mixer on low, slowly add in 3 cups of the flour and mix till smooth.
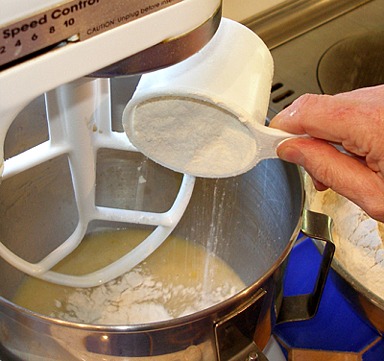
3. Change the mixer to the dough hook attachment and add one more cup of flour.
Mix at medium speed, for three minutes.
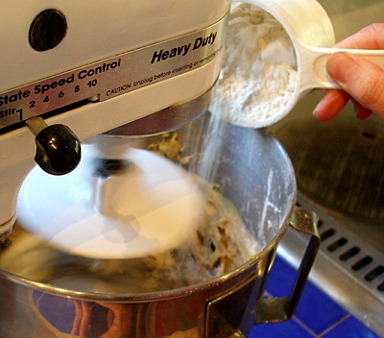
4. Add more flour, a little bit at a time, till a soft dough, that starts to pull away from the sides of the mixing bowl, is formed.
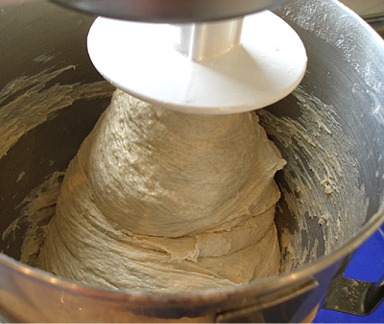
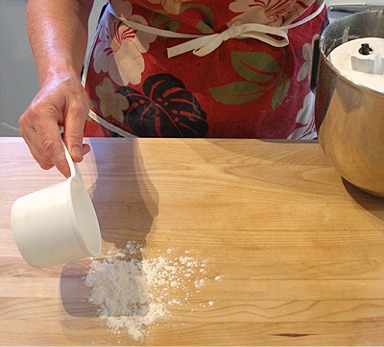
5. Remove dough from bowl onto a lightly floured surface. Do not pull at it while you do.
STEP II: KNEAD THE BREAD DOUGH
1. Knead dough for a few minutes, by hand, till it is smooth and elastic.
If dough is sticky, add a little more flour, to keep it from sticking to your hands. The dough should still be soft.

2. Afterwards, form the dough into a tight ball called rounding.
SARAH SAYS: To round, while lightly pressing down on a flour-free countertop, form the dough into a sphere by rotating your hand over the top. Stretch the top tightly with opposing thumbs across the dough to bring the top underneath the ball. Or, keep turning, stretching the sides and tucking the bottom into itself until you have a ball whose bottom looks like the underside of a jellyfish. Seal the underside folds by pinching them.
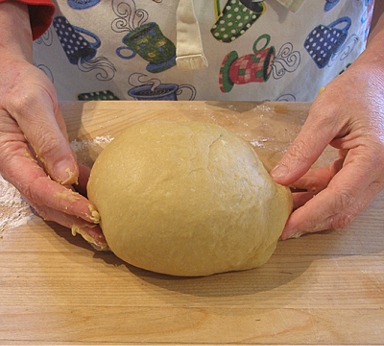
STEP III: LET THE DOUGH RISE
1. Put the dough ball in a lightly oiled bowl, turning it over, so all of it is lightly coated.
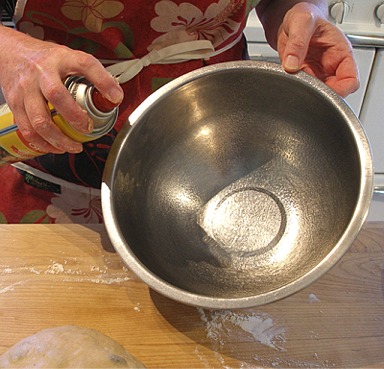
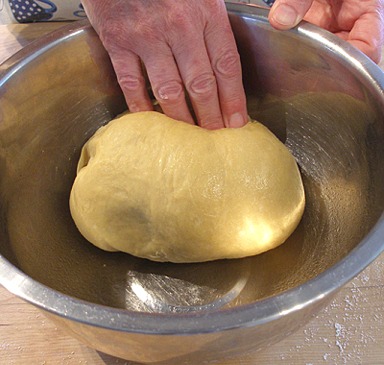
2. Cover bowl tightly with plastic wrap and set it aside, in a warm place, to rise, till ALMOST doubled. This will take 1- 1 1/2 hours, depending on the temperature of the room.
You may also use Sarah's microwave proofing technique, to speed up the process.
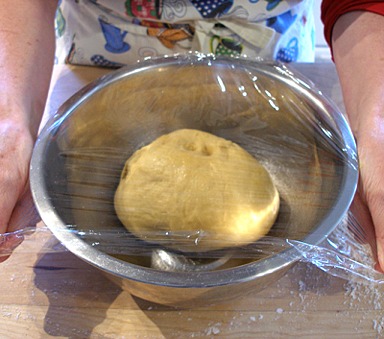
STEP IV: TURN THE RISEN DOUGH FROM ITS BOWL, FILL WITH THE CINNAMON FILLING AND ROLL
Turn the dough from its bowl:
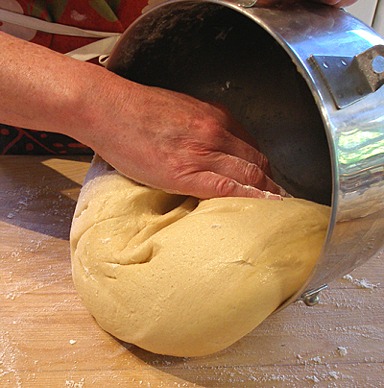
1. When the dough has ALMOST doubled in size, without first pressing on the risen dough to deflate it, gently turn it as is from its bowl on a lightly floured surface.
Let it rest for 5-10 minutes, while you make the filling.
Make the cinnamon filling:
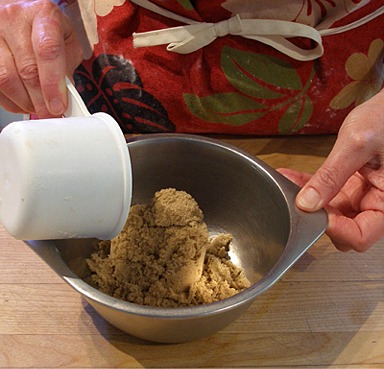
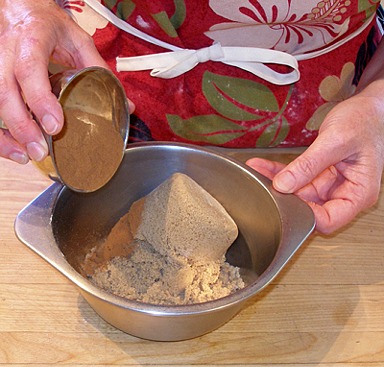
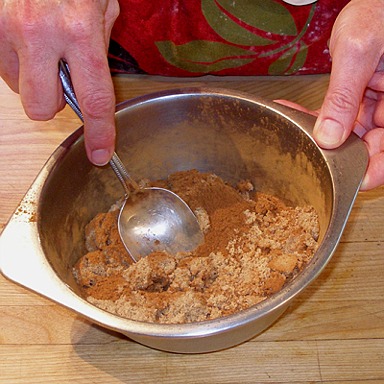
2. In a small bowl, combine brown sugar and cinnamon. Stir to combine. Set filling aside while you roll out the dough.
Shape and fill the dough:
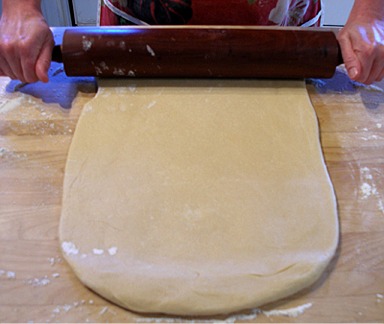
3. Gently press the dough into a rough rectangle, then roll the dough out to measure approximately 16- x 22-inches.
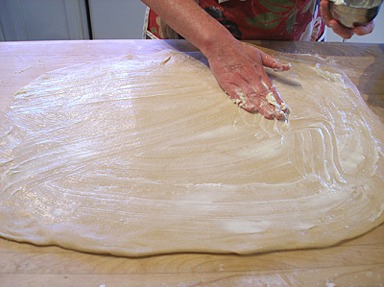
4. Spread the softened butter over the surface of the dough.
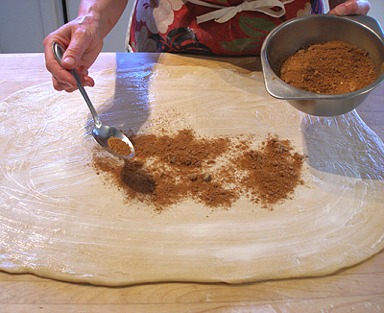
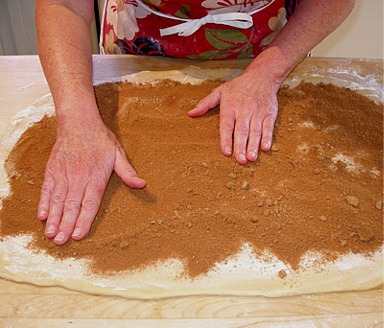
5. Sprinkle the brown sugar cinnamon mixture over the butter and gently spread it with your hands to an even layer.
Roll the dough:
6. Roll the dough up into a moderately tight cylinder, starting at the long side.
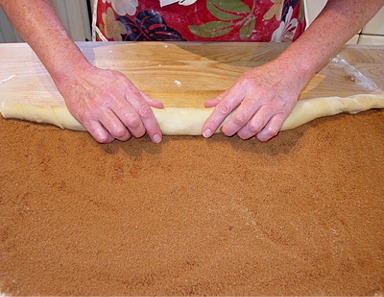
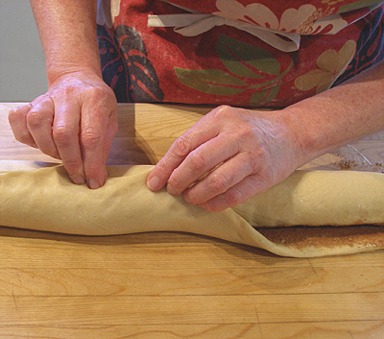
7. Pinch the seam together.
STEP V: SHAPE THE BUNS, LET THEM RISE, PREHEAT THE OVEN AND BAKE
Shape the buns:
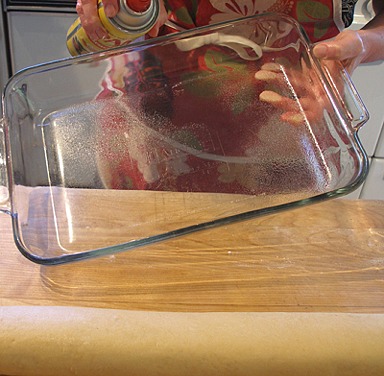
1. Grease a 9- x 13-inch pan, or two 9 inch cake pans.
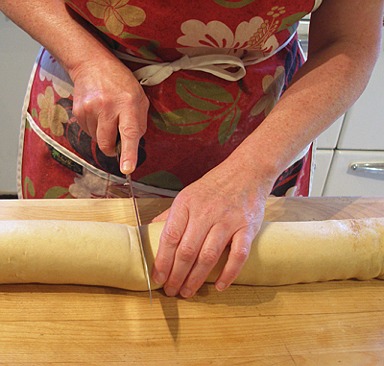
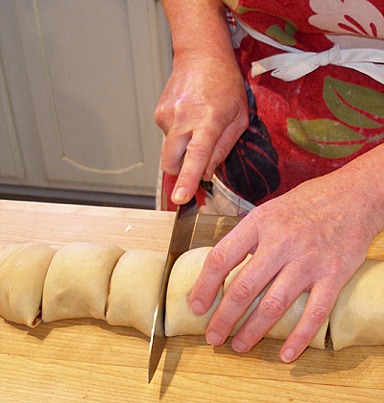
2. Cut dough into slices with a sharp knife.
Make thicker slices if you want really thick buns.
I usually make 15-16 buns so they aren't total diet busters, or at least that's what I tell myself.
3. Place slices in prepared pan, leaving a little space in between each bun, to allow for rising.
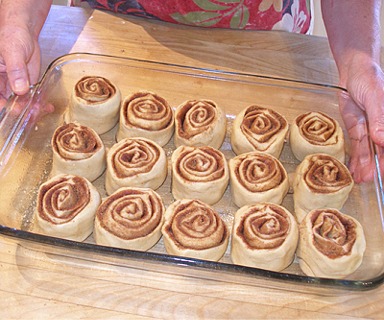
Let them rise:
4. Cover pan with greased side down plastic wrap and set aside, in a warm place to rise, until doubled, about 45 minutes to 1 hour.
You may also use Sarah's Microwave Bread Proofer, to speed up the process.
Preheat the oven:
5. When dough is almost finished rising, preheat oven to 375 degrees F.
Bake:
6. Place risen rolls into the oven and bake for 20-25 minutes, or until they are golden brown.
STEP V: MAKE THE CREAM CHEESE ICING, SPREAD ON WARM ROLLS AND SERVE
While rolls are baking, make the icing:
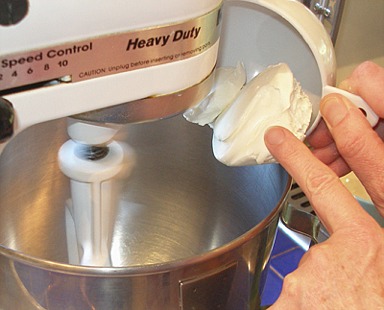
1. Beat the cream cheese and butter together till soft and creamy, then add the vanilla and the salt,
2. Add the powdered sugar, with the mixer turned off, and then mix on low, so it doesn't go all over your kitchen.
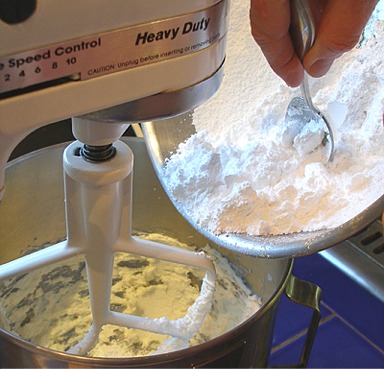
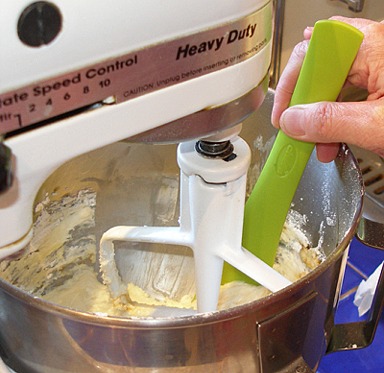
3. Stop the mixer and scrape down the sides of the bowl with a rubber spatula, to insure that all the sugar is incorporated, then beat on medium till fluffy.
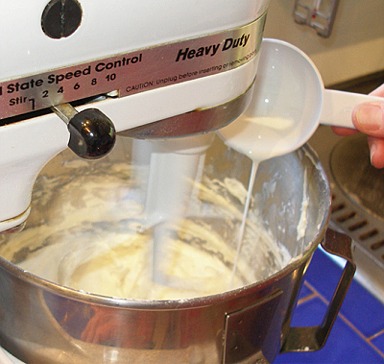
4. Add the cream, a little bit at a time, till you have a soft, spreadable icing. You may not have to use all of it.
Spread icing on warm rolls:
5. Remove buns from oven and let cool, in the pan, on a rack, for 20 minutes.
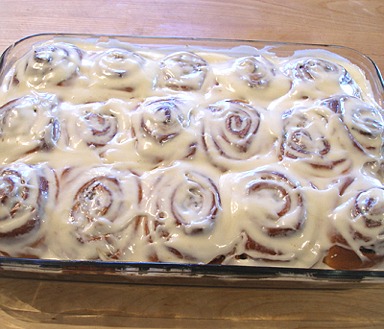
6. Spread 1/2 the icing, evenly, over the warm rolls. It will melt down the sides a little, because the rolls are warm.
SERVE
When you serve the rolls, spread some additional icing on each roll, depending on how much yumminess the recipient can handle.
Make a little swirl on top of the icing, if you want it to look really pretty.
STORAGE
Wait until the bread cools completely before wrapping the loaf in plastic wrap or a few times in foil and storing it in the refrigerator for 2 to 3 days – it contains cream cheese, so the icing
is perishable.
Keeps frozen for 2 to 3 months.


