
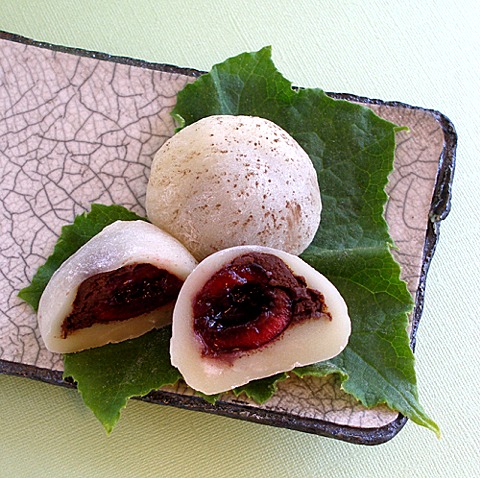
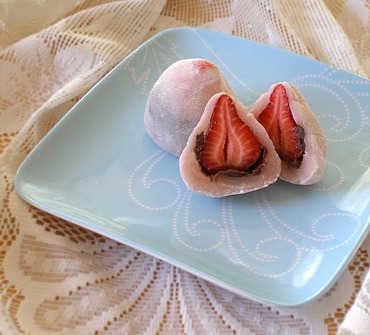
Cherries and chocolate go so well together. You may also use fresh, whole strawberries in this recipe! This is a gluten-free and casein-free treat!
CANDY RECIPE HELP
INGREDIENTS
For cherries:
8 ounces chocolate, chopped
12 – 15 fresh sweet pitted cherries
For Mochi:
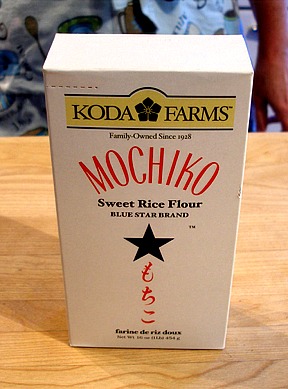
2 cups glutinous rice flour (also called mochiko, or sweet rice flour)
1/2 cup sugar
1 pinch salt
1 3/4 cup water
1/4 teaspoon vanilla extract
1 cup potato starch, for dusting
KELLY SAYS: You must make sure that you have GLUTINOUS, or “sweet rice” flour, not regular rice flour!
INSTRUCTIONS
Prepare the Ingredients:
1. Melt chopped chocolate in a double boiler, or in the microwave. Stir, and set aside to cool a bit while you pit the cherries.
2. Wash the cherries and dry on a paper towel.
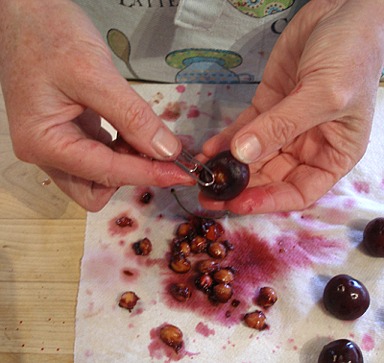
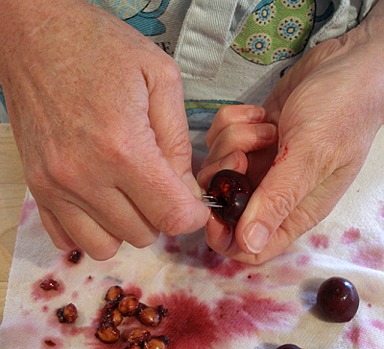
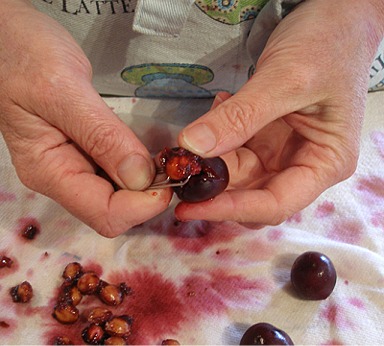
3. Pit the cherries.
I like to use a clean large paper clip to pit cherries. You simply poke the end of the paper clip into the stem end of the cherry and grab the pit with the loop and pull the pit out.
Dip the Cherries in Chocolate:
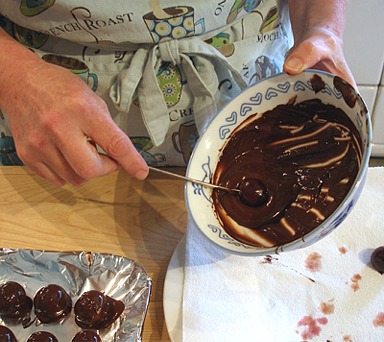
When all the cherries are pitted, it is time to enrobe them in melted chocolate. Make sure they are dry.
1. Cover a small baking sheet with aluminum foil.
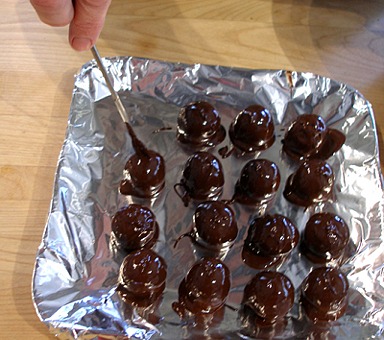
2. Dip the cherries in melted, but cooled chocolate.
KELLY SAYS: I use a lobster fork to dip the cherries. I simply poke into the stem end, and dip.
You can also use a candy dipping tool, a teaspoon, or whatever you are comfortable with.
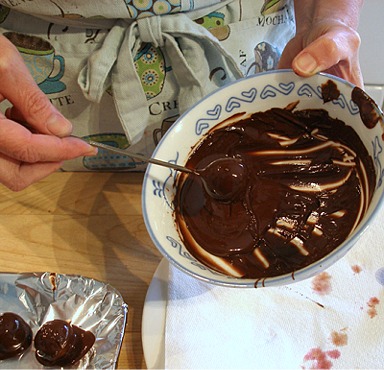
3. Place dipped cherries on the foil-lined pan and then place them in the freezer to firm up.
Make the Mochi:
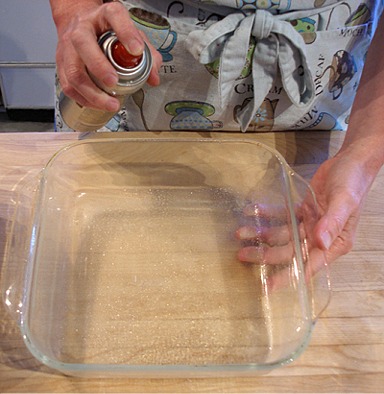
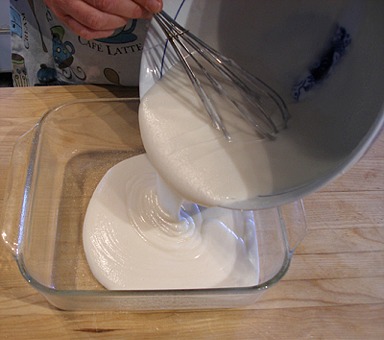
1. Spray a microwave-safe baking dish with non-stick spray. I used an 8- x 8- inch glass pan.
Set aside.
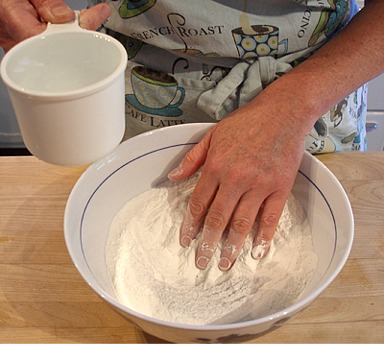
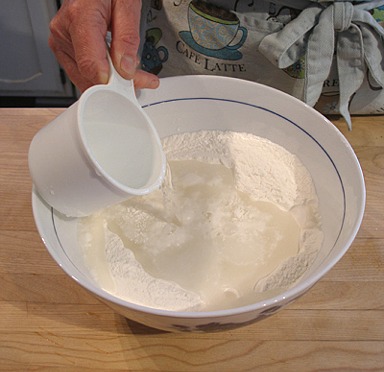
2. Place the glutinous rice flour, sugar and salt in a large bowl and stir to combine.
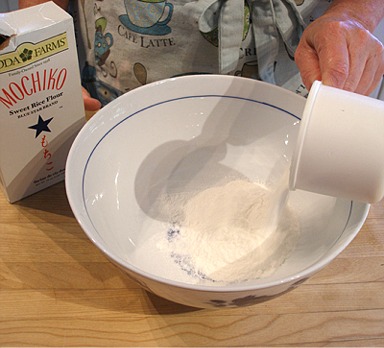
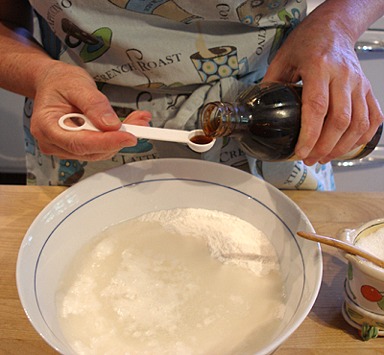
3. Make a well in the center of the mixture and add the water, and the vanilla extract.
Stir until combined and smooth.

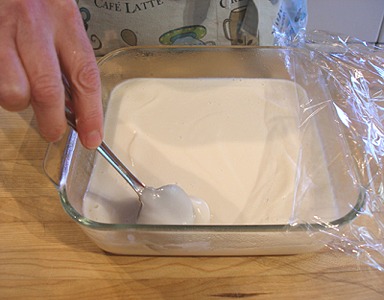
4. Pour the glutinous rice flour mixture into the prepared pan.
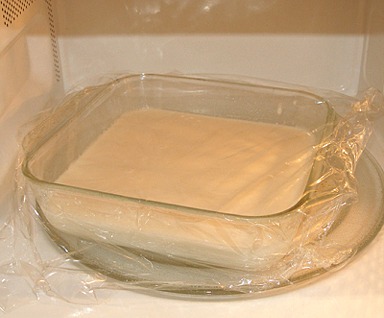
5. Cover the pan with plastic wrap and place in microwave.
Cook for 2 minutes on high, then remove pan and stir well.
6. Replace plastic wrap and cook, on high, for 3 additional minutes and stir again.
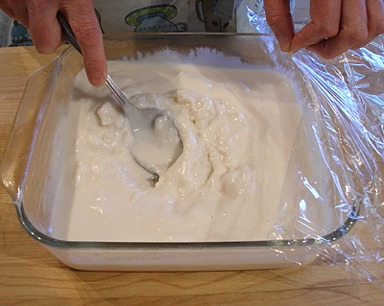
7. Replace plastic wrap and cook for an additional 3 minutes. Let mixture cool in the microwave for 5 minutes.
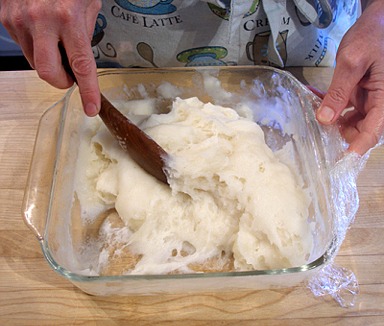
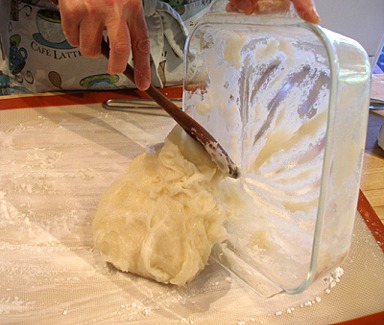
Remove pan from microwave and stir with a wooden spoon, at this point, because the mixture will be very sticky.
Shape the Mochi:
1. Cover a large baking sheet, or a silpat mat, with a liberal coating of potato starch.
KELLY SAYS: I like to sift the potato starch directly onto the work surface.
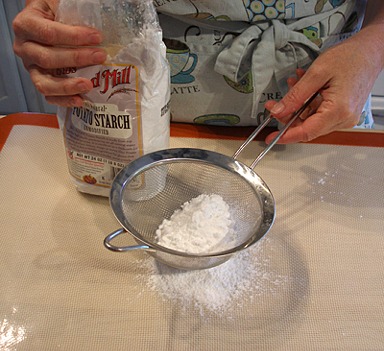
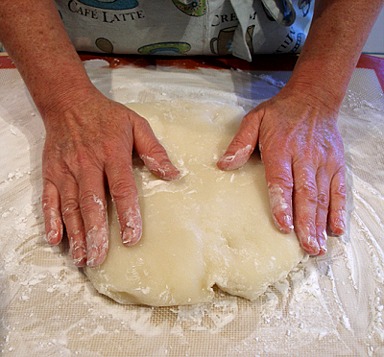
2. Turn the mixture out onto the potato starch dusted surface, and cover the top of the mound with more sifted potato starch.

3. Press mixture down so the thickness is even, and cover with plastic wrap.
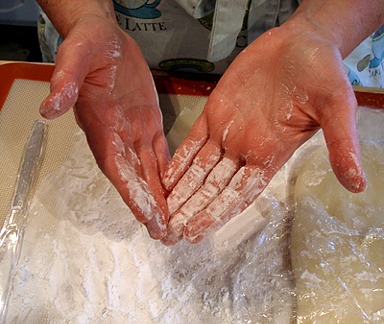
4. Dip your hands in the potato starch, to keep the mochi from sticking to your hands.
5. Use a plastic knife to cut off about a 3-inch x 3-inch square portion of the mochi.
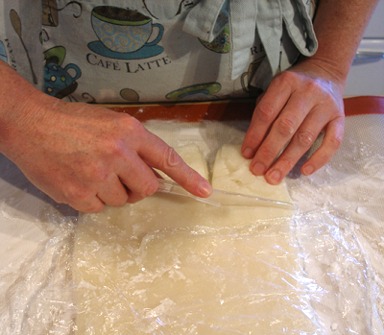
6. Dust the cut sides of the mochi with potato starch, so they don't stick to your hands.
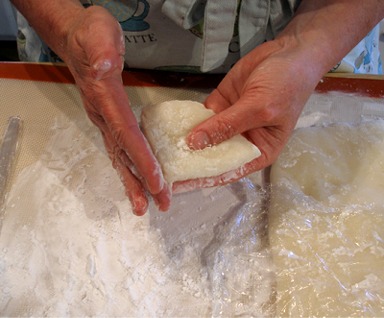
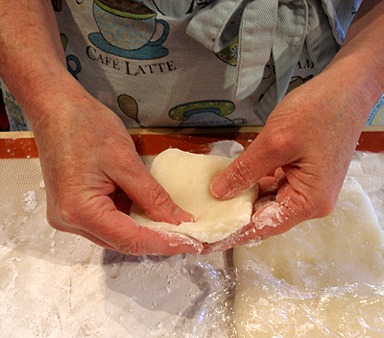
7. Flatten the mochi with your starch covered hands.
Do not make the canter of the mochi too thin, or the filling will show through.
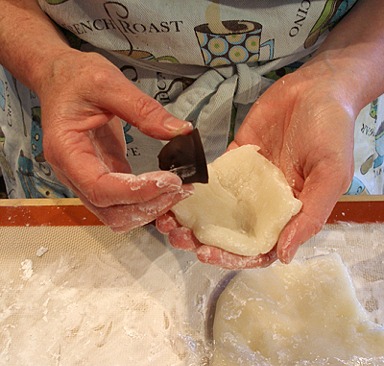
8. Remove the chilled chocolate covered cherries from the refrigerator.
Place a cherry, curved side down, into the mochi square.
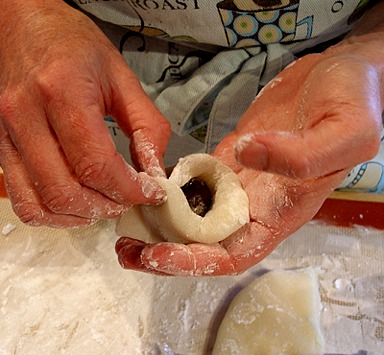
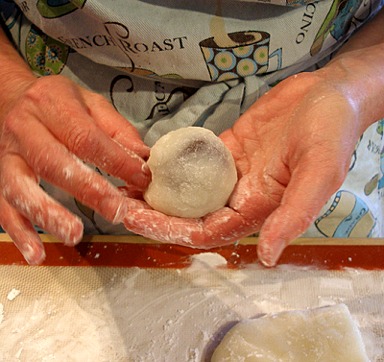
9. Pinch the mochi, until the cherry in totally encased in the mochi. Roll the ball in your hands to create a pleasantly rounded shape.
The pinched side will become the bottom of the daifuku.
The mochi will still be quite warm, at this point, so work quickly, because your chocolate will be melting.
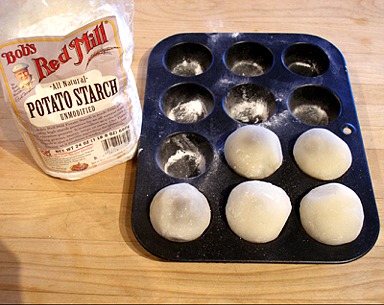
10. Place the finished daifuku on your potato starch covered work surface.
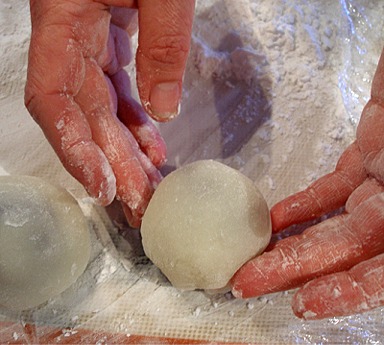
You may also use a potato starch dusted mini muffin pan to shape your daifuku. It keeps them nicely rounded.
STORAGE
When you are finished forming the daifuku, cover them with plastic wrap and store at room temperature.
They are best served the same day you make them.
Sift a little cocoa powder on the top of the daifuku, if desired.