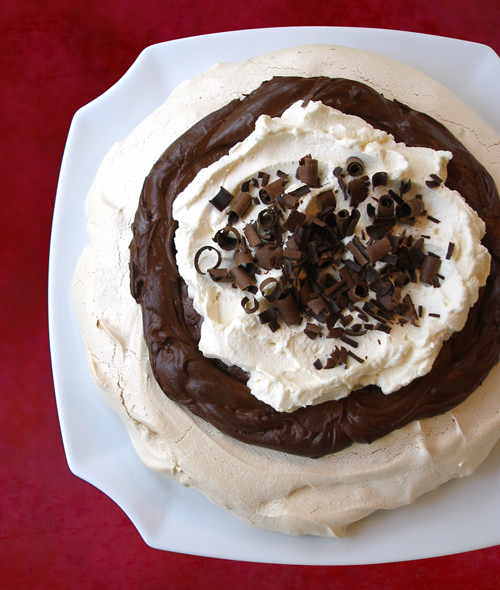
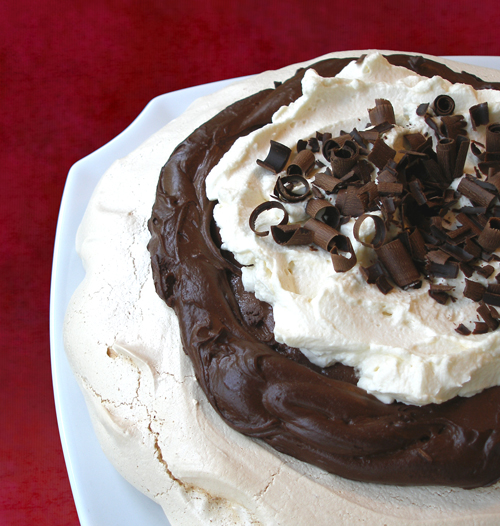
This crisp, vanilla-scented meringue shell is loaded with luscious chocolate filling and topped with whipped cream and dark chocolate shavings for a dessert that is SO decadent and SO good. It's also deliciously, and naturally, gluten free!
Lots of websites and blogs claim to show you how to make the best meringue, but they aren't always consistent and they don't always yield the best results. We'll show you, step-by-step and with plenty of clear photos, the proper steps to making a no-fail recipe backed by egg white science.
Be sure to make the meringue shell the day before you wish to serve the dessert as it needs to dry in the oven overnight. Also, use this recipe as a jumping off point. The shell is so versatile and can be filled with other flavors of pastry cream or curds, such as Fresh Lemon Curd or Grapefruit and Vanilla Curd, then topped whipped cream and berries.
CAKE RECIPE HELP
INGREDIENTS
Meringue Shell:
4 large egg whites
1/2 teaspoon cream of tartar
1 cup plus 2 tablespoons sugar
1 teaspoon vanilla extract
Chocolate Filling:
12 ounces semi-sweet chocolate, chopped into 1/4-inch pieces
3/4 cup water
1 tablespoon instant espresso powder
Pinch of salt
4 large egg yolks
1 teaspoon vanilla extract
1 cup heavy cream
Whipped Cream Topping:
1 cup heavy cream
1/4 cup sugar
1/2 teaspoon vanilla extract
Chocolate curls, for garnish
INSTRUCTIONS
STEP I: MAKE THE MERINGUE SHELL THE DAY BEFORE USING
Prepare the oven and baking sheet:
1. Position and oven shelf to the middle of the oven and preheat oven to 350 degrees F.
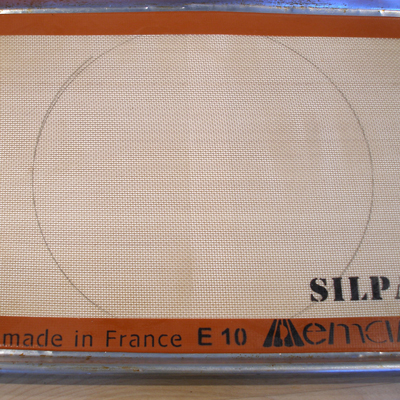
2. Overlap two pieces of paper, and trace around a 10-inch dinner plate with a pencil.
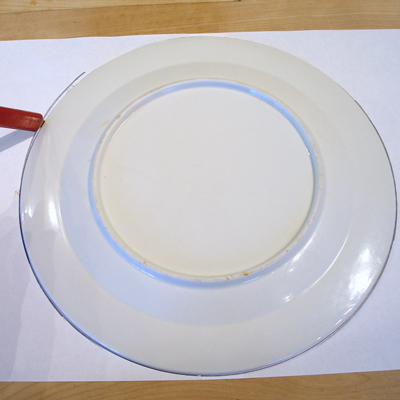
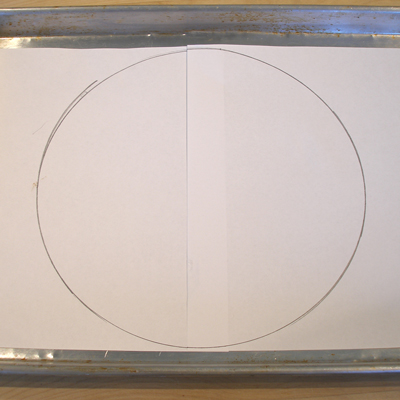
3. Place the paper in the center of a rimmed baking sheet and place a silpat mat over the paper. You should be able to see the circle through the mat.
NOTE: If you wish to use parchment instead of a silpat mat, trace a 10-inch circle on a piece of parchment with a pencil. Flip the paper over and fit it into a rimmed baking sheet.
Make the meringue:
1. Place egg whites in the bowl of a stand mixer fitted with the whisk attachment.
2. Mix the egg whites on low to medium-low speed. The egg white foam will increase in volume and become white and the size of the air bubbles will start to decrease.
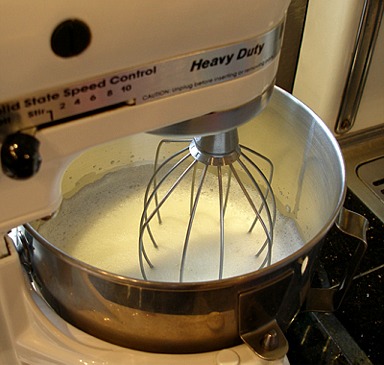
3. When the egg white foam increases in volume with smaller bubbles, immediately add the cream of tartar at the side of the bowl.
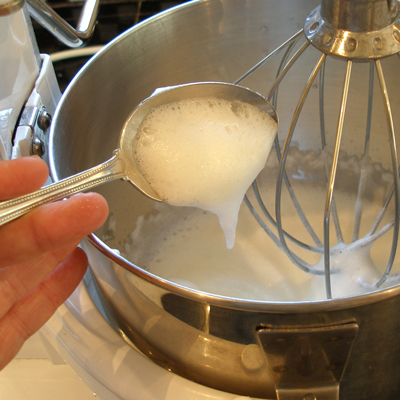
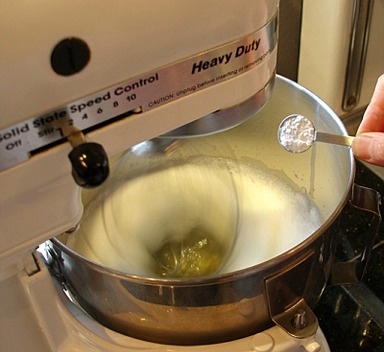
4. After adding, increase the mixer speed to medium.
The bubbles in the egg white foam will become smaller and more even in size.
When it reaches this stage, increase the mixer speed to medium-high.
5. Then add the sugar slowly, at the side of the bowl.
SARAH SAYS: Always add sugar in a stream, slowly at the side of the bowl while the whites are being whipped; do not dump it in the center — you don't want to risk deflating the whites.
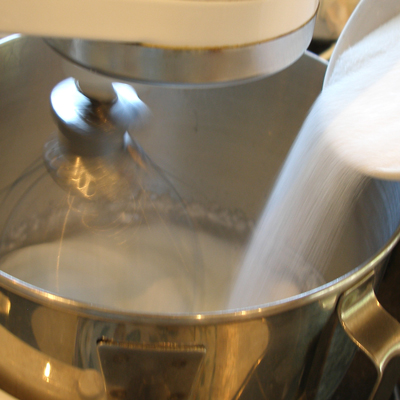
6. When all the sugar has been added, briefly stop the mixer and scrape down the sides of the bowl with a rubber spatula to make sure all the sugar is incorporated.
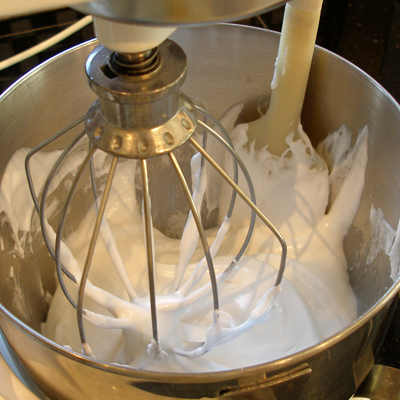
7. Increase the mixer speed to high and beat until the egg white foam becomes glossy.
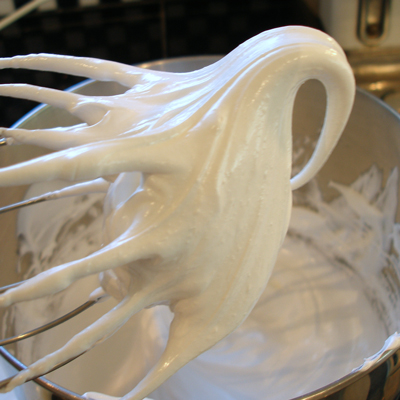
This is called the soft peak stage. It is reached when the peaks of the whites droop when the beater is turned off and lifted.
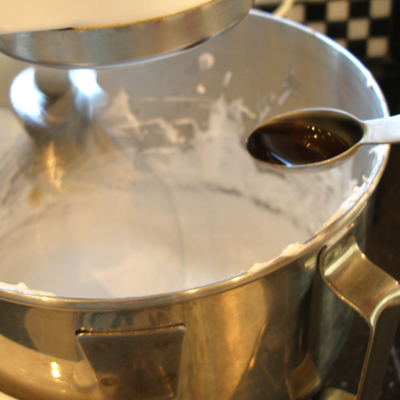
8. Continue to beat on high until the mixture is stiff and glossy, then add the vanilla and beat briefly to combine.
Form the Meringue Shell and Bake:
1. Spoon the meringue in the center of the traced circle and spread it first with a spoon, and then with a small off-set spatula to create a shallow bowl in the middle.
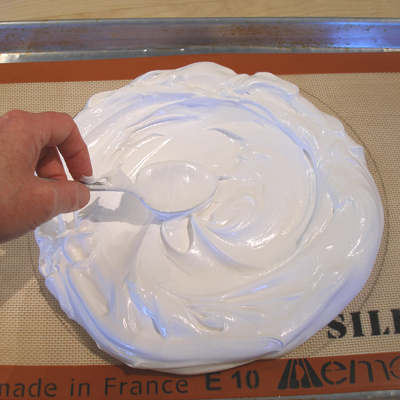
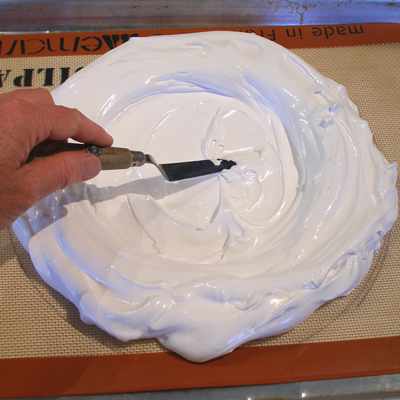
2. Reduce the oven temperature to 200 degrees F, and place the meringue shell in the oven.
3. Bake for three hours, then turn off the heat and leave the shell in the oven overnight to cool and dry.
It will probably crack during cooling—that’s ok.
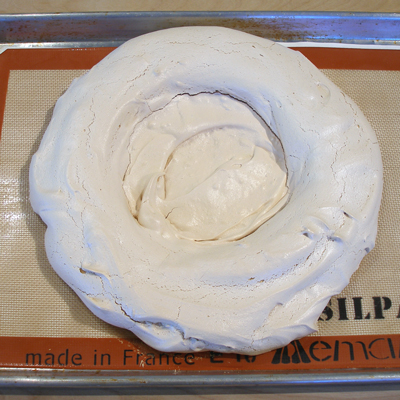
STEP II: MAKE THE CHOCOLATE FILLING
1. Place chocolate, water, espresso powder, and salt in a large metal bowl, set over a double boiler with simmering water.
Make sure that the water does not touch the bottom of the bowl, and that it only reaches a simmer, so the chocolate melts gently.
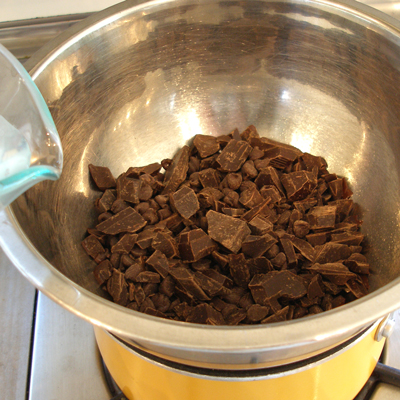
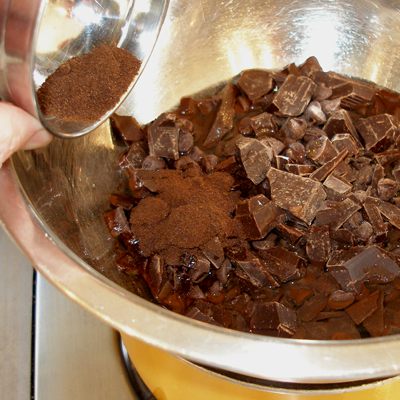
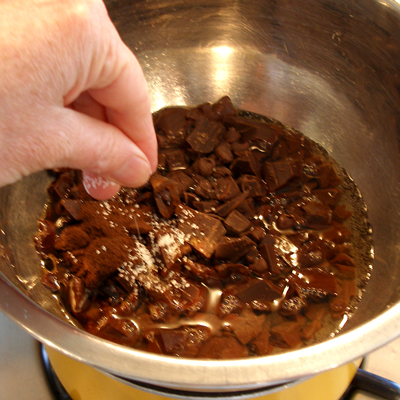
2. Stir frequently until the chocolate is just melted, then remove the bowl from the pot.
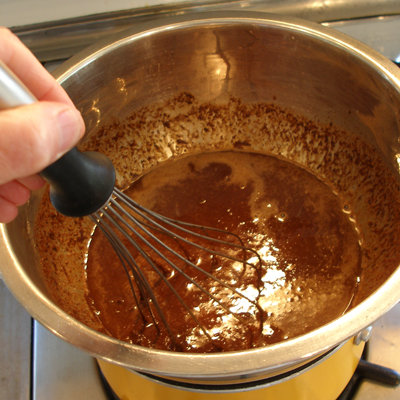
3. Add the yolks to the chocolate mixture, one at a time, whisking to combine.
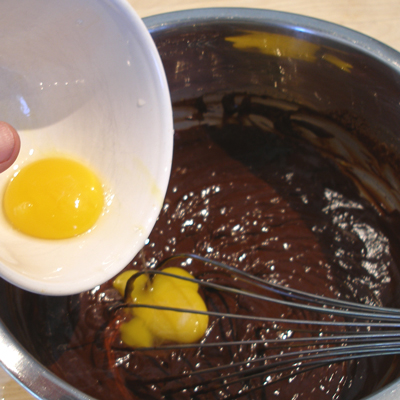
4. Return the chocolate mixture to the top of the double boiler. Before you do, add more water to the bottom pan. Make sure that the water does not touch the bottom of the bowl.
5. Cook over low to medium-low heat so the water boils, stirring the chocolate mixture constantly, until the yolk mixture reaches 160 degrees F measured with an Instant Read Thermometer; this will cook the egg yolks. Adjust the heat if the chocolate mixture is burning or cooking too fast.
6. Remove the bowl from the heat. Strain the chocolate mixture, if necessary.
Add the vanilla extract.
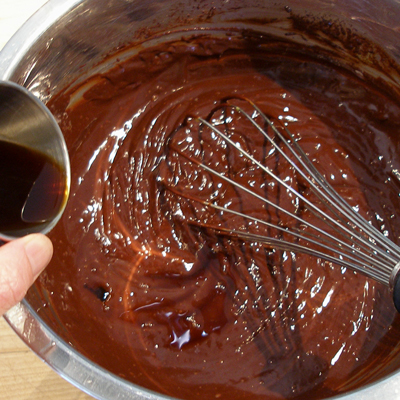
7. Immediately place the bowl in ice water and stir until the chocolate mixture has cooled. Set the mixture aside.
8. Whip the 1 cup cream to soft peaks, only until it holds a definite shape but not until it is stiff (stiff cream will make the filling heavy and buttery instead of light and creamy).
9. Fold the whipped cream into the cooled chocolate, using a large rubber spatula.
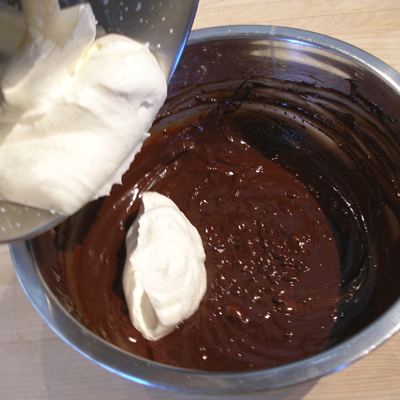
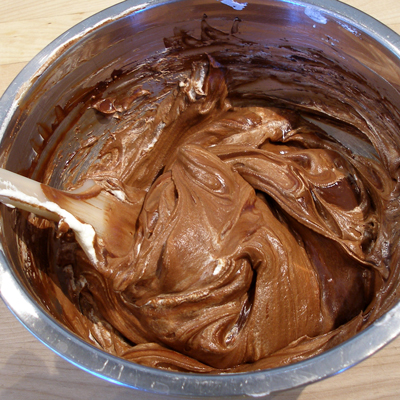
10. Cover the bowl with plastic wrap, and chill the mixture for about 20 minutes, to thicken.
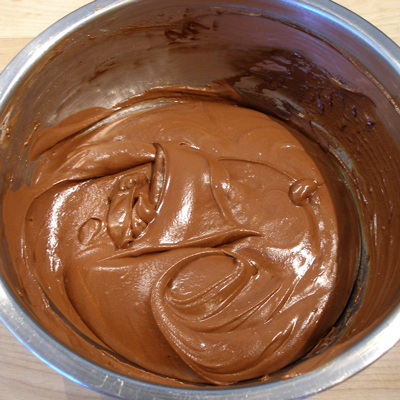
STORAGE
The chocolate filling can be stored in the refrigerator for a day or two before using. It does not freeze.
STEP III: ASSEMBLE THE PIE. SERVE.
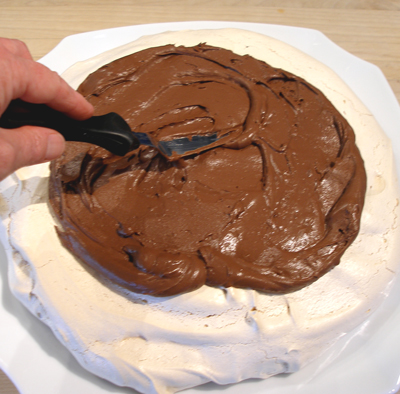
1. Remove the filling from the refrigerator, stir it, and spread it evenly over the center of the shell. Place pie back into the refrigerator to chill.
2. Just before you are ready to serve the pie, make the whipped cream topping.
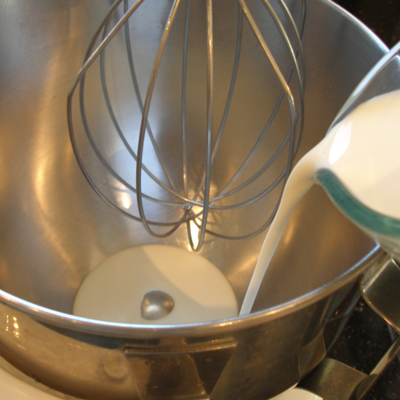
Add the cream to the bowl of a stand mixer with the whisk attachment in place.
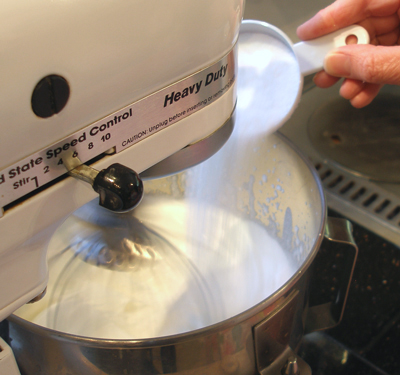
3. Beat at medium high and slowly add the sugar at the side of the bowl.
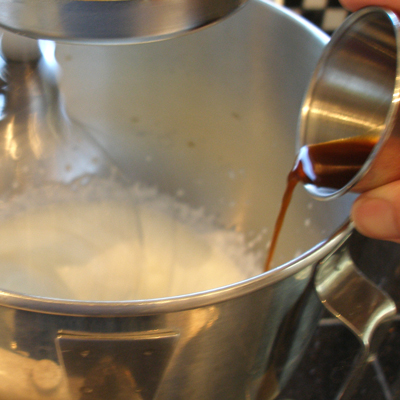
4. Add the vanilla and beat until soft peaks form or only until the cream holds a shape. (It should hold a shape but make sure it is not too stiff.)
5. Spread the whipped cream in the center of the chilled pie, leaving a rim of the chocolate filling showing around the edge.
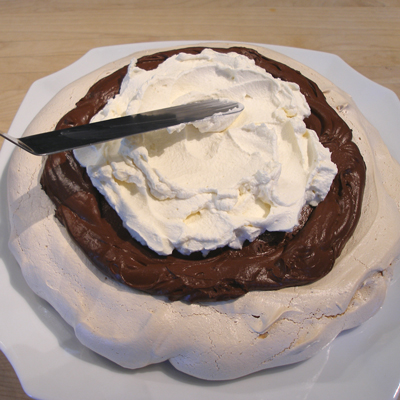
6. Place a bar of chocolate in a warm place for a few minutes. You do not want it to melt, you just want to make it a little more pliable.
Use a vegetable peeler on the edge of the chocolate to create chocolate curls.
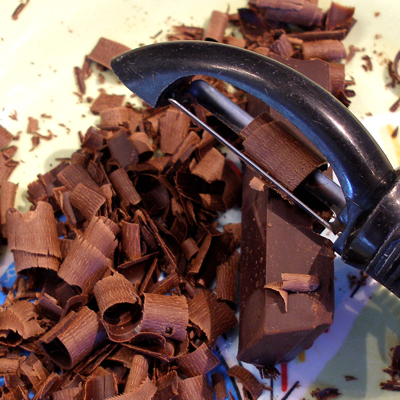
7. Sprinkle chocolate curls over the whipped cream.
NOTE: You may also garnish the cake with fresh berries, if desired.
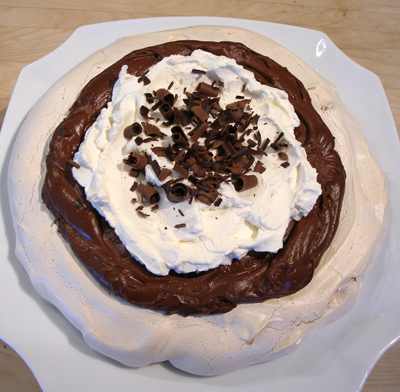
SERVE
Serve pie soon after it is assembled.
STORAGE
If you need to make it a day ahead, store the filled shell in the refrigerator, covered with a cake dome(so you don't mar the surface of the filling), then add the whipped cream and chocolate curls just before service.


