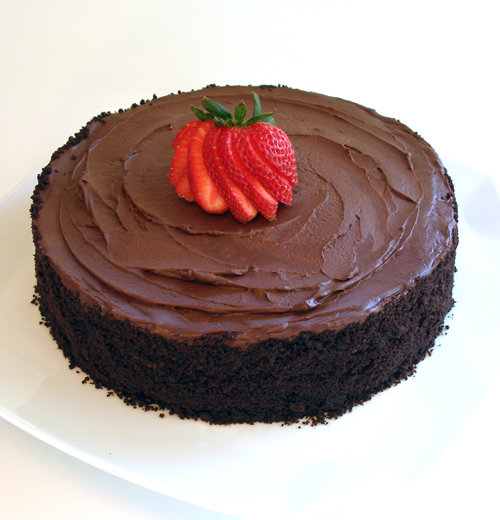
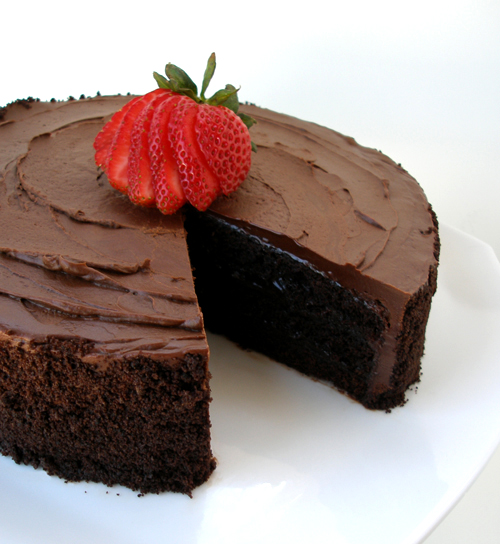
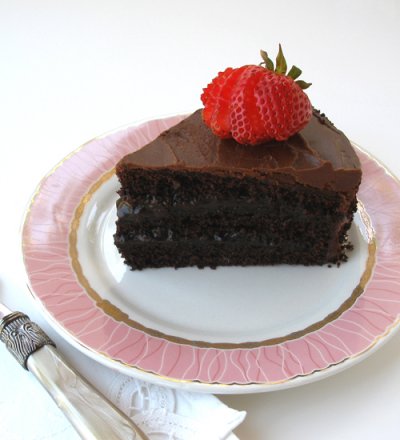
Brooklyn Chocolate Blackout Cake — three layers of devil's-food cake sandwiching a dark chocolate pudding, with chocolate frosting and sprinkled with chocolate cake crumbs — made popular by Ebinger's bakery that had stores in Brooklyn, New York, founded in 1898 by George and Catherine Ebinger. They were famous for their cakes and pies, and especially their Blackout Cake. They closed in bankruptcy on August 26, 1972.
The cake is named for the wartime blackouts during World War II performed by the Civilian Defense Corps. A Blackout was performed so Ships when sailing off from New York City Harbor to battle could not be spotted by enemy planes. City lights were turned off and windows were covered with black material. They had drills like fire drills to practice for the real thing.
CAKE RECIPE HELP
KELLY SAYS: “I made this Brooklyn Blackout Cake for my hubby's birthday. It is rich and moist and supremely chocolaty. He loved it.”
STEP I: MAKE THE CAKE
INGREDIENTS
Cake:
2 cups unbleached all-purpose flour; spoon into dry measuring cup and level to rim
1 teaspoon baking powder
1 teaspoon baking soda
1 teaspoon salt
1/2 cup Dutch-process (alkalized) or Natural cocoa powder
3 tablespoons boiling water
2 ounces bittersweet or semisweet chocolate, chopped
3/4 cup whole or 2% milk
1 cup (2 sticks) unsalted butter
2 cups sugar, divided; 1 3/4 cup plus 2 tablespoons and 2 tablespoons
4 large eggs, separated
2 teaspoons vanilla extract
1/8 teaspoon cream of tartar
INSTRUCTIONS
1. Position the oven rack in the middle of the oven. Heat oven to 375 degrees F.
Spray two 8- or 9- x 2-inch, preferably light colored, heavy NOT nonstick pans with nonstick cooking oil. (If you use dark, nonstick baking pans or ovenproof, Pyrex glass pans, reduce the oven heat to 350 degrees F, but the recipe will not bake as well in these types of pans; it will result in crusty, dark edges.)
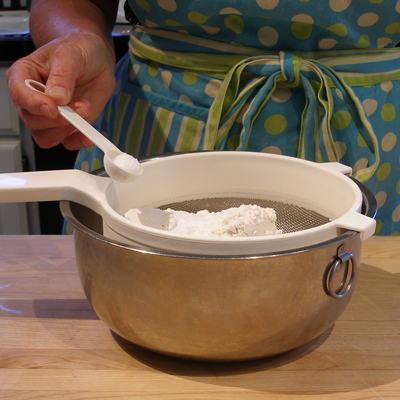
2. In a medium bowl, combine the flour, baking powder, baking soda and salt. Set aside.
NOTE: You can sift the measured ingredients together, if desired.
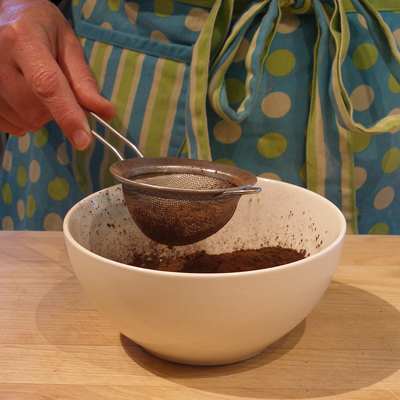
3. Sift measured cocoa into a small size bowl and whisk in boiling water to form a paste. Set aside.
4. Combine the chopped chocolate and milk in heavy-bottomed saucepan over medium-low heat. Stir frequently until the chocolate melts, about five minutes.
Remove from the heat.
5. Whisk a small amount of the hot chocolate milk into the cocoa paste to warm it.
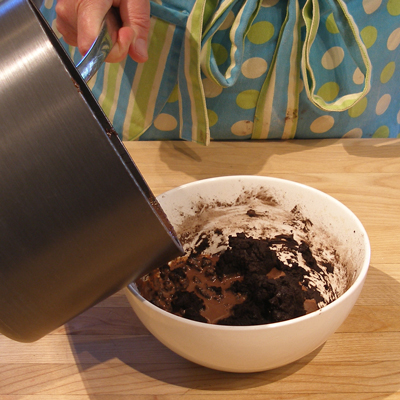
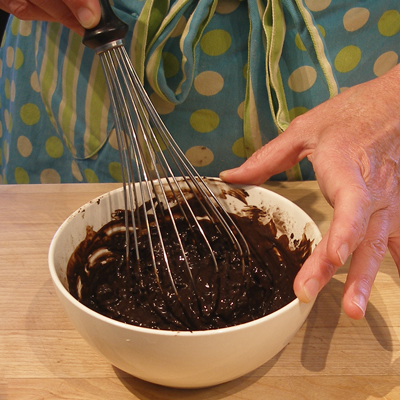
Return the cocoa mixture back into the milk mixture, and whisk until combined.
Return the pan to medium heat and stir continuously for one minute. Remove and set aside to cool until tepid.
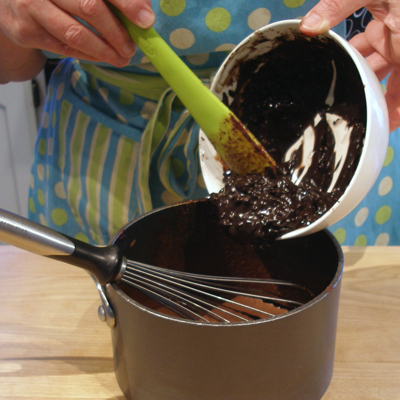
6. Beat the butter with a stand mixer, fitted with a paddle attachment, on low speed until softened. (If the butter is cold, cut it into pieces and it will warm quickly from the beaters).
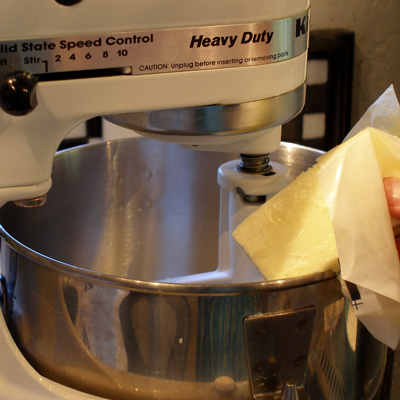
Add 1 3/4 cups plus 2 tablespoons sugar in a steady stream at the side of the bowl.
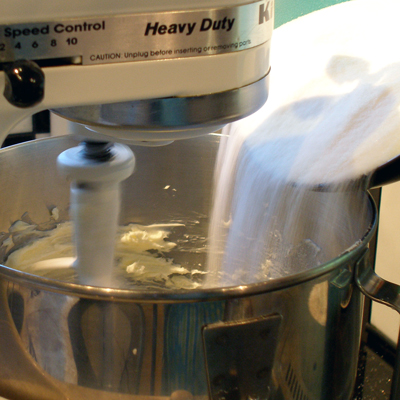
Increase speed to medium and beat for 2 minutes or until the mixture is light yellow in color and fluffy.
Stop the mixer and scrape the side and bottom of the bowl with a large rubber spatula.
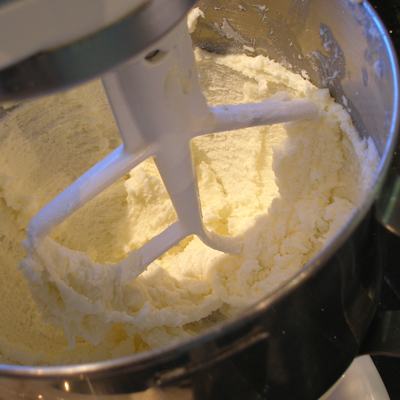
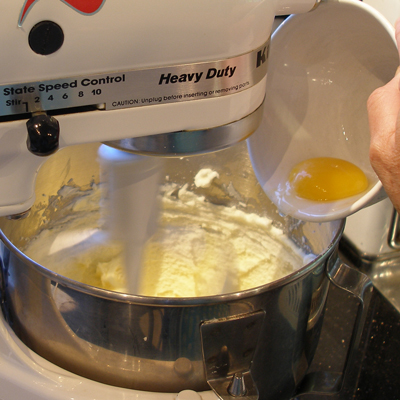
7. With the mixer on low, add the egg yolks one at a time and beat for 20 seconds after each addition. Add in the vanilla.
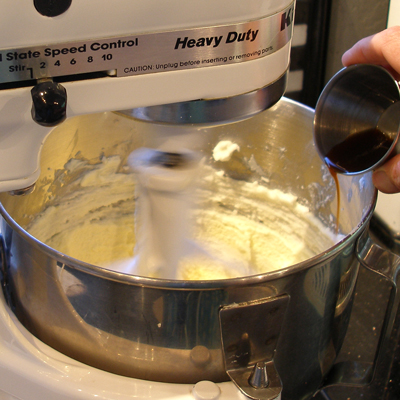
8. Slowly beat in the chocolate mixture on low speed.
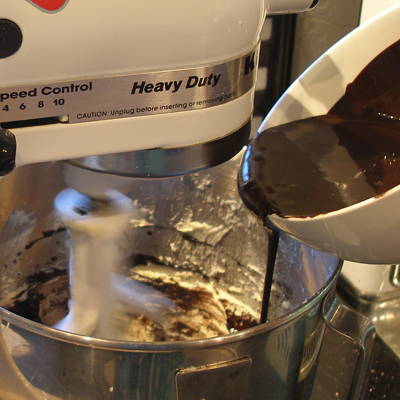
9. Unclamp the mixing bowl. Add 1/3 of the flour mixture to the chocolate mixture, and fold it in using a large rubber spatula.
Repeat with the remaining 1/3 of the flour mixture. With the last 1/3 of the flour mixture, fold in until just mixed.
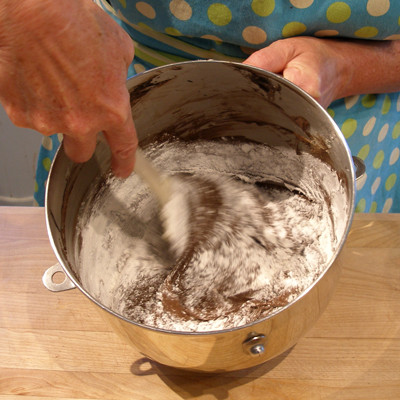
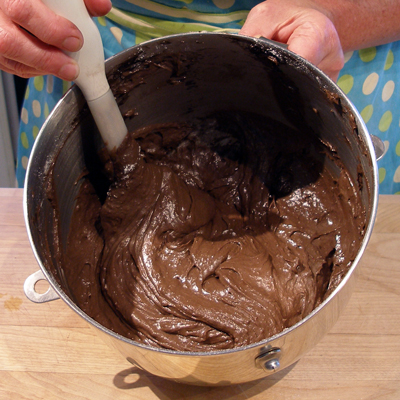
10. In another bowl, with a hand-held electric mixer, beat the egg whites until foamy. Add in 1/8 teaspoon cream of tartar.
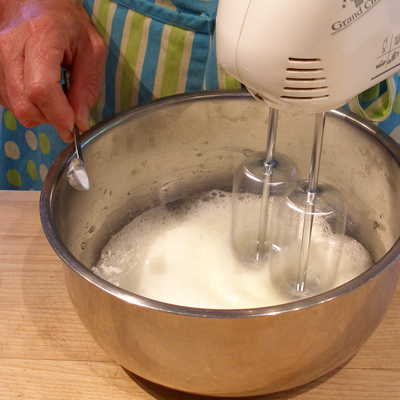
After adding, increase the mixer speed to medium.
When the egg whites have increased approximately 4 times in volume, add the 2 tablespoons sugar slowly in a steady stream at the side of the bowl until soft peaks form.
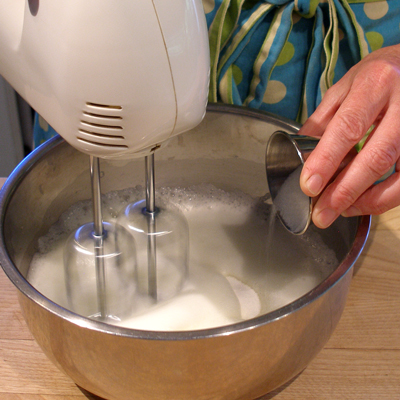
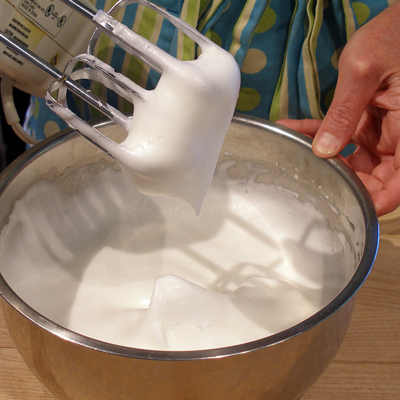
11. Using a spatula, add the beaten egg whites to the top of the chocolate batter. Gently fold the egg whites into the batter.
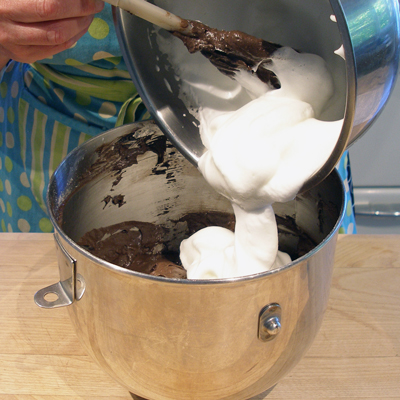
Afterwards, divide the batter between the prepared pans. Gently smooth their tops with an offset spatula.
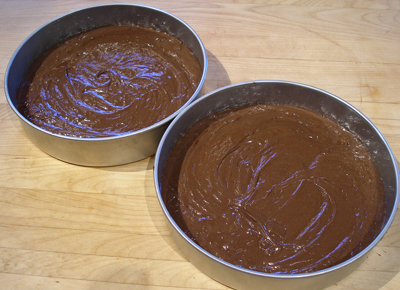
NOTE: You can weigh each pan to make sure the batter is evenly distributed!
12. Bake for about 35 – 45 minutes; watch carefully. To test for doneness, insert a toothpick in the middle of one cake at a time and remove. It should have a few moist crumbs attached, but not batter.
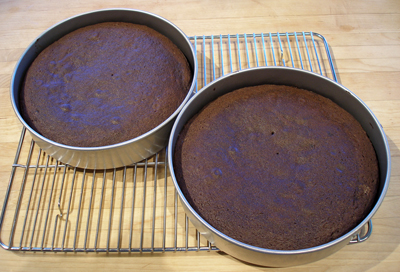
SARAH SAYS: Chocolate cakes are hard to tell when done and it’s easy to overbake them.
13. Take the cakes immediately from the oven to a wire cake rack and let sit for 10 to 15 minutes and then unmold onto wire cake racks (set your timer to keep track of the time) – the cake is fragile when warm and will crack easily if you unmold it before the time is up. The cake's top will flatten more as it cools.
Allow to cool completely before assembling.
STEP II: MAKE THE CHOCOLATE PUDDING FILLING
While the cake is baking, make the filling. The filling can also be made the day before and refrigerated. Pour off any water that collects on top and stir before using.
CHOCOLATE PUDDING FILLING / recipe alone
INGREDIENTS
1 tablespoon plus 1 3/4 teaspoons Dutch-process (alkalized) or Natural cocoa powder
2 cups boiling water
3/4 cup plus 1/2 teaspoon sugar
1 ounce bittersweet or semisweet chocolate, chopped
4 tablespoons cornstarch
2 tablespoons cold water
1/4 teaspoon salt
2 tablespoons unsalted butter
1 teaspoon vanilla extract
INSTRUCTIONS
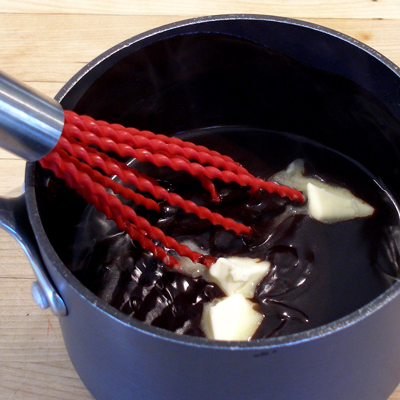
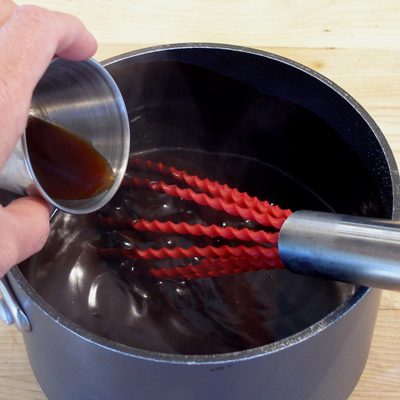
1. Combine the cocoa and boiling water in a small saucepan over low heat. Stir in the sugar and chopped chocolate.
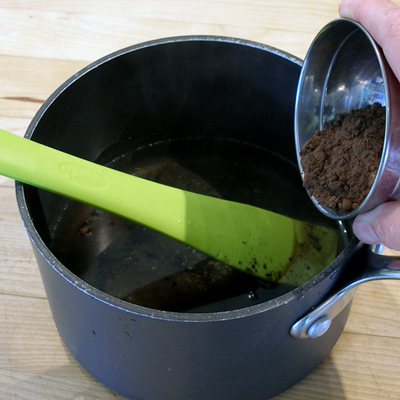
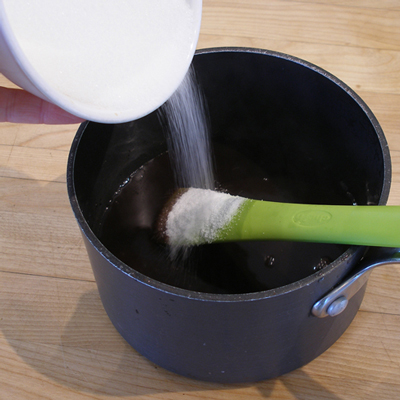
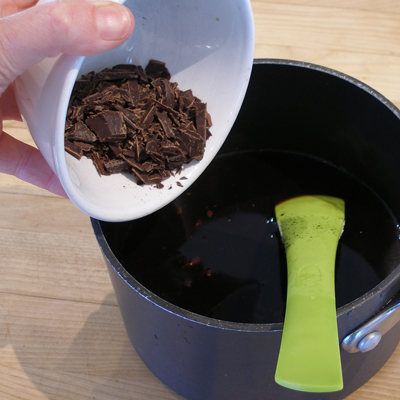
2. Dissolve the cornstarch in cold water in a small bowl and stir to make a paste.
3. Add the dissolved cornstarch paste and salt to the pan and bring to a boil, stirring constantly. Boil for one minute.
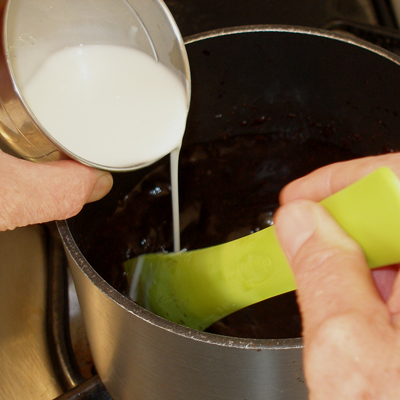
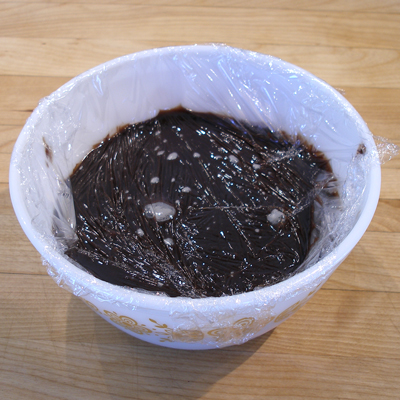
4. Remove from heat and whisk in butter and vanilla. Transfer the mixture to a bowl, cover with plastic wrap, pressing it to the surface of the filling. Refrigerate until cool.
STORAGE
Keep refrigerated where it will keep for a few days. Does not freeze.
STEP III: MAKE THE RICH CHOCOLATE FROSTING
The frosting can also be made the day before.
RICH CHOCOLATE FROSTING / recipe alone
INGREDIENTS
12 ounces semisweet chocolate, chopped
12 tablespoons (1 1/2 sticks) unsalted butter
1/2 cup hot water
1 tablespoon light corn syrup
1 tablespoon vanilla extract
INSTRUCTIONS
1. Melt the chocolate in a double boiler over hot, not simmering, water, stirring until smooth.
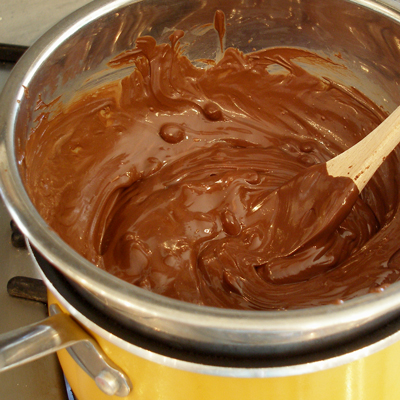
Remove the top of the double boiler from the heat and whisk in the butter to the melted chocolate, one tablespoon at a time.
Return the top to the heat, if necessary, to melt the butter.
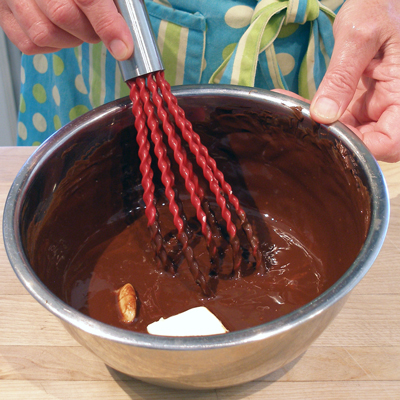
2. Whisk in the hot water all at once and whisk until smooth. Whisk in the corn syrup and vanilla.
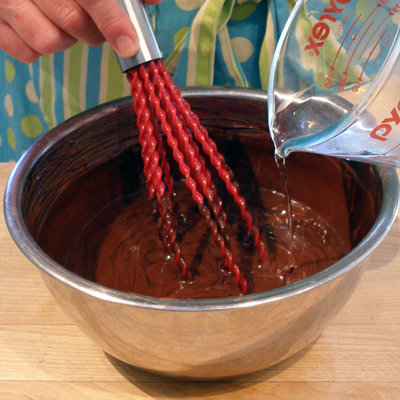
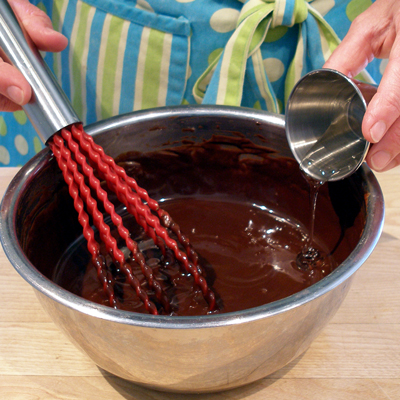
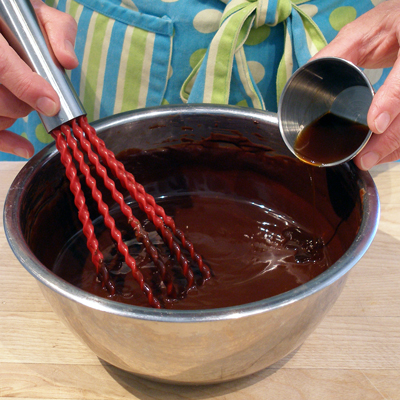
3. Cover and refrigerate for up to 25 minutes before using to allow it to stiffen slightly; stir at 10 minutes, then 20 minutes and when removed it at 25 minutes, it was perfect.
STORAGE
Keep refrigerated for a few days. Let soften at room temperature before using.
STEP IV: ASSEMBLE THE CAKE
1. Use a sharp serrated knife to slice each cooled cake layer horizontally in half to form four layers. Set one layer aside.
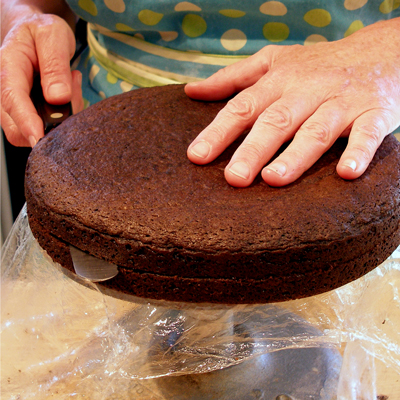
2. Cover the cake round or plate with four strips of parchment or waxed paper.
Place one layer on a cake round or plate, cut side down. Generously fill the layer with one-third of the Chocolate Pudding Filling.
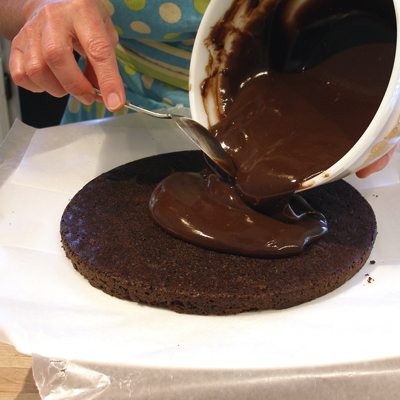
Add the second layer, cut side-down, and repeat.
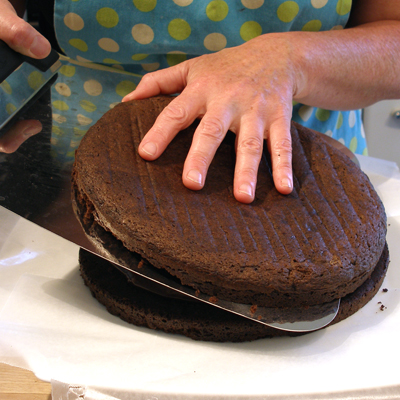
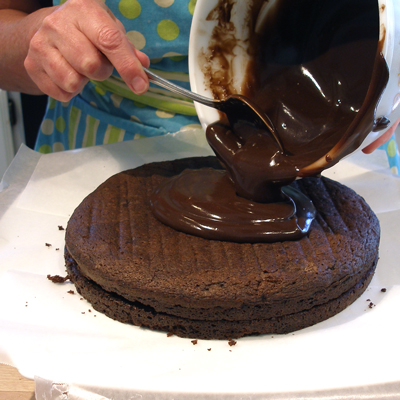
Set the third layer on top, cut side down.
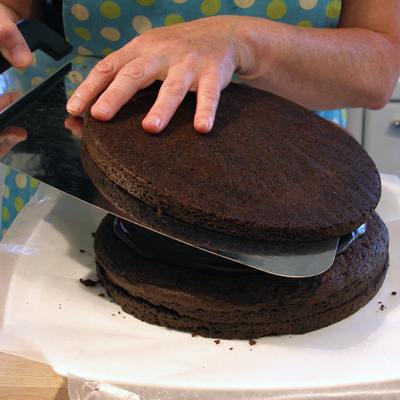
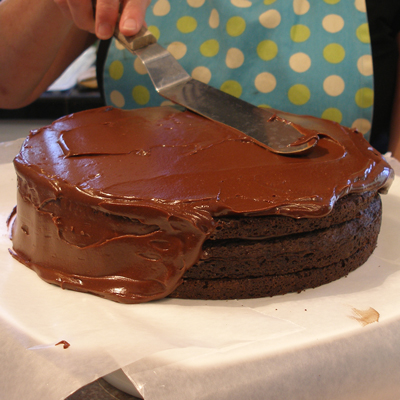
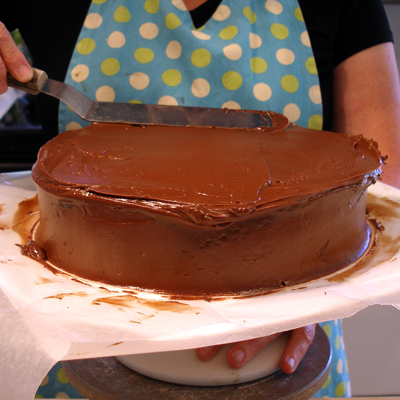
3. With a large offset icing spatula, quickly apply a layer of the Rich Chocolate Frosting to the top and sides of the cake. Refrigerate for 10 minutes.
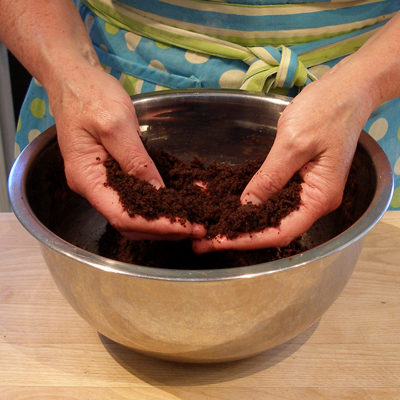
4. Meanwhile, crumble the remaining fourth cake layer in a bowl.
5. Apply the remaining frosting to the cake. Smooth the top with a large offset icing spatula.
It is not necessary to get the sides smooth as you will be covering them with cake crumbs; rather make sure the frosting is evenly applied.
6. Sprinkle it liberally with the cake crumbs, and press them gently into the cake.
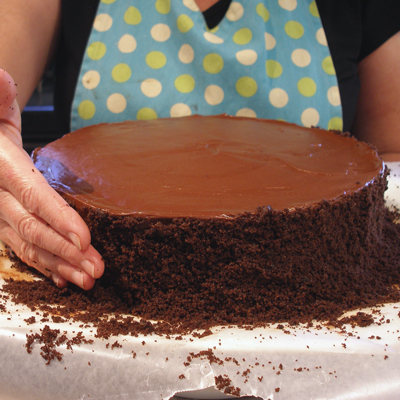
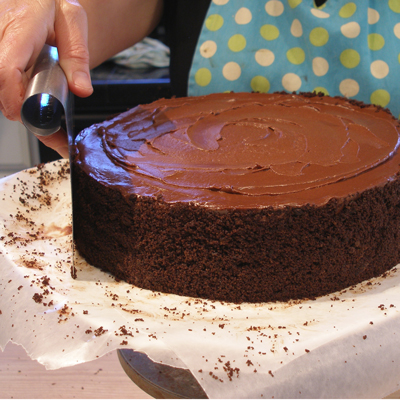
NOTE: Adding the crumbs to the side is a messy affair. After I was done pressing the crumbs to the side of the cake, I used a pastry brush to clean the excess crumbs off the cake plate, and used a bench scraper to tidy up the sides of the cake by pressing the crumbs to the cake.
Refrigerate the cake before removing the waxed paper from your cake plate, so the bottom of the frosting doesn't get messed up.
5. Refrigerate the cake for about 15 minutes or until the frosting is set before serving.

SERVE
Serve the cake within 24 hours.
STORAGE
Store the cake in the refrigerator for a few days.


