
Premium Member, lalena asked: “Having grown up in NY I am a big fan of NY deli-style large Black and White cookies but have found a wide variety of recipes. I'm hoping someone has a tried and tested delicious, old style Black & White recipe. THANKS!”
So, I invented a recipe for her!
There are hundreds of recipes for Black & White Cookies. Some had cake flour in them, some all egg whites, some had a mix of cake and all-purpose flour, and a vast proportion of ingredients, which I felt would not give me the right texture and flavor. In order to answer her question, I developed my own recipe because B & W cookies are slightly dense and without lemon flavoring, as some recipes had wrongly included it. I wanted this one to be authentic. Plus, I developed a fondant recipe for the B & W portion, which I felt was appropriate because some recipes called for buttercream frosting which I felt was not the right way to guild the lily, so to speak!
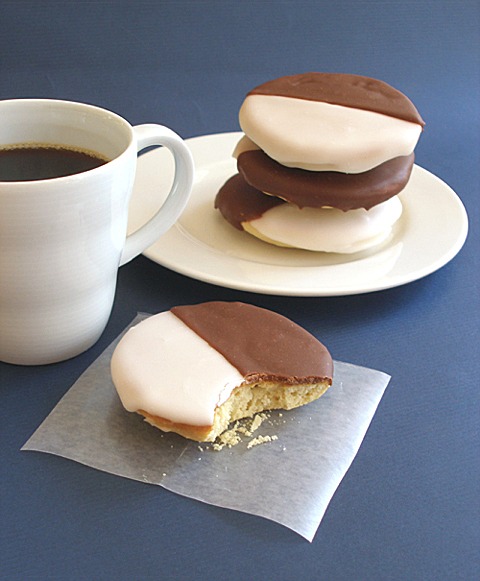
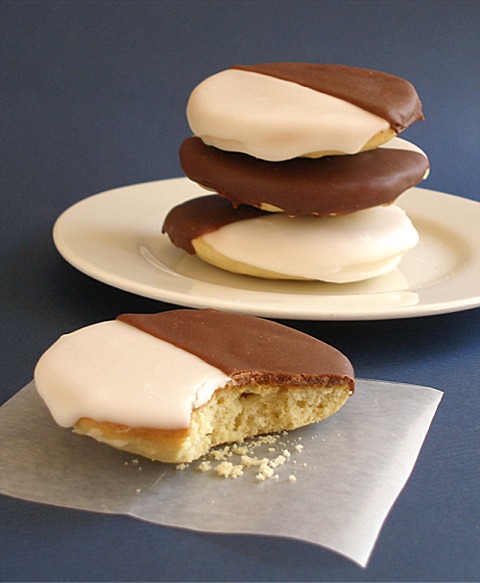
Not a cookie, but sometimes called a cookie, I believe that Black and Whites are made with a stiff cake batter, made with all-purpose flour and flavored with vanilla then, baked into a mound on a cookie sheet. The curved top becomes the bottom. The flat bottom becomes the top and gets slicked, harlequin style— half with chocolate, half with vanilla fondant. When I thought about the recipe, it's very old-fashioned and had to have been made from simple, everyday ingredients, which are not as costly and easily obtainable in their day. The intent was to make a hand-held cake with an easy to frost frosting, not something that someone labored over. I also looked into the history of when they were invented to back my findings, hence my recipe.
No one seems to know who invented the Black and White, or where it was first created. Some think they must have been invented at the beginning of the twentieth century by a baker looking for yet another way to use his standard yellow cake. They were clever. They caught on. They got copied all over town. Others think that the cookie is named after New York's most famous explorer, Henry Hudson, who sailed up the Hudson in 1609 on the Halve Maen (“Half Moon”) in search of the Southwest Passage. Ordering a half moon cookie at a NY bakery often causes confusion, requiring you to clarify: “You know, one of those black and white cookies”.
COOKIE RECIPE HELP
INGREDIENTS
Cookies:
3 1/4 cups unbleached all-purpose flour; spoon into measuring cup and level to rim
1 teaspoon baking powder
1 teaspoon baking soda
1/2 teaspoon salt
4 teaspoons distilled white vinegar; do not use white wine vinegar
1 cup whole or 2% milk
3/4 cup (12 tablespoons) unsalted butter or solid vegetable shortening
1 1/2 cups sugar
2 large eggs
2 teaspoons vanilla extract
Icing:
FOR VANILLA ICING
2 pounds (8 cups) powdered sugar, sifted
1/2 cup light corn syrup
1/2 teaspoon vanilla extract
2 tablespoons to 1/4 cup water; more or less, if needed
warm water, if needed
FOR CHOCOLATE ICING
1/2 recipe vanilla icing
4 to 6 ounces semisweet chocolate or chocolate chips, melted and cooled
warm water, if needed
INSTRUCTIONS
Make the batter:
1. Position the oven shelf to the middle of the oven. Preheat it to 375 degrees F.
SARAH SAYS: You will be baking one cookie sheet at a time.
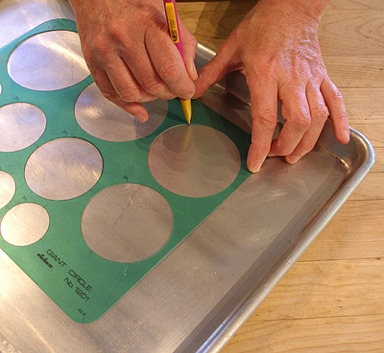
2. Cut parchment paper to cover a large baking sheet. If making large cookies, with a pencil, trace four 3-inch circles on the sheet of parchment to allow for spreading. Turn over so the pencil marks are on the other side.
SARAH SAYS: I traced around a 3-inch round cookie cutter.
KELLY SAYS: If you are using silpat mats, you can trace the circles out directly on the baking sheet and then, cover with a silpat mat; you will be able to see the drawn circles through the mat. The pencil marks will wash off the baking sheet after using.
Make four 3-inch circles per sheet, to allow for spreading.
3. In a medium size bowl, combine the flour, baking powder, baking soda and salt. Set aside.

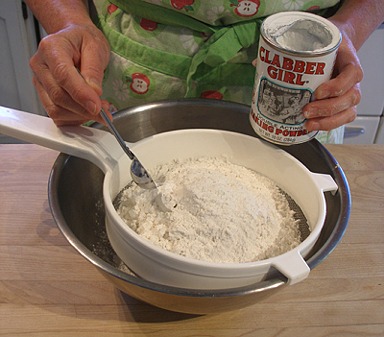
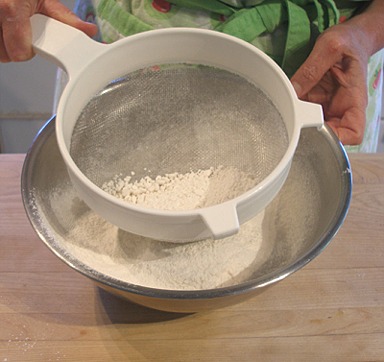
KELLY SAYS: Push any lumps through with your fingers. This is why we sift!
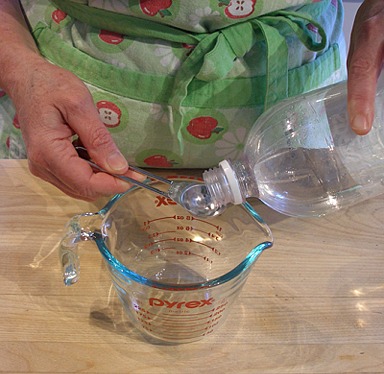
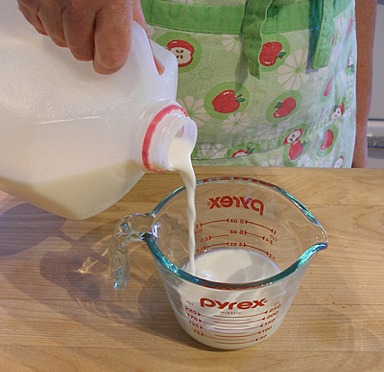
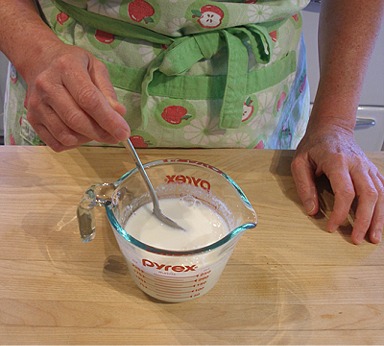
4. In a measuring cup, place the distilled white vinegar and then, pour in the milk to measure 1 cup. Stir and set aside.
SARAH SAYS: Do not use buttermilk; it is too thick.
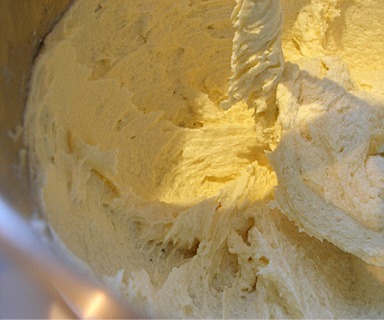
5. With a stand mixer fitted with a paddle attachment, beat the butter until softened.
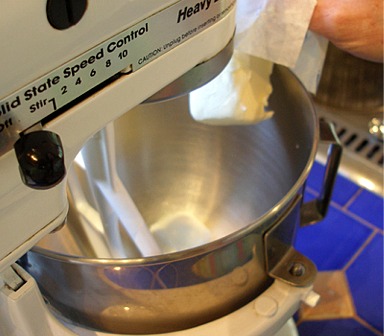
Then, add the sugar and beat until shaggy and well-mixed.
6. Add in the eggs, one at a time, beating after each until incorporated.
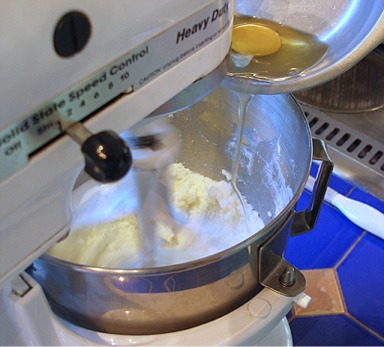
Add the vanilla.
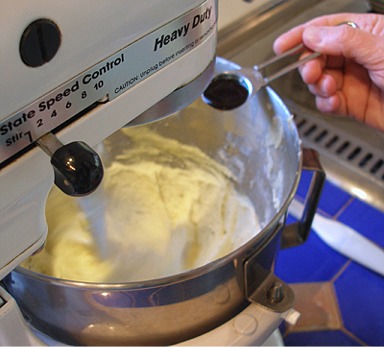
Then, beat on medium until the mixer blades leave ridges in the mixture.
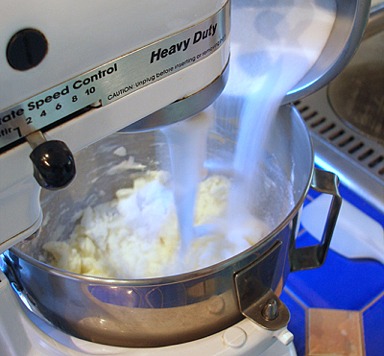
7. On low speed, beat the dry ingredient mixture into the creamed mixture, alternating with milk / vinegar mixture, and beginning and ending with dry ingredients.
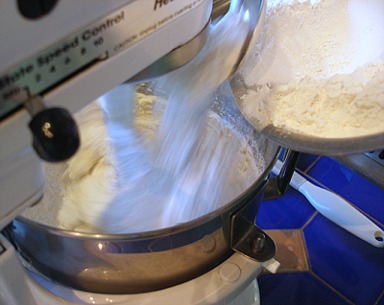
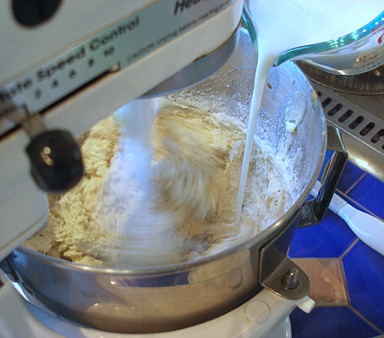
8. Mix on medium until the mixer blades leave ridges in the batter. STOP the mixer. Do NOT overmix.
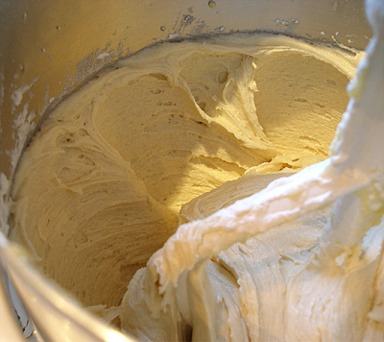
9. Remove the mixing bowl from the mixer. With a large rubber spatula, give the batter ONE or TWO quick folds to incorporate any stray flour or milk left at the sides and bottom of the bowl. Then, STOP!
Bake the cookies:
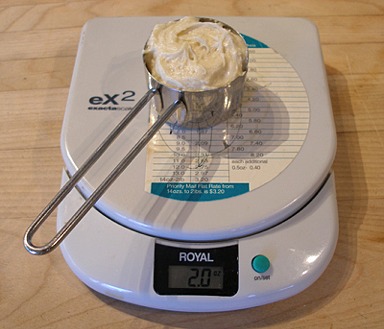
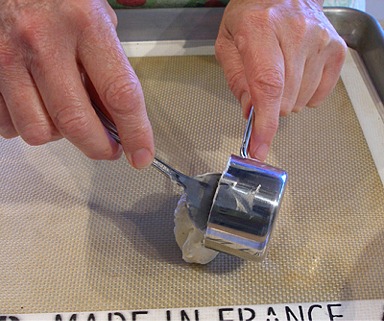
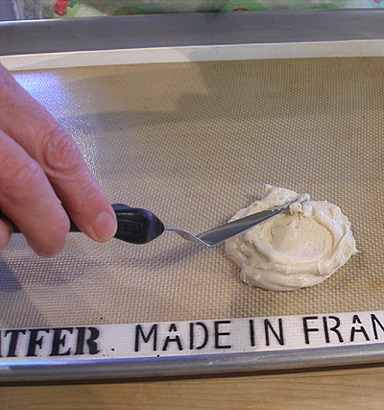
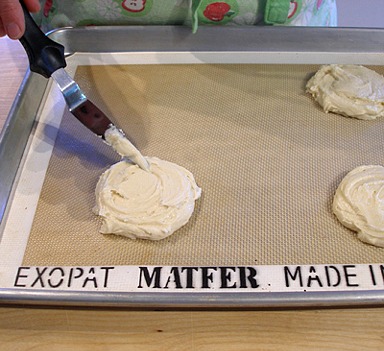
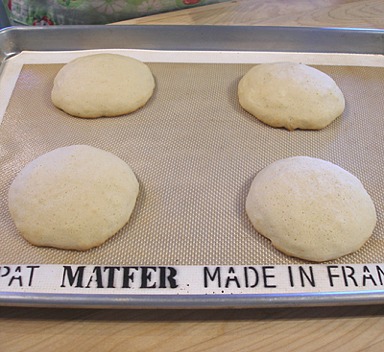
1. Place 2-ounces of cookie dough in the center of each circle and spread evenly with the back of a small icing spatula to fill the outline. Cover and refrigerate the excess dough.
SARAH SAYS: I place the entire cookie sheet on a scale and set it to zero. Then, I weigh 2-ounces of cookie dough, in increments, for each cookie.
The photo shows 6 per cookie sheet, but you should bake 4 cookies per cookie sheet, otherwise when baked, the cookies puff and touch.

KELLY SAYS: Because I have a small kitchen scale, I weighed a 1/4 cup measuring cup, zeroed out the scale and then measured 2 oz. of batter. It filled a 1/4 cup measure perfectly.
2. Bake one baking sheet at a time for about 15 – 18 minutes minutes, or until the tops just start to take on color and the bottoms are a light golden brown.
3. Remove cookies to a wire cake rack and cool completely.
4. Repeat with the remaining dough.
Make the Icing and Ice the Cookies
Black and White Cookies are traditionally iced on the flat or bottom side of the cookie!
MAKE THE VANILLA ICING:
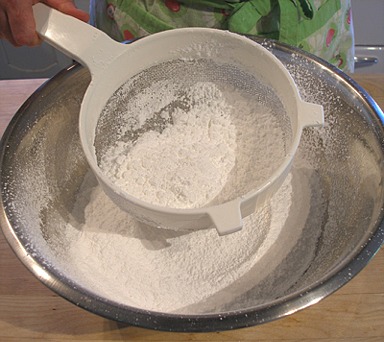
1. After measuring, sift the powdered sugar.
1. Combine the ingredients in the top of a double boiler over barely simmering water: to the powdered sugar, add the corn syrup, the smaller amount (2 tablespoons) of water and vanilla extract.
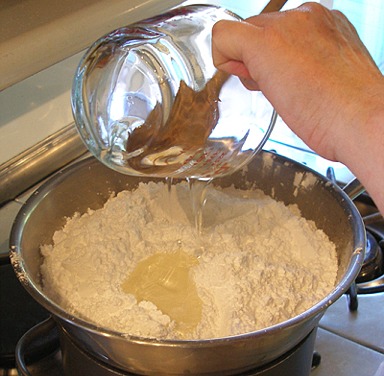

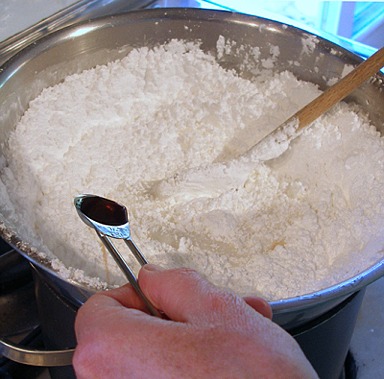
2. Stir until well combined. Add a few more drops water, if necessary.
3. Cook to 100 degrees F or body temperature. If too thick, add a few drops of warm water. The icing should pour slower than corn syrup.
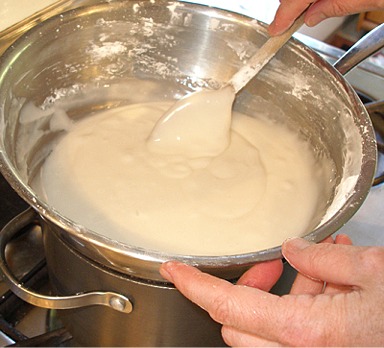
Remove from the heat. Stir it every so often while coating the cookies, to keep a skin from forming on top.
KELLY CA SAYS: If it started to get too thick while I was working, I dribbled in a little warm water, about a teaspoon, and stirred thouroughly, just to loosen it up a bit. Reheat gently in a double boiler, over barely simmering water, while stirring, if necessary.
ICE COOKIES WITH VANILLA ICING:
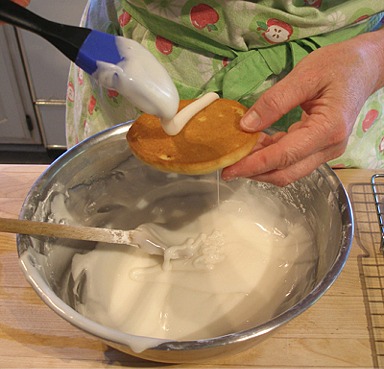
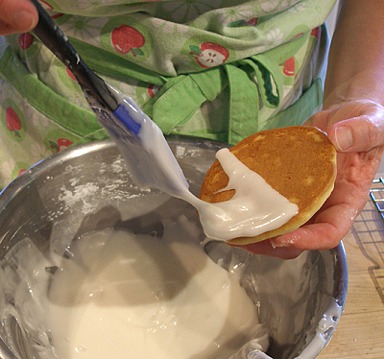
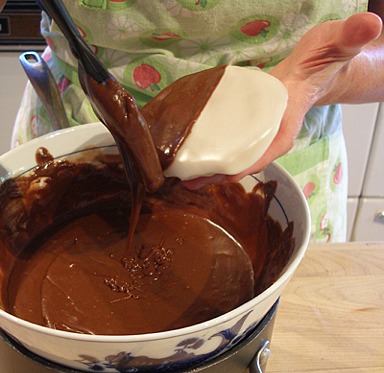
1. Turn cooled cookies over and frost one half of the flat side with vanilla icing.
SARAH SAYS: Using a pastry brush (or silicone brush) instead of a spatula or knife gives the smoothest surface. To keep icing glossy, don’t go over it too much. Place on a rack to dry.
KELLY SAYS: I used the brush to delineate the center line and then flowed the icing over the side, while keeping the cookie tilted. The icing flowed to the edge beautifully.
MAKE THE CHOCOLATE ICING:
1. Add the melted and cooled chocolate to warmed vanilla icing and stir. The icing will become really thick. Add 2 tablespoons warm water and stir.

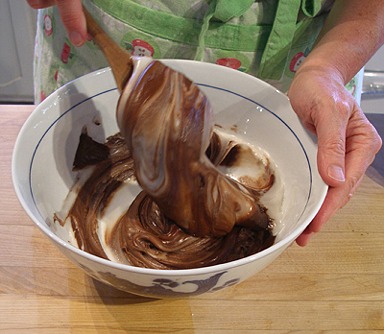
2. Place icing over a double boiler, over barely simmering water, and stir until the icing becomes more fluid.
It should be somewhat thick and pour slower than corn syrup. Remove from double boiler and let it cool a bit if it is too runny.
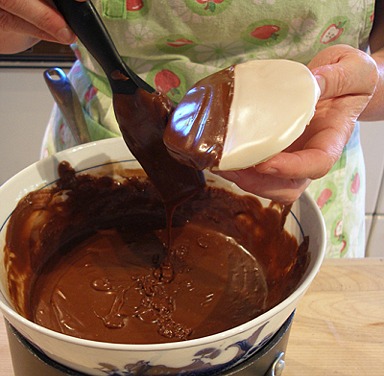
ICE COOKIES WITH CHOCOLATE ICING:
1. Apply the chocolate icing when the vanilla icing dries.
NOTE: I kept the icing on the double boiler, off the heat, to keep the frosting fluid. Stir it every so often while coating the cookies, to keep a skin from forming on top.
KELLY SAYS: If it started to get too thick while I was working, I dribbled in a little warm water, about a teaspoon, and stirred thouroughly, just to loosen it up a bit. Reheat gently in a double boiler, over barely simmering water, while stirring, if necessary.
2. As with the vanilla frosting, I used the brush to ice half the cookie with the chocolate frosting, keeping the cookie tilted, so the icing flowed smoothly.
You can use the edge of the brush to wipe away any excess frosting on the side of the cookie.

3. Place cookies on a rack, over a baking sheet (to catch any drips) until icing is completely dry.
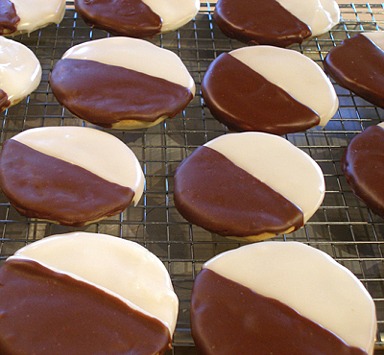
4. Let set overnight, uncovered. Cookies taste better the next day!
KELLY SAYS: They really taste better on the second day! In fact, I just ate one with a cup of coffee and, well, YUM, is all I can say!
STORAGE
Store cookies, in between sheets of wax paper, in an airtight container for 3 to 5 days. Cookies freeze well for a month or more.
