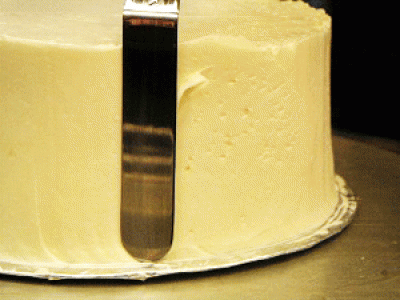
Piping Frosting
A soft substance spread on the cake is called frostings (or icing). It is done after the cake has been filled and optionally crumb coated, and if frozen, has been thawed. One way to smooth frosting is to apply it thickly on the cake with a pastry or piping bag and then to remove a small amount while smoothing it at the same time with a large offset spatula. It's a faster and more accurate technique to frost and finish a frosted cake. It works especially well with non-crusting icing. (There are alternative ways to frost and smooth icing called the Upside-Down Smooth Icing Technique or to use an Icing Spatula.)
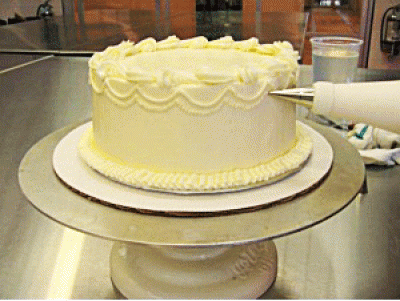
Photos by Sarah Phillips © Sarah Phillips CraftyBaking.com
SARAH SAYS: I photographed famed Cake and Cookie Designer Chef Toba Garrett, who taught me to how to apply frosting with a pastry or piping bag in 2002.
Try Toba's Decorator's Buttercream Icing Recipe, used in the photos.
How to Frost a Cake
APPLY THE ICING
SARAH SAYS: Your buttercream or icing should be light and fluffy!
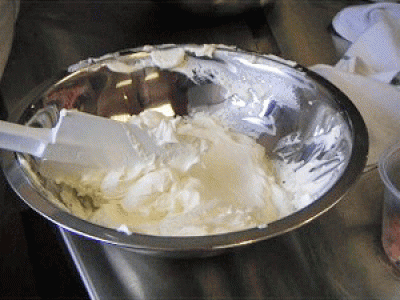
Crumb Coat the cake(this is optional):
1. Prepare your cake: When frosting a cake, apply a thin layer, called a crumb coat. Use the same icing you are going to use for your final coat.
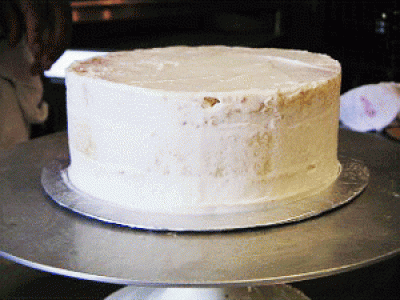
2. Refrigerate your cake for 1/2 hour before applying the next top frosting coat.
3. Place the cake on its cake board on a cake decorating turn table.
4. Fit a pastry bag with a #18 star tip or any large size star or plain tip and fill it with frosting.
Apply the icing to the crumb coated cake with the pastry bag:
1. Start with the sides first:
A. Starting with 6 o'clock on an imaginary clock dial, pipe lines of icing on the side of the cake, from top to bottom.
If you're right-handed, pipe counterclockwise. When necessary, stop piping and rotate the cake a few small turns clockwise. (If left-handed, do the opposite).
Keep the lines piped close together and pipe straight up and down, while holding the iping bag at a 45 degree angle to the cake.
Pipe slightly higher than the top of the cake so you produce a small ridge or edge around the top.
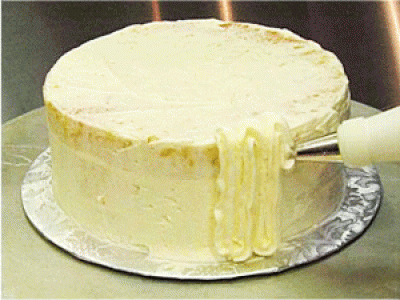
B. Pipe the lines all the way around the cake.
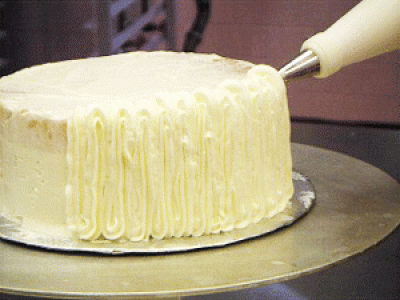
2. Frost the top of the cake, next:
A. Pipe back and forth on top of the cake within the ridges or edge that you formed previously when piping the sides of the cake.
Do not overlap the frosting on top of the previously formed ridge of icing otherwise it will be too thick.
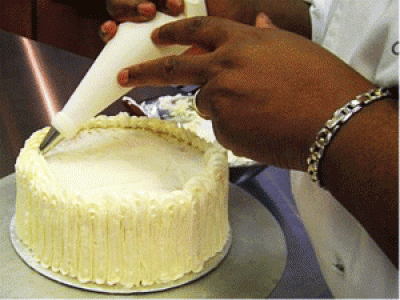
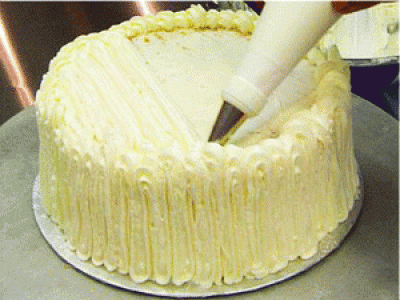
SMOOTH THE ICING
SARAH SAYS: It's important to remember that the length, angle and temperature of the icing spatula plays a special part in smoothing the icing.
Tips befre you start:
Use an offset icing spatula that is a little longer than the height of the cake you are working on. Since the cake is approximately 9-inches tall when filled, use a 10-inch long icing spatula.

While smoothing, hold the icing spatula at a 45 degree angle in relation to the cake while removing the icing from the cake and flat against the cake when smoothing it. Clean your icing spatula as needed to prevent excess icing build-up.
Dip the offset icing spatula in HOT water and dry completely right before smoothing the icing. Clean and dip the offset spatula every time you start a new smoothing “session”, or when needed.
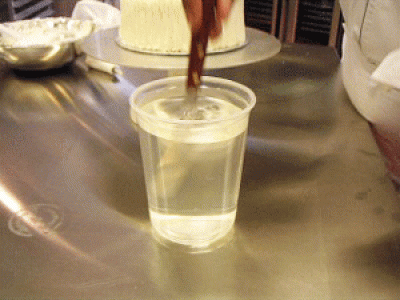
1. Start with the sides first:
A. Dip the long offset icing spatula in HOT water and dry completely. This will warm the metal part of the spatula to smooth the icing with.
B. Position the spatula at the 9 o'clock position (if left-handed at 3 o'clock) on the imaginary clock dial on the cake and hold it at a 45 degree angle.
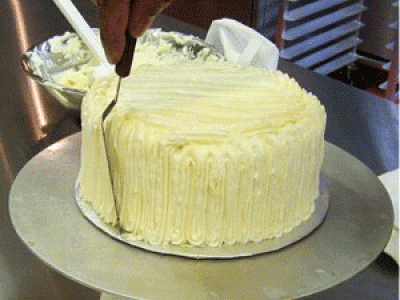
C. Move the icing spatula counterclockwise as you slowly turn the cake counterclockwise. Remove a small amount of icing with the edge of the icing spatula that touches the frosting as you turn the cake. Do NOT dig the spatula's edge into the cake; you should only remove a very small layer of frosting while you smooth it.
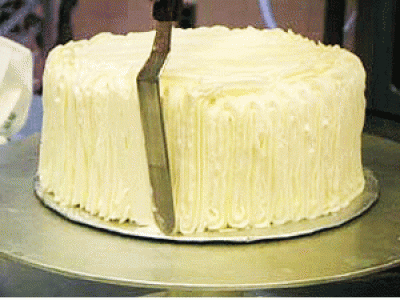
D. Stop occasionally to remove the built-up icing on your metal icing spatula. Then before you touch the cake, again, dip the icing spatula in HOT water and dry completely.
E. Return the spatula to the place where you left off.
Hold it at a 45 degree angle moving it counterclockwise as you turn the cake clockwise. Continue to remove a small amount of icing as you turn the cake.
2. Smooth the icing on top of the cake, next:
A. Dip the long offset icing spatula in HOT water and dry completely. This will warm the metal part of the spatula to smooth the icing with.
B. Position the offset metal spatula at the 6 o'clock position at a 45 degree angle at the edge of the cake.
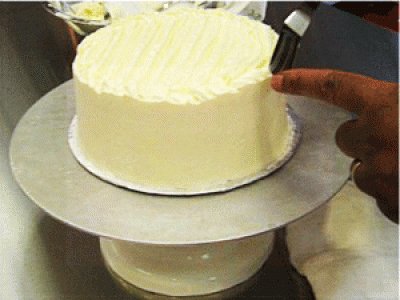
C. Move lightly across the top of the cake towards the 12 o'clock position, directly across the cake, removing a small amount of frosting as you do. Keep the pressure even. Right before you reach the far end of the cake, gently ease the knife off like an airplane taking off from a runway.
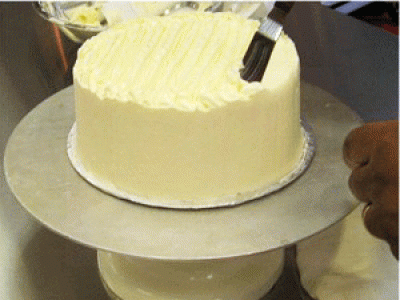
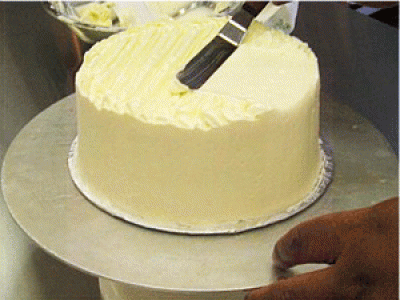
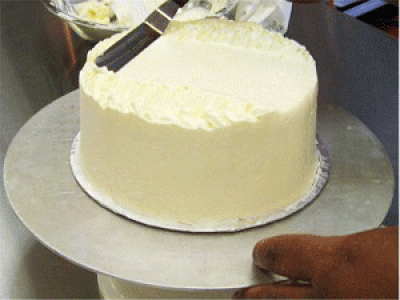
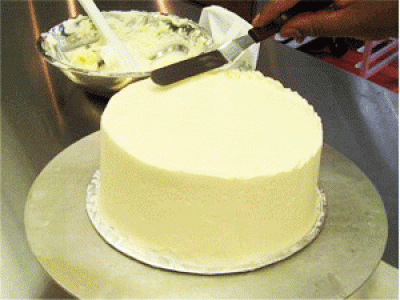
D. Do the same for the areas to the left and right of the first strip you smoothed on top. Always use a hot, dry knife before you start any new row.
THE FINAL TOUCHES
1. Smooth the icing on the side and top of the cake a FEW TIMES:
If necessary, smooth any icing by holding the icing spatula flat against the cake, and gingerly swipe it against any section a FEW TIMES – STOP when the cake looks smooth ENOUGH; it does not need to look perfect. Remember not to press to hard, and always clean the the icing spatula and if necessary, dip in HOT water and dry completely before using.
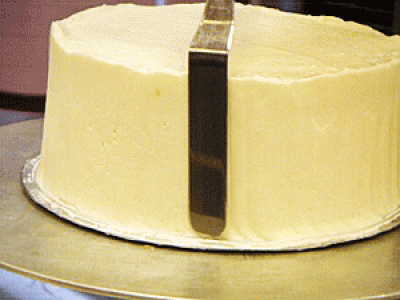
QUESTION: I was almost done smoothing my cake, and I nicked the side. How do I fix it?
SARAH SAYS: Dip your icing spatula in HOT water and dry it. Do not go over the cake again and again. In the close-up photos, you can see some of the air bubbles that were present in the icing and popped.
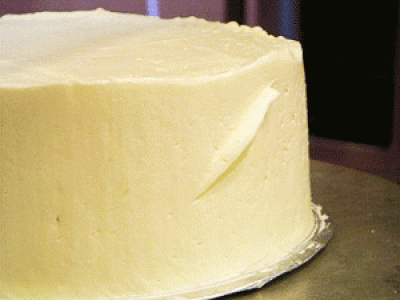
Lightly place the warm and dry icing spatula flat against the nick.
With a swiping motion of the knife across the nick with even pressure, end it with it taking off the runway motion, as you lift it from the cake.
