
 Pastry or piping bags are often cone- or triangular-shaped, hand-held bags made from various pliable and food safe materials. It is filled through a wider opening at the opposite end, rolled or twisted closed, and then squeezed to extrude its contents through a piping tip. We show you how to fill one with our video. Afterwards, use it for piping.
KELLY CA SAYS: When I was first learning how to decorate cookies, I would often find myself venturing to “salty language territory” when dealing with pastry bags and fingers coated with sticky royal icing. Oh, how I HATE to be sticky! I know that this may be old hat to more experienced bakers, but, here's how to save yourself from becoming a sticky mess when preparing your pastry bag…
HOW TO TIPS:
Watch our video clip!
This how to baking technique is used with the Cookie Decorating Tutorial. We are filling a disposable piping bag with green royal icing.
Please note my green-tipped index finger. Be prepared to have colorful fingers when you are done mixing your icing colors. It is all part of the fun. It comes off….eventually!
THE SEQUENCE OF EVENTS:
1. Cut the tip of the pastry bag and fit the coupler base in the bag, fit the tip, and screw on the coupler ring.
SARAH SAYS: The end of your bag needs to be measured and cut to fit the coupler. It will hold the decorating tip. The coupler comes in two parts: the base and the screw ring. Here's how to fill it:
- Separate the coupler (ring and base) and drop in the cone shaped base, narrow end down, into the pastry bag, forcing it as far as it will go;
- Use a pencil to mark a line on the outside of the bag half way between the narrow end coupler and the first thread of the coupler. Remove the coupler base from the bag and then make your cut at the mark.;
- After you cut the tip of the pastry bag, push the cone-shaped base of the coupler, narrow end first, back into the open end of the bag and down toward the pointed end as far as it will go (be gentle if using paper). Push it until its tip and one or two threads are showing through the cut hole. You will see the rest of the threads through the pastry bag, and;
- Place the coupler ring over the decorating (piping or pastry) tip.
- Screw the ring on to hold the tip in place. Make sure the tip is straight and secure.
- To change tips, unscrew the coupler ring and remove the tip. Replace with the new tip and screw the ring back in place.
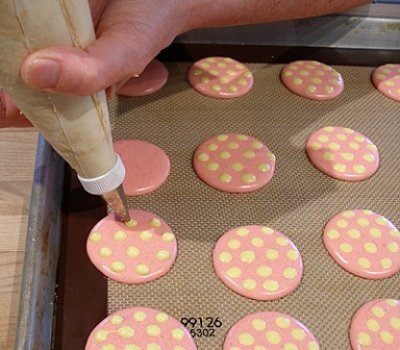
We use a coupler (the white ring holding the piping tip on the bag) when piping yellow macaron polka dot batter in our Raspberry Lemonade Macaron Recipe Tutorial.
OPTIONS
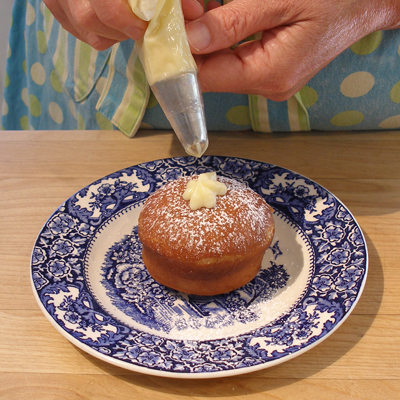
SARAH SAYS: You can optionally use a tip only without a coupler if the piping tip will stay secure in the piping bag, as shown with our Bomboloni or Florentine Doughnuts or Donuts Recipe Tutorial. Though, it's best to use one if you want to do intricate piping.
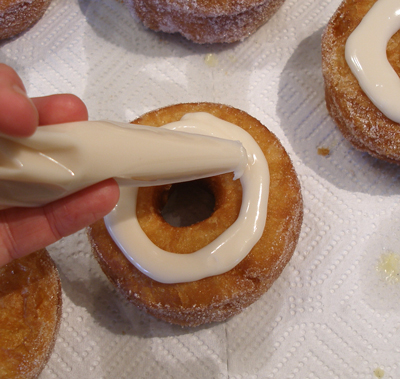
SARAH SAYS: Another option, when filling pastries, is that you do not need to use a piping tip or coupler. Make sure you do not cut a hole in the tip of the pastry bag until it has been filled, and you are ready to use, as we show in our Danuts aka Cronuts Recipe Tutorial.
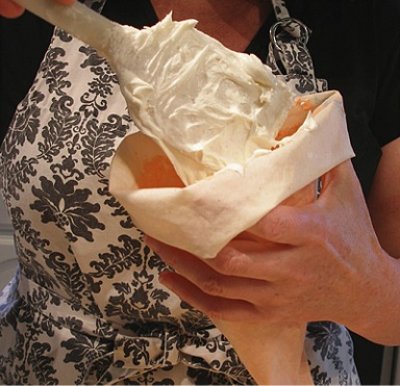
2. Before you fill the pastry bag, you MUST fold the top of your bag down, creating a collar. This way, there is no icing in the way when you go to fold your bag down. Fold down the top of the bag about 2 to 3 inches to make a generous cuff. Place your hand beneath the cuff to hold the bag. We use this baking technique with our Shabby Chic Rose Cake Recipe Tutorial.
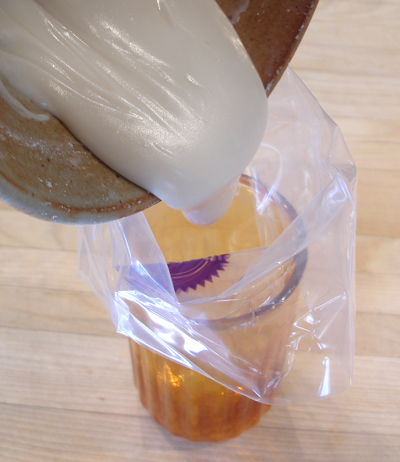
SARAH SAYS: Or, as an alternative, it may be easier for you if you stand an empty pastry bag, tip side down in a glass, about 3 inches shorter than it; fold the top of the bag down over the edge of the glass to form a cuff. We use this baking technique with our Danuts aka Cronuts Recipe Tutorial.
3. Fill the pastry bag. With your free hand, using a spoon, long spatula (an offset or rubber spatula works well), fill the bag with frosting or filling a third full when piping small designs. Don't overfill the bag because during piping, the bag will become unyielding. Also, filling it too much risks melting and softening the icing inside from the heat of your hand while piping. To remove the icing from the spatula, hold the bag on the outside between your thumb and fingers and wipe or pinch the spatula and the icing will fall into the bag. When filled sufficiently, unfold the cuff and and with the side of your hand, force the contents to the end of the bag.
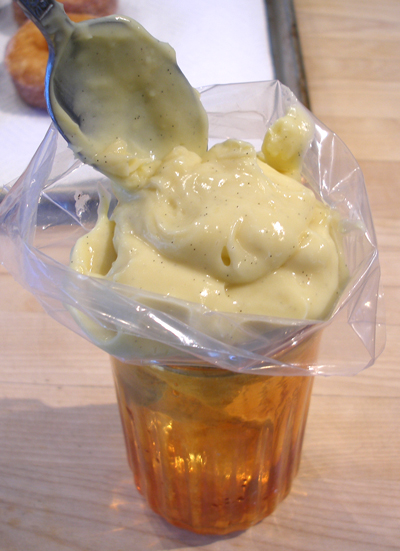
SARAH SAYS: Using a spoon, we are filling our pastry bag with our Vanilla Bean Pastry Cream for use in our Danuts aka Cronuts Recipe Tutorial.
4. Fold the cuff to enclose the contents inside.
SARAH SAYS: Squeeze a small amount of icing into the icing bowl to make sure there's no air in the bag. An air encountered during piping will result in a little explosion of filling, disrupting your design. It is good to do this step every time you fill the bag and when you have problems piping.
5. Afterwards, place it in a tall drinking glass with a damp piece of paper towel in the bottom. The damp paper towel keeps the tip clean and does not allow a dry plug to form on the end of the tip. Dry plug = Sad decorator.
KELLY CA SAYS: Here are my glasses, waiting for the filled pastry bags. Seriously, you will LOVE this tip! The glasses hold your bags when not in use and the damp paper towel keeps the tips clear and ready to go.
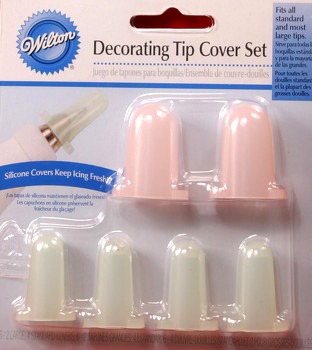
But, now you can use Wilton silicone piping tip covers to seal the end of the piping bags when not in use, as shown with our Raspberry Lemonade Macaron Recipe Tutorial.
6. How to use the pastry bag for piping.