
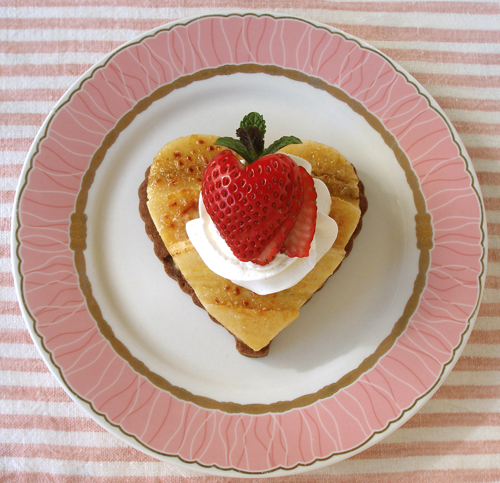
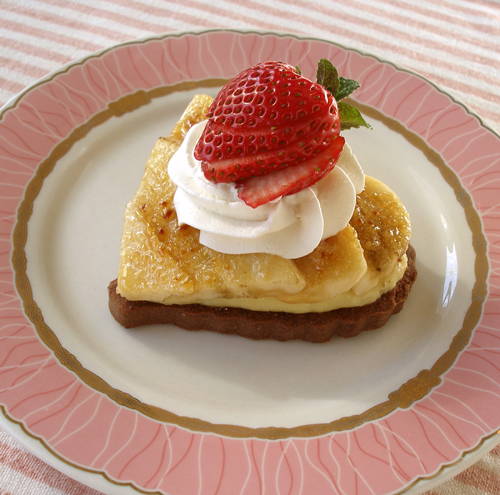
Looking for a special Valentine's Day dessert? Need something elegant and seductive for someone you love? These heart-shaped tartlets will sweep anyone off their feet. Caramelized banana, rum-spiked pastry cream, and rich chocolate ganache are layered atop sweet cocoa pastry. A dollop of whipped cream and a pretty strawberry top the tarts off. And better yet, these are easier to make than you might think: you don't even need a tart pan! Find out how we make them below.
PIE RECIPE HELP
INGREDIENTS
Chocolate pastry crust:
1 3/4 cups unbleached all-purpose flour; spoon into dry measuring cup and level to rim
1/3 cup Dutch-processed or Natural cocoa powder; spoon into dry measuring cup and level to rim
3/4 cup (1 1/2 sticks or 12 tablespoons) cold unsalted butter, diced
6 tablespoons powdered sugar
1 large egg
Pastry cream:
2 cups whole or 2% milk
6 large egg yolks
3/4 cup sugar
5 tablespoons cornstarch
2 teaspoons dark rum or vanilla extract
1 vanilla bean, split and seeds scraped out, optional
1 tablespoon unsalted butter, softened
Whipped cream:
1 cup heavy cream
1 tablespoon powdered sugar
1 teaspoon vanilla extract
Assembly:
4 to 6 large firm and slightly ripened bananas (7 to 8-ounces each)
Freshly squeezed lemon juice
10 teaspoons turbinado sugar, optional
10 large Strawberry Heart Fans (unglazed)
Mint leaves, optional
INSTRUCTIONS
STEP I: MAKE THE CHOCOLATE PASTRY DOUGH
1. Sift the measured flour and cocoa powder into a medium bowl. Set aside.

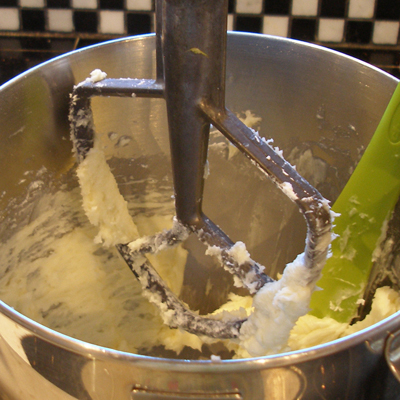
2. In a stand mixer fitted with the paddle attachment, beat the butter and sugar on medium speed until smooth, taking about 2 minutes.

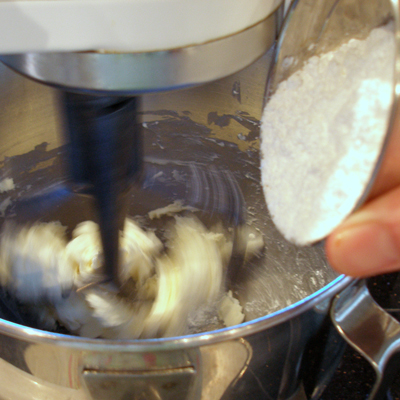
Scrape the sides of the mixing bowl.
3. Add the egg and beat well.
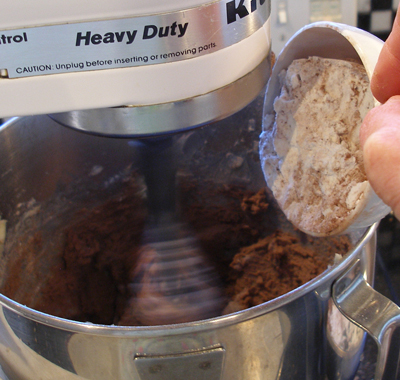
4. In two batches, add the flour mixture with the mixer on medium-low speed until incorporated. Do NOT overmix.
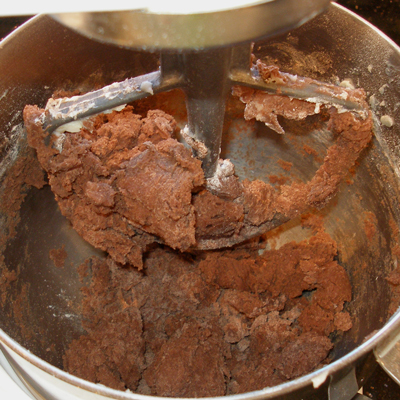
5. Scrape the dough onto plastic wrap, shape into a flat square, and wrap well. Refrigerate the dough for at least 4 hours or overnight.
STORAGE
The pastry dough can be made 2 to 3 days ahead and kept refrigerated. It be be frozen for a month or more. Thaw in the refrigerator.
STEP II: MAKE THE PASTRY CREAM AND THE CHOCOLATE GANACHE
Pastry cream:
1. In a medium heavy-bottomed saucepan, heat the milk over medium-high heat until small bubbles form around the edges, about 3 minutes. Remove from the heat.
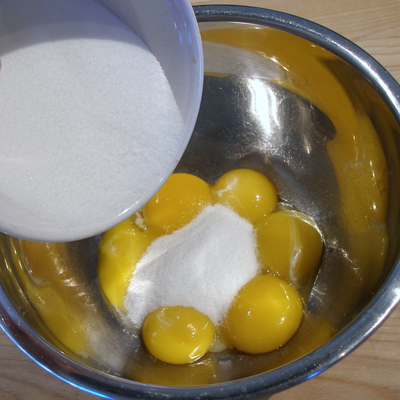
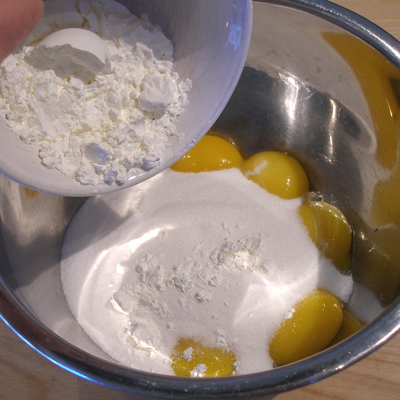
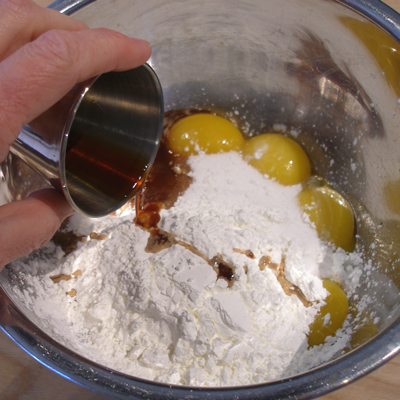
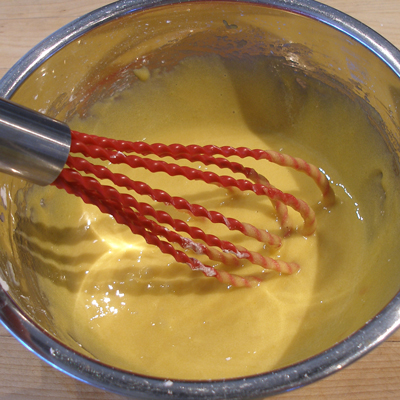
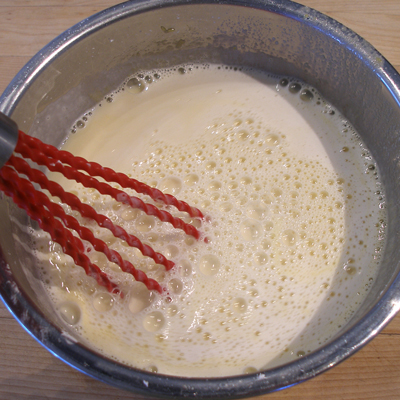
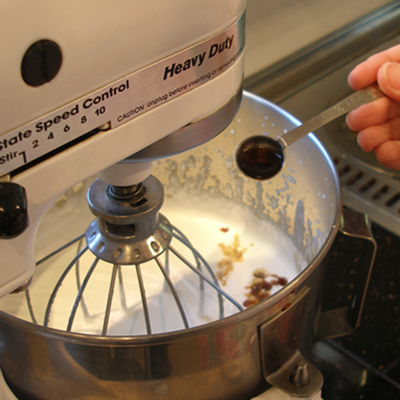
2. In a large bowl, whisk the egg yolks, sugar, cornstarch, rum, and vanilla seeds.
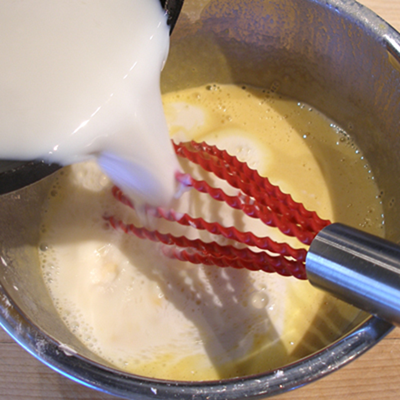
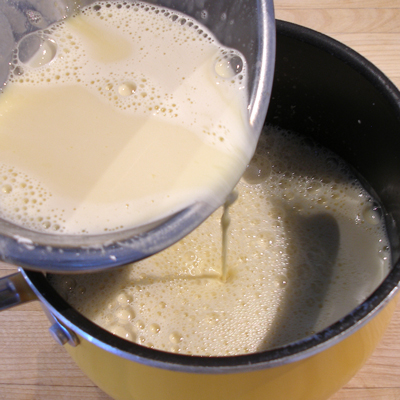
3. Slowly whisk in the warmed milk.
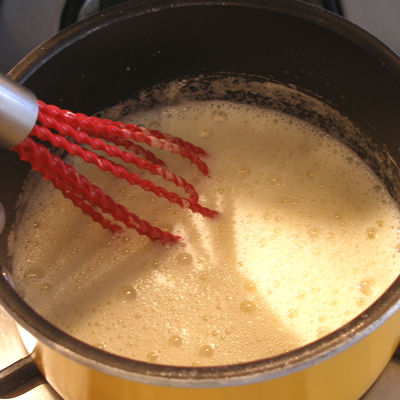
3. Pour the mixture back into the pan used to heat the milk with and stir well. On medium heat, whisk until it boils and becomes thick and shiny, 3 to 4 minutes.
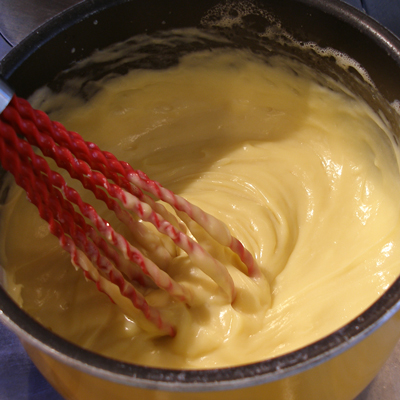
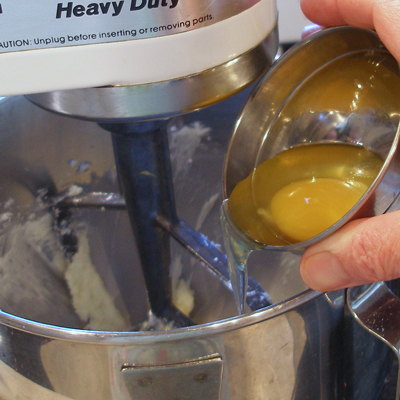
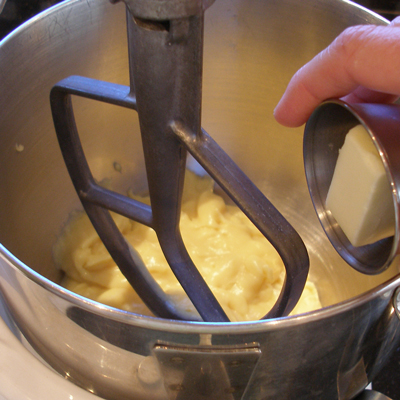
4. Transfer the pastry cream mixture to a stand mixer fitted with the paddle attachment.
SARAH SAYS: Do not scrape the bottom and sides of the pan in case there are any rubbery pieces of pastry cream there.
Add the butter and mix on medium speed until smooth, about 1 minute.
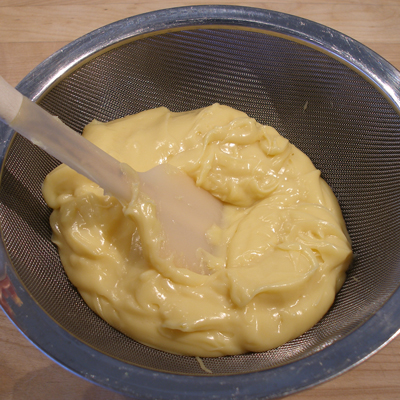
5. Pass the pastry cream through a fine mesh strainer into a bowl.
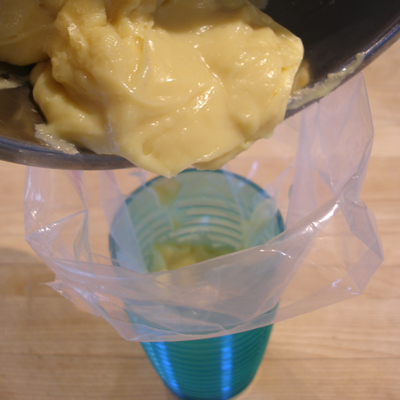
6. Optionally, transfer to a disposable pastry bag; do not cut a hole in the tip yet. Squeeze it down to the uncut tip and refrigerate until ready to use within an hour or two.
SARAH SAYS: When you assemble the tarts, you can spread the pastry cream with an offset metal spatula instead of using a pastry bag.

STORAGE
The pastry cream can be made up to 1 day ahead. Keep refrigerated in a bowl, covered with plastic wrap pressed on its surface, then transfer to the pastry bag; pastry cream is perishable. Stir well before using.
STEP III: BAKE THE CHOCOLATE PASTRY CRUSTS. WHIP THE CREAM.
Bake the Chocolate Pastry Crusts:
1. Position a rack in the center of the oven and heat the oven to 350 degrees F.
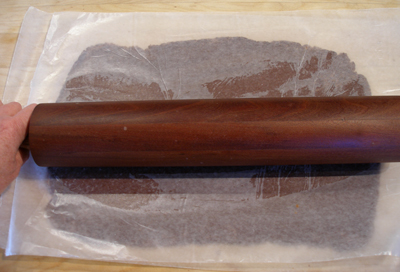
2. Between two large sheets of parchment paper, roll the dough out into a 1/4-inch-thick rectangle that's about 13-1/2 x 10 inches.
Slide it onto a rimmed baking sheet and freeze for about 30 minutes or until firm.
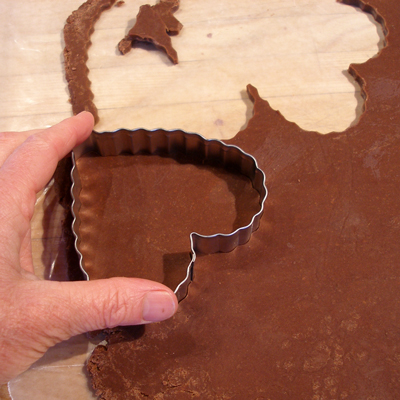
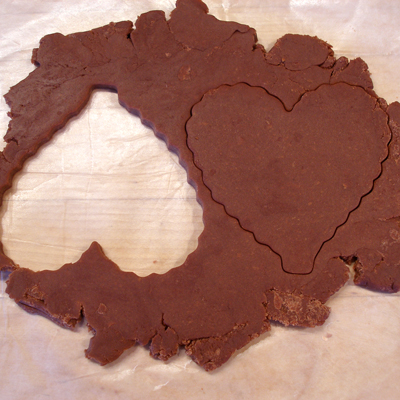
3. We decided to feature this recipe for Valentine’s Day, so we cut out the tart shells with a 3 1/2-inch heart-shaped cookie cutter.
Stack scraps on top of each other and reroll to cut more hearts.
NOTE: Optionally, with a sharp knife or pizza cutter, trim to 12-1/2 x 9-inches and then cut it into ten 2-1/2 x 4-1/2-inch rectangles.
4. Arrange on a rimmed baking sheet, dock (pierce) the pastry all over with the tines of a fork.
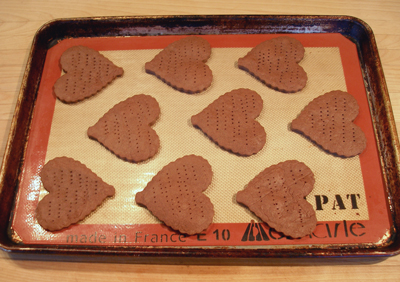
5. Bake until set about 10 to 15 minutes, rotating the pan after 5 minutes. Cool completely on the baking sheet on a wire cake rack.
STORAGE
Pastry can be baked a few days ahead. Store prebaked crusts at room temperature for a few days, wrapped, or freeze for a month or more. Thaw in wrappers at room temperature. Do not refrigerate.
Whip the cream:
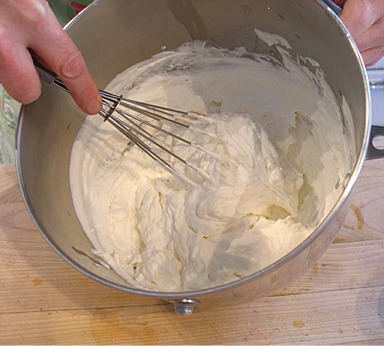
1. In a stand mixer fitted with the whisk attachment, add the cream, powdered sugar and vanilla.
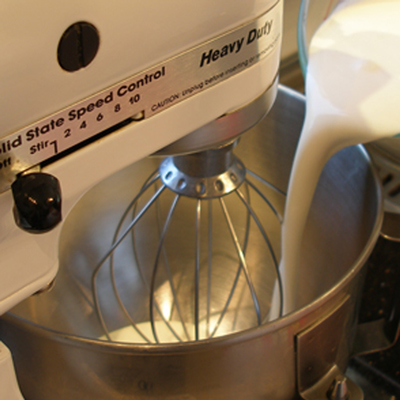

2. Beat the cream on medium-high speed until soft peaks form, about 2 minutes.
Finish beating with wire balloon whisk to adjust consistency, if necessary.
STORAGE
Cover and refrigerate; whipped cream is perishable. Can be made a day ahead. Refresh by re-whisking with a hand-held wire whisk; do not rebeat.
STEP IV: ASSEMBLE THE TARTS AND SERVE
When you are ready to serve the tarts, it is best assemble them and serve immediately. You can store them for a little while after the bananas have been placed on top, but it is not optimal.
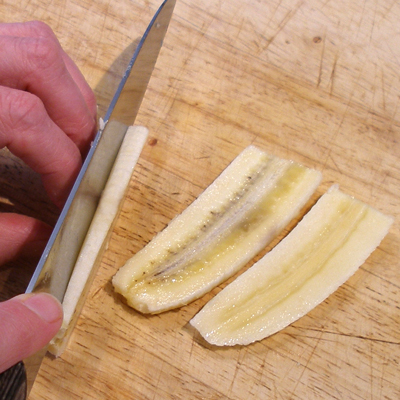
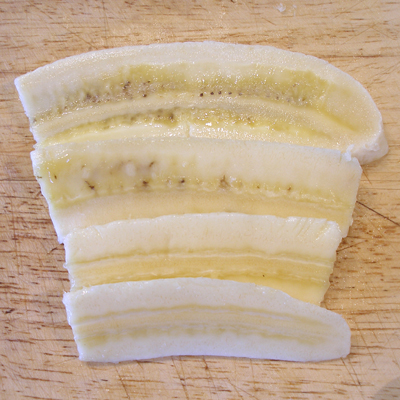
1. Peel and cut the bananas into 3-1/2 inch lengths for the hearts, then slice them lengthwise 1/8 inch thick. For rectangular pastries, cut the bananas into 2-1/2-inch lengths.
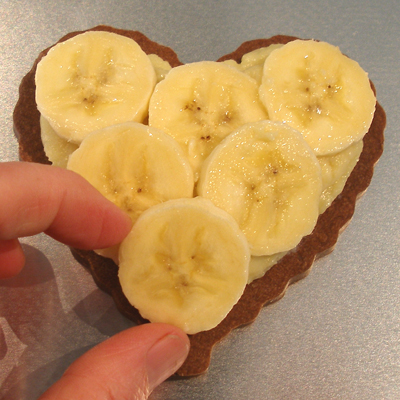
SARAH SAYS: Optionally, slice the bananas, 1/8-inch thick, for a less fussy presentation.
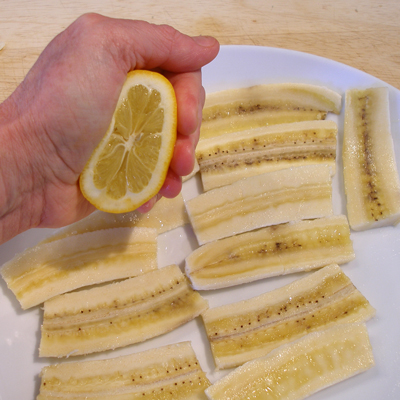
2. Lightly toss in lemon juice, taking care not to break them apart. (This will help prevent browning). Place on a single layer on paper towels momentarily.
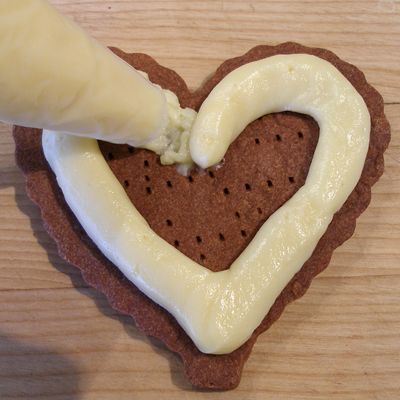
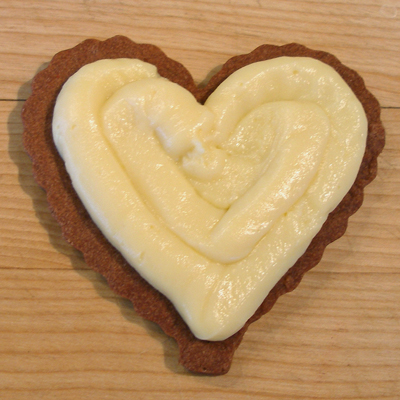
3. Cut a 1/2-inch hole at the tip of the bag of pastry cream. For the heart-shaped tarts, pipe cream near the outer edge of the baked and cooled chocolate tart shell, leaving about 3/8-inch space to the edge of the pastry. Then fill in the center.
NOTE: If making rectangular-shaped tarts, pipe the cream in a zigzag pattern across each baked and cooled chocolate tart crust to cover completely, leaving about 3/8-inch space to the edge of the pastry.
SARAH SAYS: Optionally, instead of using a pastry bag, you can spread the pastry cream on each baked tart crust with an offset metal spatula.
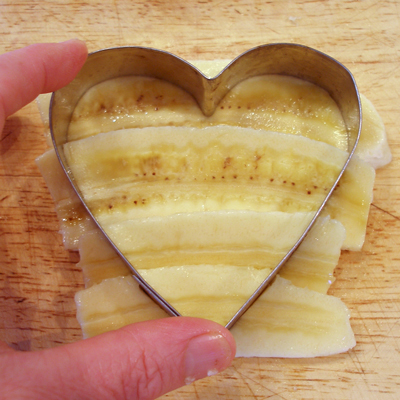
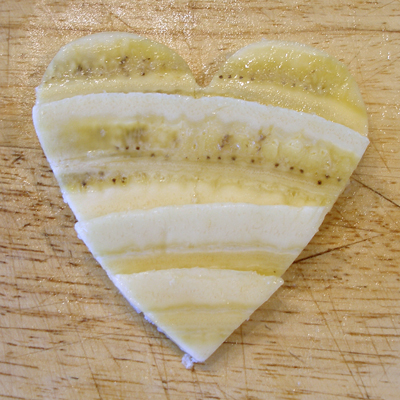
4. For the heart-shaped tarts, tile 4 slices of banana on a cutting board, then cut them into a heart shape with a cookie cutter that is slightly smaller (about 3- to 3 1/4-inches) than the one used to cut out the tart shells.
Make sure the cookie cutter does not have ruffled edges.
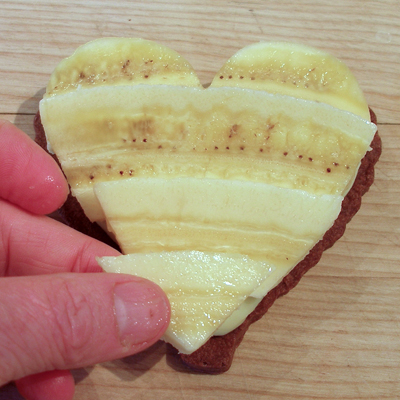
Remove the scraps, then carefully move the pieces of banana and set them in place on the tartlet.
SARAH SAYS: If you would like less waste, and a less fussy preparation, simply use the sliced bananas and tile them on top of the pastry cream.
STORAGE
The tarts, at this point, can be stored covered in plastic wrap in the refrigerator for an hour or two. The pastry crust will start to soften from the pastry cream. Sprinkle a little lemon juice on the cut bananas to prevent browning during storage.
Right before the next step of serving, dot the bananas with a paper towel to remove any excess moisture that may have collected on top.
SERVE
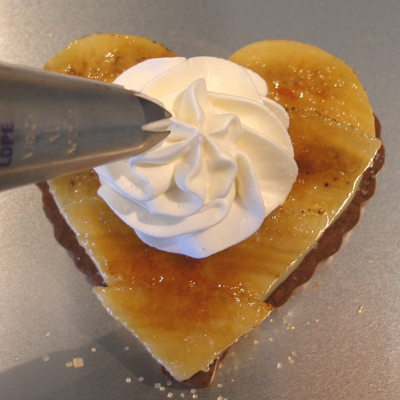
1. Transfer the whipped cream to another pastry bag, fitted with a star tip. Set aside briefly, or refrigerate.
2. Place each tart on a parchment paper-lined baking sheet or heat-proof plate.
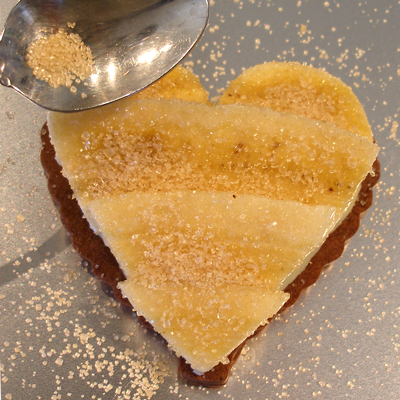
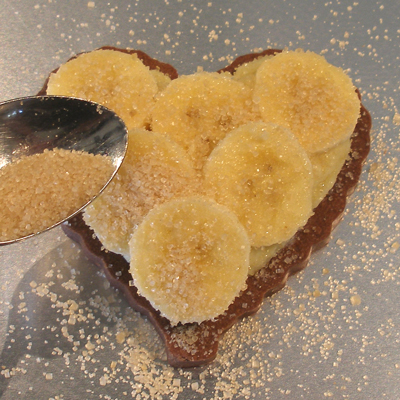
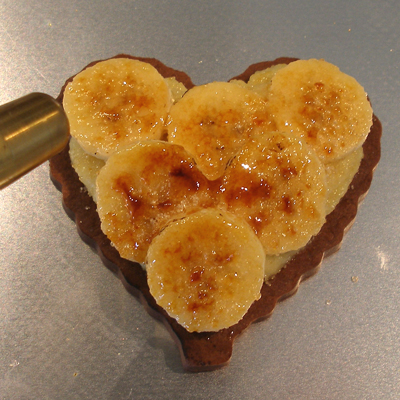
Sprinkle each tart with 1 teaspoon turbinado sugar. Pass the flame of a small kitchen torch over the bananas until the sugar bubbles and caramelizes. Let cool briefly.
SARAH SAYS: Do this right before serving so the crispness of the bruleed sugar is not lost.
NOTE: If using sliced bananas, follow Step 2, above.
3. Place each tart on a serving dish and pipe a generous rosette of whipped cream in the center of the tart, and top it with a heart-cut fanned strawberry, and a piece of fresh mint.
SARAH SAYS: For the rectangle shapes, pipe a string of 1/2-inch rosettes down one long side of each tart over the bananas. Dust with cocoa powder, if desired. Garnish with mint.
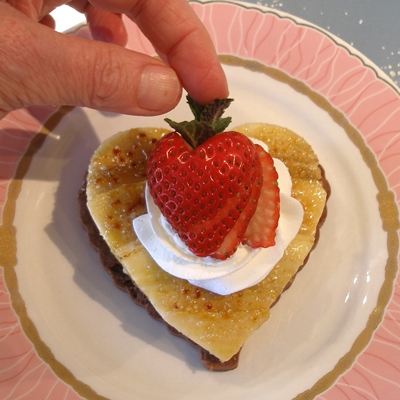
4. Serve the tarts immediately.