
Food styling and Photo by Sarah Phillips
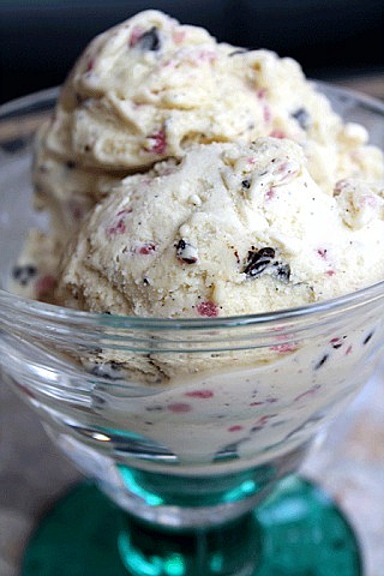
It's so hot in New York City! So, my daughter, Liz, and I decided to make Homemade Organic Vanilla Bean Ice Cream with my new ice cream maker.
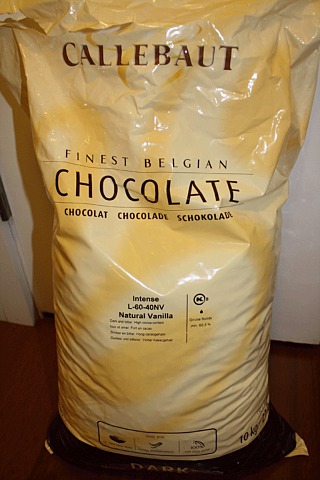
“Playing” in my ingredients pantry and refrigerator, she decided to add in Callebaut Intense Chocolate, which she chopped, and a half pint of organic fresh raspberries!
FROZEN RECIPE HELP
INGREDIENTS – Use organic ingredients, if possible!
2 whole vanilla beans (about 6 inches in length, each); I used Madagascar Vanilla Beans
2 1/3 cups whole milk
2 1/3 cups half and half
3 large eggs
4 large egg yolks
1 cup sugar
1/2 teaspoon vanilla extract
1/2 teaspoon salt
1/2 cup bittersweet chocolate or chocolate chips, chopped into 1/8-inch size pieces
1/2 pint fresh raspberries, rinsed and dried, and mashed with a fork; do not puree
We used Callebaut dark and bitter chocolate!
INSTRUCTIONS
DAY 1
Prepare the ice cream maker freezer bowl:
The same day or 24 hours in advance, freeze the ice cream maker freezer bowl / canister or prepare according to the manufacturer's instructions.
DAY 2
Heat the milks:
1. Use a sharp knife to split the vanilla bean pods in half. Scrape out the seeds and add them to the milk. Cut the vanilla bean pod into quarters and add to the milk.
2. Rinse the inside of a medium size heavy-bottomed saucepan with water. Do NOT dry. Add in the combined the milk / vanilla seeds and beans and half and half.
SARAH SAYS: Rinsing the pot first in water helps prevent the milk(s) from scorching and/or forming a skin on the bottom of the pot.
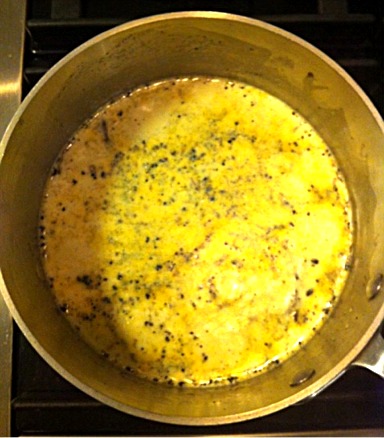
3. Over medium heat, while stirring occasionally, bring the mixture to a slow boil. Reduce the heat to low, and simmer for 30 minutes, stirring occasionally.
4. Strain the hot milk / half and half mixture through a fine mesh strainer into a large bowl. Discard the vanilla bean pods, but not the seeds.
SARAH SAYS: You want to keep the seeds in the milk / half and half mixture.
Add the eggs and cook the custard:
1, In a medium bowl, combine the eggs, egg yolks and sugar. With a hand held mixer on low, mix until well combined.
SARAH SAYS: Do not let the egg yolks and sugar stand unstirred; the sugar will “burn” the eggs or dry them by soaking in the liquid from them.
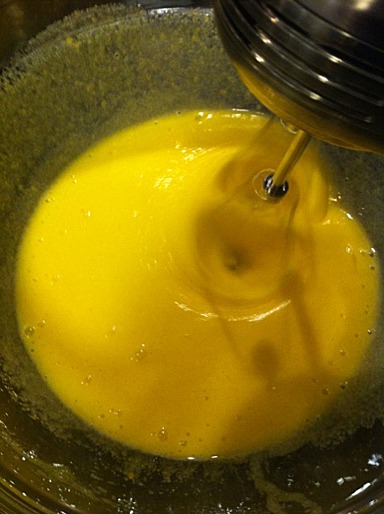
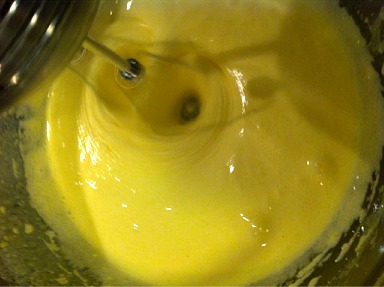
2. Increase the hand-held mixer speed to medium, and beat the egg / sugar mixture for about 2 minutes until it is thick, smooth and pale yellow in color.
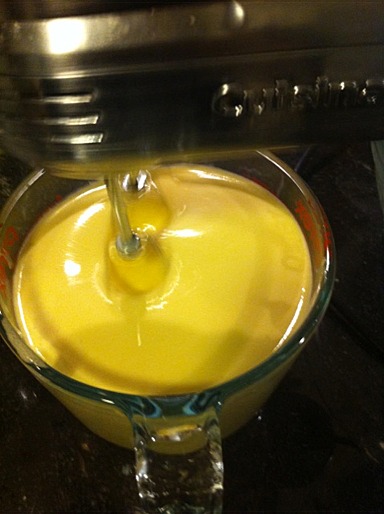
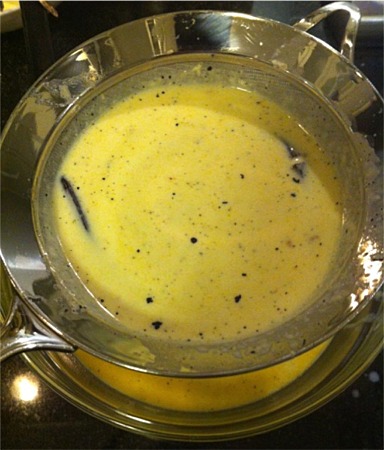
3. Temper the eggs: Measure 1 cup of the hot milk / half and half mixture. Slowly drizzle the hot milk / half and half mixture into the egg mixture, with the hand-held mixer on low.
When thoroughly mixed, pour the egg / hot milk mixture back into the saucepan. Whisk the remaining hot milk / half and half mixture into the saucepan.
4. Cook, under medium-low heat, while stirring constantly until the egg / hot milk mixture is thick enough to coat the back of a spoon. Adjust the heat to low if the mixture starts to burn on the bottom of the pot.
This should take about 15 to 20 minutes.
SARAH SAYS: This step renders the eggs safe from salmonella poisoning because you are making a stove-top custard.
NOTE: If the eggs are to be used in a recipe with other food items, dilute the eggs with with liquid or other ingredients, such as milk, or sugar (at least 1/4 cup liquid or sugar per egg as in custard) and cook the egg mixture to 160 degrees F, which will destroy harmful bacteria in a few seconds. Adequate cooking brings eggs and other foods to a temperature high enough to destroy bacteria that might be present.
5. Strain the egg / hot milk mixture back into a large bowl. Do NOT scrape the bottom of the pot.
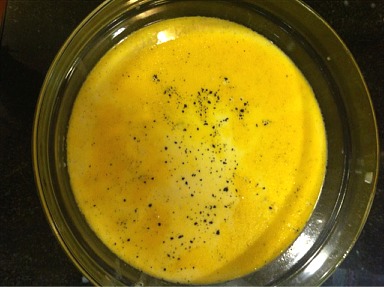
6. Stir in the vanilla extract and salt.
SARAH SAYS: I like to add salt to my ice cream recipes. It helps mask any eggy flavor present in the ice cream, reduce any overall extra sweetness and increase flavor.
7. Press a plastic wrap on the surface of the mixture and chill overnight.
*SARAH SAYS: Or, QUICK-CHILL the strained custard mixture faster by placing the bowl into a larger bowl filled with water and ice. Stir the mixture frequently.

DAY 2 (if QUICK-CHILLING* the custard the same day) or DAY 3
Make the ice cream:
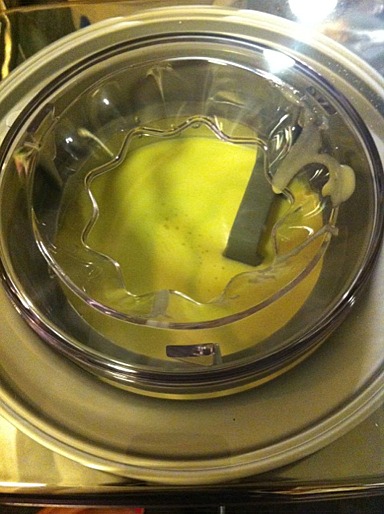
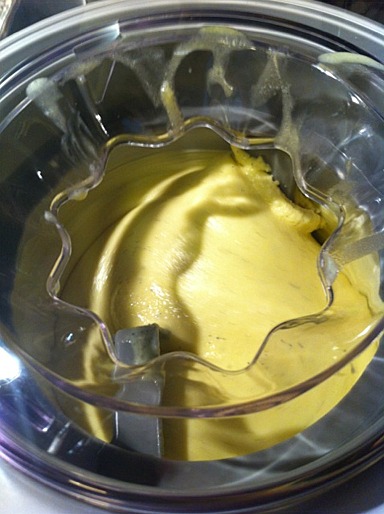
1. Pour the chilled custard into the freezer bowl of your ice cream maker. Let mix until thickened. (My machine is electric and takes about 30 – 35 minutes).
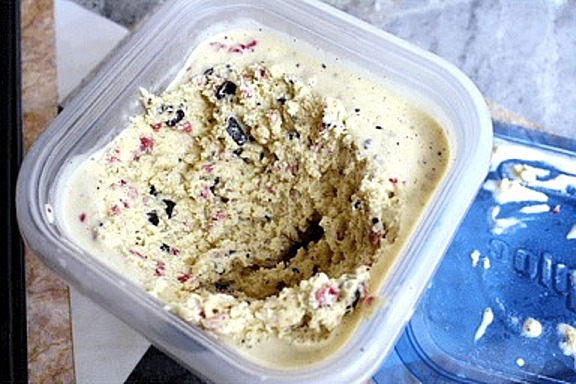
2. 10 minutes before the ice cream achieves a soft, creamy texture, slowly add in the mashed raspberries, alternating with the chopped chocolate, taking about 10 minutes to complete.
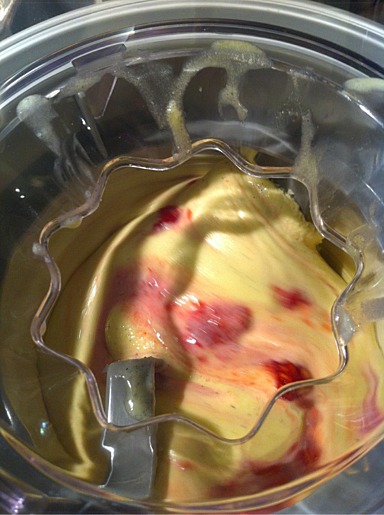
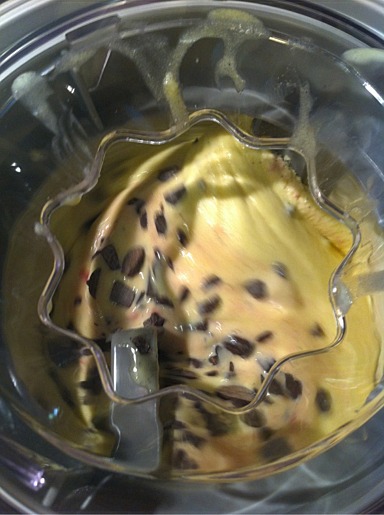
Stop the machine occasionally, and using a thin rubber spatula, mix the ingredients together for a few seconds. Turn the machine back on.
3. Afterwards, let the machine run for about 5 – 6 minutes until the ice cream is creamy and thick.
Freeze the ice cream:
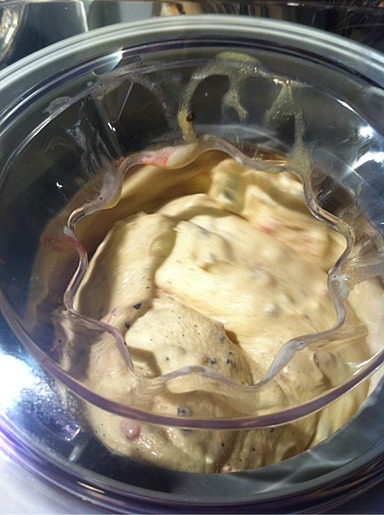
1. Transfer the ice cream to an airtight container and with a rubber spatula, press the ice cream into a shallow and large container; the shallower the container and the more you press, the firmer / more compact the final texture.
2. Place in the freezer for about 4 hours, preferably overnight where it will become much firmer the longer it chills.
SARAH SAYS: If the container is deep, the ice cream will take longer to chill and will be much more aerated and fluffy. I split the batch into several small and shallow containers.
SERVE
Serve immediately.
STORAGE
Homemade ice cream lasts a week or two to about a month in the freezer.