
Variation: Chocolate Rolled Fondant

Photo and cake by chocolatedrummer. The clouds are made with royal icing © Sarah Phillips

Photo and cake by chocolatedrummer © Sarah Phillips

Photo and petits fours by chocolatedrummer © Sarah Phillips
chocolatedrummer, one of our Premium Members, took photos of every step on how to make Rolled Fondant. It's easier to use a stand mixer with the dough hook for this recipe but it works equally well with a spoon and a bowl…it's just harder work!
How much fondant do I need to cover my cake with?
FROSTING, ICING ETC RECIPE HELP
INGREDIENTS
1/4 cup (60ml) cold water
1 tablespoon gelatin powder or 10g of sheet gelatin
CHOCOLATEDRUMMER SAYS: I use commercial gelatin sheets which are larger than normal therefore 2 sheets is 10g with normal gelatin sheets 4 sheets are equal to 10g
1/2 cup (168g) corn syrup or glucose
1 tablespoon glycerin, optional
1 teaspoon flavoring, optional; such as vanilla, almond, lemon or orange extract.
SARAH SAYS: Some decorator's use clear vanilla extract because pure can color the fondant a slight off white, initially. But, when the fondant is kneaded and air is incorporated, the fondant will become white again.
2 pounds (about 8 cups / 1 kilo) powdered (confectioners') sugar, sifted, plus more if needed; sift after measuring
NOTE: Mix the recipe until you reach the right consistency – the given amount of 2 pounds powdered sugar is just a guide; make sure you have more on hand if needed. Sometimes I use less.
1/2 teaspoon white vegetable shortening (optional)
INSTRUCTIONS
PREPARE THE GELATIN
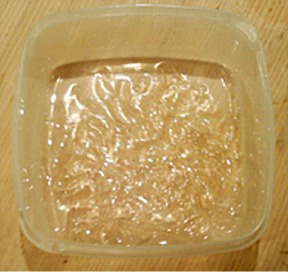
1. Place cold water in a medium size heatproof or microwave safe bowl. Sprinkle the gelatin powder evenly over the surface of the water or break up the sheets into pieces and do the same. Do not stir. Let stand for two minutes to soften and dissolve.
After 2 minutes the gelatin mixture will gel.
2. Place the gelled mixture in the top of a double boiler over the bottom part containing a pan of simmering water or microwave for 20 seconds at a time at 50% power, until the gelatin further dissolves and turns to liquid. Do NOT overheat, otherwise the mixture must be discarded.
When dissolved, there should be no lumps and the mixture should be clear and not grainy. If it is, discard and start again with Step #1.
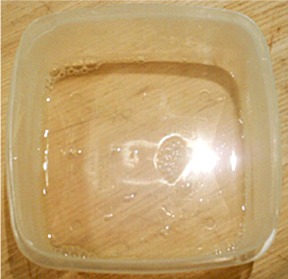
I placed my ingredients in a microwave safe container and heat them in a microwave.
ADD THE ADDITIONAL INGREDIENTS
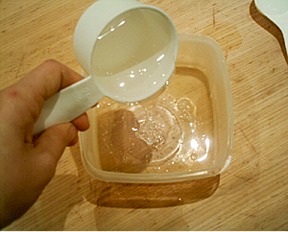
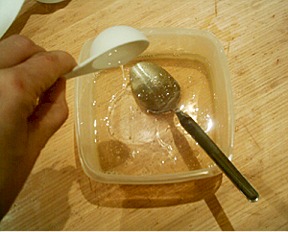
3. Immediately stir in the corn syrup and optional glycerin. Then, if you are using any flavoring, stir it in now until fully incorporated. Afterwards, the mixture will be somewhat stringy.
4. Add the mixture to a stand mixer fitted with a dough hook attachment. NOTE: You can optionally mix the ingredients by hand through kneading, if desired, but it takes a lot of work. Follow every step.
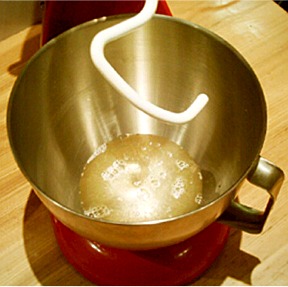
5. Add about 2 large cups of powdered sugar, so it sits on top of the liquid. Mix on low until incorporated.
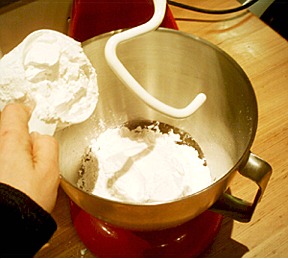
6. With the mixer on low, continue to add powdered sugar, 1/2 cup at a time at the side of the bowl. The fondant mixture will begin to come together and thicken.
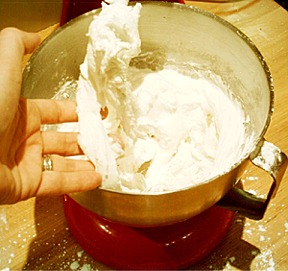
7. When you see it coming together stop the mixer and test with your fingers. If the mix is still very sticky keep adding powdered sugar. You can see here that the mixture is still somewhat wet.
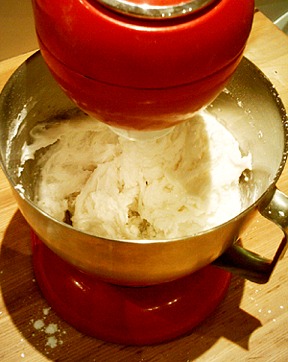
When the mixture starts to feel less sticky stop the mixer and test again. Here you can see that the fondant has almost the right texture.
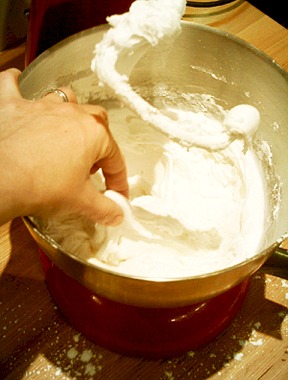
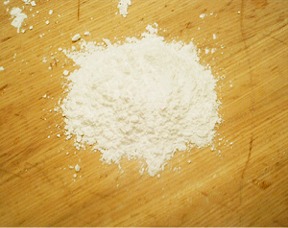
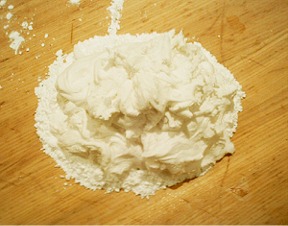
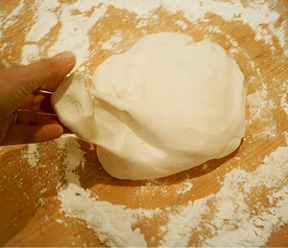
8. At this stage make a small mound of about 1/2 cup of the powdered sugar on your work surface. Scrape the fondant out of the mixer or bowl and pile onto the sugar.
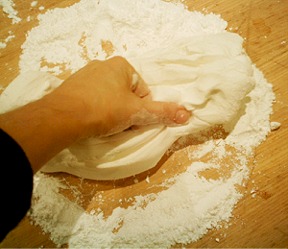
9. Knead the fondant gently incorporating more powdered sugar until the fondant feels only slightly tacky.
10. At this stage you can add 1/2 teaspoon of shortening to reduce stickiness if necessary. It’s important that the fondant doesn’t feel too dry. It’s better to err on the side of caution and leave it a little sticky. This can always be resolved by adding more powdered sugar when rolling out if necessary, however it’s hard to resurrect dry fondant!
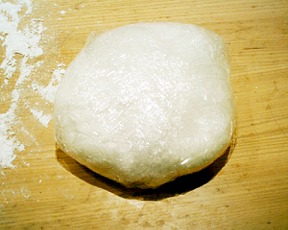
11. The fondant should look like a smooth ball and should be firm to touch.

12. The fondant is finished when you pull it, it is elastic but not wet.
13. Shape the finished fondant into a ball. Double or triple wrap your fondant in plastic wrap and leave it to rest. If I’m covering a cake I leave it only for an hour as I prefer to use it freshly made but for modeling it’s better the following day.
STORAGE
Double wrap the rolled fondant in plastic wrap and then store it in a zippered plastic bag.
I don't recommend putting this fondant in the fridge or freezer. I have used it after 3 months and it has been fine, but the original recipe states that it will keep for at least 6 months at normal room temperature.
VARIATION
Chocolate Fondant
Substitute part of the powdered sugar with sifted cocoa powder – about 2 to 2 1/2 cups Dutch-processed or Natural. It will get messy! Sift the powdered sugar and cocoa together a few times and add as you would the powdered sugar in the recipe! Make sure you dissolve 1/2 teaspoon salt in the recipe, as well, (in the extracts) and increase the vanilla extract to 2 or 3 teaspoons.