
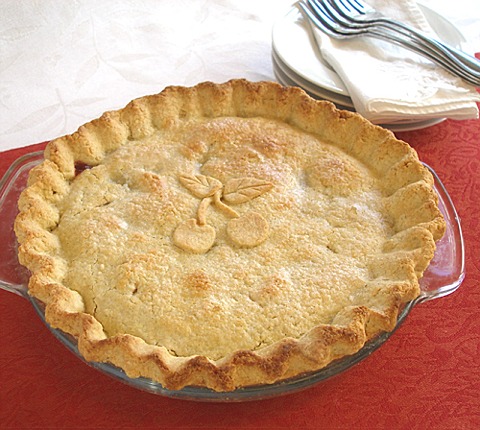
This classic favorite is made gluten free and flavorful. The crust is very tender, not tough at all and the texture is sort of cookie-like and does not get cardboard-like, so often found in gluten-free pie crusts. It tastes very good with the filling. Gluten-free pies are difficult to make because in the absence of wheat flour, so many things cam go wrong. Find out tips and techniques on how we make this recipe such a success.
PIE RECIPE HELP / GLUTEN-FREE RECIPE HELP
INGREDIENTS
CHERRY PIE FILLING
1 1/3 cups sugar
1/4 cup cornstarch
1/4 teaspoon salt
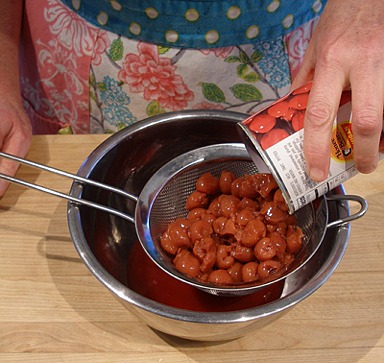
2 (14.5 ounce) cans of pitted tart cherries, drained, reserve the juice
1/2 cup plus 2 tablespoons cherry juice (from the canned cherries) or water
1/4 teaspoon almond extract
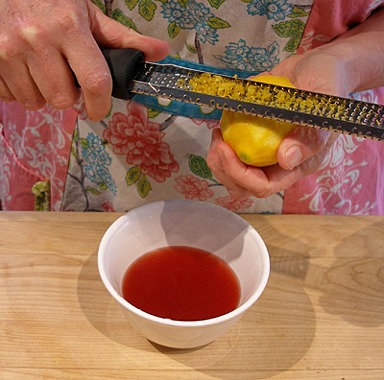
Zest of 1 lemon
2 teaspoons lemon juice
1/4 teaspoon red gel food coloring
1 tablespoon of butter, softened
GLUTEN-FREE PIE CRUST DOUGH / Recipe alone
8 tablespoons (1 stick or 1/2 cup) unsalted butter, chilled
2 cups Bob's Red Mill Gluten-Free Flour Blend; spoon into dry measuring cup and level to rim; or any Gluten-free flour blend, plus more for dusting
3 tablespoons sugar
1/2 teaspoon baking powder
1/2 teaspoon salt
2 large eggs
1/2 teaspoon xanthan gum
1 to 2 teaspoons ice water
Finishing the pie:
2 tablespoons whole or 2% milk
1 tablespoon sugar
Whipped cream
INSTRUCTIONS
STEP I: MAKE THE CHERRY PIE FILLING
1. Drain the cherries, reserving 1/2 cup plus 2 tablespoons of the juice.
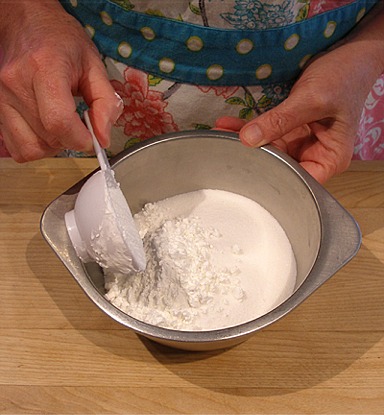
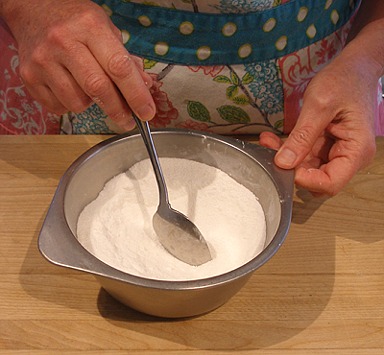
2. In a medium bowl, add the sugar, cornstarch and salt. Stir to combine.
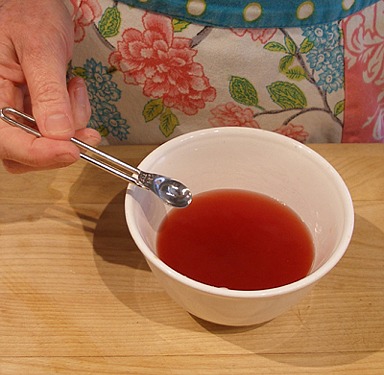
3. Combine the cherry juice, almond extract, lemon zest and juice in a small bowl.
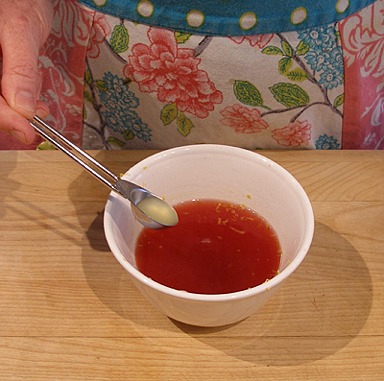
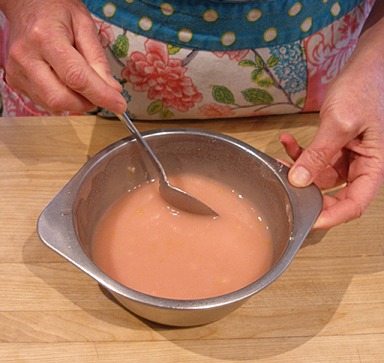
4. Add the cherry juice mixture to the dry ingredients and stir until it is completely dissolved.
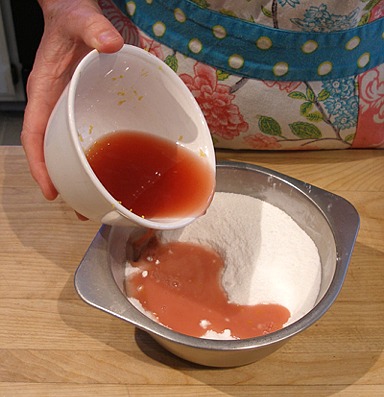
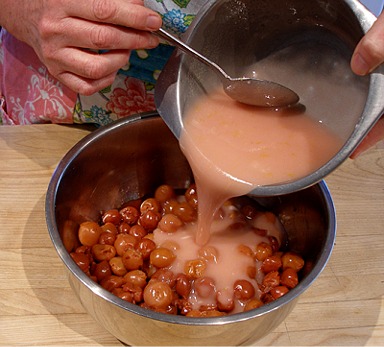
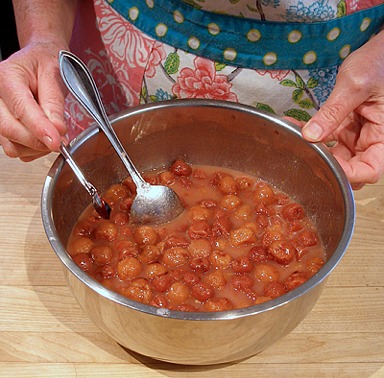
5. Add this mixture to the drained cherries and mix well.
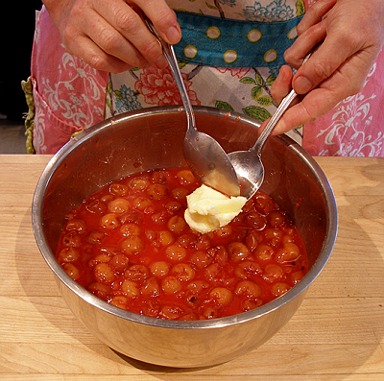
Add the food coloring and mix until combined, then stir in the softened butter.
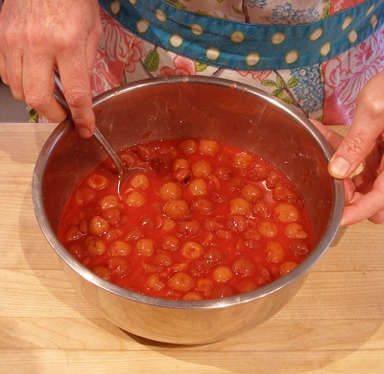
6. Place filling in a pan and cook mixture, on medium heat, stirring constantly, until the mixture comes to a boil and the juices thicken and become clear.
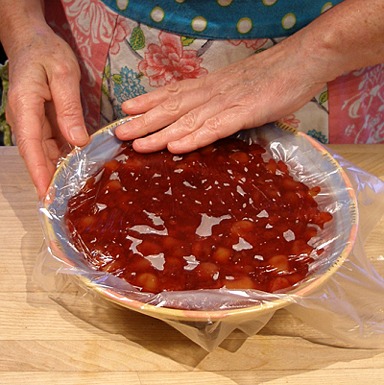
Pour thickened filling into a bowl, then place a piece of plastic wrap on the surface, so a skin doesn't form.
Place filling in the refrigerator to cool for about an hour, or chill over an ice water bath while you make the pie crust.
STEP II: PREPARE THE GLUTEN-FREE PIE CRUST DOUGH
INSTRUCTIONS
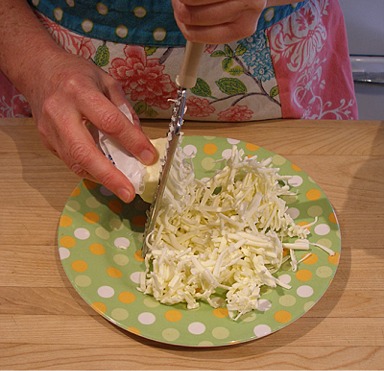
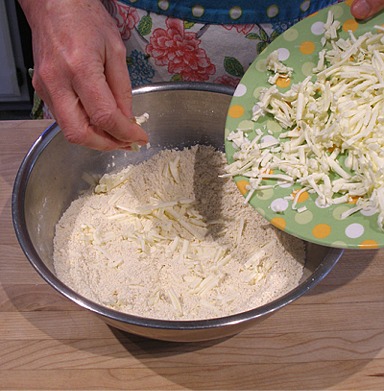
1. Using the large holes of a box grater shred the chilled butter onto a plate. Freeze the butter for 10 minutes.
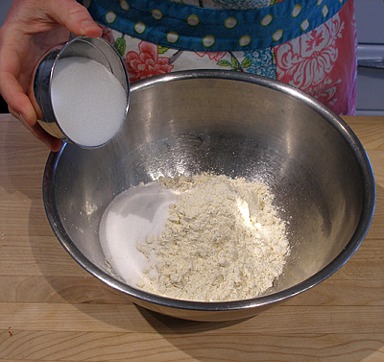
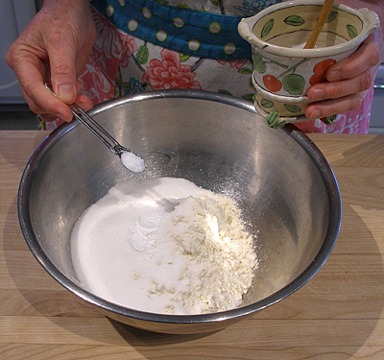
2. In a large mixing bowl, whisk the flour, sugar, baking powder, and salt to combine.

3. Add the cold shredded butter.
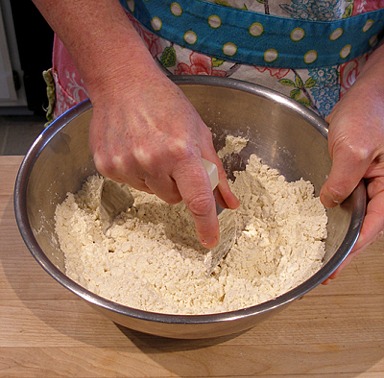
Using a pastry blender or two knives, cut in the butter until it resembles coarse cornmeal – no distinguishable pieces of butter should remain. (If you wish, use your fingertips to rub the butter into the flour mixture. Be sure to use only your fingertips and not your palms. The butter must stay cold and warm palms will melt it.)
4. In another mixing bowl, add the eggs and then, the xanthan gum.
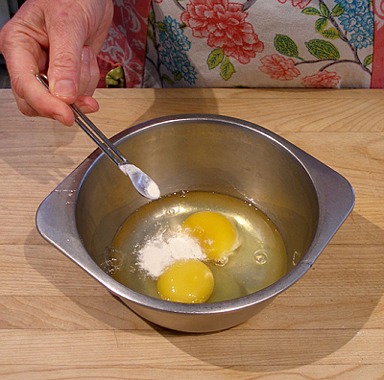
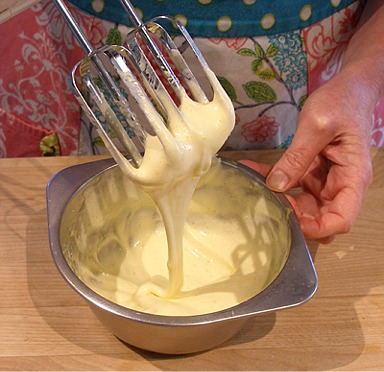
Thoroughly beat the eggs with the xanthan gum, for 1 minute, with a hand-held mixer on high speed.
You will see gummy strands formed in the mixture. This activates the xantham gum.
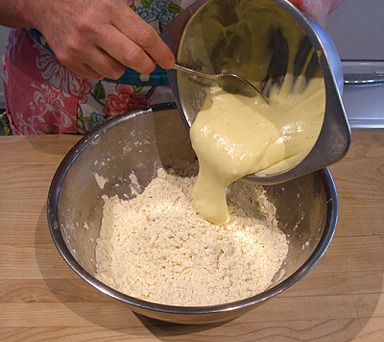
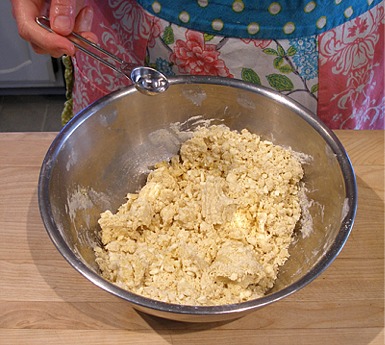
5. Tossing the flour with a fork, gradually stir in the egg / xanthan gum mixture until the dough is thoroughly moistened but not wet, and clumps together.
You may not need all of the egg / xanthan gum mixture.
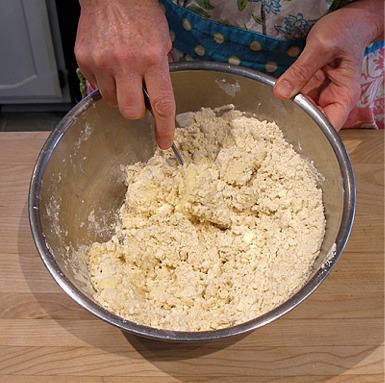
To test the consistency of the dough, press the dough together between your thumb and forefinger; it should just stick together with small dry cracks.
Gather the dough in the bowl to bring the clumps together. The dough should remain somewhat crumbly.
If the dough is too dry, sprinkle 1 teaspoon of ice water over the surface of the dough and toss the dough again.
Test the consistency with your fingers. If it is still to dry, sprinkle on one more teaspoon of ice water and toss the dough again.
NOTE: Be careful not to add too much water or the dough will become VERY sticky.
6. Gather the dough to bring the clumps together and press it into a ball.
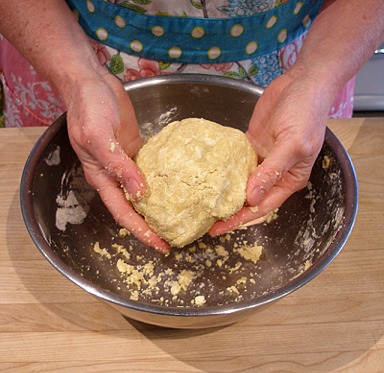
7. Then cut the dough in half and form each half into a disk. Wrap each disk in plastic wrap and refrigerate for a minimum of 1/2 hour, preferably overnight.
STEP III: PREHEAT THE OVEN, FORM THE PIE AND BAKE
1. Position the oven shelf in the lower third of the oven and preheat the oven to 375 degrees F.
2. Roll out 1/2 of the chilled dough: First, sift a small amount the gluten-free flour onto the work surface.
Then, roll the dough out to a roughly 14-inch circle on gluten-free flour dusted surface. Keep the dough moving, redusting under the dough when necessary.
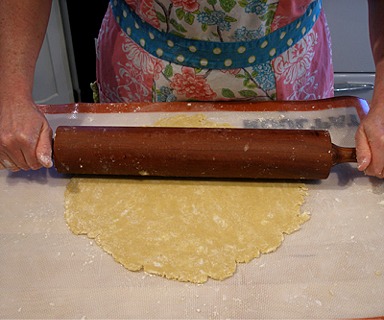
3. Wrap the rolled dough gently around rolling pin.

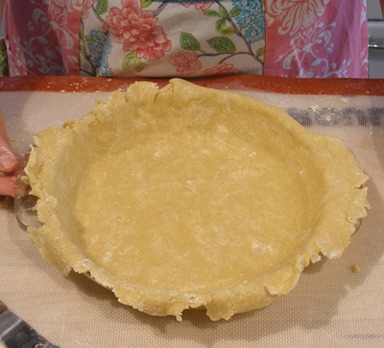
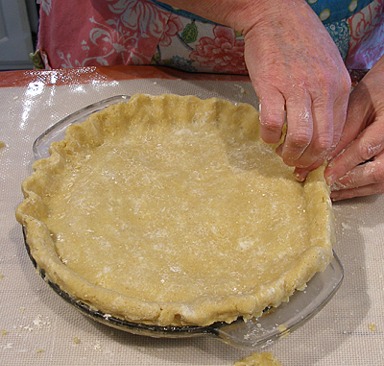
4. Gently ease the dough into the 9-inch pie pan.
Gently press the dough into place, then set the pan aside while you roll out the top crust.
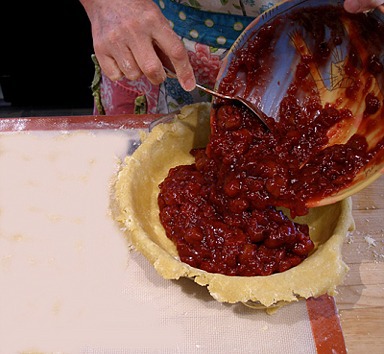
5. Fill the pie pan with the chilled cherry pie filling.
6. Roll out the second half of the dough: First, sift a small amount the gluten-free flour onto the work surface.
Then, roll the dough out to a roughly 14-inch circle on gluten-free flour dusted surface. Keep the dough moving, redusting under the dough when necessary.
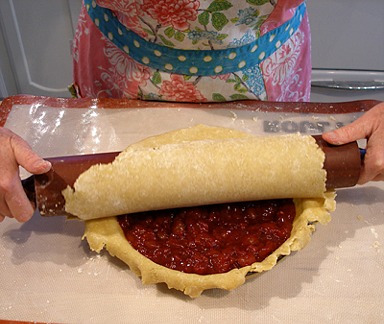
Wrap the rolled dough gently around rolling pin and place it atop the filling.
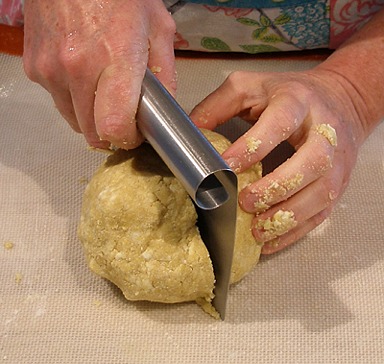
7. Gently press the edges of the dough where they meet and trim to a 3/4-inch overhang. Put the scraps aside.
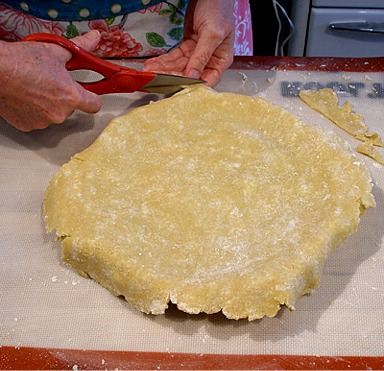
Roll the edges of the dough under. Then, crimp the edge of the dough, all the way around.
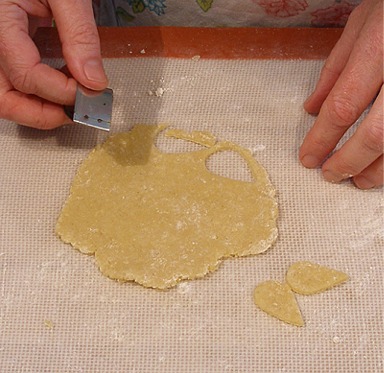
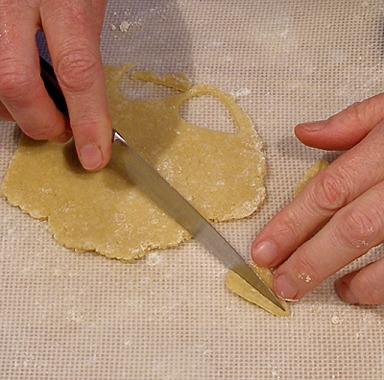
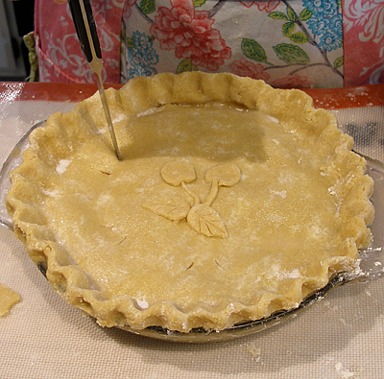
8. Roll out the dough scraps and cut out decorations with small cookie cutters or a small paring knife.
You can use the dull side of a knife to impress veins on the leaves.
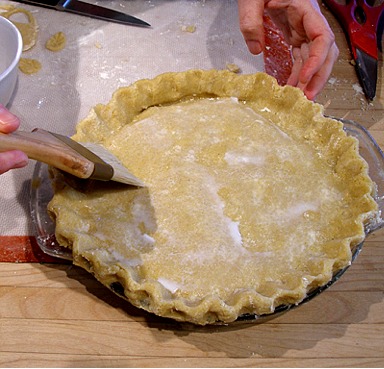
9. Brush the top of the pie with milk, then sprinkle it generously with sugar.
NOTE: Do not brush the edges of the pie with milk, or sprinkle it with sugar, because it will make them brown too quickly.
10. Place the cherry decorations on the center of the pie, then cut steam holes in the top crust with a sharp knife.
11. Place the pie on a silpat or parchment lined baking sheet and bake for 40-45 minutes, or until crust is nicely browned.
NOTE: The edges of the gluten-free crust tend to brown more quickly than the center of the pie.
Use a pie shield, or strips of aluminum foil to cover the edge, if it starts to get too dark.
12. Remove the pie from the oven and cool on a wire cake rack.
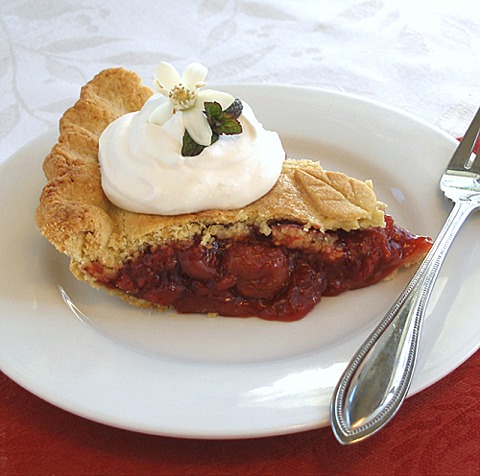
SERVE
Cut into slices and serve with whipped cream.
STORAGE
Gluten-free pie crusts tend to not store as well as those made with wheat flour. Store pie in the refrigerator where it will keep for a day or two.