
Variation: Nectarine Crumble Pie
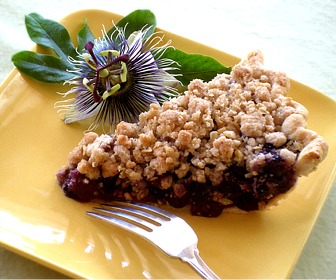
This pie is brimming with fresh blueberries baked with a buttery oatmeal streusel topping! A staple of our early ancestors, blueberries are as much a part of our heritage as The Ultimate Apple Pie Recipe with a Rum Raisin Sauce or the Luscious Lemon Meringue Pie. I simply cannot get enough of them. For optimal storage, refrigerate unwashed fresh berries, where they'll keep for 10 days to 2 weeks; they'll keep even longer in the freezer. Both frozen and fresh blueberries should be rinsed and drained just before using. If thawed berries are not used immediately, cover and refrigerate and use within three days. Pie=Sweet Yumminess!
PIE RECIPE HELP
Kelly Says: “I have to say this is my fave pie so far. Really, it is SO good!”
INGREDIENTS
Flaky Pie Crust or Pate Brisee Tutorial
Single Crust / Recipe alone
1 1/2 cups unbleached all-purpose flour, plus extra needed for rolling pie crust; spoon into dry measuring cup and level to rim
1 tablespoon sugar
1/2 teaspoon salt
1/4 cup (1/2 stick or 4 tablespoons) COLD unsalted butter, cut into evenly-sized 1/4-inch cubes. Return to the freezer to chill again while preparing the other ingredients; can use salted butter. If you do, reduce the salt by 1/4 tsp.
1/4 cup COLD vegetable shortening (or butter – 1/2 stick or 4 tablespoons); cut or shape shortening into evenly-sized 1/4-inch cubes or pieces. Return to the refrigerator to chill again while preparing the other ingredients.
1/4 cup COLD water; to prepare, use water from bowl filled with water and ice. Let it sit until very cold and then measure water.
OPTIONAL: 1/8 teaspoon baking soda (blend in with the flour)
Blueberry Filling
3 tablespoons cornstarch
3 tablespoons cold water
3 pints (6 cups) blueberries, fresh or frozen
2/3 cup sugar
3 tablespoons unsalted butter
1 tablespoon lemon juice; from one lemon
1 teaspoon lemon peel; from one lemon
1 teaspoon salt
Streusel Oat Topping
1 cup unbleached all-purpose flour; spoon into measuring cup and level to rim
1/2 cup sugar
1/2 cup quick-cooking oats; do not use instant
1/2 teaspoon cinnamon
1/4 teaspoon salt
1/2 cup (1 stick) unsalted butter, cold
INSTRUCTIONS
STEP I: MIX THE PIE CRUST
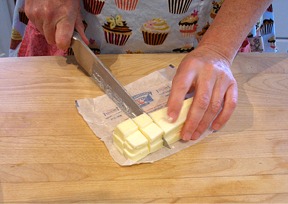
1. Cut the butter into small pieces or shred on the large holes of a box grater. Freeze for ten minutes until frozen.
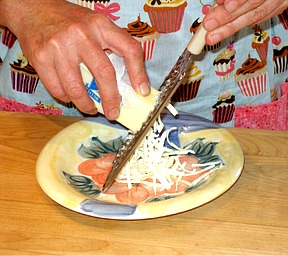
KELLY SAYS: I chose to use all butter in this dough. I just love the buttery taste. I LOVE Sarah's tip about grating the butter with a box grater and then freezing it! This makes the mixing process so much faster, when making pie dough by hand. It really mixes in easily.
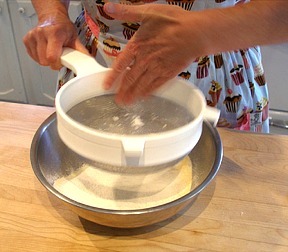
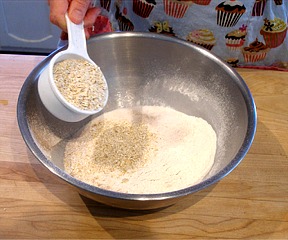
2. In a medium bowl, combine the flour, sugar, baking soda (if using) and salt until well combined.
KELLY SAYS: I always run my dry ingredients through a strainer to get out any lumps. This also helps to mix the ingredients.
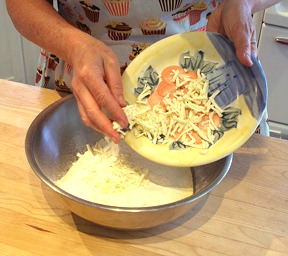
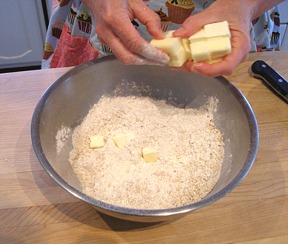
3. Toss the frozen butter and quickly press it into the flour mixture between your thumb and forefingers into pieces the size of small peas among smaller particles.

4. Sprinkle half of the water over the mixture and toss well with a fork to dampen the mixture.

Add the remaining water, 1 to 2 tablespoons at a time, while tossing the dough ingredients with fork.
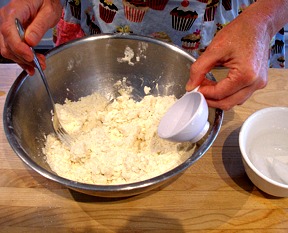
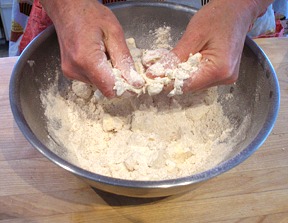
Continue to toss and mix, pulling the mixture up from the bottom of the bowl on the upstroke and gently pressing down on the downstroke. If necessary, add water 1 or 2 teaspoons at a time until the pastry can be packed. Continue pulling the mixture up from the bottom of the bowl on the upstroke and gently pressing down on the downstroke. The pastry should start packing together.
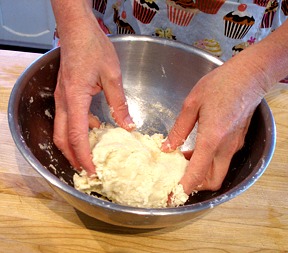
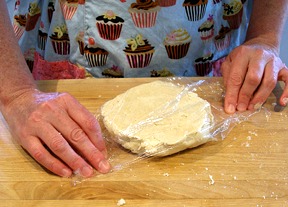
When mixture packs together, gather it into a disk, with your hands.

Wrap the disk with plastic wrap and refrigerate for 1 to 4 hours before rolling. This step is not optional.
STEP II: ROLL THE PIE CRUST AND FLUTE THE EDGES
Roll until the pie dough is 3-4″ larger than the pan you will be using for your pie (at least 12″ wide, for a 9″ pie). Your dough should be about 1/8″ thick.
SARAH SAYS: I like to use a Pyrex ovenproof glass pie pan for baking my pie in. I can easily see if the pie crust is done baking on the bottom so I do not take it from the oven too soon.
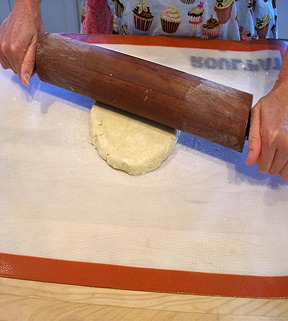
1. Place dough on lightly floured work surface or silpat rolling mat. Flatten dough slightly by hitting it a few times in different spots, with the side of your rolling pin. Otherwise, pat it down with your fingertips.This helps to get you started with your rolling.
SARAH SAYS: It is important to add as little flour to the work surface during the rolling process because it toughens the pie crust dough. LIGHTLY flour your rolling pin and work surface or only enough to keep the dough from sticking.
2. A. To start, begin in the center of the dough and roll outward. Stop the rolling pin as it nears 1/4 inch from the edge of the dough; don't roll over the edges as they crack or become too thin. Do not roll backwards; simply lift the rolling pin when done.
B. Lift and rotate the dough by a quarter before resuming again, tossing a light dusting of flour beneath, only if necessary. This is to ensure that it is not sticking to your rolling surface and that is is being evenly rolled. If your dough is cold enough, it should not stick. If your dough sticks, loosen it with a long offset icing spatula, dusting underneath with a small amount of flour.
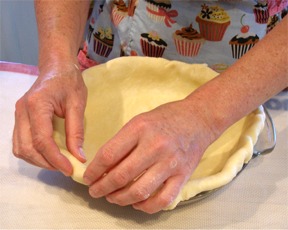
3. Fit the rolled out pie dough into the bottom of the pie pan.
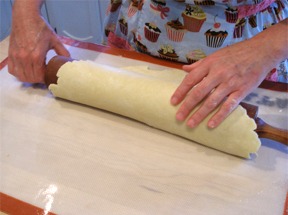
A. To transfer the dough to the 9-inch pie pan, roll the dough onto the rolling pin. First place a floured rolling pin, centered on the edge away you. Roll towards you and, at the same time, pick up the edge (use a bench scraper or spatula if dough sticks to the countertop) and support the dough as you wrap it around the pin. Be careful not to press it. Keep rolling until all of the dough is rolled onto the pin.
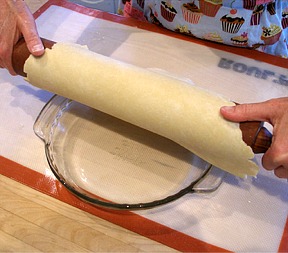
B. Position dough over the pie pan and begin unrolling the dough, starting from one edge, leaving a 2-inch overhang on all sides
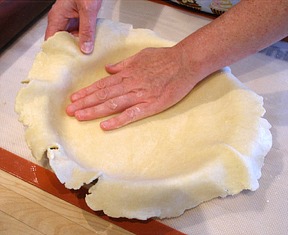
C. When the dough is unrolled, GENTLY easy the dough into place. Lift up the dough edge and ease the dough down into the pan with your other hand. DO NOT stretch the dough because this will make it shrink while baking.
D. Trim the excess dough around the edge of the pie with a sharp knife or with kitchen shears, which I find the easiest to use. Leave about an inch overhang for fluting purposes.
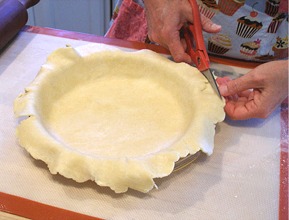
KELLY SAYS: I like to use kitchen scissors for this task.
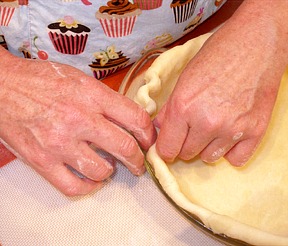
2. Flute the pie crust edges. Cover and place it in the refrigerator.
A. Fold the excess dough underneath itself at the pie pan rim and even with the lip making a double layered edge.
B. To flute, pinch the dough by pressing my index finger in between the thumb and index finger of the other hand.
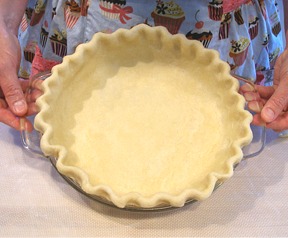
C. The fluting is complete…Pop the crust back into the fridge to chill, for at least an hour, while preparing the filling and topping.
STORAGE
The unrolled pie dough can be made 2 to 3 days in advance and refrigerated or frozen for up to a month. Thaw in refrigerator before use. The finished pie crust can be frozen for a month or more. There's no need to thaw before use.
STEP III: MAKE THE FILLING AND TOPPING
Filling
1. Combine the cornstarch and water in a medium bowl.
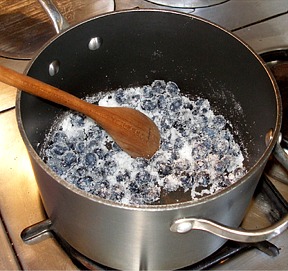
2. Combine 1 cup of the blueberries and 1/3 cup of the sugar in a large saucepan.

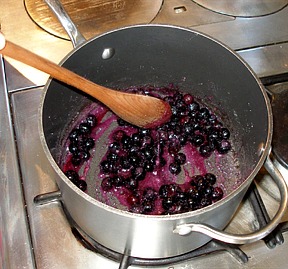
3. Bring the blueberries and the sugar to a simmer over low heat, and cook until the sugar liquefies, about 5 to 7 minutes.
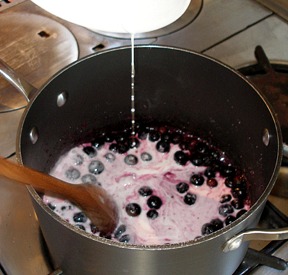
4. Add the cornstarch mixture and mix well.
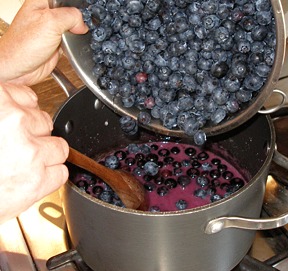
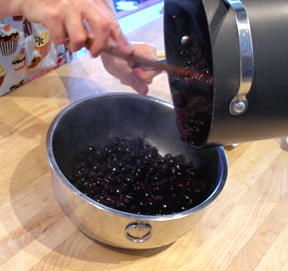
5. Return both to the saucepan and add the remaining 5 cups of blueberries. Cook the blueberry mixture over low heat stirring constantly, until it thickens like syrup and becomes clear, 7 to 8 minutes.
6. Pour it back into the same medium bowl.
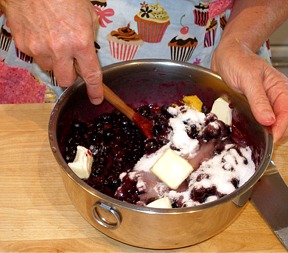
7. Stir in the remaining 1/3 cup sugar, butter, lemon juice and peel, and salt.

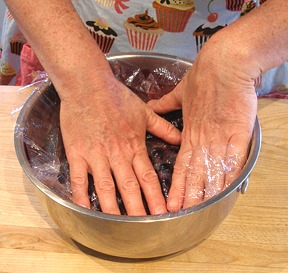
8. Press a piece of plastic wrap on the surface of the blueberry filling and let cool to room temperature.
Topping
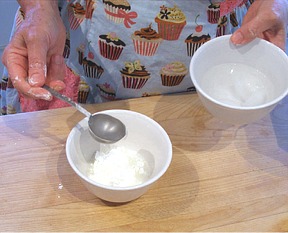
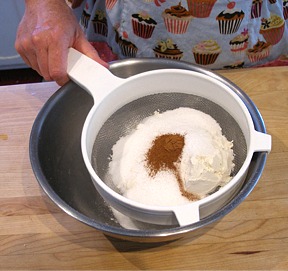
1. Mix the flour, sugar, oats, cinnamon and salt in a medium bowl.
KELLY SAYS: A step that I like to incorporate into the recipe, is to sift the flour, sugar, cinnamon and salt together into a medium bowl, to remove lumps first.
And, then add in the oats!
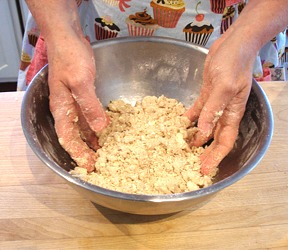
2. Cut the butter into tablespoon-size pieces and toss them with the flour mixture.
3. With your fingertips, pinch the mixture together until it forms large crumbs. Set aside; refrigerate if the room is warm.
STEP IV: ASSEMBLE AND BAKE THE PIE
1. Set a rack in the lower third of the oven. Place a foil-lined baking sheet on it and preheat the oven to 400 degrees F for a good 30 minutes.
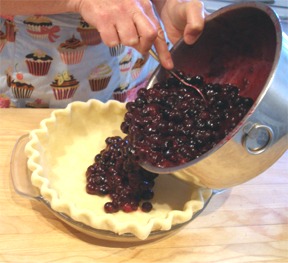
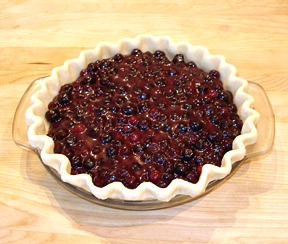
2. Pour the cooled blueberry filling into the chilled pie shell.
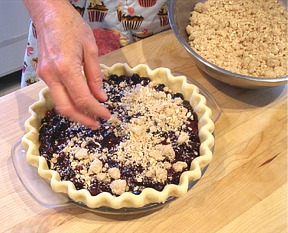
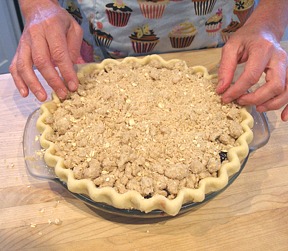
3. Sprinkle the topping evenly all over the blueberry filling.
4. Immediately place the pie on the baking sheet in the oven and reduce the heat to 375 degrees F. If the rim of the crust begins to brown too quickly, place a piece of foil loosely over the top of the pie.
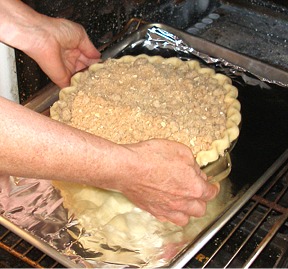
5. Bake for 1 hour, until the fruit is bubbling. Look through the glass pie pan to see if the crust is evenly browned. When the pie is done, remove from the oven and cool on a wire cake rack until the filling solidifies more, taking about an hour or more.
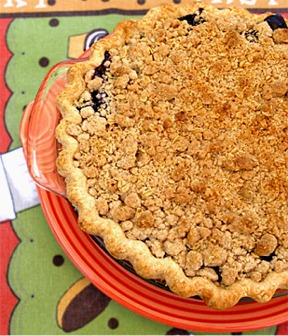
Serve warm as is or with a scoop of vanilla ice cream or cool completely for longer storage.
STORAGE
Keeps for about 2 to 3 days at room temperature or refrigerate if the room is warm.
VARIATION
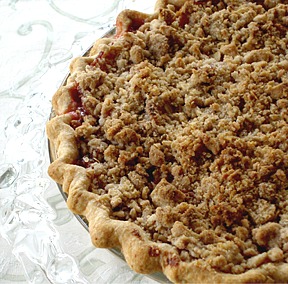
Nectarine Crumble Pie:
KELLY SAYS: So, I went to the grocery store today and got a big bag of VERY RIPE nectarines for $1. Very ripe nectarines are REALLY sweet!
I cut some up and ate them, but, there were still A LOT left, so, what did I do? I baked a PIE!
I loved the Blueberry Crumble Pie so much that I just switched out the blueberries for nectarines.
I (blanched and peeled the fruit first) and, then cut it up (removing the pit), added some sugar, spices and flour and used Sarah's oatmeal streusel topping (recipe above) and popped it in the oven.
Neighbor's are having us over for dinner tonight so I will bring it over.