
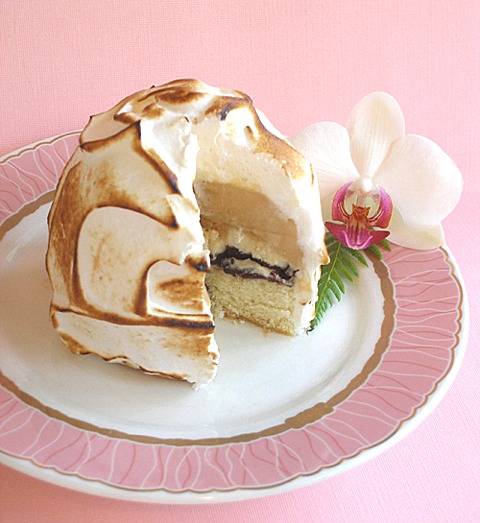
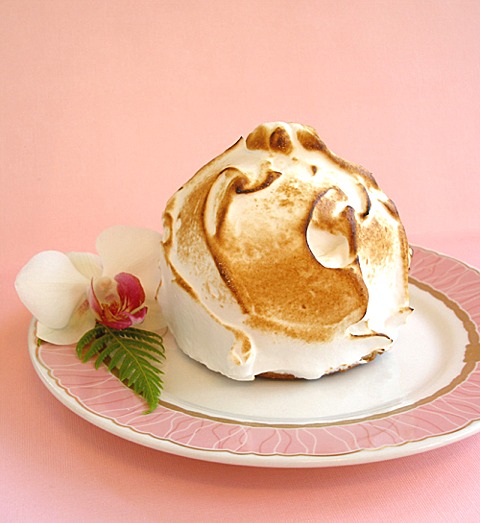
Baked Alaska is one of those desserts that makes you feel like a VIP, when you eat it. Baked Alaska (also known as glace au four, omelet à la norvégienne, Norwegian omelet and omelette surprise) is a dessert made of an outer shell of meringue, and a frozen ice cream and cake center; it seems like it would be an impossible feat to accomplish. The entire dessert is then placed in an extremely hot oven for just long enough to firm and toast the meringue. Yet, the insulating powers of the swirly meringue blanket makes the seemingly impossible, possible. It's magical, tasty, and downright impressive!
We make ours with a toasted marshmallowly-meringue exterior, with homemade caramel ice cream, sliced ripe banana, chocolate ganache on a moist yellow cake base. DE-LISH!
CAKE RECIPE HELP
KELLY SAYS: “When my hubby was a little boy, he and his family lived in Japan, because his dad was in the U.S. Army.
Many times, he told me about eating at the officer's club on special occasions. He said that he ALWAYS ordered Baked Alaska because he loved it so much….the warm, toasted marshmallow-like exterior and the cold ice cream within…it was almost magical to him.
Last week was his birthday, so I invited some friends over for dinner and made 6 individual Baked Alaskas for dessert. The recipe can make up to 9.”
What you will need:
1 recipe caramel ice cream, below
1 recipe chocolate ganache, below
1 recipe of Yellow Cake, below
1 recipe of Caramelized Meringue, below
1 to 2 large ripe bananas
STEP I: MAKE THE CARAMEL ICE CREAM
CARAMEL ICE CREAM / Recipe alone
INGREDIENTS
1 cup sugar
1/4 cup water
1 1/2 cups whipping cream
1 cup whole milk
6 large egg yolks
1 1/2 teaspoons vanilla extract
INSTRUCTIONS
Make the Caramel:
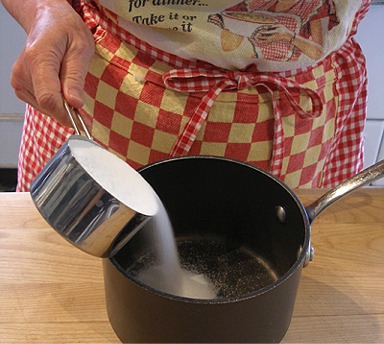
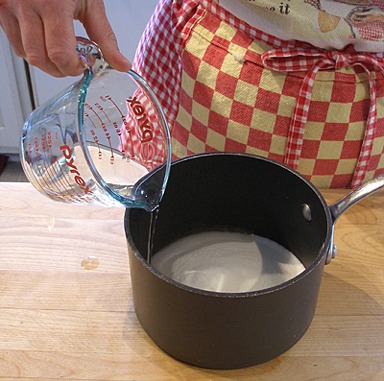
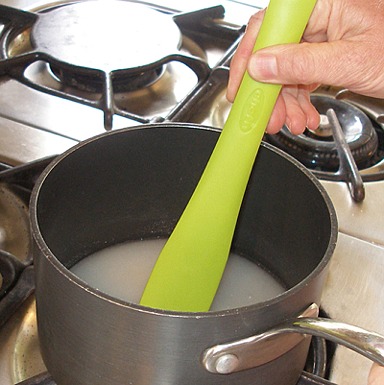
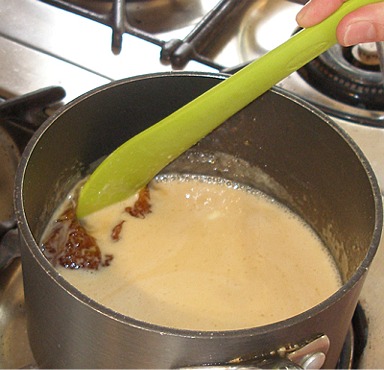
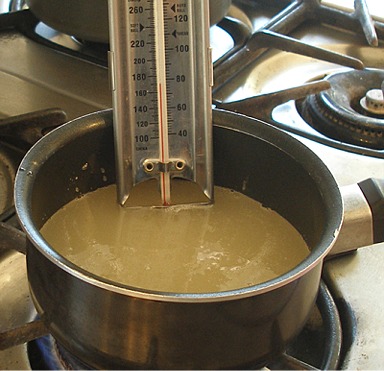
1. In a medium size saucepan, combine the sugar and water and stir over medium-low heat until sugar dissolves.
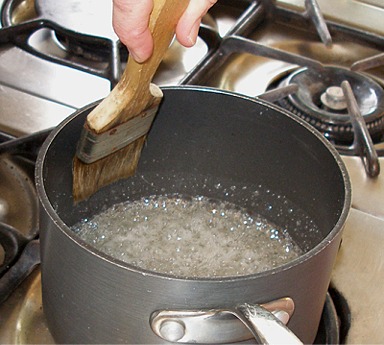
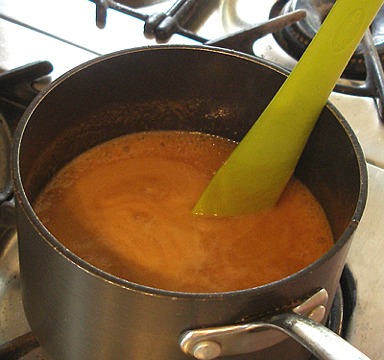
2. Increase heat and boil without stirring until syrup turns deep amber color.
Occasionally, brush down sides of pan with wet pastry brush and swirl the pan, so that there are no sugar crystals adhering to the sides of it.
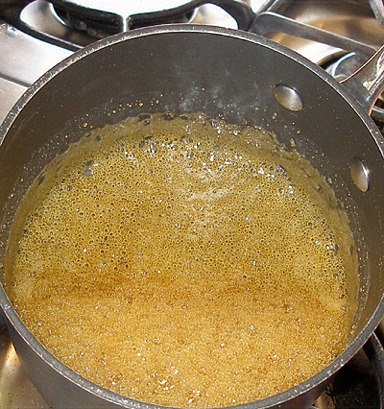
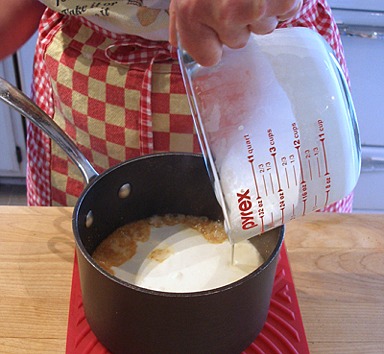
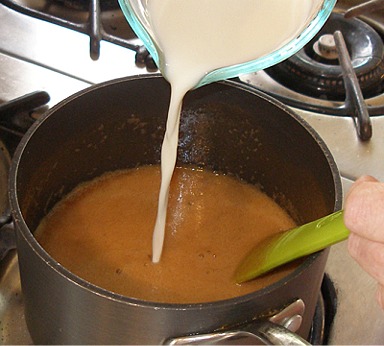
3. When syrup is a deep amber color, remove from heat and add the cream. BE CAREFUL, as the mixture will bubble vigorously.
4. Place the pan back on the stove and stir, over low heat, until all of the caramel bits dissolve.
Make the Caramel Custard:
1. Add the milk and stir. Bring the mixture to a simmer, then remove the pan from the heat. Set aside to cool to warm.
2. Whisk the yolks in a large bowl to blend, then gradually whisk the warm caramel mixture into yolks.
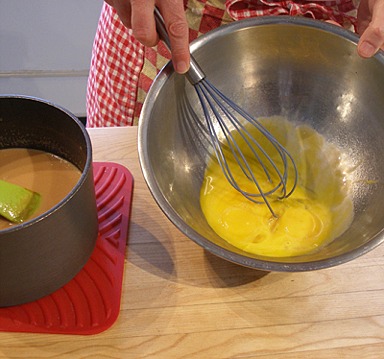
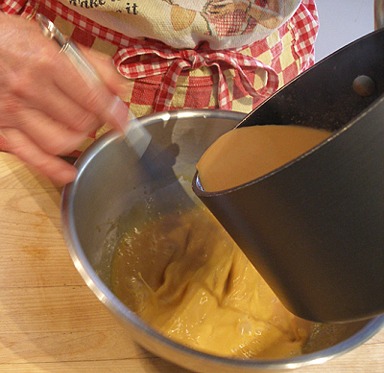
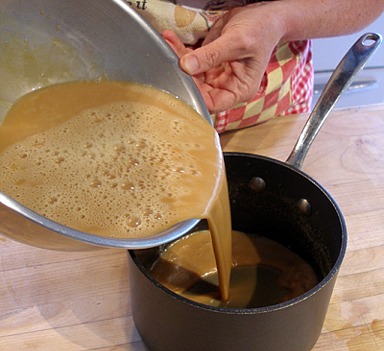
3. Return the egg yolk / caramel mixture to the saucepan.
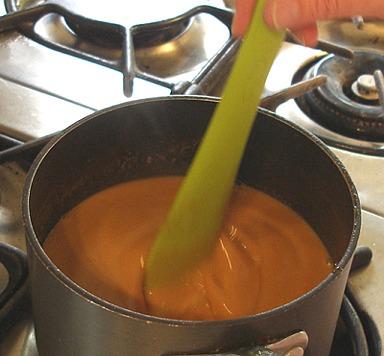
Stir over medium-low heat until mixture thickens and forms a caramel custard and leaves path on spoon when finger is drawn across it.
This should take about 5 minutes. Be careful not to boil the mixture.

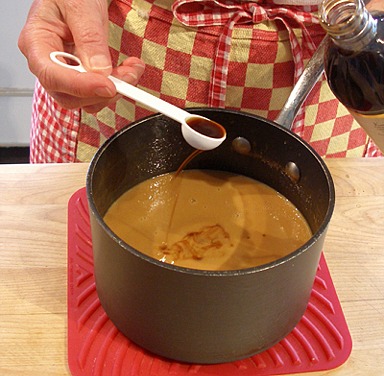
4. Remove the pan from heat and add in the vanilla.

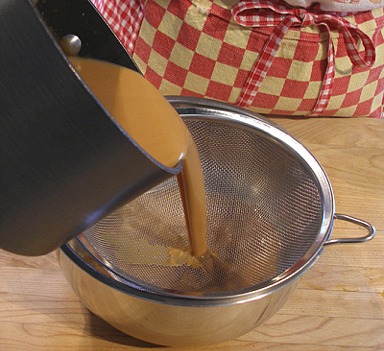
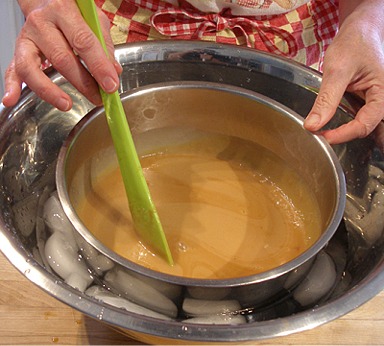
6. Strain the caramel custard into a large bowl, cover with plastic wrap and refrigerate until cold.
Or, chill over an ice bath, stirring occasionally, until cold.
NOTE: I like to use an ice bath, because it is quicker.
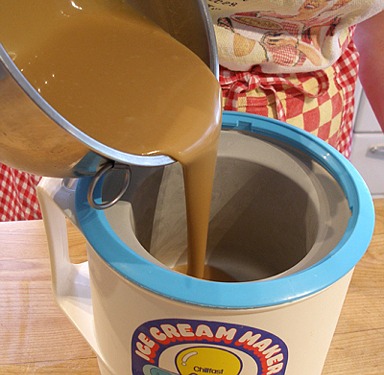
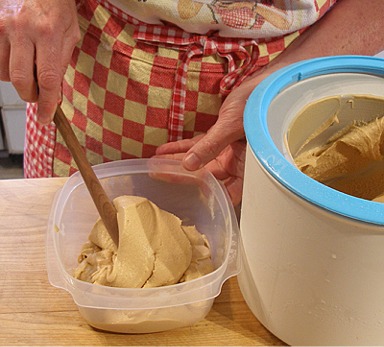
Make the Ice Cream:
1. When mixture is very cold, process the caramel custard custard in ice cream maker according to manufacturer’s instructions.
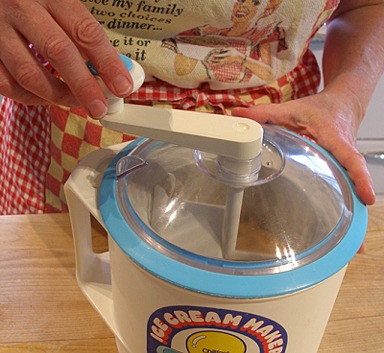
2. When ice cream is done, remove from ice cream maker and place in a covered container and freeze until firm.
NOTE: Most ice cream machines are designed to freeze ice cream to soft-serve consistency. You must finish the freezing process in your freezer.
3. While ice cream is firming up in the freezer, make your cake.
STEP II: MAKE THE BASIC YELLOW BUTTERCAKE
BASIC YELLOW BUTTERCAKE / Recipe alone
Makes two, 9-inch cake layers
SARAH SAYS: When Kelly asked me which type of cake to use, I suggested this recipe – because when frozen, it never really gets rock-hard. That's important when making this recipe; you want to be able to eat it while frozen!
INGREDIENTS
3 cups unbleached all purpose flour; spoon into measuring cup and level to rim
1 1/2 teaspoons baking powder
1/4 teaspoon salt
1 cup whole or 2% milk
1 teaspoon vanilla extract
1 cup (two sticks) unsalted butter; can be cold, does not have to be at room temperature
2 cups sugar
4 large eggs
two, 9-inch parchment paper liners
INSTRUCTIONS
1. Position oven rack in the lower third of the oven and preheat oven to 350 degrees F.
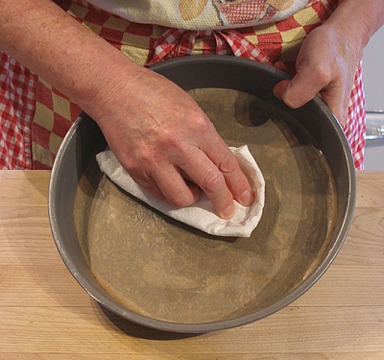
2. Grease two, 9-inch, preferably light colored, heavy NOT nonstick pans.

3. Place a piece of parchment paper in the bottom of each pan and grease, again. (If you use dark baking pans or ovenproof, Pyrex glass pans, be sure to reduce the oven heat by 25 degrees F).
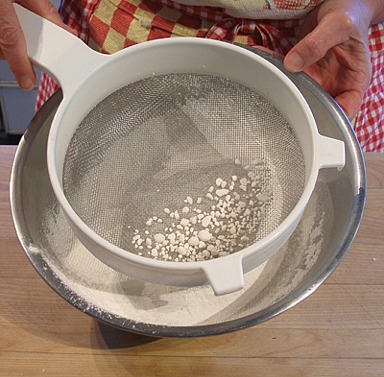
4. After measuring, sift flour, baking powder and salt in a medium size bowl and set aside.
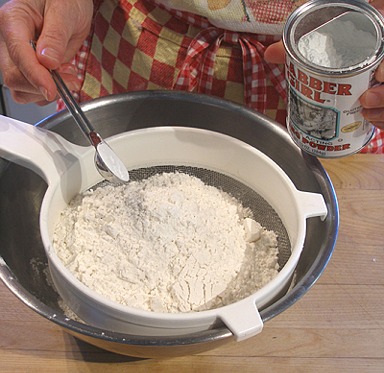
NOTE: This is why we sift. Push any lumps through the sieve with your fingers.
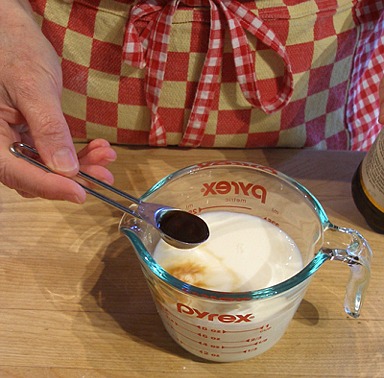
5. Add the vanilla extract to the milk and set aside.
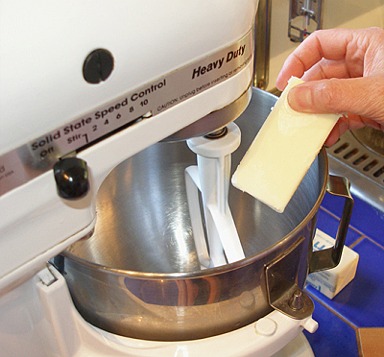
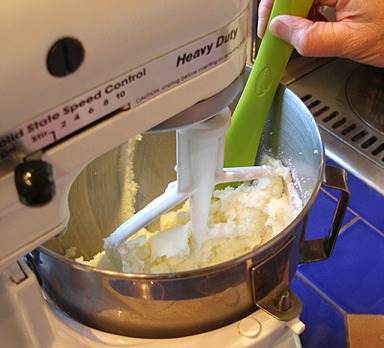
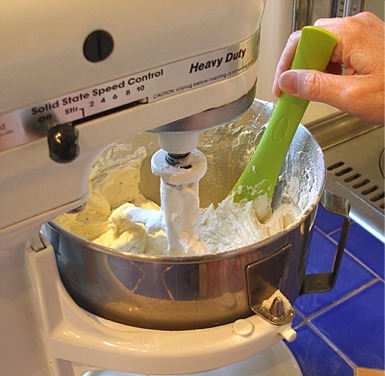
6. Beat the butter in the bowl of a stand mixer, fitted with a paddle attachment, on low until softened. (If the butter is cold, it will warm quickly from the beaters taking about 60 seconds).
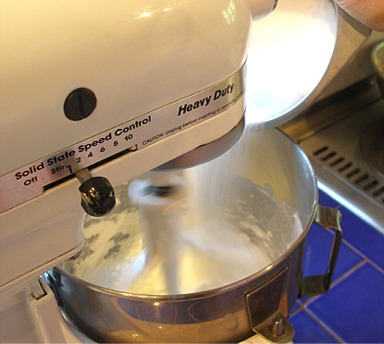
7. Add the sugar in a steady stream at the side of the bowl.
Increase speed to medium and beat for 2 minutes until light yellow and fluffy.
8. Stop the mixer and scrape the side and bottom of the bowl with a large rubber spatula.
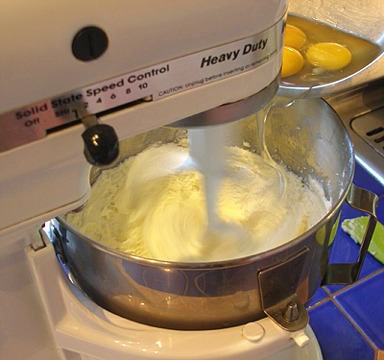
9. With the mixer on low, add the eggs one at a time and beat for 20 seconds after each addition.
After the eggs have been added, increase the mixer speed to medium and beat the mixture for 2 minutes.
(If the eggs are cold, the batter will curdle slightly. It's ok. It will come together as the batter warms from the beaters. ) Set the kitchen timer to help you keep track of the time. The mixture will become fluffy and aerated.
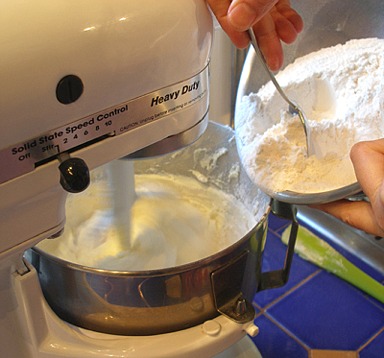
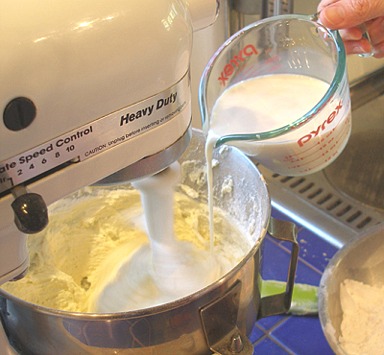
10. With the mixer on low, add the flour mixture in 3 equal portions, alternating with the milk mixture in 2 equal portions, beginning and ending with the flour.
Add the flour and liquid ingredients in increments quickly; do not wait in between additions too long as you don't want to overmix the batter.
11. After completing the last addition of flour, stop the mixer, and scrape the side and bottom of the bowl with a large rubber spatula.
Then, let the mixer run for 30 seconds on LOW. STOP the mixer. Do NOT overmix.
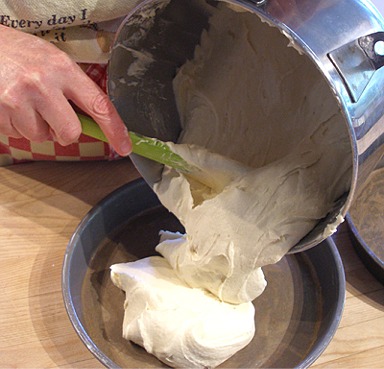
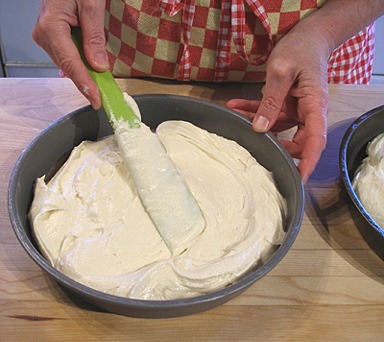
12. Divide the batter evenly into the prepared pans and gently smooth each top.
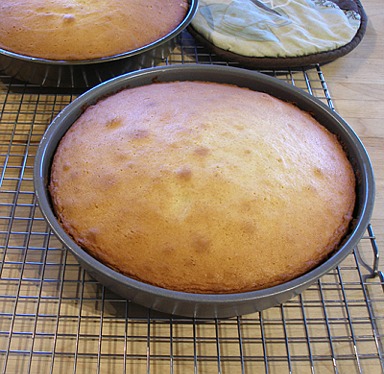
13. Bake the cake layers for 40 to 45 minutes until the center of each cake feels firm when lightly touched in the center. The cakes will also smell done.
14. Remove cakes from the oven to cool in their pans on a wire rack.
While cakes are baking and cooling, make your ganache.
STEP III: MAKE THE POURED AND WHIPPED CHOCOLATE GANACHE
POURED AND WHIPPED CHOCOLATE GANACHE / Recipe alone
Ganache can be used for spreading, like buttercream, for use in the Baked Alaska Recipe. Don't let it get too cold. To re-warm, place the heat-proof bowl over a pan of hot water while stirring — do not reheat.
INGREDIENTS
1/2 cup heavy whipping cream
1/2 pound (8 ounces) semisweet or bittersweet chocolate, coarsely chopped
INSTRUCTIONS
1. Chop the chocolate with a sharp knife, into 1/4-inch evenly sized pieces.
Place chopped chocolate in a medium-sized, heat proof bowl. Make note that the hot cream will eventually be poured over it and must cover it entirely.
SARAH SAYS: If whipping later, I use my stand mixer bowl to place the chocolate in, which is perfect.
2. Pour cream into a medium saucepan. Under medium heat, bring to a boil, stirring to make sure the cream does not burn.
Remove from heat and pour at once over the chocolate.
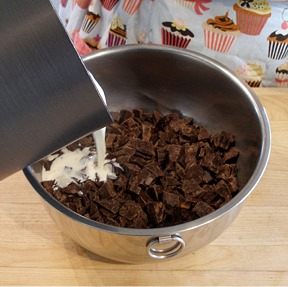
Make sure the cream covers all of the chocolate pieces. If not, push chocolate down under the hot cream with a spoon or the tip of a whisk. Shake pan and allow to stand for about 2 minutes.
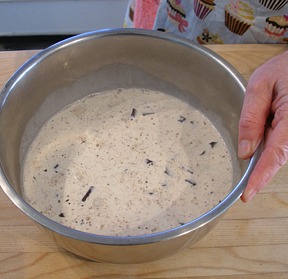
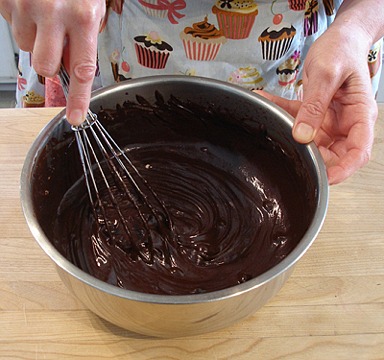
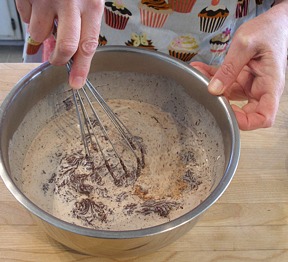
3. Stir mixture with a whisk in one direction until smooth.
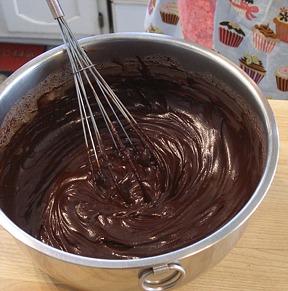
4. Press a piece of plastic wrap on the surface of the ganache.
Let ganache cool on the counter or in a cool, dark place in your kitchen area, until you are ready to assemble your baked Alaskas. Do NOT refrigerate.
STEP IV: ASSEMBLE THE CAKE, ICE CREAM AND GANACHE
When ganache is cool to room temperature, you can begin to assemble your baked Alaskas.
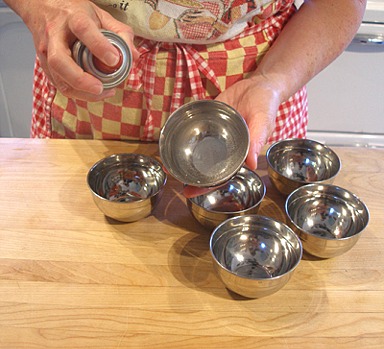
You can mold them in custard cups, small bowls, or even inside teacups.
I have small rounded-bottom metal bowls, that hold 3/4's of a cup, and they worked perfectly.
You will need 6, to make this recipe.
Prepare the cup molds, ice cream and ganache:
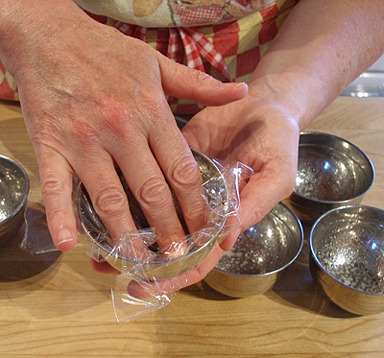
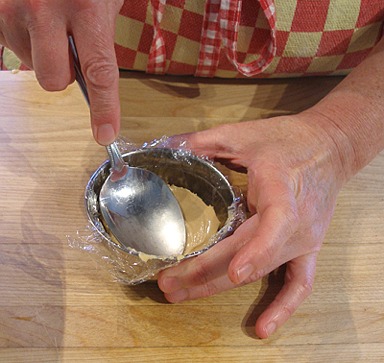
1. Spray the insides of your freezeable cup molds or bowls with non-stick spray, and then line with plastic wrap, making sure that you have some over-hang.
The plastic wrap will help you unmold the dessert, when it is finished.
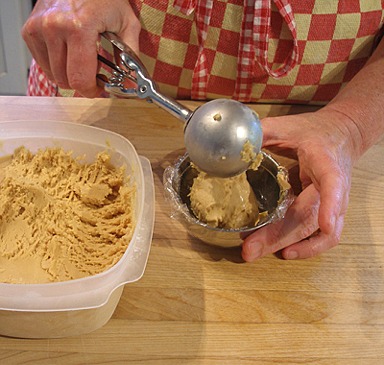
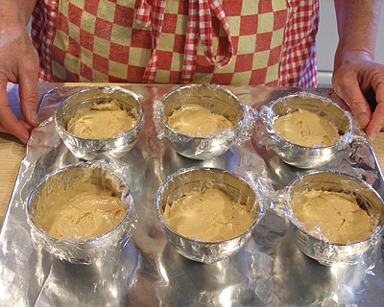
2. Remove the ice cream from the freezer and, using a 2-inch ice cream scoop, place one scoop in each bowl, and press it into the bowl with a spoon.
(A 2-inch scoop is approximately 1/4 cup of ice cream)
3. When you are done, place bowls a foil lined tray, and place the tray in the freezer, while you slice your banana.
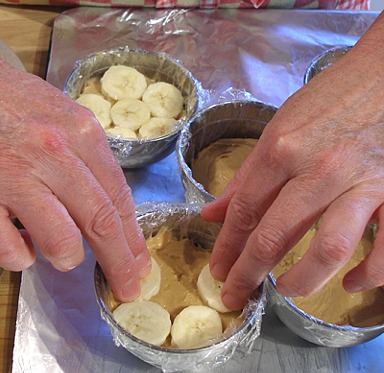
4. Slice one large RIPE banana in very thin slices, a little over 1/8″ thick.
The banana must be ripe and the slices must be thin, or they will get too hard, during the freezing process.
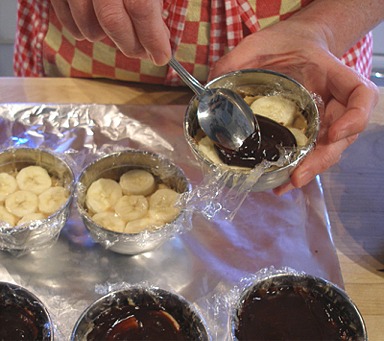
5. Remove tray from freezer and place 6 slices of banana in each cup, pressing down gently.
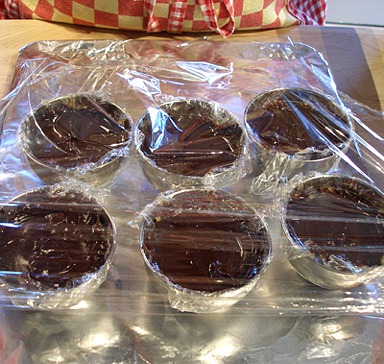
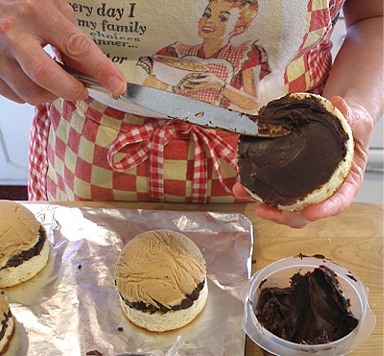
6. Cover banana slices with about 2 tablespoons of chocolate ganache, spreading with back of spoon.
Do not make the ganache layer too thick.
If the ganache is too thick and difficult to spread, warm ganache by placing in a bowl of warm water. Stir gently.
7. When you have spread ganache in all the cups, cover them with a sheet of plastic wrap, and place them back in the freezer.
Freeze for about an hour, or until the ganache is very firm.
Prepare the cake rounds:
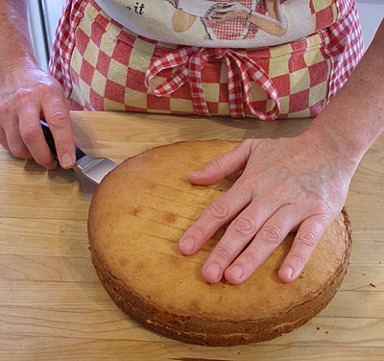
While you are waiting for the ganache to firm-up, cut out your cake rounds.
1. Take one cake layer and torte (cut) it, using a very sharp serrated knife.
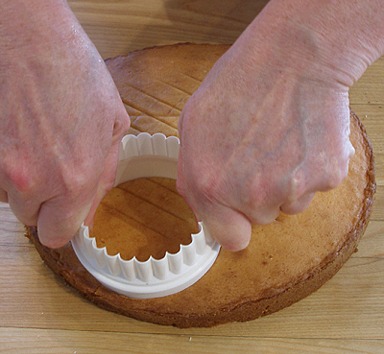
2. Use a cookie cutter that will produce a round that is the same diameter as your cups. I used a 3-inch cutter.
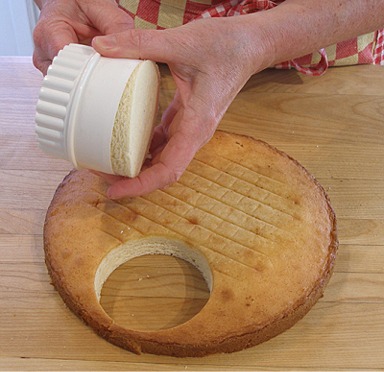
Press down firmly, and then gently press the round out of the cutter.
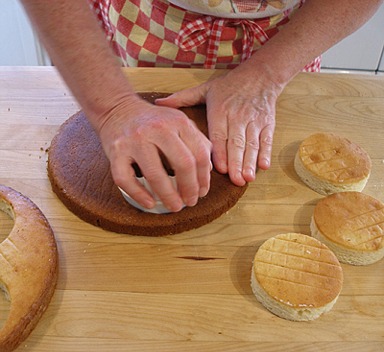
You will get 4 rounds out of each torted cake layer, but we only need 6 for this recipe.
You can use the cake scraps to make cake balls, if you like.
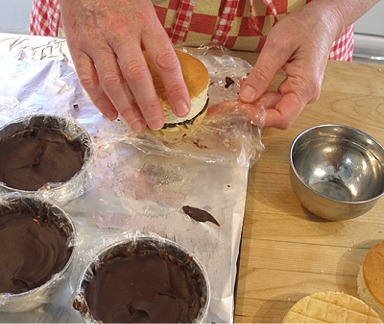
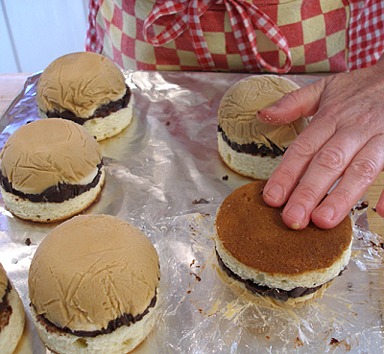
Attach the cake to the ice cream:
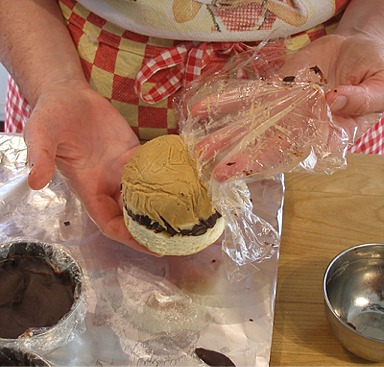
1. Remove the tray from the freezer. Use the plastic wrap to help you ease the ice cream out of the bowls. Place dome on the baking sheet, leaving plastic wrap in place.
Spread a little of the left over ganache on the torted (cut) side of the cake round, and then press it onto the ganache layer of the frozen dome.
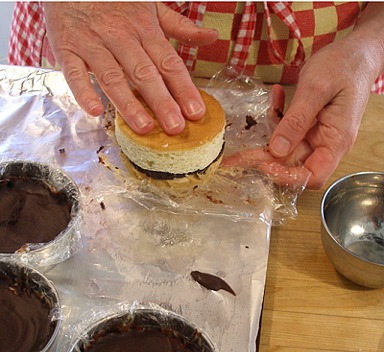
2. Flip the dome over, remove the plastic wrap, and place it back down on the foil-lined sheet.
3. Continue this process, until all of the domes are fitted with a cake round.
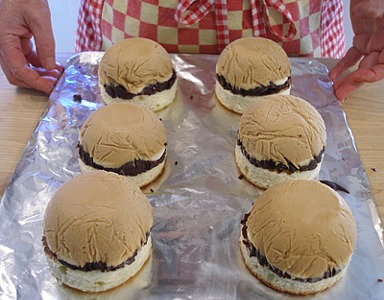
4. Cover domes with a sheet of plastic wrap and place them back in the freezer.
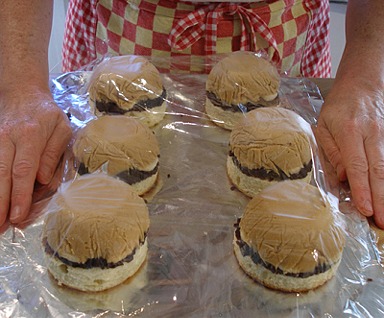
5. While domes are chilling, make the caramelized meringue for the baked Alaskas.
STEP V: MAKE THE MERINGUE, COVER THE ASSEMBLED CAKES WITH MERINGUE AND BROWN THE BAKED ALASKAS
CARAMELIZED MERINGUE TOPPING / Recipe alone
This meringue works beautifully when frozen because it is stabilized with a cooked sugar syrup.
INGREDIENTS
2 cups sugar
1 tablespoon lemon juice
8 large egg whites (1 liquid cup)
1/2 teaspoon vanilla extract
1/2 cup water
INSTRUCTIONS
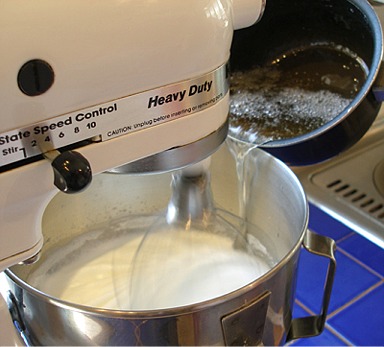
1. In a small, heavy-bottomed saucepan, fitted with a candy thermometer, bring water and sugar to a softball temperature, 240 degrees F.
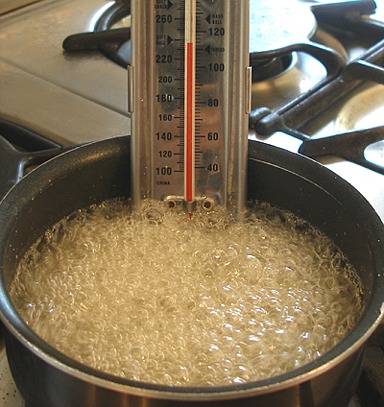
1. In a small, heavy-bottomed saucepan, fitted with a candy thermometer, bring water and sugar to a softball temperature, 240 degrees F.
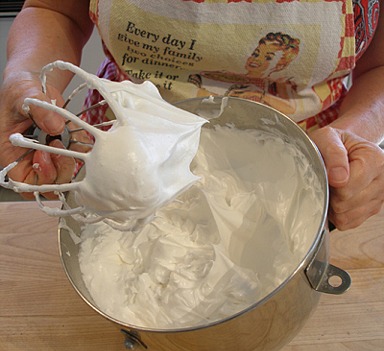
2. While the syrup is cooking, in a mixer bowl of a stand mixer fitted with a whisk attachment, beat the egg whites on low until foamy.
Increase the mixer speed to high and beat until soft peaks form when the beater is raised.
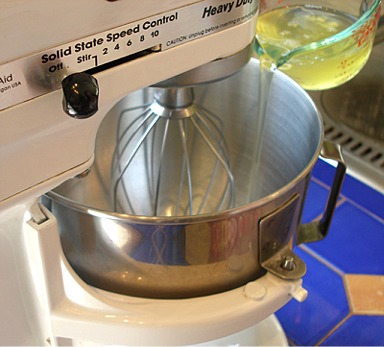
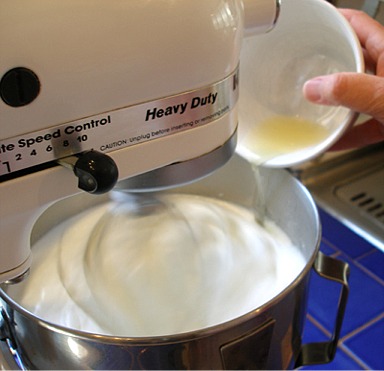
3. Lower the mixer speed to medium. Slowly add the sugar syrup at the side of the bowl.
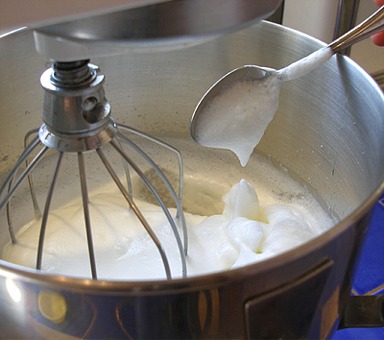
4. Once all of the sugar syrup is incorporated, increase the mixer speed to high, add lemon juice and vanilla and beat until stiff peaks form.

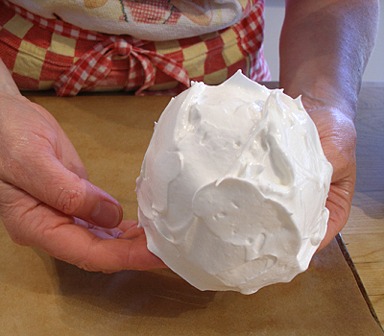
Cover the Assembled Cakes with Meringue:
1. When your meringue reaches stiff peaks, remove tray of ice cream and cake domes from the freezer and generously spread meringue on each dome, swirling the meringue decoratively, with a small off-set spatula.
NOTE: The more “swirly” your meringue looks, the prettier it will be when it is browned.

2. Place meringue covered domes on a parchment lined baking sheet and place them back in the freezer.
Brown the Baked Alaskas:
There are two ways you can brown the meringue on Baked Alaska. You can use a hand-held torch, or you can brown them in the oven.
The torch is more fun, but, in my opinion, the oven browning does a superior job, because the meringue comes out warmer, and more crisp…with a taste much like a toasted marshmallow. Plus, the oven heats the cake, and the ganache, making it softer, and tastier.
I recommend using the oven-browning method.
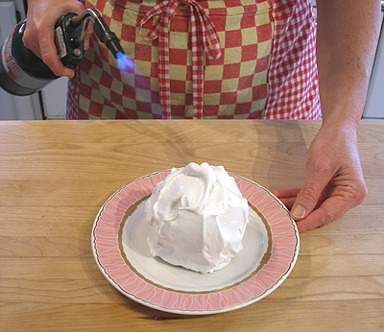
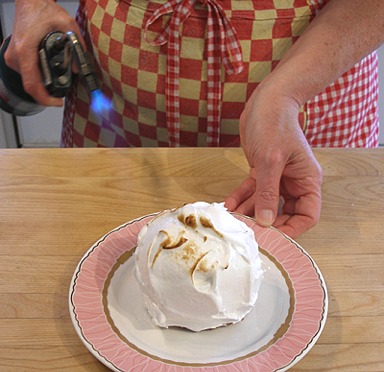
OPTION A: To brown the meringue with a torch –
1. Place the frozen baked Alaska on a serving plate and, using a hand-held torch, brown the meringue by moving the torch in a circular pattern, until you see the meringue starting to brown.
2. Do this until the whole surface of the meringue is browned.
Do not leave the torch in one place for too long, or the meringue will burn.
OPTION B: To oven-brown the meringue
1. 15 minutes before you plan to serve dessert, preheat your oven to 450 degrees.
2. Place parchment lined sheet of frozen “Unbaked Alaskas” in the oven and bake till meringue is nicely browned.
This may take anywhere from 4-6 minutes, depending on your oven.
3. When Baked Alaskas are brown, remove tray from oven and, using a spatula, remove Baked Alaskas from the baking sheet and place them on serving plates.