
Variations: Ultimate Fresh Strawberry Butter Cake or UFRBC; Ultimate Butter Cake or UBC and Variations
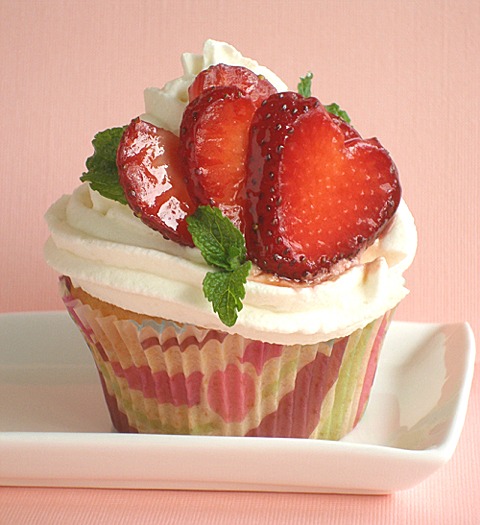
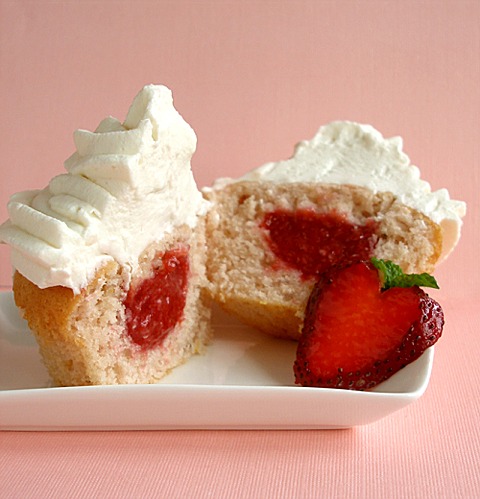
These cupcakes are so delish! My famously moist Ultimate Butter Cake, flavored with strawberries and no food dyes, filled with fresh strawberry filling and topped with whipped cream and a heart-shaped strawberry fan. It doesn't get any better than this! We show you how to bake this recipe, step-by-step with color photos, and how to Fill the Cupcakes Using the Cone Method. We also show you how to take the Strawberries and Make Heart Fans.
CAKE RECIPE HELP
This delicious dessert is made from a couple of recipes:
INGREDIENTS
Fresh Strawberry Ultimate Butter Cake
Strawberry Filling /
Stabilized Whipped Cream / Recipe alone
Strawberry Heart Fans / Recipe alone
Berry Glaze / Recipe alone
STEP I: MAKE SARAH'S ULTIMATE STRAWBERRY BUTTER CAKE
ULTIMATE STRAWBERRY BUTTER CAKE / Recipe alone
Makes 32 – 36 cupcakes
You can use any size pan up to two, 9 x 2-inch pans.
INGREDIENTS
4 cups unbleached all purpose flour, spoon into measuring cup and level to rim
1 tablespoon baking powder
1 teaspoon salt
1 cup strawberries; makes about 1/2 cup strawberry puree
1 to 2 teaspoons lemon peel or 1/4 teaspoon citrus oil or 1 tablespoon grated orange peel
1 cup whole or 2% milk; can be cold from the refrigerator
2 tablespoons strawberry milk syrup, optional
1 tablespoon vanilla extract
1 tablespoon strawberry extract, optional
1 teaspoon lemon or orange extract
1/2 teaspoon almond extract, optional
2 cups (4 sticks) unsalted butter; can be cold from the refrigerator, cut into chunks
2 cups sugar or superfine sugar
3 large eggs; can be cold from the refrigerator
INSTRUCTIONS
1. Position the oven shelf in the middle of the oven. Preheat the oven to 350 degrees F.
SARAH SAYS: If you use dark, nonstick baking pans or ovenproof, Pyrex glass pans, reduce the oven heat by 25 degrees F.
Place paper liners in your cupcake pans and set aside.
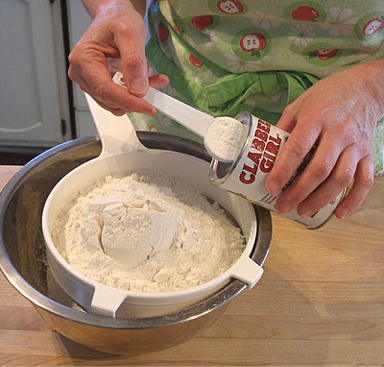
2. In a medium bowl, whisk together the flour, baking powder, and salt; set aside.
KELLY CA SAYS: After measuring, I like to sift together the dry ingredients.
3. Make the Strawberry Puree
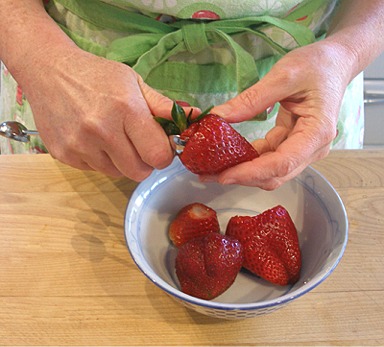
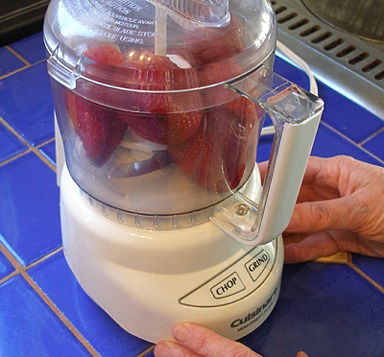
A. Hull the 1 cup strawberries and place them in a food processor fitted with a steel blade.
NOTE: I like to use the small end of a melon baler to hull strawberries. It works like a charm!
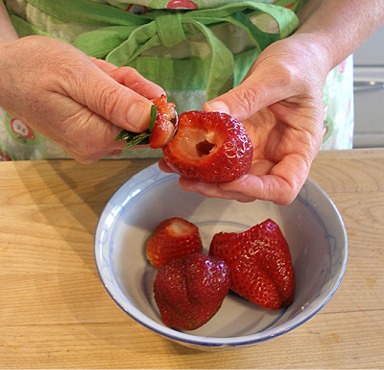

B. Pulse food processor and puree berries until fine, and measure out 1/2 cup and place it in a bowl. Use any extra for another use.
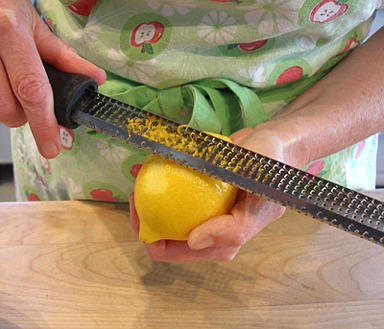
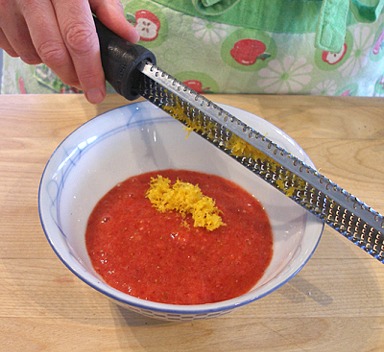
C. Zest one lemon and add the zest to the strawberry puree and stir.
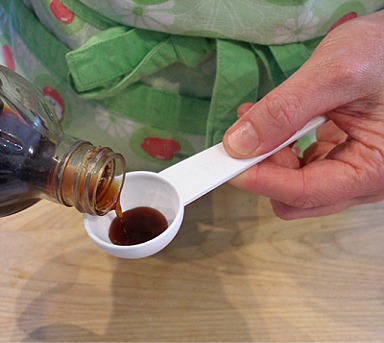
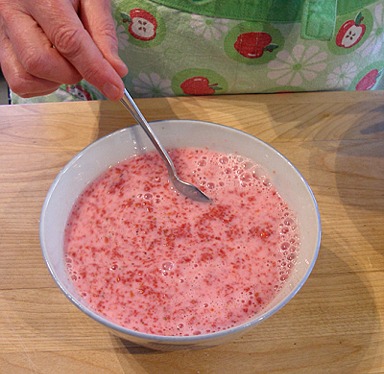
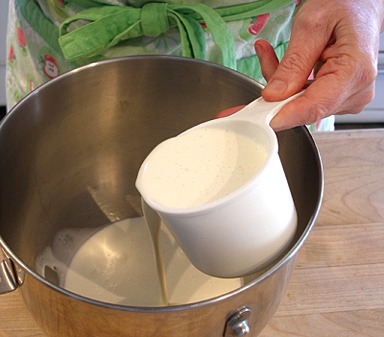
4. In a large mixing bowl, add the milk. Stir in the strawberry milk syrup, vanilla, strawberry, lemon and almond extracts, and the strawberry puree. Set aside.


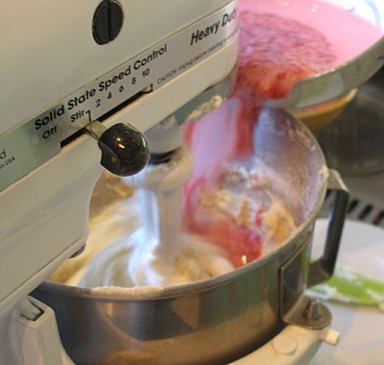
5. Cream the butter and sugar:
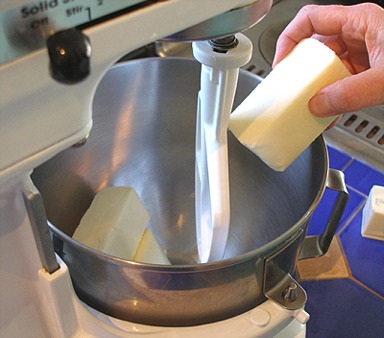
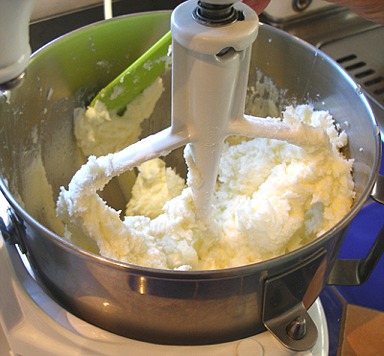
A. Beat the butter in the bowl of a stand mixer, fitted with a paddle attachment, on low until softened. (If the butter is cold, it will warm quickly from the beaters – taking about 60 seconds).
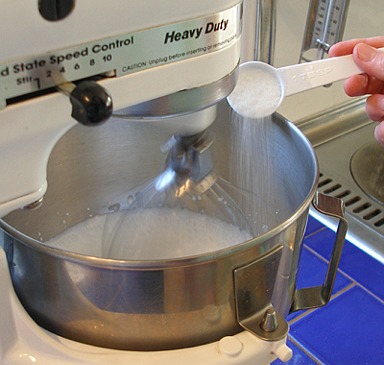
B. Add the sugar in a steady stream at the side of the bowl. Increase speed to medium and beat for 1 minute until the butter is lighter in color and aerated.
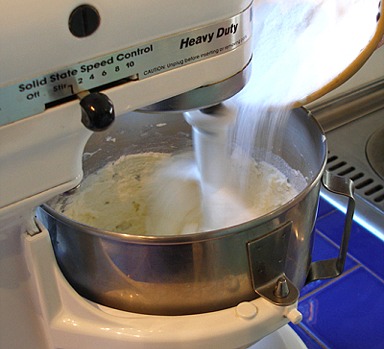
C. Stop the mixer and scrape the side and bottom of the bowl with a large rubber spatula.
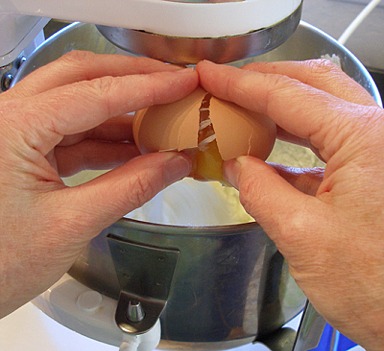
6. Add the eggs:
A. With the mixer on low, add the eggs one at a time and beat for 20 seconds after each addition.
B. After the eggs have been added, increase the mixer speed to medium and beat the mixture for 2 minutes. (If the eggs are cold, the batter will curdle slightly. It's ok. It will come together as the batter warms from the beaters. ) Set the kitchen timer to help you keep track of the time. The mixture will become fluffy and aerated.
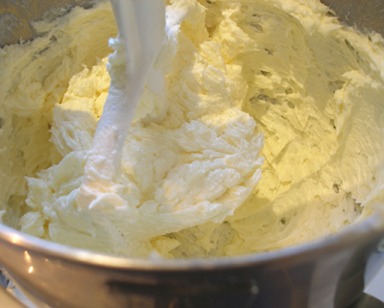
SARAH SAYS: Notice that the mixture forms ridges on the side of the mixing bowl after the beaters pull through the mixture; the batter is tacky and not too warm so it sticks to the side of the mixing bowl! The batter has become light and fluffy, as well!
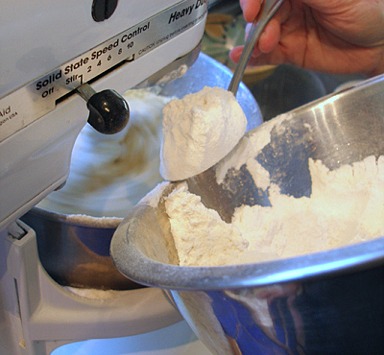
7. Add the flour and milk / strawberry puree mixture to the creamed butter and eggs:
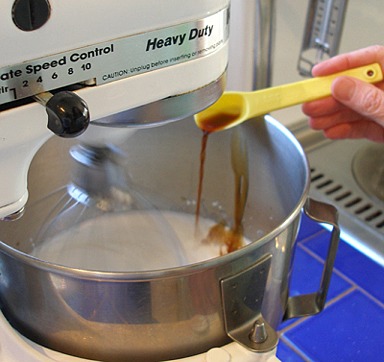
A. With the mixer on low, add the flour mixture in 3 equal portions, alternating with the milk mixture in 2 equal portions, beginning and ending with the flour. (If the milk is cold, the batter will curdle slightly. It's ok. It will come together when you add the flour.)
SARAH SAYS: Add the flour and liquid ingredients in increments quickly; do not wait in between additions too long as you don't want to overmix the batter.
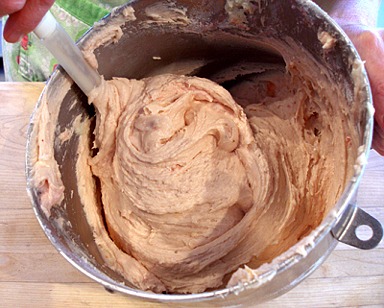
B. After completing the last addition of flour, stop the mixer, and scrape the side and bottom of the bowl with a large rubber spatula.
Then, let the mixer run for 30 seconds on LOW. The batter will be very thick and form ridges on the side of the bowl as the beater pulls through the batter. STOP the mixer. Do NOT overmix.
8. Remove the mixing bowl from the mixer. With a large rubber spatula, give the batter ONE or TWO quick folds to incorporate any stray flour or milk left at the sides and bottom of the bowl. Then, STOP!
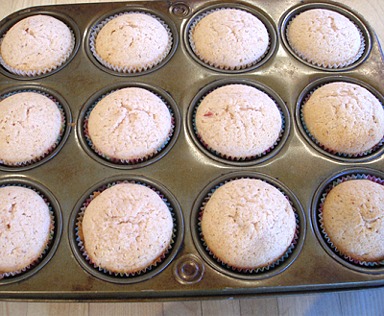
9. Fill the cupcake tins 2/3 full with batter.
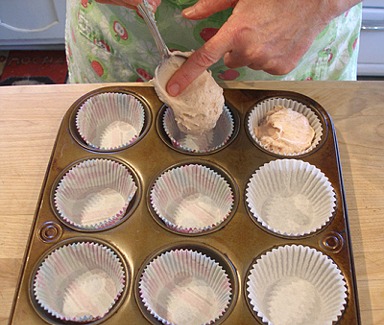
10. Bake cupcakes for 25 minutes, or until edges are lightly browned and if you insert a toothpick in the middle and remove, there should be a few moist crumbs attached, but not batter.
STEP II: MAKE THE STRAWBERRY FILLING
While your cupcakes are baking, make the fresh strawberry filling.
STRAWBERRY FILLING / Recipe alone
INGREDIENTS
1 1/4 cups whole strawberries; makes 2/3 cups pureed strawberries
2 – 4 tablespoons of granulated sugar; depending on the sweetness of your berries
1 tablespoon cornstarch
1/4 cup COLD water
INSTRUCTIONS
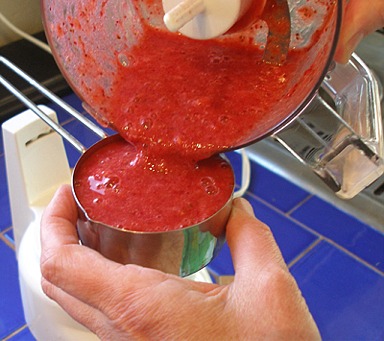
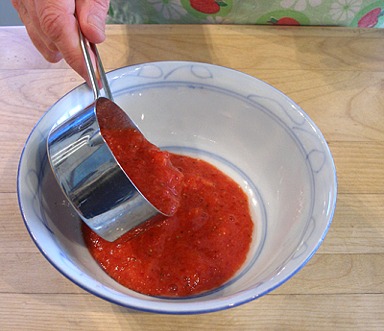
1. Puree whole strawberries in the food processor.
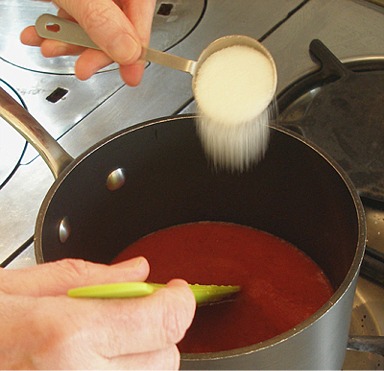
Measure 2/3 cup of strawberry puree, to use in the filling, and pour that into a small saucepan.

2. Heat mixture, over medium heat, stirring, and add sugar. Taste after first two tablespoons of sugar are added, to make sure it is sweet enough, before adding more.
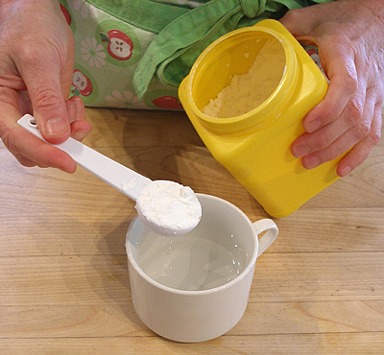
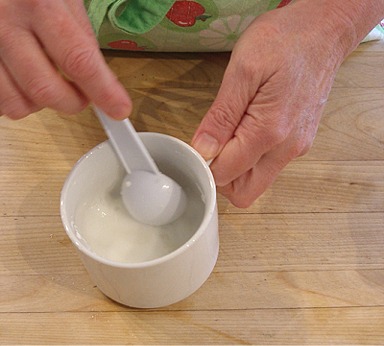
3. Make the cornstarch mixture:
A. Place water in a small cup.
B. Add the cornstarch and stir to combine.
4. When strawberry mixture comes to a low boil, slowly add the cornstarch mixture, stirring constantly, so you don't get lumps.
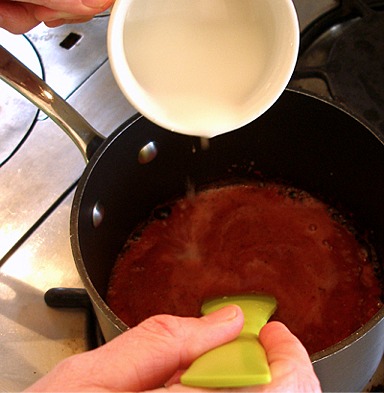
5. Gently boil mixture for about one minute, stirring. It should be thickened and no longer look opaque.
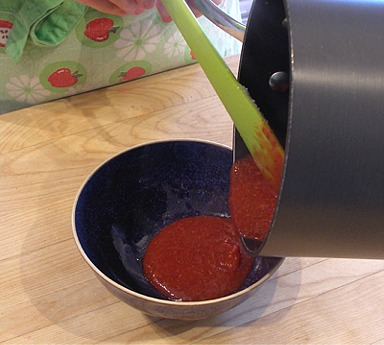
Pour filling into a bowl and place plastic wrap directly on the surface, so a skin does not form. Place in refrigerator to cool.
STEP III: FILL THE CUPCAKES USING THE “CONE METHOD”
The “Cone Method” of filling cupcakes allows you to add a generous amount of filling.
In my world, more filling is more better.
Here is the “how to”….
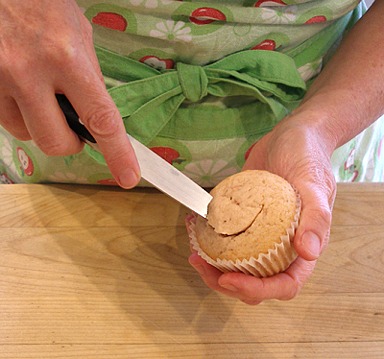
1. Hold a baked and cooled cupcake in one hand and insert a small paring knife, at an angle, about half way down into the cupcake. Cut out a cone shaped piece out of the center of each cupcake.
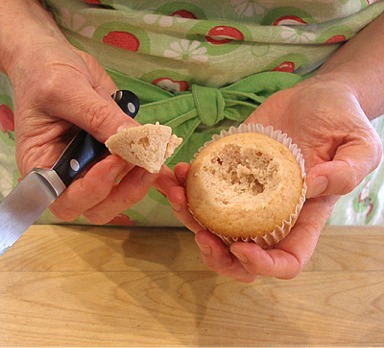
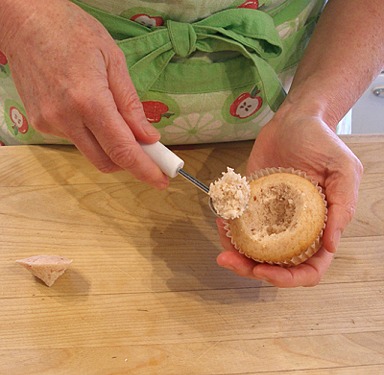
2. If you are using a moist cake, like this one, you can use a melon baler to make even more room for your filling.
Do this gently, so you don't destroy your little cupcake! Set aside scraps, to eat later.
This technique does not work well on delicate cupcakes.
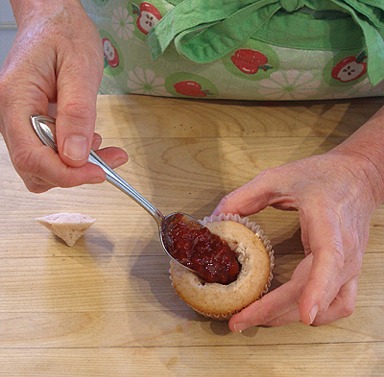
3. Fill your cupcake, using a teaspoon, until the filling is almost to the top of the hollowed out section.
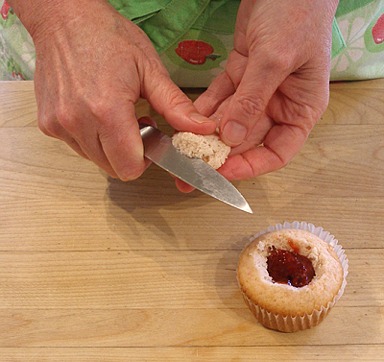
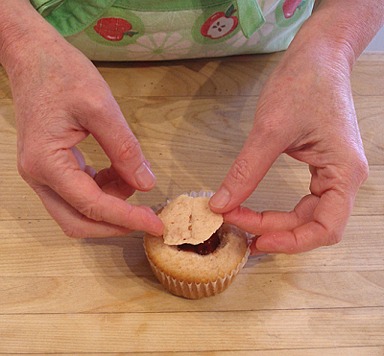
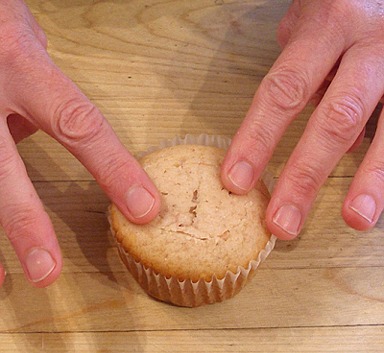
4. Pick up the cone of cake, that you removed from the cupcake, and gently slice off the point. Place plug back on the cupcake. It is best to try to match up the plug, to the opening, so you can barely tell that it was ever cut. Just think Jack-o-Lantern lid.
STEP IV: MAKE THE STABILIZED WHIPPED CREAM
STABILIZED WHIPPED CREAM / Recipe alone
If your whipping cream is high in butterfat (40 %) or ultra pasteurized, then you do not need to stabilize it. Gelatin gives it a firm, mouse-like texture, which I like, and it does not weep (bleed water after awhile). You can frost your cake a day ahead, but it must be refrigerated. You can use cornstarch to stabilize whipped cream, but it is not as stable.
NOTES: Iced cake must be refrigerated. Colors to pastels only. Texture remains soft on decorated cake. (See How to Make Whipped Cream for more tips)
INGREDIENTS
Gelatin:
2 tablespoons cold water.
1 teaspoon unflavored gelatin
Whipped Cream:
2 cups (1 pint) chilled whipping cream
1 teaspoon vanilla extract
1-2 tablespoons sugar
INSTRUCTIONS
Prepare the gelatin:
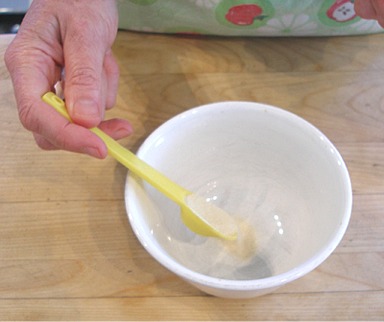
1. Sprinkle the gelatin over the water, and let soak for 5 minutes.
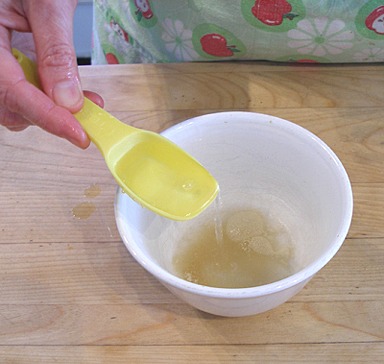
2. Dissolve the gelatin with the water by placing it in a container over a small pot of simmering water, or warm in microwave for about 20-30 seconds. Let cool, but do not let cool so long that it sets.

Prepare the whipped cream:
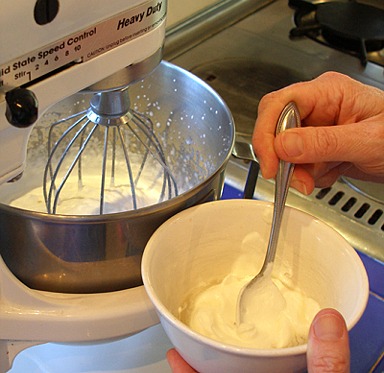
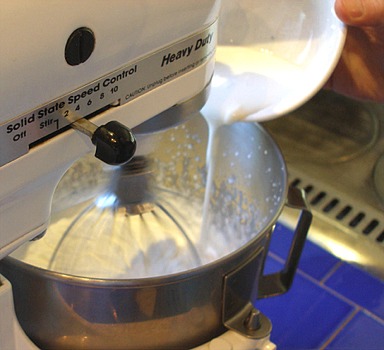
1. Using an electric mixer, beat cream in a large well-chilled bowl.
2. Just before the whipping cream becomes soft and billowy, slowly add the sugar and flavorings to it at the sides of the bowl. Continue to whip as you do.
3. Whip the cream until barely stiff.
4. Add melted and cooled gelatin to the cream mixture.
Kelly CA SAYS: I find there is less tendency for the cooled gelatin to for blobs in the finished whipped cream using my method:
a. First, take about 2 tablespoons of the cream from the mixer bowl.
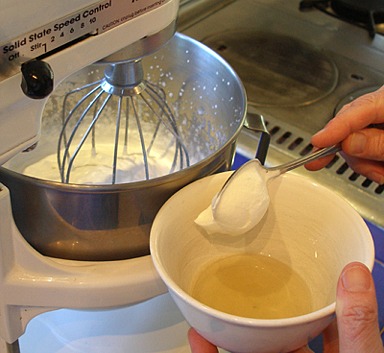
b. Stir it into the cooled gelatin.
c. Return the cream/ gelatin mixture back into the main mixing bowl with the rest of the semi-whipped cream.
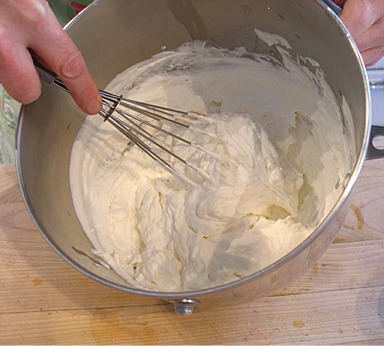
5. Continue to whip the cream on high until soft peaks form.
Finish beating with wire balloon whisk to adjust consistency, if necessary.
6. Serve immediately or cover and refrigerate.
STORAGE
Keep refrigerated. Re-fluff with a large balloon wire whisk; do not rebeat.
Can be made the night before filling the cake. Best made the day of, though because filled cake has to chill for 2 to 4 hours, preferably overnight.
Keeps for a few days, refrigerated. Does not freeze.
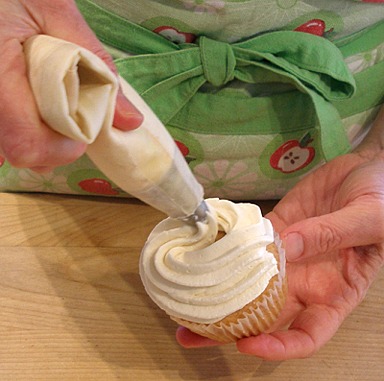
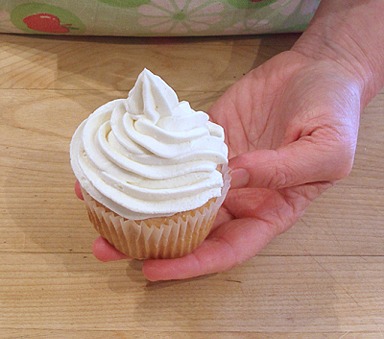
STEP V: TOP THE CUPCAKES WITH PIPED WHIPPED CREAM
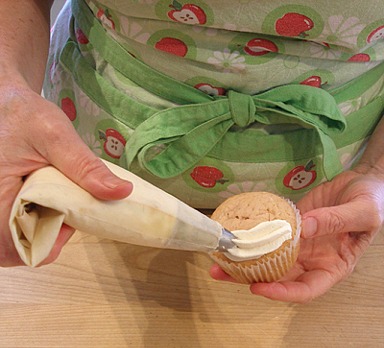
1. Place stabilized whipped cream into a pastry bag with a large open star tip, such as a Wilton 1M tip.
Pipe swirl of cream on each cupcake. See also Icing Swirls – How to Make the Perfect One
STEP VI: MAKE THE STRAWBERRY HEART FANS
INGREDIENTS
1 whole strawberry per cupcake
INSTRUCTIONS
1. Remove the leaves from each strawberry by gently pulling them off with your fingers.

2. Cut a v-shaped notch in the top of the strawberry, remove core.
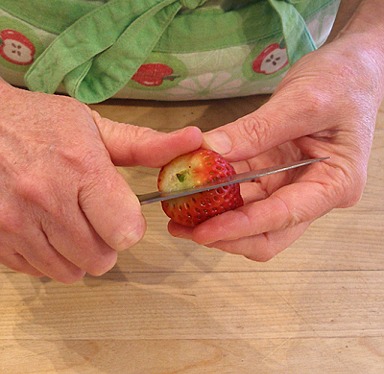

3. Cut a thin section off the outer face of each side of the strawberry, perpendicular to the notch you just cut.
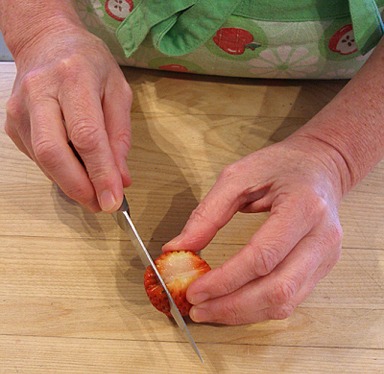
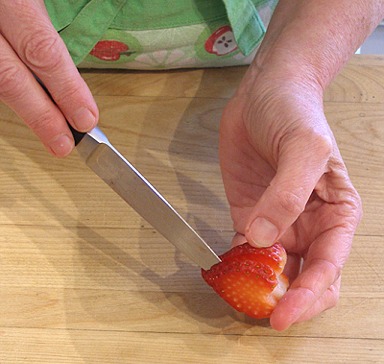
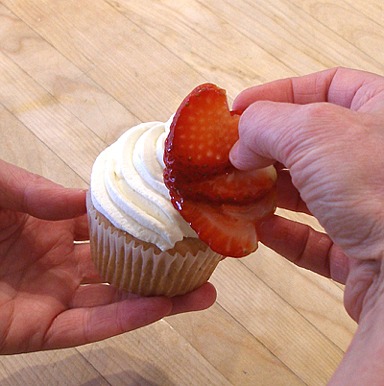
4. With the strawberry positioned point DOWN, gently cut thin slices, less than 1/4″ thick , but DO NOT go all the way to the bottom of the strawberry. Each of the slices should still be connected at the point of the strawberry.
KELLY SAYS: I am holding the strawberry like this, just to show how deep your cuts should go.
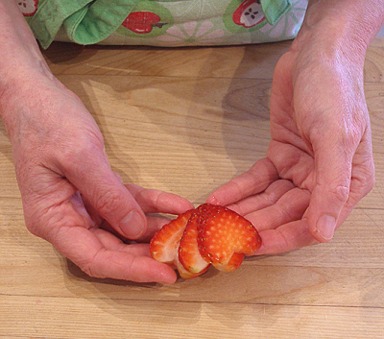
5. Gently fan out the slices and place them on a plate.
STEP VII: GLAZE THE BERRY FANS AND TOP THE CUPCAKES
The glaze will make your strawberries beautiful and shiny.
BERRY GLAZE RECIPE
INGREDIENTS
Berry Glaze:
3 tablespoons strawberry jelly
1 teaspoon freshly squeezed lemon juice
Cupcake Garnish:
Mint leaves
INSTRUCTIONS
1. Glaze the berry fans:
A. Take the strawberry jelly, add the lemon juice to it, and stir.
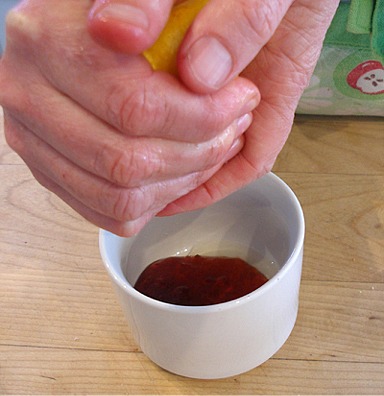
B. Heat this mixture in the microwave on low for about 15 seconds, or until the jelly is melted.
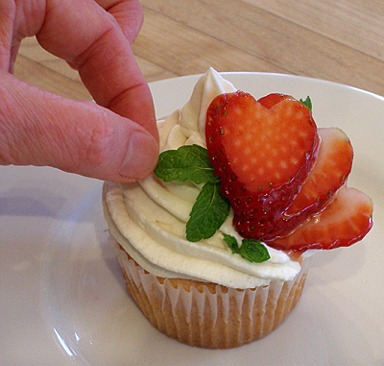
C. Paint each strawberry fan with a little of the melted strawberry jelly.
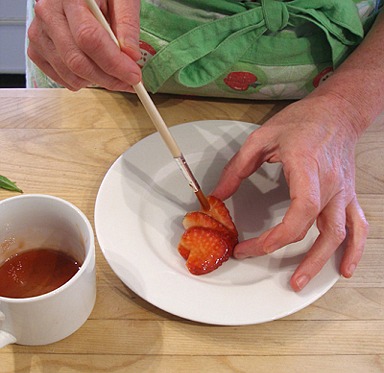
2. Place glazed strawberry fan on your cupcake and add a few mint leaves for garnish, if desired.
SERVE
Refrigerate for an hour ot two before serving. They are best served immediately!
STORAGE
The cupcakes needs refrigeration because they contain whipped cream and cut strawberries. They will last for about 1 to 2 days.
KELLY SAYS: I dare you to eat just one!