

Stock photo
There's nothing like a good old-fashioned lollipops! This recipe will also give you techniques for flavoring and coloring the sugar syrup, too!
CANDY RECIPE HELP
INGREDIENTS
1 cup water
2 cups sugar
1 cup light corn syrup
food coloring See note 2, below.
1/4 teaspoon cherry candy oil or your choice; Flavoring See note 1, below.
1/8 teaspoon Citric acid (optional) dissolved in 1 teaspoon warm water; See note 3, below.
NOTES
1. Food coloring: I like gel food colors. To make opaque colors add 1/2 teaspoon liquid white coloring (Liquid Whitener).
2. Flavoring: Use candy oils. Use about 1/8 to 1/4 teaspoon per recipe; 1/2 teaspoon is pretty strong. Use whatever flavor you desire.
3. Citric acid may be added to fruit flavors to add tartness. Use 1/8 teaspoon dissolved in 1 teaspoon warm water. Add at same time as flavoring.
INSTRUCTIONS
STEP I: PREPARE THE RECIPE
1. Prepare: molds or a baking sheet first by greasing with cooking oil, butter, lard Crisco, etc. Wipe out excess spray with paper towel. (Some molds only need to be greased after every 2 to 3 uses). If you are using open molds, use a marble slab or a new cookie sheet turned over so you set up the molds on the bottom. Cover the pouring surface with a silpat mat or foil and you will not need to put oil on it.
STEP II: COOK THE RECIPE
MAKE SURE YOU PROTECT HANDS AND EYES AT ALL TIMES – SUGAR SYRUP IS VERY HOT AND IT WILL BURN! IT SOMETIMES SPLASHES, TOO!
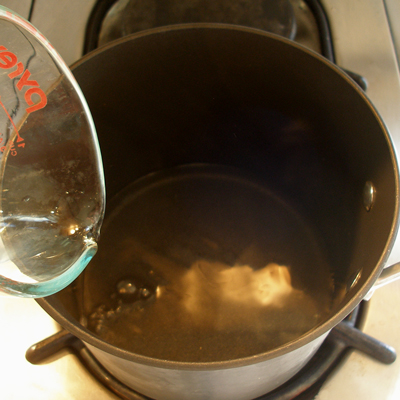
1. Pour the water in a heavy-bottomed high-sided 2-quart pan.
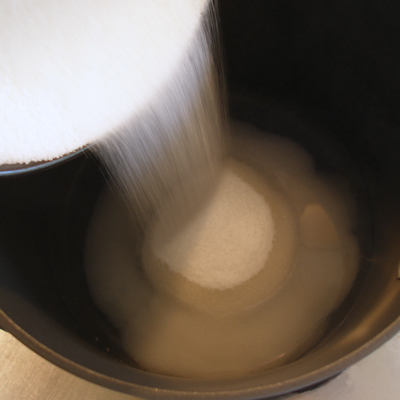
2. Slowly pour the sugar dead-center in the middle of the water. Make sure you don't splatter sugar on the side of the pan. If the sugar mounds, gently push down on the mound with a spoon so that all the sugar is moistened.
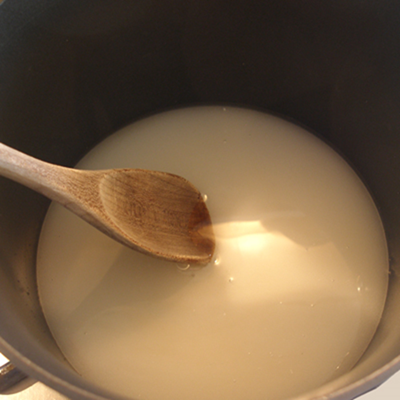
3. Pour the corn syrup on top and stir until sugar is dissolved.

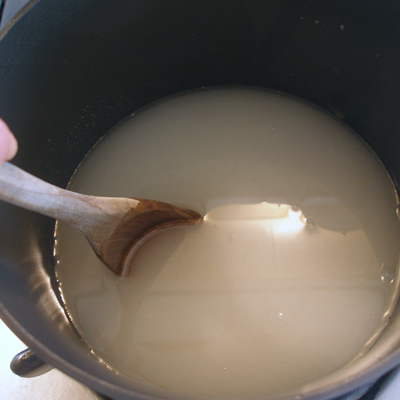
3. Place on high heat and stir while bringing the mixture to a boil.
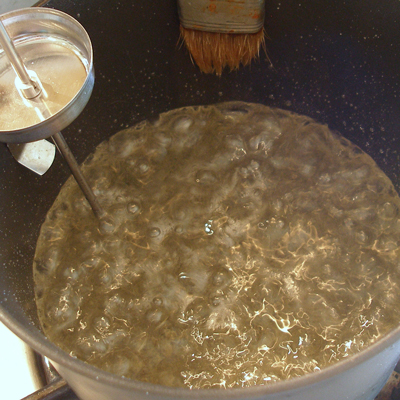
SARAH SAYS: Before the mixture boils, if necessary, wash the sides of the pan using a heat proof pastry brush dipped in clean water on the inside walls of the pot above the surface of the syrup. Dip the brush in water every time before washing the side of the pan. This step removes crystals that may have accumulated on the inside of the pot. If allowed to remain, these crystals might cause the resulting lollipops to become grainy from sugar crystallization.
4. When the mixture begins to boil, clamp on the Candy Thermometer.
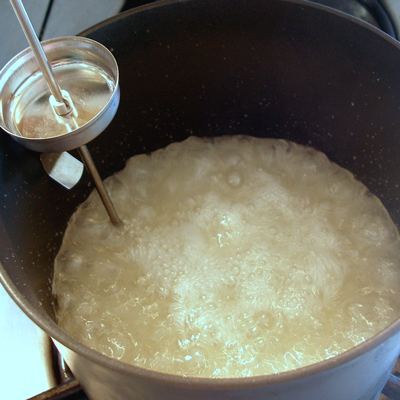
5. Continue to cook on high heat WITHOUT STIRRING OR JARRING THE POT until mixture reaches 300 degrees F or the hard-crack stage. Immediately remove from heat.
6. Proceed with rest of the recipe, below.
MICROWAVE RECIPE: Mix all ingredients listed above in a 2 qt. microwaveable proof bowl (Pyrex). Cook on high for 3 minutes. Remove and stir. Cook additional 3 minutes; remove and stir. Start checking temperature with a candy thermometer when stirring the mixture the third or fourth time. Continue to check with each subsequent stirring. Continue cooking until mixture reaches 300 degrees F. Total cooking time approximately 16-20 min. Proceed with rest of the recipe, below.
STEP III: TINT AND FLAVOR THE SUGAR SYRUP
Work fast.
1. Allow the sugar syrup mixture to stand until its bubbles have settled down (approximately 265 degrees F).
Meanwhile, cover 2 baking sheets (turned over so the flat bottoms show if rimmed) or marble surface with silpat nonstick baking sheets or ungreased foil; do not use parchment or waxed paper.
SARAH SAYS: If you do not have silpat mats, you can prepare the baking sheet (or molds) first by greasing with cooking oil, butter, lard Crisco, etc. Wipe out excess spray with paper towel. (Some molds only need to be greased after every 2 to 3 uses).
2. Then add the coloring and stir until well blended.
SARAH SAYS: Go easy as too much color can make the lollipops taste bitter.
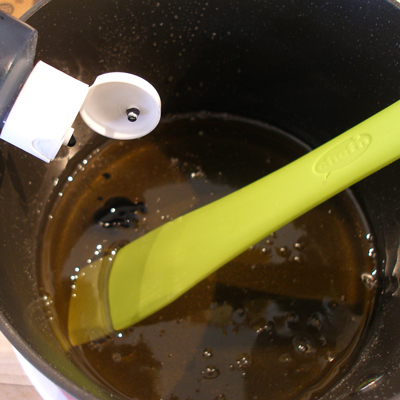
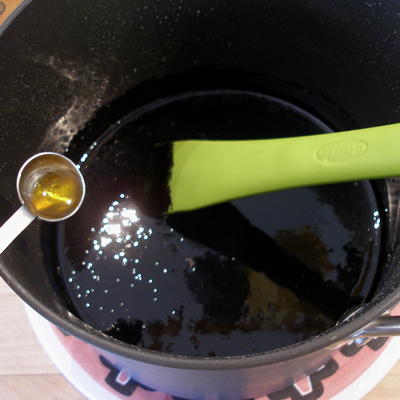
3. Add the candy oil flavor (if using) and stir.
SARAH SAYS: Be careful because too much flavor can make the lollipops taste soapy.
NOTE: Citric acid, if using, is also added at this time to fruit flavored lollipops to enhance the taste. (We did not add it in.)
SARAH SAYS: Be careful, as too much stirring will cause the syrup to solidify into a hard sugar lump and will cause small air bubbles to form.
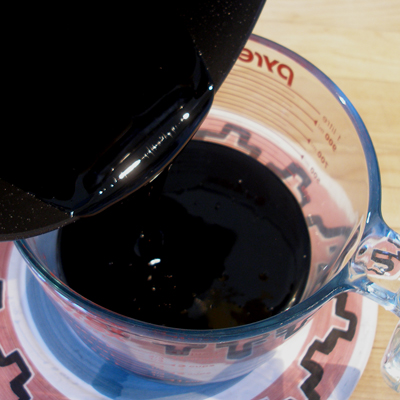
4. Pour the sugar syrup into a large Pyrex glass measuring cup for more accurate pouring. The pouring spout helps A LOT!
STEP IV: POUR THE SUGAR SYRUP
1. Pour the sugar syrup into the molds or free-form onto a baking sheet. Place lollipop sticks in the centers. Then give the stick a half turn, so it is completely covered in candy.
2. Right after all the molds are full and the lollipops are still hot, you can add candy decorations and they will readily stick to the pop. Or, you can add any commercially made candy to the top surface of the lollipop. If the lollipops cool too much, just add a drop or more of corn syrup to the back of the piece of candy and it will stick to the pop.
3.. Allow to set until hardened which should take between 5 and 10 minutes to cool depending on air temperature, humidity, the surface the molds are set up on, etc. You can also refrigerate until firm, but do not leave lollipops there for long term storage, otherwise they will be ruined.
4. Remove lollipops from molds by raising the stick and lifting candy out. The molds for simple shapes like the small rounds release very easily. More intricate shaped molds like the car or train molds, may take a little coaxing to remove from the lollipop.
STORAGE
Place in plastic sucker bags and tape shut or wrap each lollipop in plastic wrap. Store in a cool, dry place.