
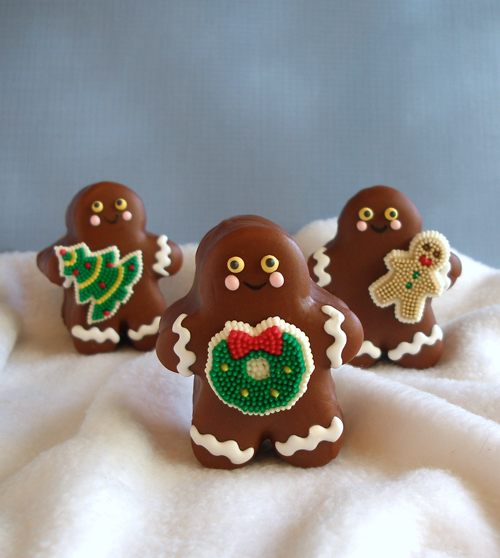
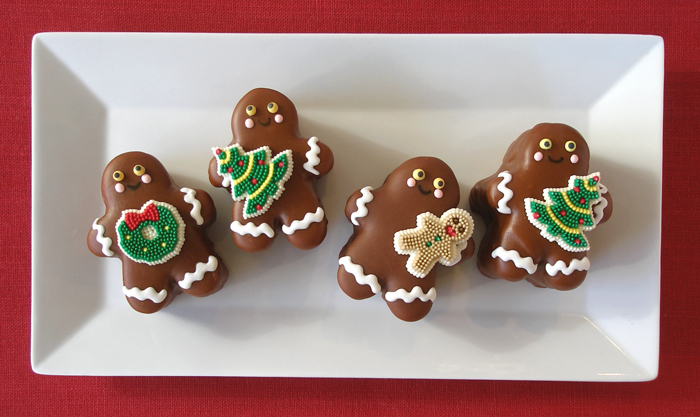
These adorable gingerbread boy mini cakes (petit four) are so fun to serve during the holidays, especially Christmas! Made with a moist caramel cake that is layered with caramel icing, the cakes are then coated in marzipan and glazed with rich chocolate fondant. Find out how to decorate them with royal icing below!
CAKE RECIPE HELP
INGREDIENTS
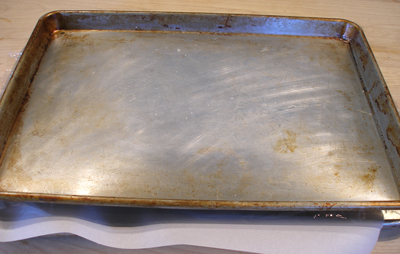
1 recipe Caramel or Burnt Sugar Cake baked in a 13- x 18-inch sheet pan, cooled and unmolded – you will have about 3 cups cake scraps generated from this recipe. You can freeze the remainder or use to make our Topiary Cake Pops Recipe Tutorial or Cake Pops.
1 recipe (makes 2 1/2 cups) Caramel Icing (included with the Caramel or Burnt Sugar Cake Recipe); You will use 1 1/2 cups – you will have about 1 cup leftover. You can freeze the remainder or use with the approximately 3 cups cake scraps generated from this recipe to make our Topiary Cake Pops Recipe Tutorial or Cake Pops.
2 1/2-inch gingerbread boy cookie cutter; used the one from this set
Marzipan cake “glue”:
2 tablespoons corn syrup
1 teaspoon tap water
1 7-ounce tube of marzipan, such as Odense
1 recipe Chocolate Poured Fondant Icing – Make in Step III
Small offset icing spatula
1 recipe Royal Icing – Make in Step IV
Water spray bottle
AmeriColor gel paste food colors, or other paste food colors, Step IV; you will need:
2 drops Yellow for the eyes
7 drops Black for the pupils
1 drop Pink for the cheeks
2-3 drops orange gel paste for the Chocolate Fondant icing, Step III
4 decorating squeeze bottles with tip couplers, or disposable piping bags*
We recommend Kuhn Rikon and CK Products; they make great decorating bottles with couplers for piping tips. CLICK or CLICK
*NOTE: If using disposable piping bags, you will need, in addition:
– 4 Silicone Decorating tip covers
– 4 Couplers
Piping Tips:
– 3 Wilton #1
– 1 Wilton #3
1 Black Edible Food Writer or from this set: AmeriColor Gourmet Food Writers
11 various Commercial Royal Icing Christmas Cake Decorations, such as Cake Mate or Wilton
INSTRUCTIONS
STEP I: CUT AND COVER THE CARAMEL CAKE WITH MARZIPAN
Divide the cake layer:
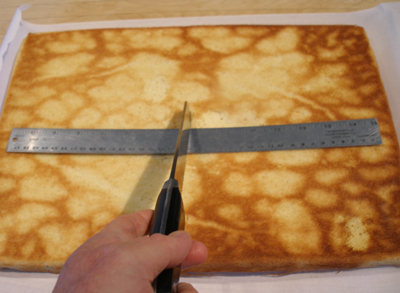
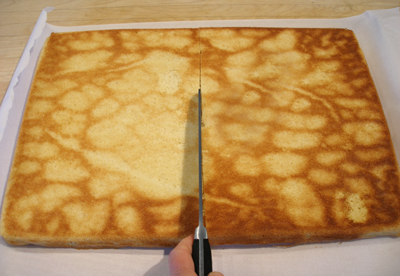
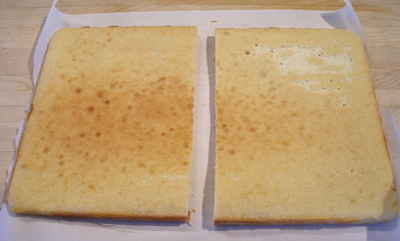
1. Measure the cooled and unmolded 13- x 18-inch cake and cut it in half, crosswise, then carefully flip each half over so the top of the cake is facing up.
2. Spread a thin, even layer of about 1 1/2 cups of the Caramel Icing on one half of the cake.
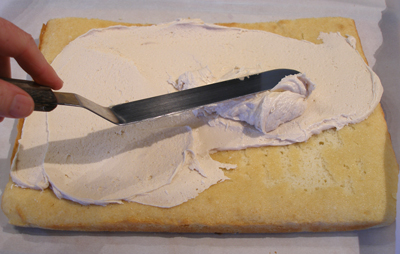
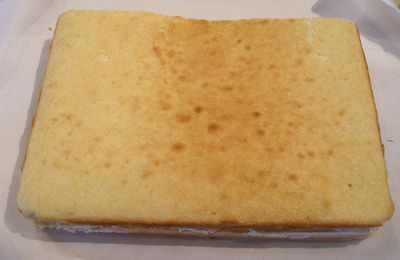
3. Place the other cake half on top of the frosted cake half.
Add the marzipan layer:
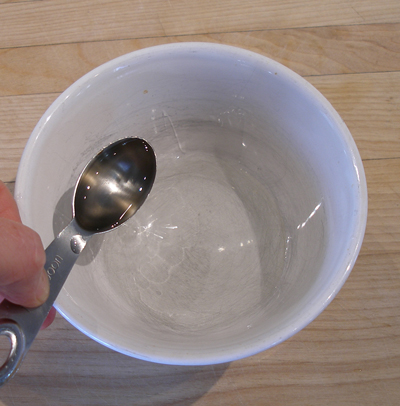
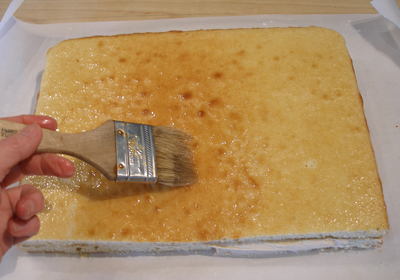
1. Mix the Marzipan cake “glue”: Add 1 teaspoon of water to 2 tablespoons of corn syrup and brush it on the surface of the cake.
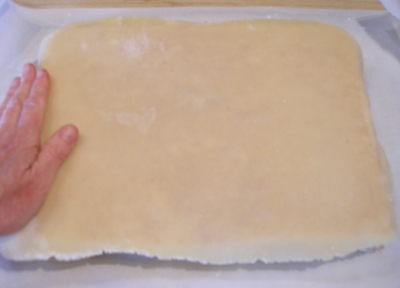
2. Sprinkle your work surface with powdered sugar and roll the marzipan out to a 9- x 13-inch rectangle. The marzipan will be very thin.
NOTE: I like to use a silpat mat to roll my marzipan on, to reduce sticking.
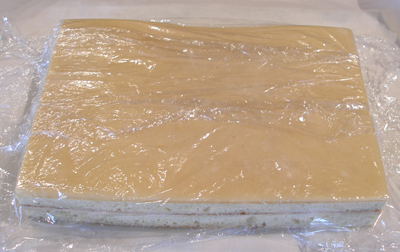
Carefully transfer the marzipan to the top of your cake and smooth it with your hand, to adhere.
SARAH SAYS: This will provide a smooth surface for the Poured Chocolate Fondant Icing.
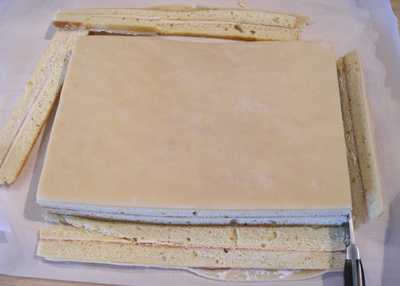
3. Trim all the edges of your cake, using a serrated knife, to make a neat rectangle.
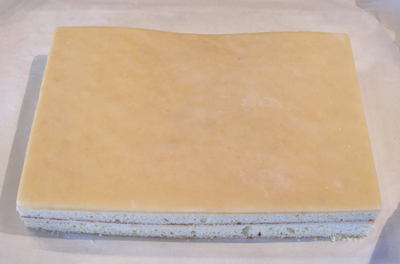
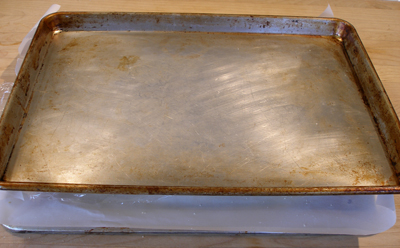
4. Transfer the cake to a rimmed baking sheet, then cover the cake with plastic wrap. Make sure the edges of the cake are also covered.
5. Place another baking sheet on top of the cake and place the whole thing in the freezer for at least three hours, or overnight.
STEP II: CUT OUT THE GINGERBREAD BOYS
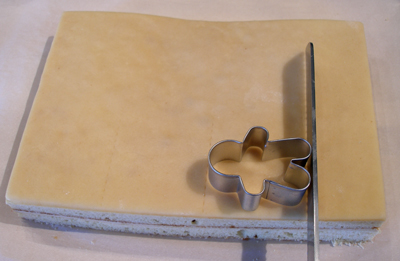
1. Remove the cake from the freezer and remove the plastic wrap.
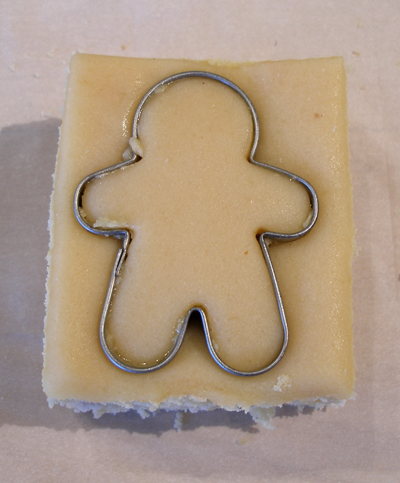
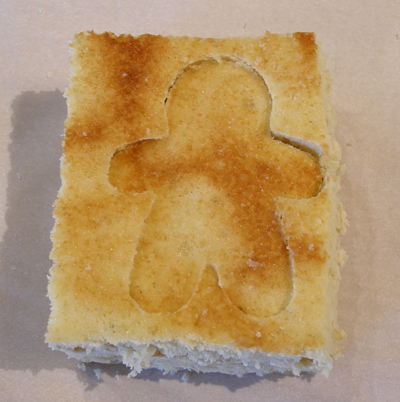
2. Use your cookie cutter as a guide and score the top of the cake.
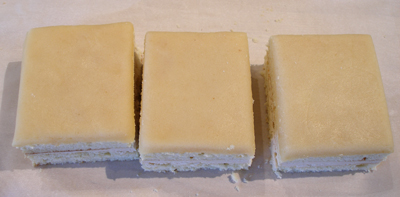
NOTE: We got three boys from the first three strips, and 2 from the last strip, as shown in the illustration below.
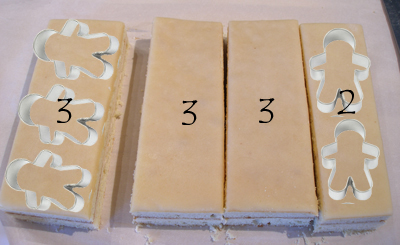
2. Cut the first three strips (starting from the left side in the photo) into three equal portions and cut the last strip into two pieces.
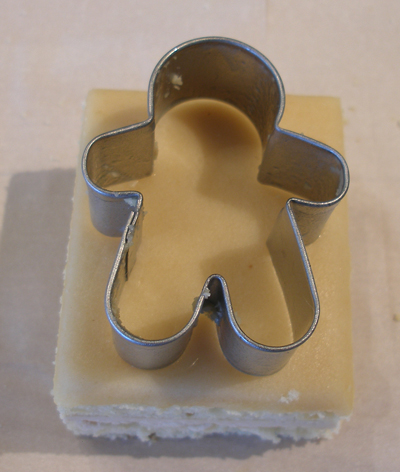
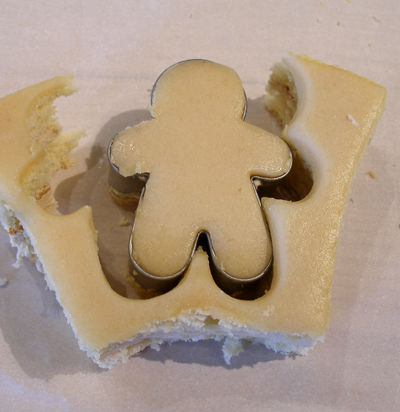
3. To cut out the cakes, spray the cookie cutter with non-stick spray, then push the cookie cutter down as far as you can. Flip the cake over and press on the cake until you can see the edges of the cookie cutter.
Remove the excess cake and put the scraps in a bowl – you should generate about 3 cups cake scraps. Save for making Cake Pops or the Topiary Cake Pops Recipe Tutorial. Keep the bowl covered so the scraps do not dry out.
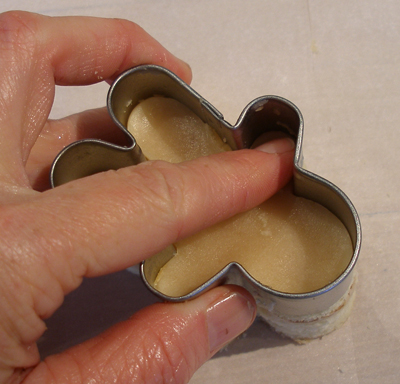
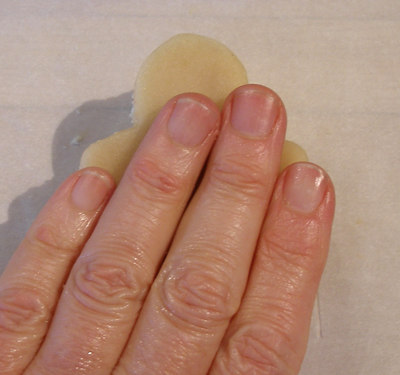
4. Pushing from the marzipan side of the cake, gently push the cake out of the cutter, being careful with the arms and legs.
When the cake is released from the cutter, gently press it down, to remove and unevenness in the marzipan.
5. Place the cakes on a parchment lined baking sheet, marzipan side up, and cover them with plastic wrap.
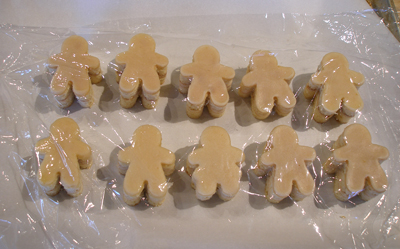
6. Put a baking sheet on top of them to keep them nice and flat until needed.
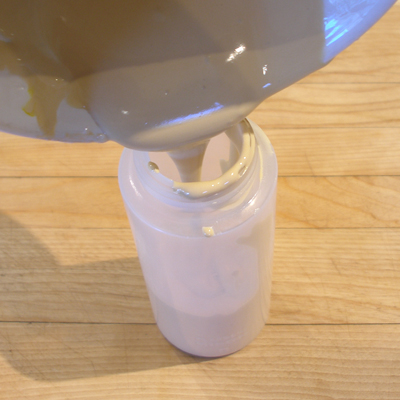
STEP III: COVER THE CAKES WITH CHOCOLATE POURED FONDANT ICING.
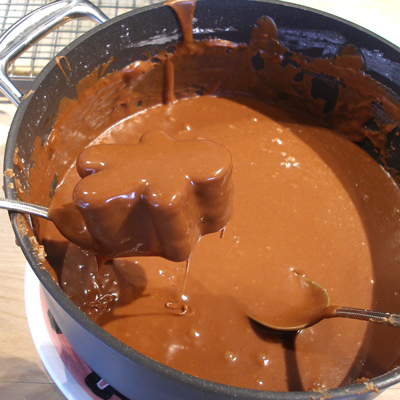
1. Make the Chocolate Poured Fondant Icing recipe.
NOTE: The poured fondant with skin over rather quickly, when it does that, stir the crystals back in.
If it starts to get too thick, pop it on the stove, over LOW heat to loosen it back up again. If it is still too thick, add a few drops of water to adjust the consistency.
2. Place a wire cooling rack over a rimmed baking sheet.
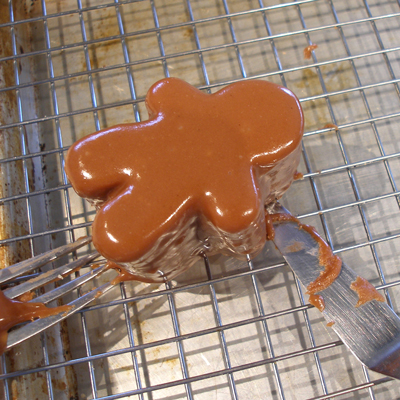
3. Put a minicake on a fork and spoon the fondant over it, making sure that it is coating ALL sides.
****Trouble spots include between the legs and the sides of the cake under the head area.****
Gently tap the handle of the fork on the side of the pan to help remove excess fondant.
2. Move the cake to the rack, using a small offset spatula to help.
3. Continue coating the cakes, heating and stirring the fondant to keep it smooth and fluid.
4. Set the cakes aside to dry completely.
STEP IV: MAKE THE ROYAL ICING RECIPE, THIN, AND TINT. FINISH DECORATING THE MINI CAKE PETITS FOURS.
While the Chocolate Poured Fondant Icing on the cakes dry, make the Royal Icing Recipe, thin it, and prepare your colors.
ROYAL ICING RECIPE
Makes 2 1/2 cups
This will give you more than enough to make this project.We did not want to cut the recipe in half because a smaller amount may not beat up as fluffy as needed for the recipe.
SARAH SAYS: We used to sift our powdered sugar (after measuring) when we made royal icing, and it was such a messy prospect! We have discovered that if you just mix the powdered sugar with the meringue powder for about 15 seconds, you will have no yucky lumps and you do not have to sift!
INGREDIENTS
1 pound (about 4 cups) unsifted powdered sugar
1/4 cup plus 1 tablespoon meringue powder
1/2 cup water
1/2 teaspoon vanilla extract
INSTRUCTIONS
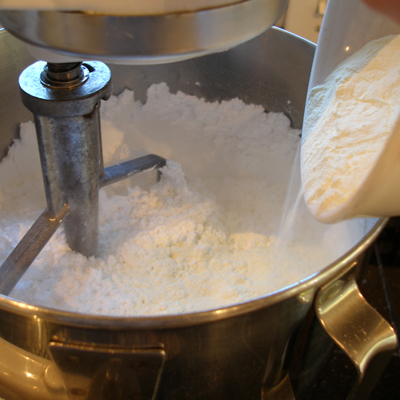
1. In the bowl of a stand mixer, fitted with the paddle attachment, place the powdered sugar. Then add the meringue powder.
Mix together, on the lowest setting, for about 15 seconds.
If you like, you may place a clean kitchen towel over the mixer to keep any floating powdered sugar at bay.
2. Add the water and beat, on LOW speed for about a minute. Stop the mixer and scrape down the sides of the bowl, then beat for an additional 6 minutes.

3. Add the vanilla and beat briefly, to combine.

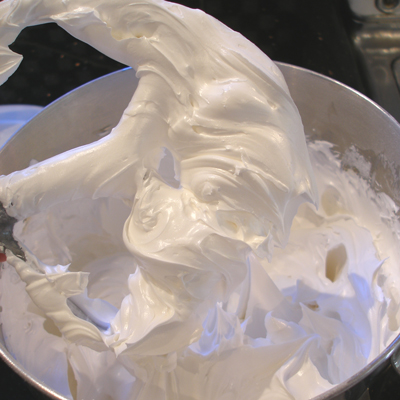
4. The icing should be very thick, and hold peaks.
5. It is now time to remove some icing, and to thin and color it, but keep the bowl of icing tightly covered with plastic wrap, while you gather the food color and icing tools, so it doesn't start to harden on the edges of the bowl.
STORAGE
When working with royal icing, it must be covered at all times with plastic wrap, otherwise it will crust or dry out (get a thin crust of hardened sugar) on top and ruin the batch.For storage, make sure you keep it well wrapped, airtight at room temperature, if made with meringue powder. If made with raw egg whites, store in the refrigerator, well wrapped.
Cover icing with plastic wrap. Secure with a rubber band and then cover with an airtight covering. Stir thoroughly before using. But, sometimes when it's humid, Royal Icing does not store well at all.
If piping with royal icing, when not using, always keep the tip covered.
If the Royal Icing is too stiff after storing, stir gently or rebeat with an electric mixer at low speed. I've noticed that mixing thin icing for several minutes after storing tends to thicken it up, so add more water, if necessary, a drop at a time, to thin it.
Thin the Royal Icing Recipe – Use our new technique with a water spray bottle:
1. Remove about 2 cups of thick royal icing from the mixer bowl, and thin with water. Immediately cover the unused portion of the royal icing and set aside.
2. Using a spray bottle, slowly add water to the thick royal icing, stirring it in gently. Do not stir the icing aggressively, because it is possible to over-work the icing, which tends to make it flaky when dry.
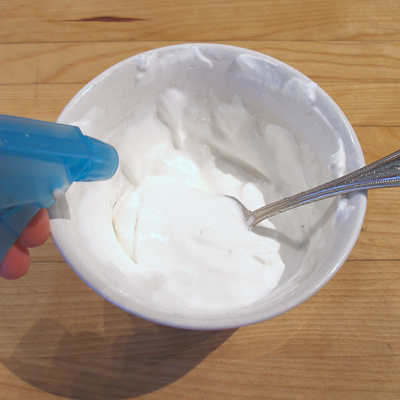
3. The consistency is right when the icing flows smoothly off the spoon, in an unbroken stream.

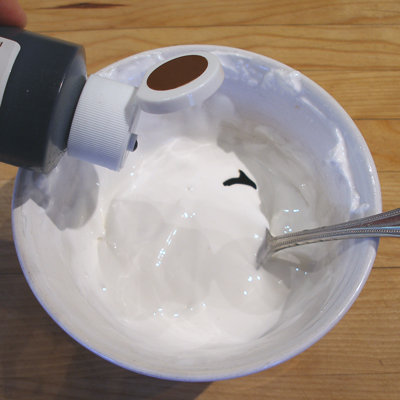
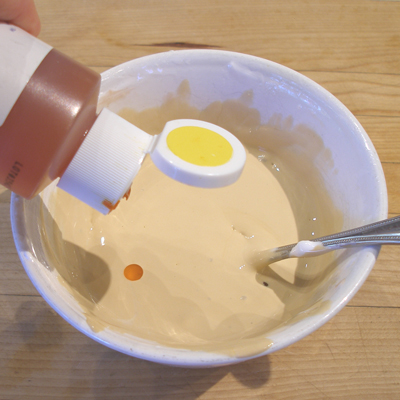
Prepare Your Icing Colors:
1. Divide the thinned Royal Icing into 4 small bowls, with 1/2 cup each. Color the pink, black and yellow and leave one bowl as is or white. Put the colored icing into 4 small plastic squeeze bottles or disposable piping bags. Cover the piping tip with the tip cover and set aside:
a. To 1/2 cup thinned royal icing “as is White”- use a #2 piping tip
b. To 1/2 cup thinned royal icing – add 2 drops Yellow for the eyes- use a #1 piping tip
c. To 1/2 cup thinned royal icing – add 7 drops Black for the pupils- use a #1 piping tip
b. To 1/2 cup thinned royal icing – add 1 drop Pink for the cheeks- use a #1 piping tip
Finish decorating the Mini Cake Petits Fours with the Tinted Royal Icing and the Commercial Royal Icing Christmas Cake Decorations:
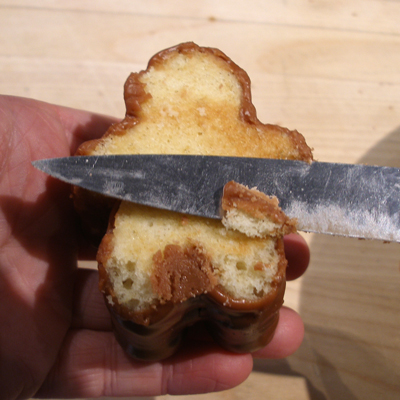
1. When Chocolate Poured Fondant Icing on the cakes has dried, use a knife to release them from the rack and carefully trim the excess fondant off the back of each cake.
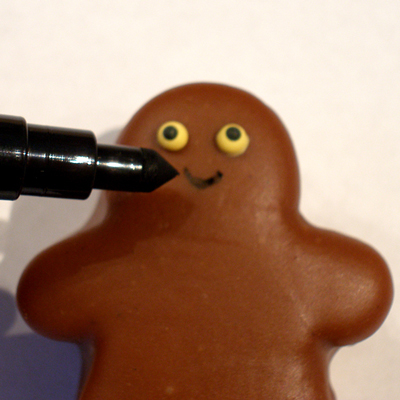
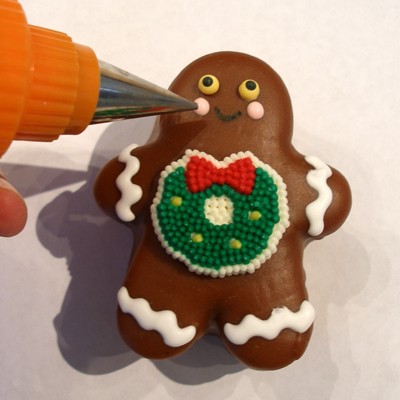
2. Pipe the eyes with the yellow royal icing.
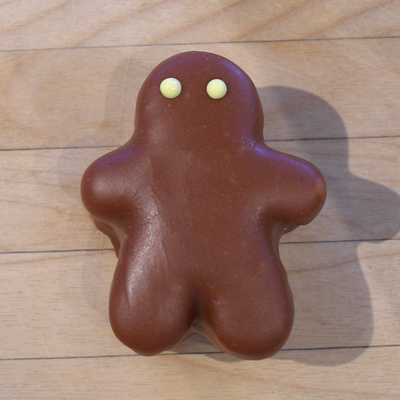
3. While the yellow icing is still wet, pipe the pupils with a small dot of black royal icing.
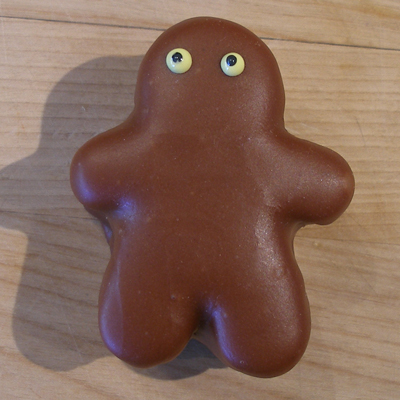
4. Draw the smile on with a black edible food writer.
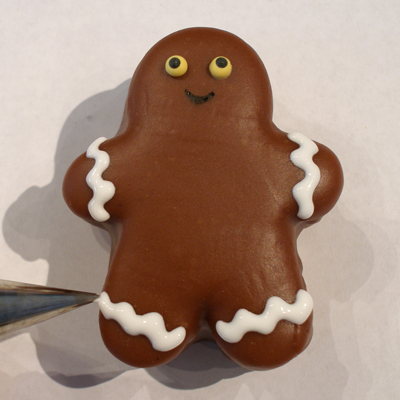
5. Pipe the white trim on the “wrists” and “ankles”, using a steady back and forth motion.
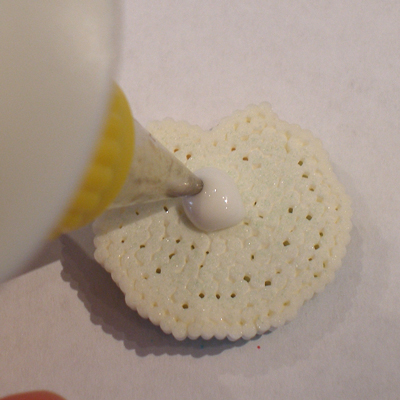
6. Pipe a bit of white royal icing on the Commercial Royal Icing Christmas Cake Decoration and set it in place.
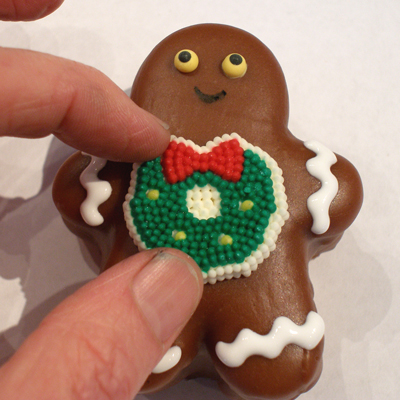
7. Pipe a dot of pink on each side of the face, for the rosy cheeks.
8. Set cake aside to dry.
9. Repeat steps for the rest of the cake.
SERVE
Serve each individual petits fours on a plate or arrange them on a pretty platter! You can stand the cakes on end, and make a dessert-scape for your guests!
STORAGE
The cakes can be stored at room temperature for a few days; do not refrigerate or freeze.
Food styling and photos by Kelly CA © Sarah Phillips CraftyBaking.com
Food styling and photos by Kelly CA © Sarah Phillips CraftyBaking.com