

Jam cakes are an old-fashioned dessert from the South that came about because back in the day, sugar was scarce, so jam and sorghum molasses were often used as sweeteners. We used fruity and fresh-tasting Bonne Maman Cherry Preserves, an excellent quality jam, to flavor and sweeten both the cake and frosting; you'll need two 13-ounce jars for this recipe. The cherry preserves give the cake and frosting a lovely soft pink hue and a yummy cherry flavor. You can use any fruit preserves, though. Find out how I created this recipe so that the cake would not turn out sticky like most other jam-based buttercakes.
CAKE RECIPE HELP
INGREDIENTS
1 recipe Jam Cake, recipe below
1 recipe Chocolate Cake Glaze
1 recipe Swiss Meringue Buttercream Flavored with Jam, flavored with 1 13-ounce jar (about 1 cup and two tablespoons) Bonne Maman Cherry Preserves, processed in a food processor, and optionally tinted with 2 drops red gel food coloring from AmeriColor
6 Chocolate Covered Cherry Cordials
6-7 Chocolate Covered Dried Cherries
STEP I: MAKE THE JAM CAKE RECIPE
JAM CAKE RECIPE
INGREDIENTS
3 cups sifted cake flour; sift flour into a bowl, and then spoon into a measuring cup and level to rim
3 teaspoons baking powder
1/4 teaspoon salt
1 cup whole or 2% milk
1 cup cherry preserves, from 1 13-ounce jar Bonne Maman Cherry Preserves or any flavor preserves; do not use jam, jelly or fruit spreads
1 teaspoon finely grated lemon peel
1 1/2 teaspoons vanilla extract
1 cup (2 sticks) unsalted butter
1 cup sugar
1 cup dark brown sugar, packed , or sugar
4 large eggs
NOTE: How to measure the 3 cups sifted cake flour
1. Sift cake flour into a bowl.
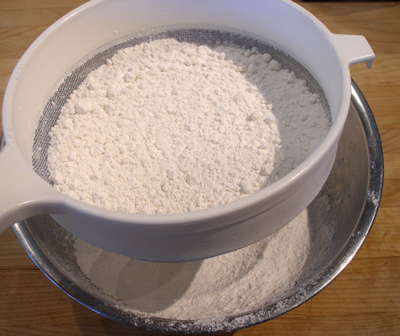
2. Then spoon the flour into a measuring cup and level to rim with a straight-edged implement, such as the back of a table
For best results, we use high-quality Bonne Maman Cherry Preserves. You can use any flavored preserves, but not jam, jelly or fruit spreads.
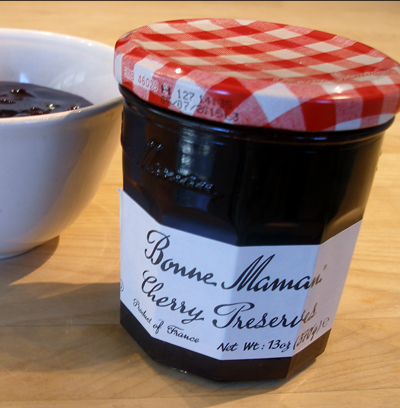
What’s the difference between Preserves, Jelly and Jam?
From Bonne Maman:
Preserves are made from cooking whole fruits. Pieces of fruit are present in each jar. Preserves feature a fuller fruit flavor compared to jams.
Jellies are made from only the juices of fruits. Jellies offer a uniform texture, are clear, and firm compared to preserves and jams.
Jams are made from crushed fruit and fruit puree, not whole fruit.
INSTRUCTIONS
Preheat the oven and prepare the baking pans:
1. Position the oven racks in the lower and upper third of the oven.
Heat the oven to 325 degrees F.
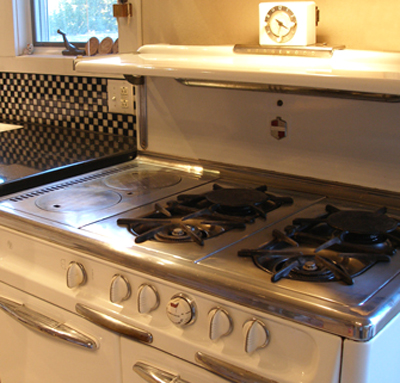
KELLY SAYS: This is the inside of my very old oven. It was made in the 1950's, but is an absolute work horse. A classic!
Shelf placement:
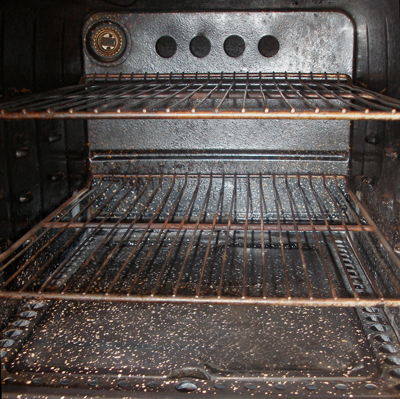
My oven:
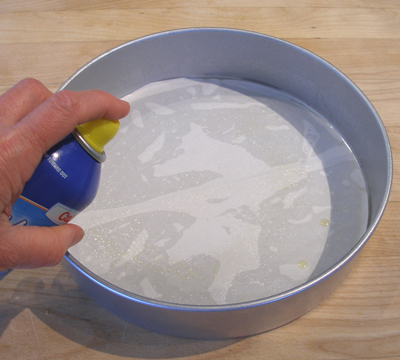
2. Spray with nonstick cooking oil and then flour (or use a flour-based baking spray such as Baker's Joy) three 9-inch, preferably light colored, heavy NOT nonstick pans. (Do not use dark, nonstick baking pans or ovenproof, Pyrex glass pans; it will result in crusty, dark edges.)
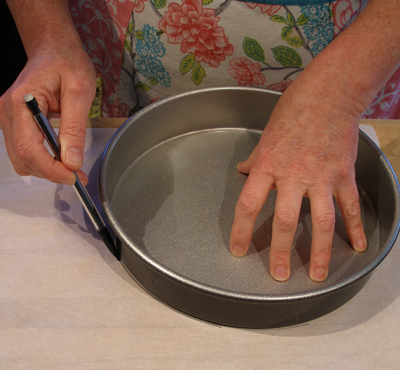
SARAH SAYS: Instead, you can line each greased baking pan with a greased piece of parchment paper.
Here's how to:
Place one pan on top of a piece of parchment paper and trace around it with a pencil. The lead is nontoxic.
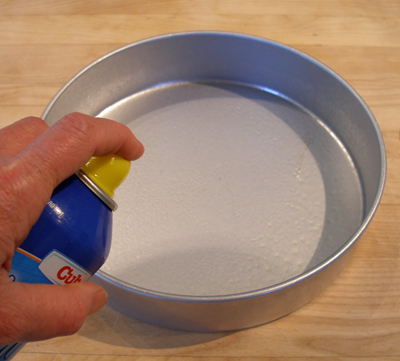
Cut out the round of parchment paper following the pencil marks as a guide.
Spray the baking pan with nonstick cooking oil.
Place the parchment round in the bottom of the pan.
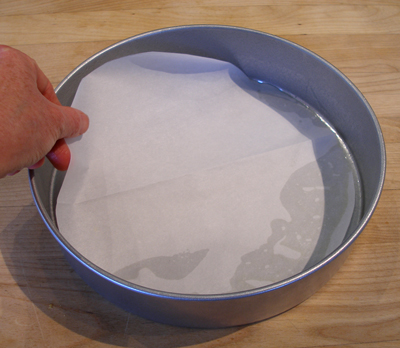
Spray the top of the parchment round with nonstick cooking oil.
Repeat the process with the other two pans. Set all three pans aside.
Make the cake batter:
1. In a medium bowl, after measuring, sift together the flour, baking powder, and salt. Stir all the ingredients together. Set aside.
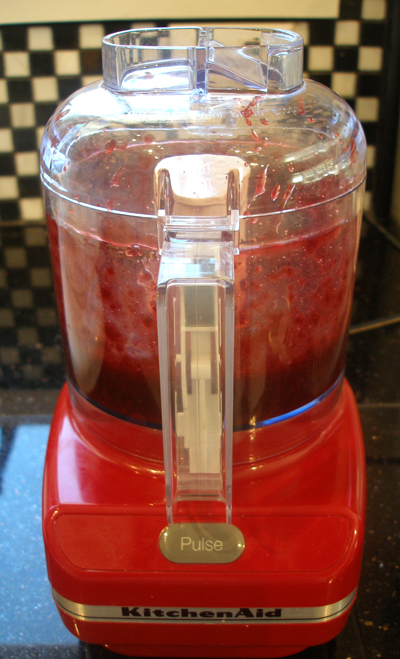
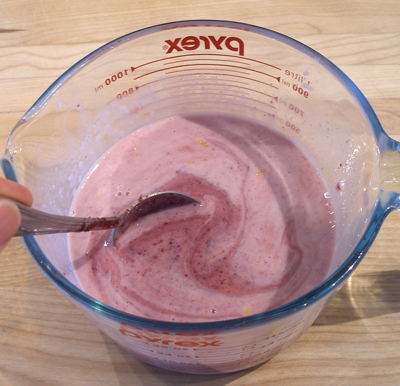
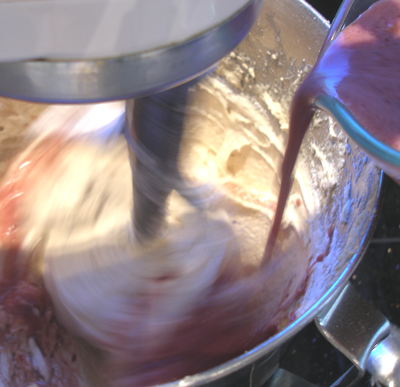
2. Place the 1 cup cherry preserves in a food processor, fitted with a steel blade, and pulse it a few times, to remove and large pieces of fruit.
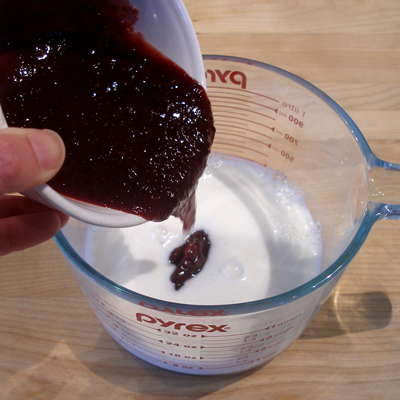
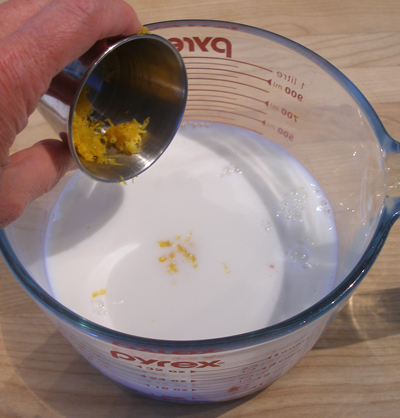
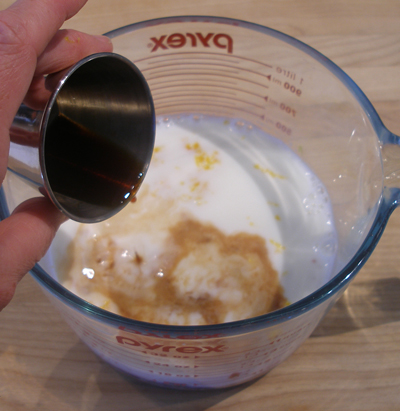
3. In a liquid measuring cup or a bowl with a spout, stir in the cherry preserves, lemon peel, vanilla extract to the measured milk and set aside.
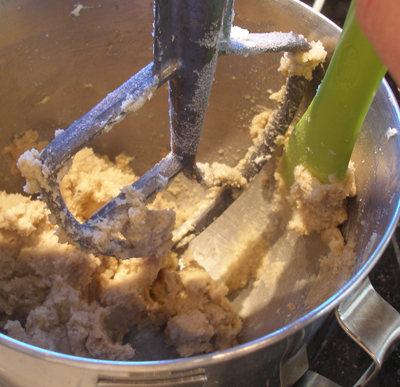
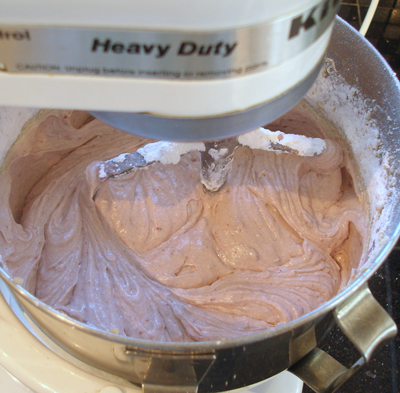
4. Beat the butter with a stand mixer, fitted with a paddle attachment, on low speed until softened.
If the butter is cold, it will warm quickly from the beaters.
5. Add the white sugar in a steady stream at the side of the bowl.
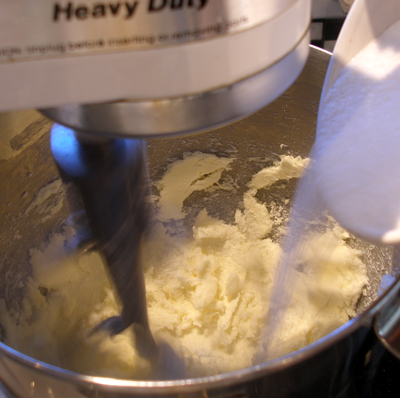
6. Then add in the brown sugar.
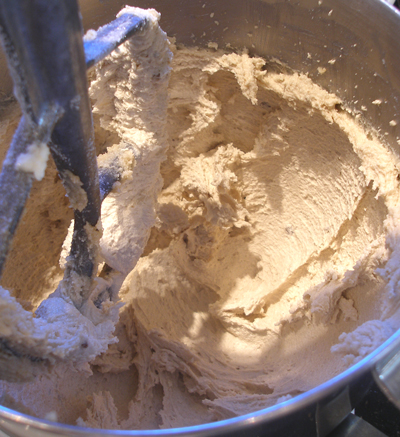
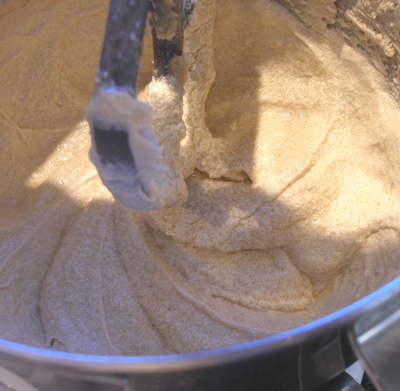
7. Scrape down the sides of the bowl, then increase speed to medium and beat for 2 minutes or until the mixture is light tan in color, aerated and fluffy.
Afterwards, stop the mixer and scrape the side and bottom of the bowl with a large rubber spatula.
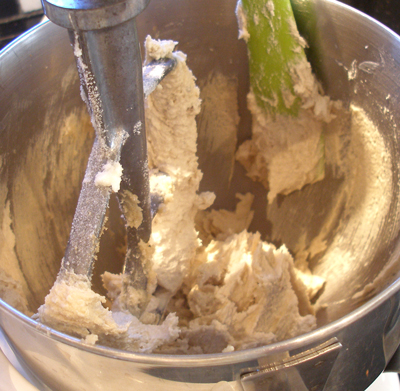
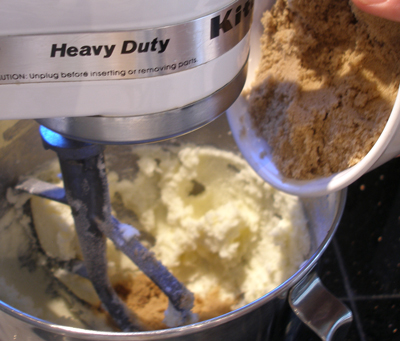
8. With the mixer on low, add the eggs one at a time and beat for 20 seconds after each addition.
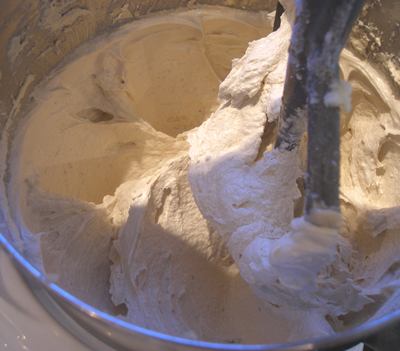
9. After the eggs have been added, increase the mixer speed to medium-high and beat the mixture for ABOUT 1 to 2 minutes. Set the kitchen timer to help you keep track of the time.
SARAH SAYS: If the eggs are cold, the batter will curdle slightly. It's ok. It will come together as the batter warms from the beaters.
At the end of mixing, the mixture will become fluffy and aerated.
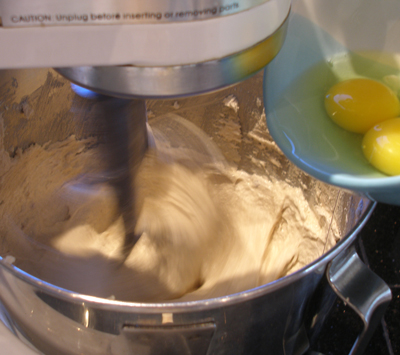
10. With the mixer on low, add the flour mixture in 3 equal portions, alternating with the milk / jam mixture in 2 equal portions, beginning and ending with the flour.
Add the flour and liquid ingredients in increments quickly; do not wait in between additions too long as you don't want to overmix the batter.
SARAH SAYS: If the milk is cold, the batter will curdle slightly. It's ok. It will come together when you add the flour.
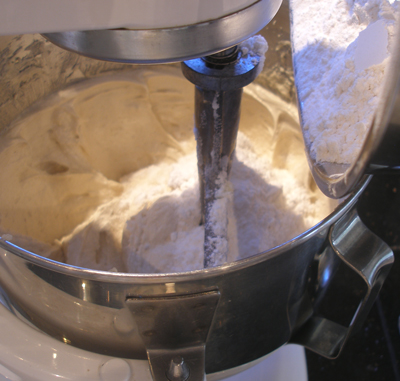
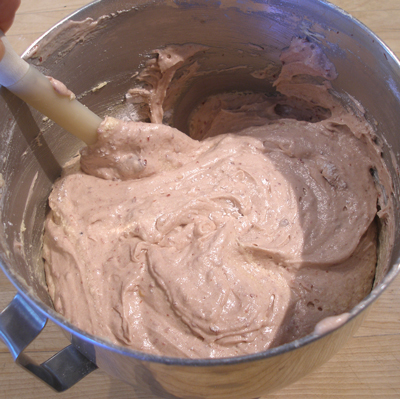
11. After completing the last addition of flour, let the mixer run for 30 seconds on LOW. The batter should look mixed. STOP the mixer. Do NOT overmix.
12. Remove the bowl. With a large rubber spatula, fold to incorporate, including any stray flour or milk left at the sides and bottom of the bowl to ensure you do not overbeat the batter. Then, STOP!
Bake and cool the cake layers:
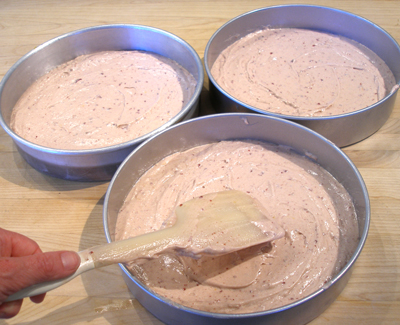
1. Fill three prepared baking pans (should fill 1/3 full) with one-third of the batter and lightly smooth the tops. (2 9- x 2-inch pans, should fill about 1/2 to 2/3s full).
SARAH SAYS: After depositing the batter, I weigh each filled pan to make sure they are all equal, as long as each cake pan used is the same.
2. Bake for 30 to 40 minutes (for 3 9- x 2-inch pans; 45 to 50 minutes for 2 9- x 2-inch pans), or until the top feels firm and gives slightly when touched on the top with a cupped hand (will not spring back when touched with a fingertip) and shrinks a little from the sides of the pan – it should also smell done.
If you insert a toothpick in the middle and remove, it should have a few moist crumbs attached, but not batter.
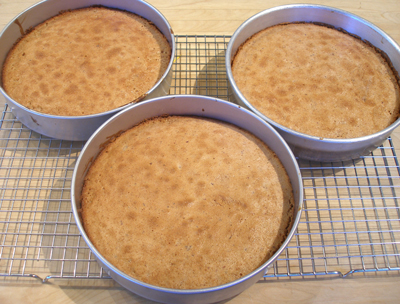
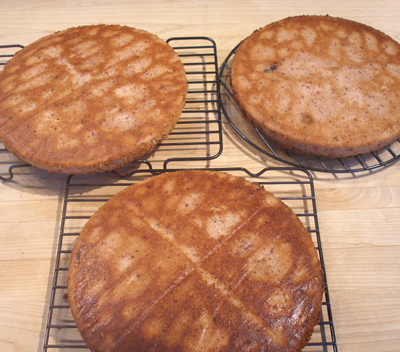
3. Take the cakes immediately from the oven to a wire cake rack and let sit for 10 to 15 minutes and then unmold onto wire cake racks (set your timer to keep track of the time). Remove the parchment paper, if using. Allow to cool completely before assembling.
SARAH SAYS: The cake is fragile when warm and will crack easily if you unmold it before the time is up. The cake's top will flatten more as it cools.
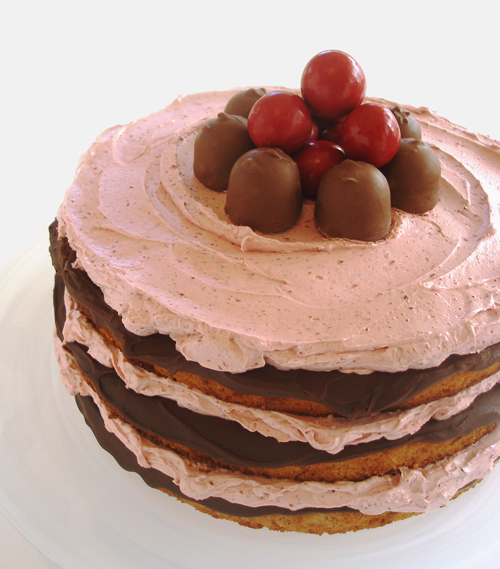
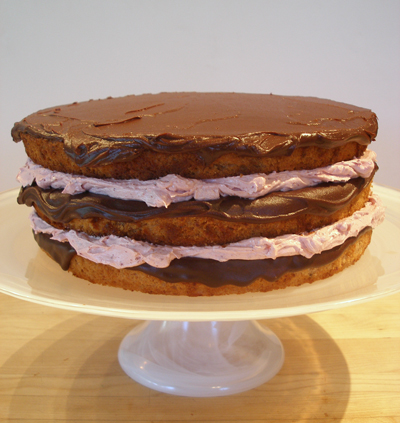
STEP II: ASSEMBLE THE CAKE
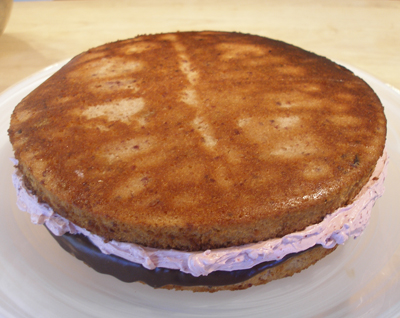
The beauty of this cake recipe is that the cake layers bake flat and do not need any trimming.
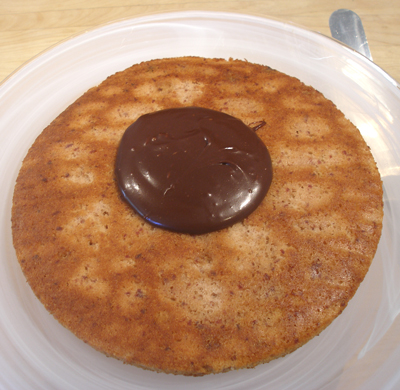
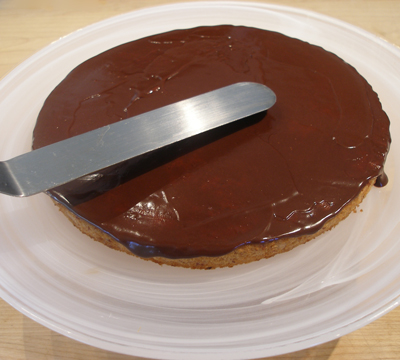
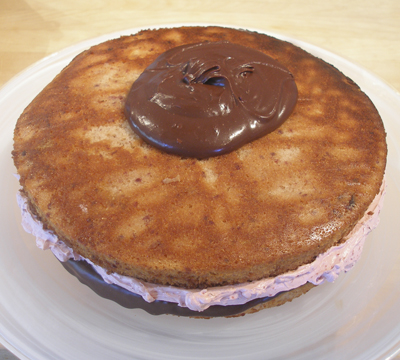
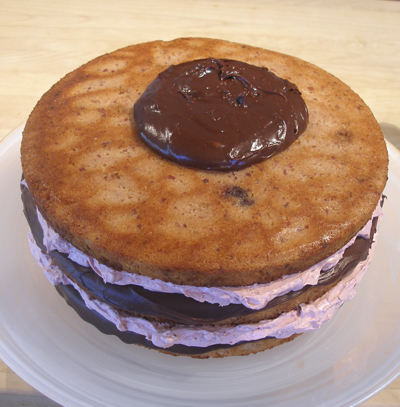
1. Put one of the cake layers on a cake stand and put 1/3 of the room temperature chocolate glaze in the center of the cake.
Spread the glaze with a large offset spatula to the edges of the cake, allowing A FEW drops to flow over the edge.
Place the cake in the freezer for about ten minutes to set up the chocolate.
NOTE: You don't want the cake to look too messy, but a few bits of flowing chocolate looks yummy.
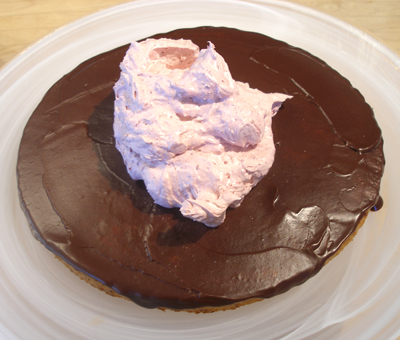
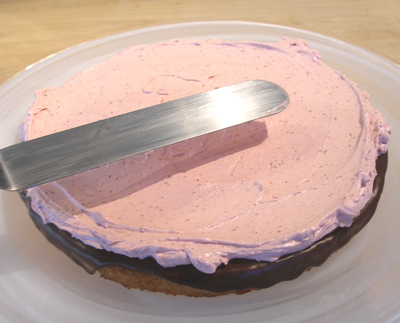
2. After the chocolate has set, remove the cake from the freezer, and put 1/3 of the SMBC frosting in the center of the layer, spread it to the edges of the cake.
3. Place the second cake layer on the frosted bottom layer, then add another third of the glaze on the layer and spread the the edges of the cake.
Place the cake in the freezer until the chocolate has set.
4. After the chocolate has set, put another third of the cherry frosting in the center of the cake and spread it to the edges of the cake.
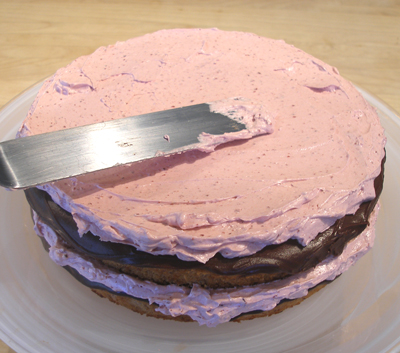
5. Place the third and final layer on the cake.
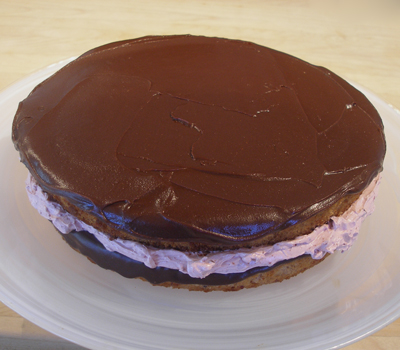
Spread the remaining chocolate glaze on the cake and spread it to the edges, allowing a bit of the glaze to gently flow over the edge of the cake.
Place the cake in the freezer until the chocolate has set.
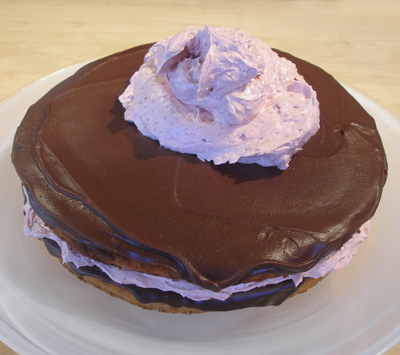
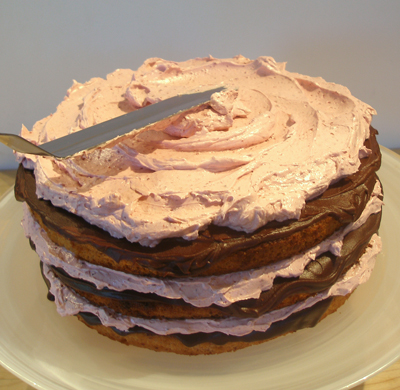
6. When the chocolate has set, remove the cake from the freezer and spread the remaining frosting over the top of the cake.
Place the cake in the refrigerator for about 15 minutes so the frosting can firm up a little before adding the final decorations.
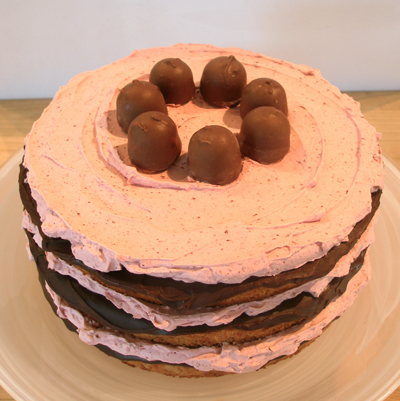
7. Using a drinking glass, mark a circle in the center of the cake to help you place the chocolate covered cherries on top of the cake.
Make a ring of 6 chocolate covered cherries in the center of the cake, using the impressed circle as a guide.
Press them gently into the frosting to adhere.
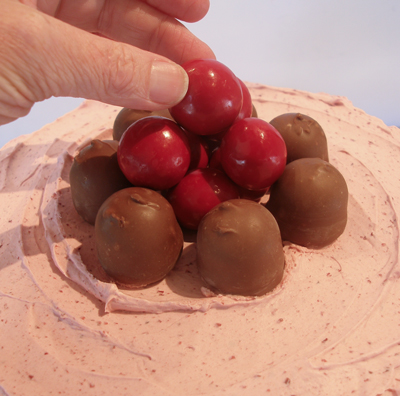
8. Fill the ring with chocolate covered dried cherries, creating a pretty mound of color.
SERVE
Cakes frosted with SMBC must be refrigerated. Cut into slices, and allow to come to room temperature before serving.
STORAGE
Cakes frosted with SMBC must be refrigerated. Will keep a few days refrigerated because of the shelf life of the cake.
Allow to come to room temperature before serving.
The individual cake layers, without frosting, can be stored at room temperature, well wrapped for a day or two, then refrigerate. Freeze for a month or more. Thaw at room temperature.