
When I thought about developing a sweet dessert taco, I knew I wanted to make it extra special. I wanted a shell that was crisp, crunchy, and sweet, and that would mimic a traditional taco shell. That led me to consider cannoli shells, which are deep-fried, crunchy, and flaky; able to hold up to moist fillings without becoming soggy; and don't shatter into tiny pieces when you bite into them. Plus, the dough can be formed into just about any shape before being fried – such as a taco shell! Chocolate anything is tricky to create, and I had to balance in the added cocoa powder just right so the resulting shell would not be sticky or too hard when fried.
For the filling, I wanted something richly spiced and interesting. And the seasonally popular Starbucks' Pumpkin Spice Latte came to mind. The result? A masterpiece of textures and flavors that play well together: chocolate, coffee, spice, and pumpkin in a crunchy, creamy taco that will make you want more than just one!
PASTRY RECIPE HELP
INGREDIENTS
1 recipe chilled Chocolate Cannoli or Cannoli alla Siciliana Dough
1 recipe Pumpkin Spice Mousse
1 recipe Whipped Cream Tutorial
1 recipe Coffee Syrup
Garnishes, optional:
Chocolate – Curls, or mini chocolate chips
Cocoa Powder – for dusting
Chocolate Covered Espresso Beans
Equipment:
4-inch round cookie cutter
Pasta Maker
Taco Press – taco form frying basket
Canola oil, for frying
Deep-Fat Fry Thermometer
Equipment, Optional:
Piping bag fitted with a large open star tip, such as Ateco 824 – for the Pumpkin Spice Mousse Filling Recipe
Piping bag fitted with Wilton 21 tip – for the Whipped Cream Recipe
INSTRUCTIONS
STEP I: MAKE THE CHOCOLATE CANNOLI TACO SHELLS
1. Remove one piece of Chocolate Cannoli dough at a time from the refrigerator.
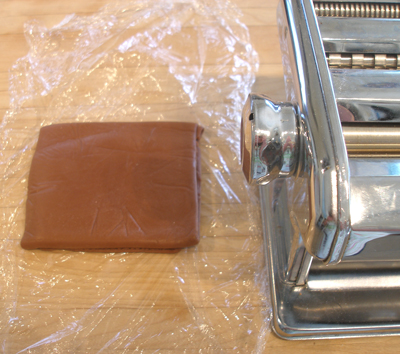
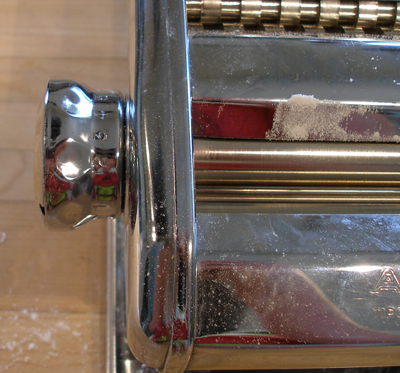
2. Pass it through the open end of the pasta machine.
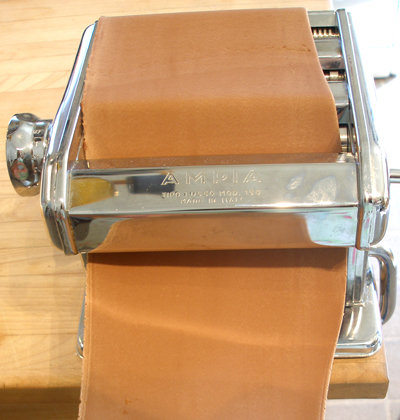
3. Decrease the size of the opening by 2 notches and pass through again, flouring the dough as necessary so it won't stick.
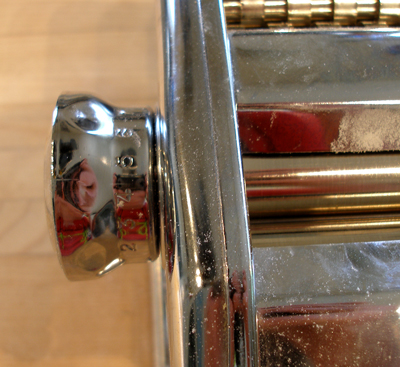
NOTE: Not all pasta machines are alike. For example, my pasta machine has #1-#6. I used the #1 setting for the first roll, #3 the second time, and ended with #5.
4. Pass the dough through every other setting ending with the next-to-last one on the pasta machine, until 1/16-inch thick.
Place the strip of dough on a lightly floured work surface and cover it loosely with plastic wrap.
5. Repeat with the remaining 2 pieces of dough.
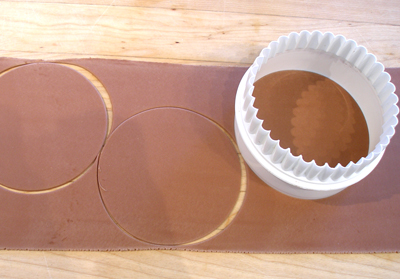
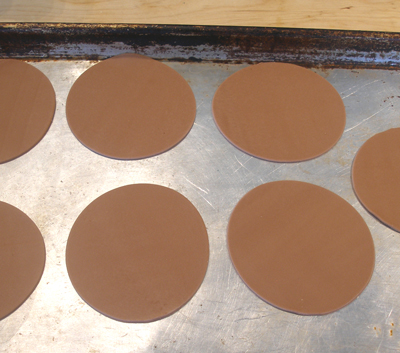
6. Using a 4-inch round cutter, cut out dough and transfer rounds to baking sheet and keep covered with plastic wrap. Roll out remaining dough and cut rounds in same manner.
NOTE: Make sure you cut straight down through the dough without twisting the cutter as you do. If you twist the cutter, this will seal the edges of the dough together and cause the dough to puff up too much as it cooks.
SARAH SAYS: As you cut, stack the scraps, and let stand 10 minutes. Roll out and cut in same manner.
STEP II: FRY THE CHOCOLATE CANNOLI TACO SHELLS
1. Heat the canola oil, in a heavy bottomed medium sized saucepan, to 375 degrees F. The oil should be at least 3-inches deep.
2. Cover a few baking sheets with paper towels. Set aside.
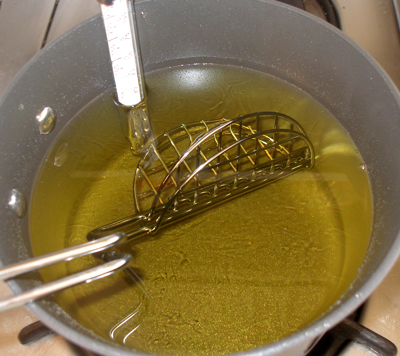
3. Grease your taco frying basket by dipping it into the hot oil, and let it cool.
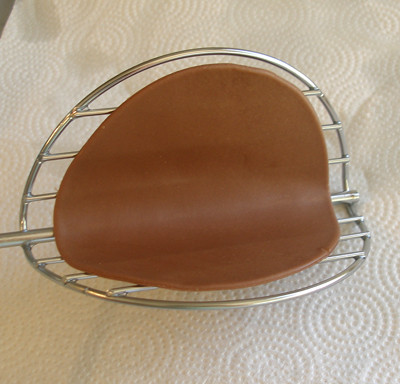
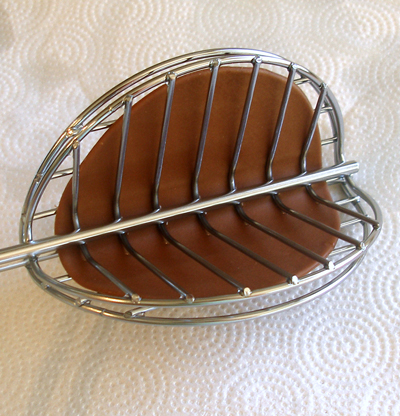
4. Then carefully center the dough round on the basket and close the two sides together.
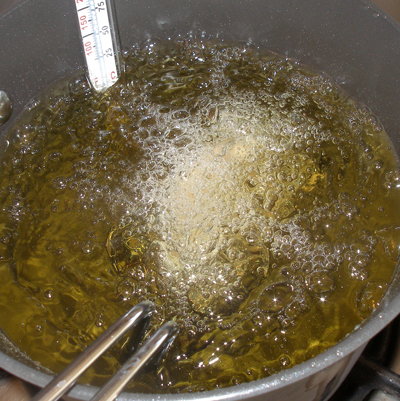
5. Lower the taco basket into the hot oil and fry one at a time for 1-2 minutes, or until the shell has darkened and has a blistered surface.
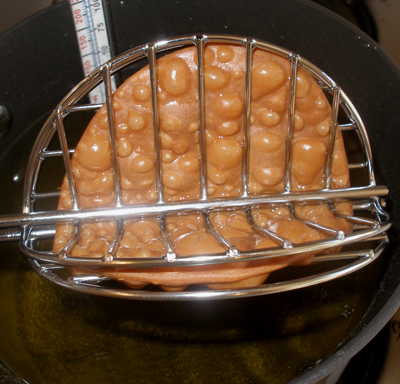
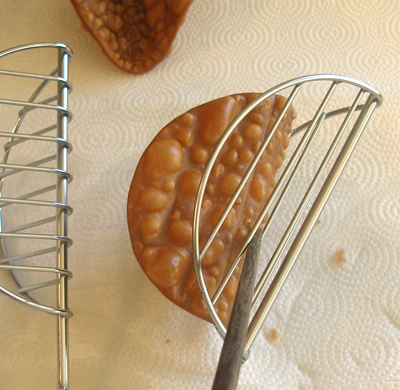
6. Remove the shell from the basket carefully and drain on the prepared baking sheet.
NOTE: I used a chop stick to help remove the fried shell from the basket, as the metal is very hot.
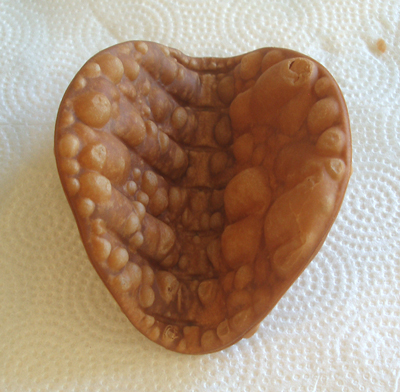
7. Repeat above steps until all the shells are fried. Let cool.
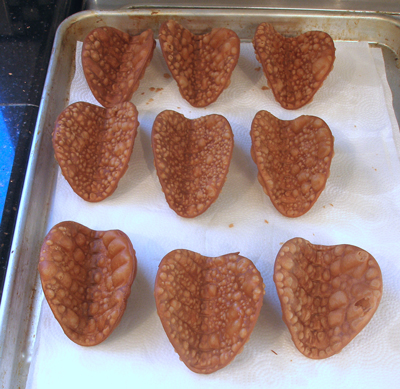
STORAGE
The fried, cooled, and unfilled chocolate taco shells will keep for 1 to 2 days at room temperature, in an airtight lidded container.
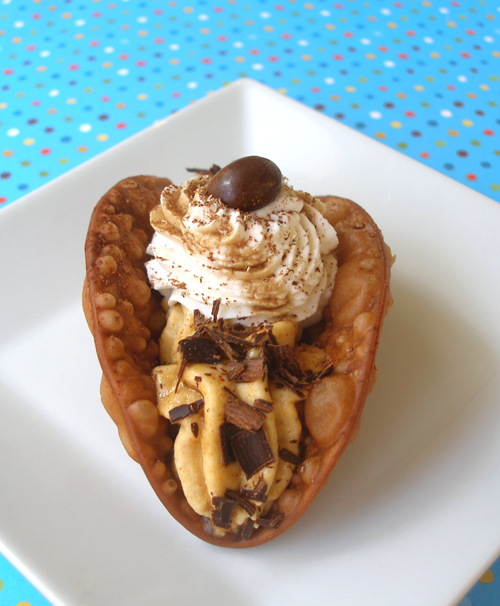
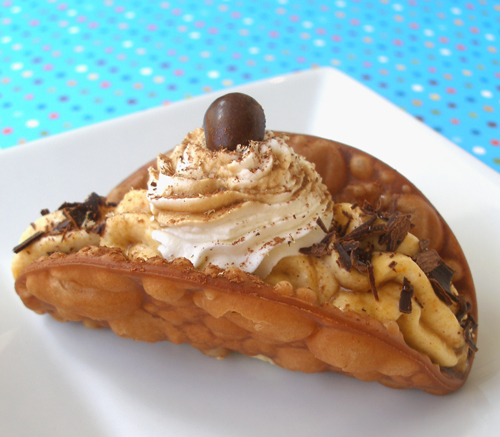
STEP III: ASSEMBLE THE CHOCOLATE PUMPKIN SPICE LATTE DESSERT TACOS
Ideally, you should fill and top the dessert tacos just before serving, as the filling can cause the shell to become soggy.
If you must fill them ahead of time, we suggest not doing it more than two hours in advance.
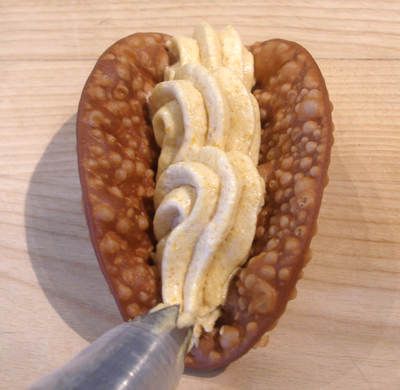
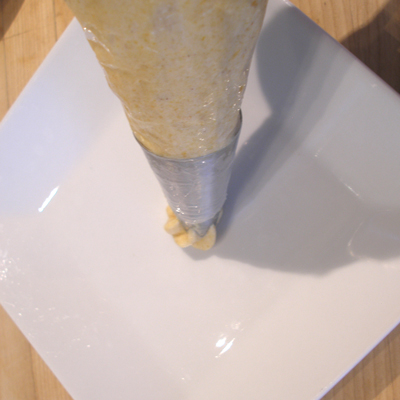
1. Place some of the Pumpkin Spice Mousse in a piping bag fitted with a large open star tip, such as Ateco 824.
2. Pipe the mousse down the center of the shell in a large shell pattern. Do not be skimpy with the filling. You want the taco to look nice and full.
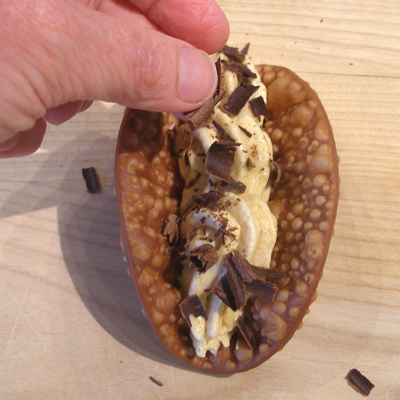
3. Sprinkle the mousse with chocolate shavings or mini chocolate chips.
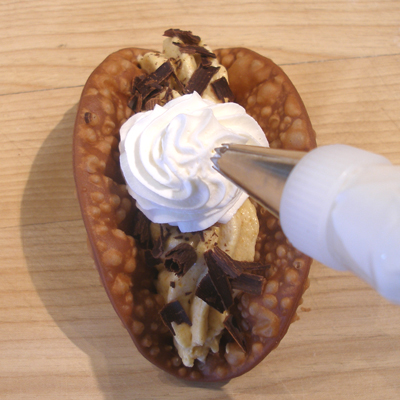
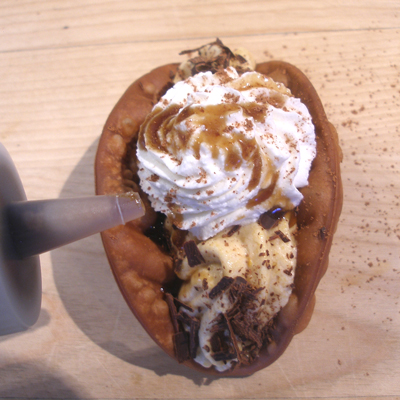
4. Pipe a spiral dollop of whipped cream, using a Wilton 21 tip, in the center of the chocolate dessert taco.
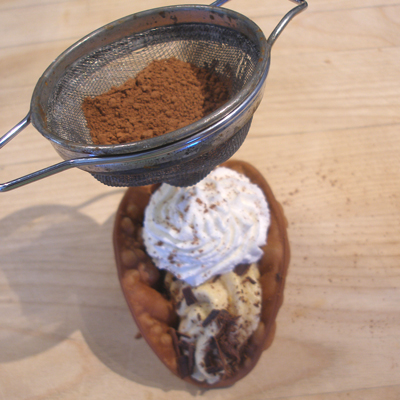
5. Dust the filling with a little sifted cocoa powder.
6. Add a drizzle of coffee syrup over the filling.
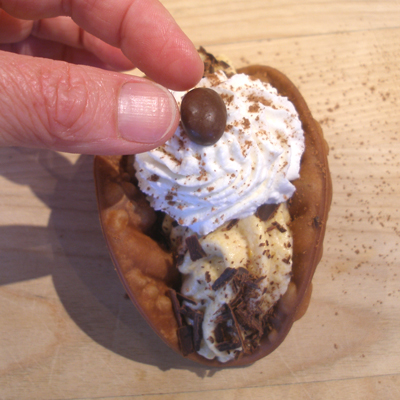
7. Add a chocolate covered espresso bean to the center of the whipped cream.
SERVE
1. To plate, pipe a small dot of pumpkin mousse on your serving plate, and place the taco on to secure it in the upright position.
2. Serve and prepare to drool. 🙂
STORAGE
Ideally, you should fill and top the dessert tacos just before serving, as the filling can cause the shell to become soggy.
If you must fill them ahead of time, we suggest not doing it more than two hours in advance, and keep refrigerated as the mousse filling and whipped cream are perishable.