
Variations: Angel Food Cake Cupcakes; Chocolate Angel Food Cake
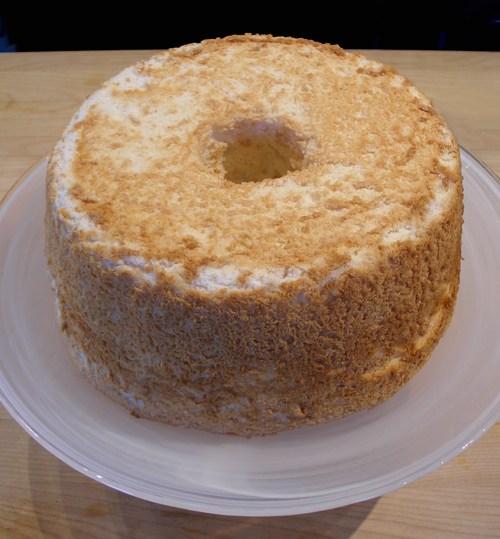
Light and airy, lofty and heavenly, Angel Food Cake is a beloved and very versatile dessert that is naturally low in fat. But many people are intimidated to make this cake because of all the whipping and folding, and the potential for a dry, dense, or flat cake.
But have no fear! General Mills came up with a new, and unorthodox, mixing method for making Angel Food Cakes for commercial bakeries, which I've adapted for home bakers and are excited share with you, CraftyBaking.com style. No more folding the flour and dry ingredients into the whipped egg whites and being afraid that the batter will deflate. Find out what my new mixing method is below!
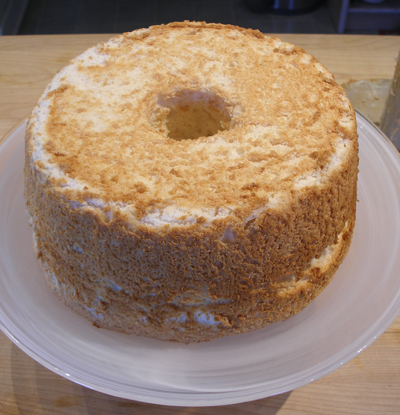
This recipe yields a towering and super-moist angel food cake that can be served on its own, with a few berries or chocolate sauce and whipped cream, or taken over the top as with our Bacon and Salted Caramel Angel Food Cake.
CAKE RECIPE HELP
INGREDIENTS
Angel Food Cake:
2 1/2 cups sugar or superfine sugar*, divided (500 grams or 17.5 oz.)
1 1/2 teaspoons cream of tartar
14 large (1 2/3 cups) egg whites; can be cold from the refrigerator
2 teaspoons vanilla extract
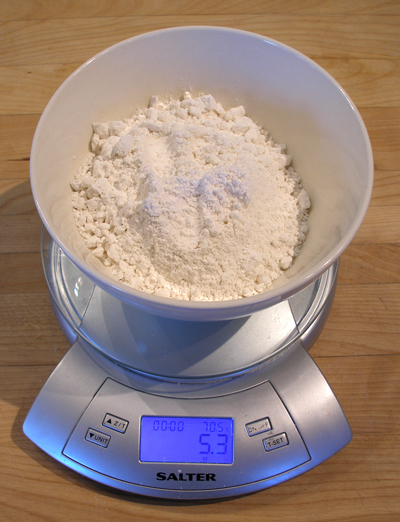
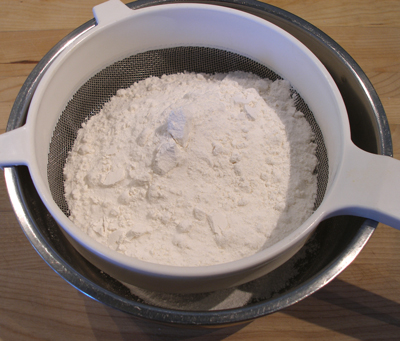
5.33 oz bleached cake flour, not self-rising, sifted (1 1/2 cups or 150 grams)**; measure, and then sift. When using measuring cups, spoon into measuring cup and level to rim, and then sift.
1 1/4 teaspoon salt
**Measuring the flour:
1. Weigh the flour.
NOTE: If using measuring cups, spoon the flour into the measuring cup and then level it to the rim.
2. Then sift it for use in the recipe.
INSTRUCTIONS
STEP I: PREPARE THE ANGEL FOOD CAKE RECIPE
Prepare the recipe:
1. Position the oven rack in the center of the oven and preheat the oven. Remove the top racks so the cake has enough room to rise at least an inch above the pan (pan is 4-inches tall).
SARAH SAYS: In my oven, the center rack is the third rung up. When you have an even number of racks, as I do in my oven, when in doubt, select the lower rack of the two.
2. Preheat the oven to 350 degrees F. NOTE: Do NOT reduce the oven heat by 25 degrees F if using a dark pan.
3. Use a light colored aluminum pan called an “Angel Food” Cake or Tube Pan that is 10- x 4-inches with a removable bottom.
DO NOT use a non stick pan.
DO NOT grease the pan.
Many stores still call the pan a “tube” pan because of the tube in the center, but be sure to purchase a pan with a removable bottom. You need it to ensure the cake will come out easily.
SARAH SAYS: The size and shape of a baking pan is crucial; it should allow for the proper expansion of the egg whites during baking. Angel food cakes are best baked in an ungreased tube pan with straight sides. That's so the whites can rise during baking. Because an angel food cake does not have a strong gluten structure or chemical leavening, it needs the pan sides to virtually cling to while baking. If greased or nonstick, the egg whites would slip downwards, causing a flat and deflated cake.
4. In a medium bowl, add half of the sugar (1 1/4 cups). Mix it together with the cream of tartar. Set aside.

5. Sift together the remaining half of the sugar (1 1/4 cups) with the measured and sifted flour, and salt in another medium bowl. Set aside.
STEP II: USE THE EASY MIX METHOD – BEAT THE EGG WHITES AND MIX IN THE FLOUR MIXTURE.
Easy Mix Method:
For more tips on beating egg whites, go to Eggs – Beating Techniques for Egg Whites
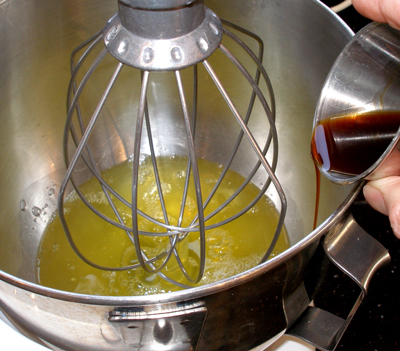
1. Place the egg whites, and vanilla extract, in a clean, dry spotless mixer bowl of a stand mixer fitted with a whisk attachment. Make sure there are no egg shells in the mixture.
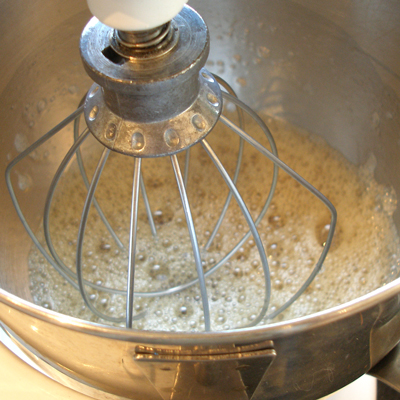
2. Beat on medium-low speed until frothy.
As air is beaten into the egg whites, they will start to lighten in color. Increase the mixer speed to medium.
SARAH SAYS: This beginning step is one of the most overlooked and important steps.
If egg whites are beaten too quickly at the beginning, the structure of the foam will not be as strong, and later the egg whites will not beat as high as they should.
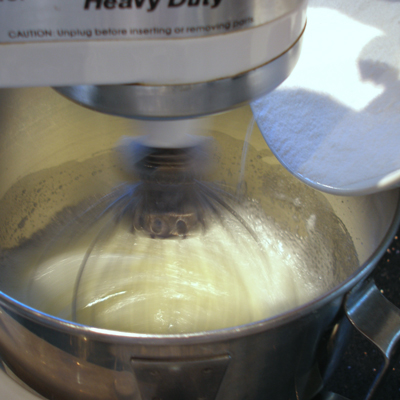
3. When the bubbles in the egg white foam will become smaller and more even in size, increase the mixer speed to medium-high. Gradually add the sugar mixture to the egg whites slowly in a steady stream at the side of the bowl.
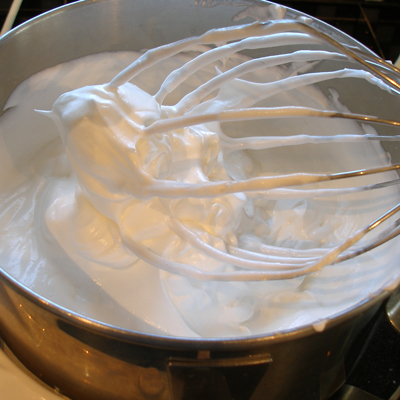
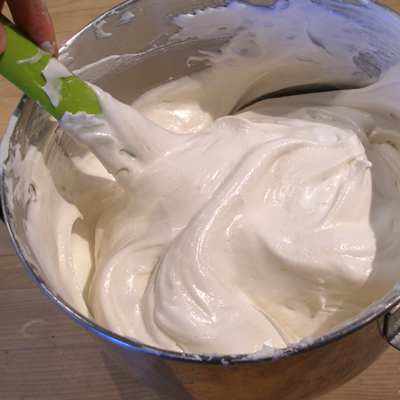
4. Beat to soft (not stiff) peaks.
5. Add the flour mixture, on low speed, to the egg whites in three equal additions.
Mix only until the flour mixture is absorbed, being careful to not overbeat.


6. Remove the bowl from the mixture and gently fold in any stray flour from the bottom and sides with a large rubber spatula.
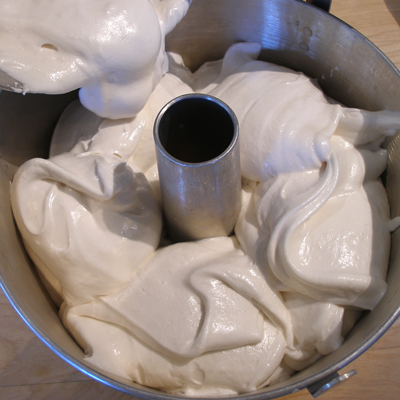
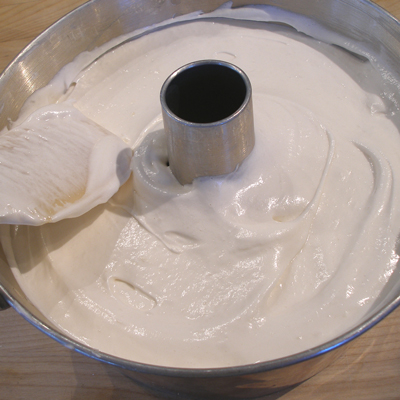
7. Scoop the batter into an angel food cake pan. Run a thin knife through the cake batter once or twice. This prevents air pockets from forming in the body of the cake.
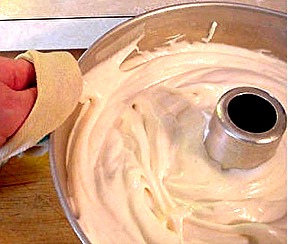
8. Run a clean, damp cloth around the edges to clean the side of the pan.
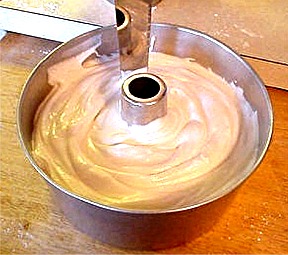
9. Gently smooth the top of the cake.
STEP III: BAKE THE CAKE AND COOL. UNMOLD THE CAKE, TOP AND SERVE
Bake the cake and cool:
1. Bake the cake in a well-preheated oven for 30 – 40 minutes:
Place the cake immediately in a well preheated oven, and shut the oven door immediately. Do not open it until the cake is almost done baking.
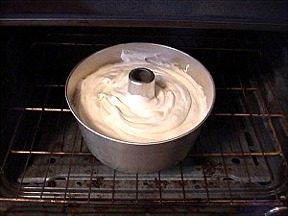
The cake will rise and sometimes even rise above the edge of the pan. It is done when you see no moisture beads in the cracks on the surface and the top is golden brown.
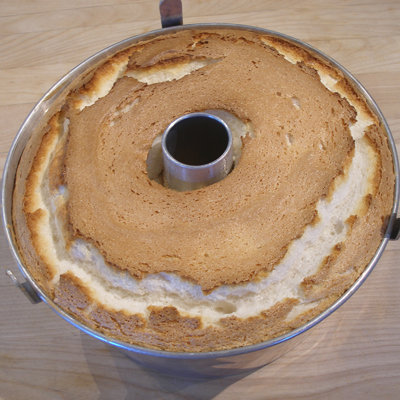
SARAH SAYS: As long as an Angel Food Cake cake “sings” in the oven, it is really the eggs releasing steam and is not done. When the “singing” stops and the cake is nicely browned and springy to the touch, take it from the oven. Also, Angel food cakes will not shrink from the sides of the pan as other cakes do when baked, and the cracks in its crust should be a tad moist, but not damp batter.
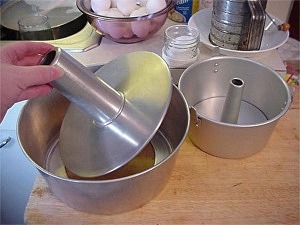
2. When done baking, remove the cake from the oven and immediately turn the pan over the neck of a neck of a soda or wine bottle, or funnel, which I prefer to use – it is more stable than a bottle. This is just a demo of what it should look like, that's why you can't see any cake – there isn't any in the pan at the moment!
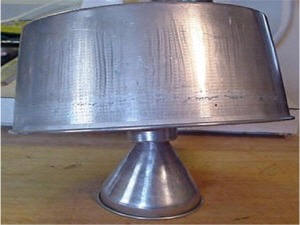
SARAH SAYS: Do not use the little tabs on top of the pan to rest the cake on to cool; it will not raise the cake high enough from the countertop to cool and will cause condensation to form on top of the cake. This will cause a sticky cake top!
3. Let the cake cool for at least an hour before unmolding.
Unmold the cake:
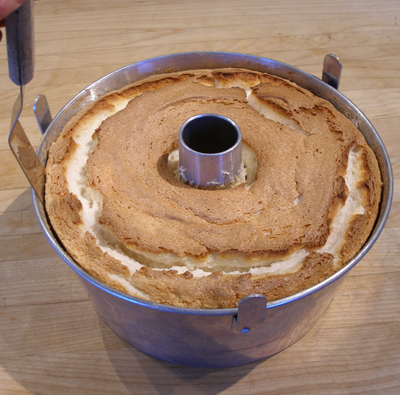
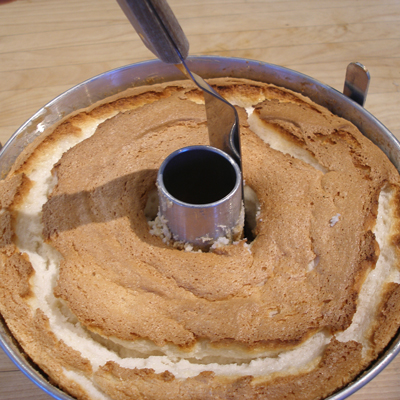
1. When the cake has cooled, go all the way around the outer edge with a large offset spatula, scraping against the pan rather than the cake. Then go around the center, scraping against the pan rather than the cake, to loosen the cake from the pan.
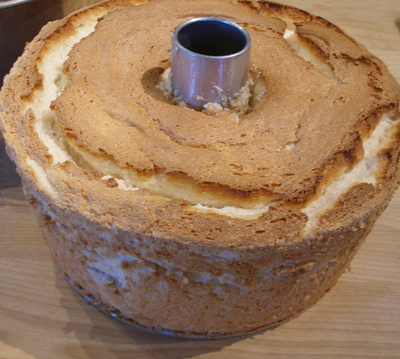
2. Hold the bottom of the pan and push the cake up, to remove the outside of the pan. The central tube and bottom of the pan will be attached.
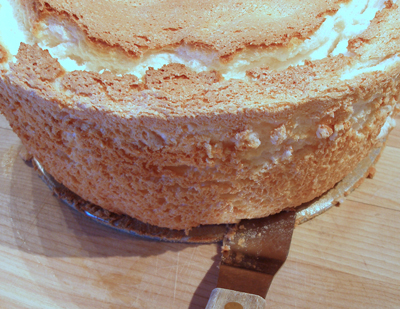
3. Use the offset spatula to loosen the cake from the bottom of the pan, then invert the cake onto a serving plate, or cake stand.
It should also release from the central tube.
STORAGE
Angel Food Cakes don't store well because they become sticky from the high amounts of sugar and egg whites. However, store your cake at room temperature for a couple of days at most, covered in plastic wrap. In humid weather the cake will become especially sticky. You can freeze Angel Food Cakes, but their texture and flavor will suffer. Upon thawing, the cake will be more dense and not as flavorful.
VARIATIONS
ANGEL FOOD CAKE CUPCAKES
Makes about 30
INSTRUCTIONS
1. Portion the batter into ungreased cupcake liners.
2. Bake at 350 degrees F for about 15 – 16 minutes.
3. Place the pan on a wire cake rack for about 10 minutes and unmold cupcakes to a wire cake rack to cool.
CHOCOLATE ANGEL FOOD CAKE
INGREDIENTS
Add 1/3 cup cocoa powder and remove 1/4 cup cake flour.
Add in 1 teaspoon instant espresso powder.
INSTRUCTIONS
Sift both in with the flour, after measuring.