
Flaky and buttery, Danish Pastry Dough can be used to make all sorts of scrumptious individual pastries, from swirly snails to nutty bear claws. Use it for elaborate braids stuffed with sweet or savory delights, and even coffeecakes to feed a crowd.
In this recipe, I will guide you through how to prepare the dough step-by-step with plenty of photos showing each stage, and lots of detailed explanations. I'll give you the exact rolling dimensions (see my tips below for how to keep your dough perfectly aligned so it rolls neatly) and steps for chilling the dough. I'll also highlight how to avoid any trouble spots so your dough is a success every time!
As you are making it, sure to watch the temperature of the dough carefully…it needs to stay cold at all times (in fact, I'd suggest avoiding making it on a hot summer day unless your kitchen is well air conditioned). If necessary, place the dough in the freezer for about 10 minutes in between rollings (just be careful not to freeze the dough solid!).
Read the directions a few times before you start so you are comfortable with the method. Then, gather all your ingredients before you start (this is called mise en place, or putting in place!).
Once your dough is ready and chilled, try our delicious Danish Pecan Snails or our glorious Danish Pastry Braids.
PASTRY RECIPE HELP
INGREDIENTS
Danish dough:
1/4 cup warm water, about 100 to 110 degrees F, measured with an instant read thermometer
1 package (2 1/4 teaspoons) active dry yeast
1/2 cup milk, about 100 to 110 degrees F, measured with an instant read thermometer
1/4 cup sugar
1 teaspoon salt
1 large egg
2 1/2 cups unbleached all-purpose flour; spoon into measuring cup and level to rim
2 sticks (8 ounces or 16 tablespoons) unsalted butter, cold, cut into 1/4-inch thick slices
INSTRUCTIONS
STEP I: MAKE THE DANISH PASTRY DOUGH
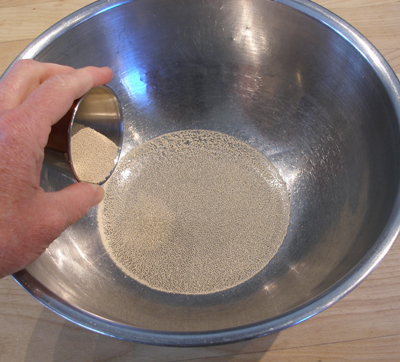
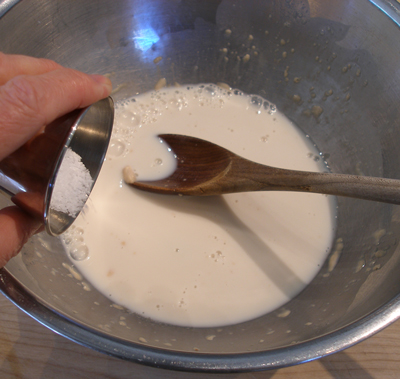
1. Pour water into a large bowl; add yeast and let stand until is dissolved.
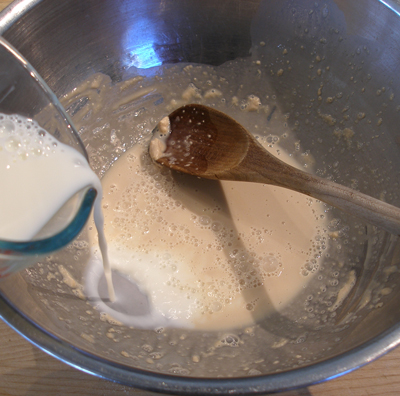
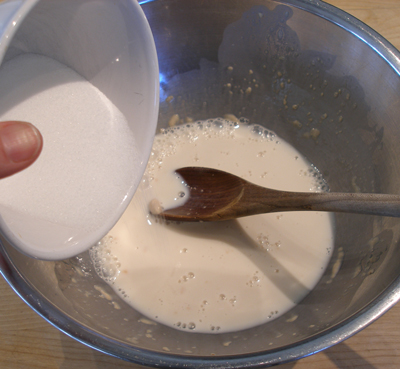
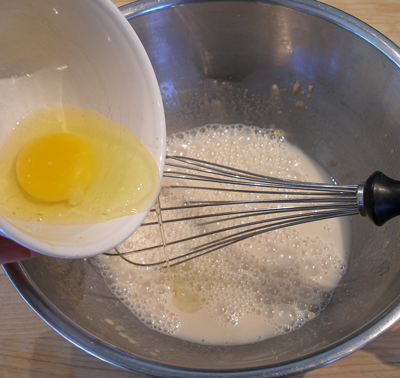
2. Add milk, sugar, salt, and egg. Whisk to mix; set aside.
3. Measure the flour into a food processor fitted with a metal blade.
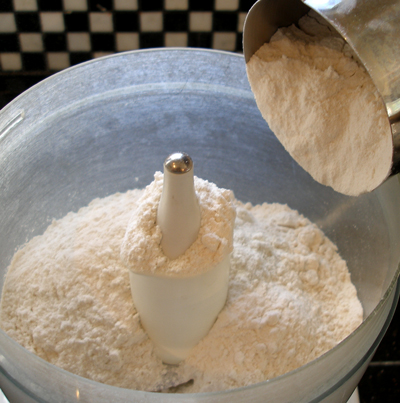
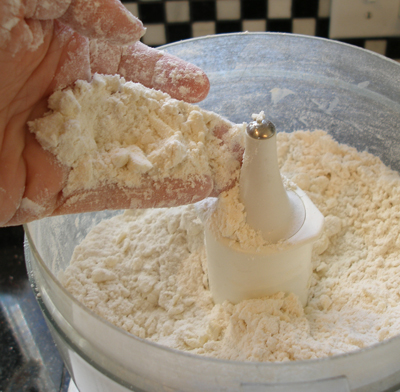
4. Drop cold butter pieces into the flour. Pulse the food processor 8 to 10 times, until butter is cut into 1/2-inch size pieces.

5. Empty flour mixture into bowl with the yeast mixture.
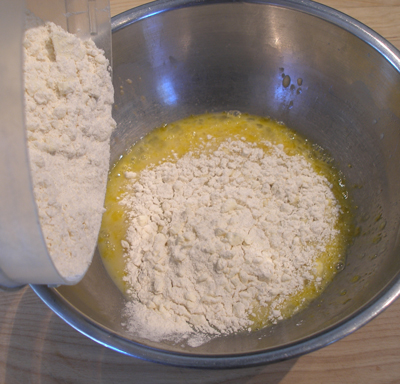
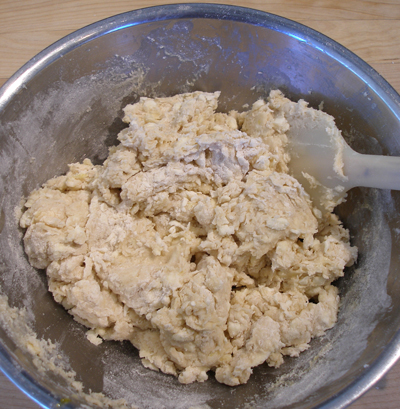
6. With rubber spatula, gently fold the two mixtures together just until the dry ingredients are moistened.
The butter must be cold and remain in large pieces so that you will produce a flaky pastry.
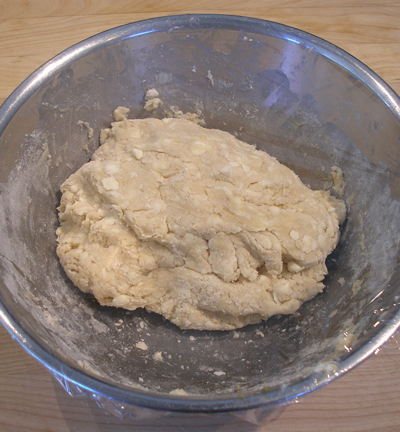
The dough will look very rough with butter pieces throughout.
Resting
Cover bowl with plastic wrap and refrigerate overnight before rolling.
STORAGE
For long-term storage, refrigerate for up to 4 days.
STEP II: ROLL THE DANISH PASTRY DOUGH
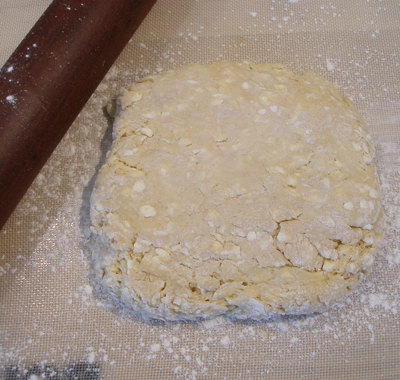
1. Lightly flour a work surface; scrape the dough out onto it. Dust dough lightly with flour.
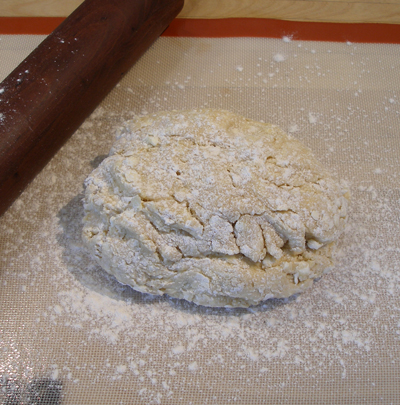
2. Using the rolling pin, roll dough into a rough square.
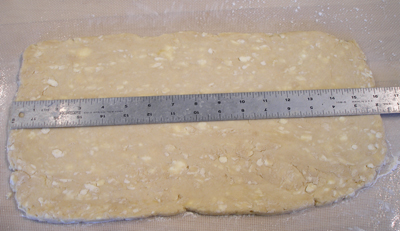
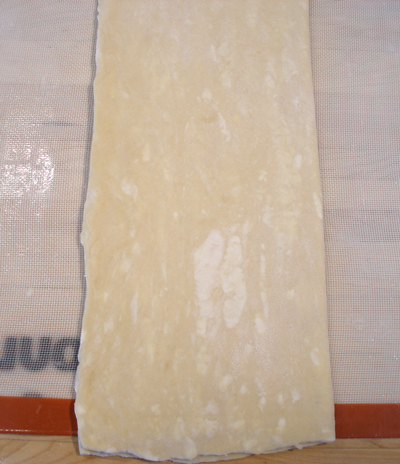
3. Roll out the dough square to 16-inches long.
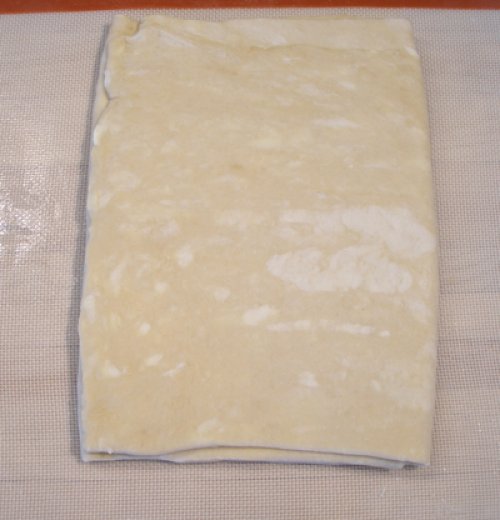
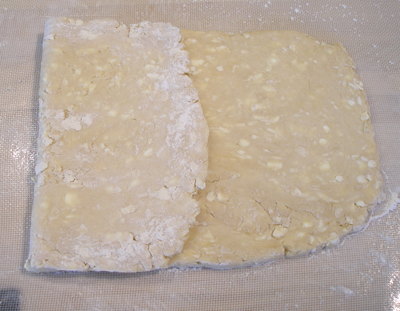
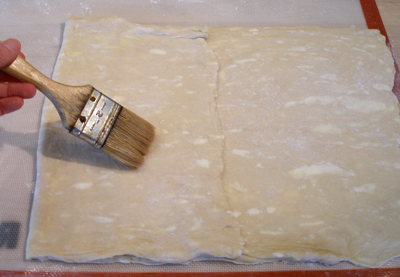
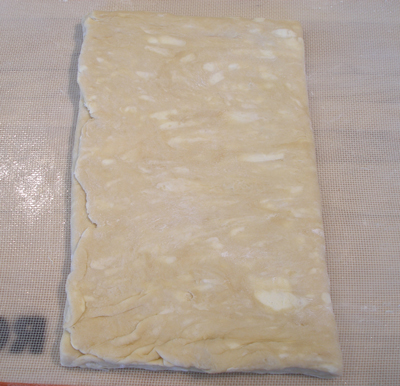
4. Fold dough into thirds, like a business letter, along its long side.
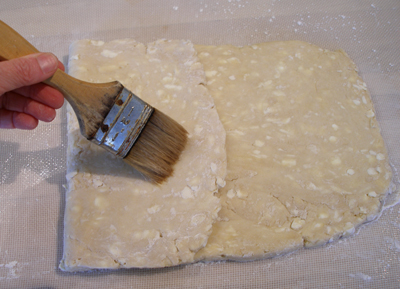
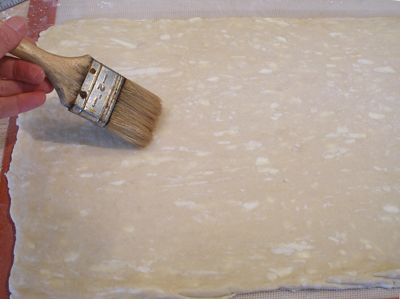
NOTE: Use a dry pastry brush to remove any excess flour before you fold the dough over.
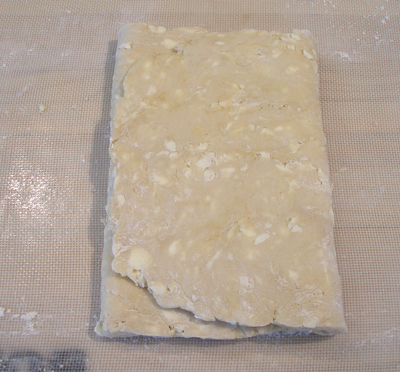
5. Turn the folded dough so that the fold is to your left, like the spine of a book.
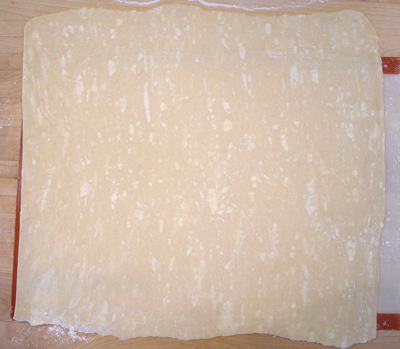
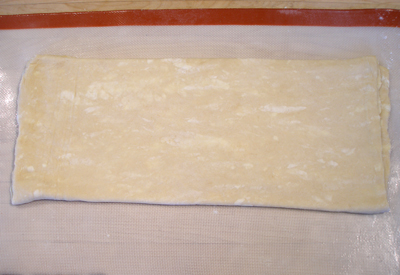
6. Roll out the dough again, into a long narrow rectangle, about 10-inches wide by 24-inches long.
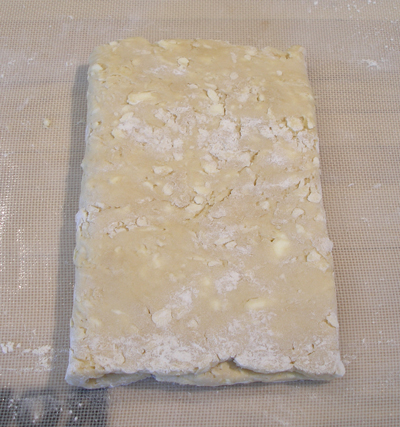
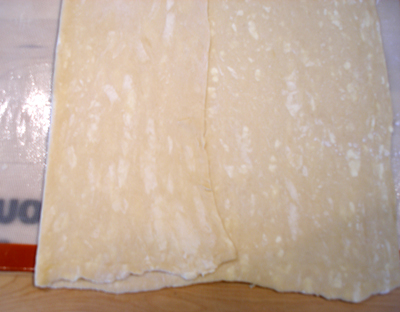
Fold the rectangle in thirds again, turn it so the closed fold is to your left.
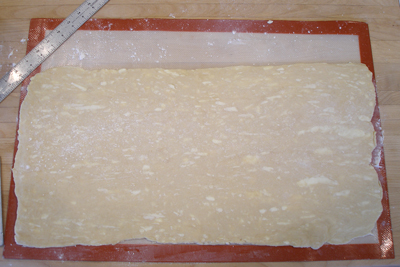
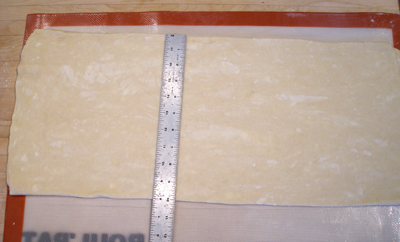
7. Roll it into a 20-inch square.
8. Fold the square into thirds, like a business letter, so that you make a rectangle, turning it so that the closed fold is on your left.
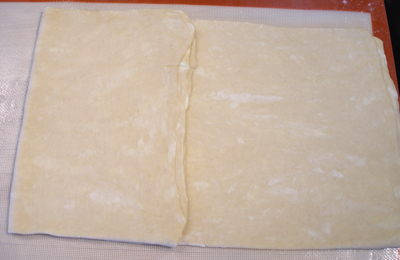
9. Once more, roll the dough into a long narrow rectangle, 10 inches wide by 24 inches long.
Then again, fold into thirds again.

Resting
Cover and chill the dough for 30 minutes before final shaping. The dough is now ready to be shaped, filled, and baked, following the recipes of your choice.
STORAGE
You can store the dough in the refrigerator for 4 days or wrap it air tight and keep it frozen for 1 month; thaw overnight, still wrapped, in the refrigerator.
This recipe is adapted from BAKING WITH JULIA, written by Dorie Greenspan, published in 1996 by William Morrow and Company. The recipe is based on one included in my GREAT SCANDINAVIAN BAKING BOOK, reprinted by the University of Minnesota Press, 1999, by Beatrice Ojakangas.