

This is the perfect cake recipe to use for making my Cakelette Pops. Moist and dense, much like a pound cake, the cake is sturdy enough that you can make clean cuts with cookie cutters. And while the cake is moist, it won't fall off the stick when dipped into the colored candy melts. Baking it in two 9- x 13-inch pans is perfect for the cakelette pops, but you can also bake it into three 9 x 2-inch layers and then layer it with luscious icing.
CAKE RECIPE HELP
INGREDIENTS
Yellow Cake:
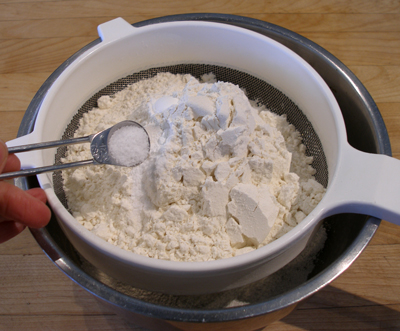
3 cups unbleached all-purpose flour; spoon into measuring cup and level to rim
1/2 teaspoon baking powder
1/2 teaspoon salt
1 1/4 cups whole or 2% milk
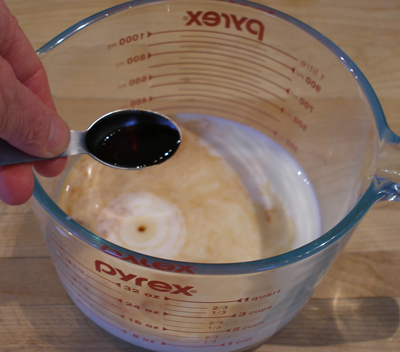
2 teaspoons vanilla extract
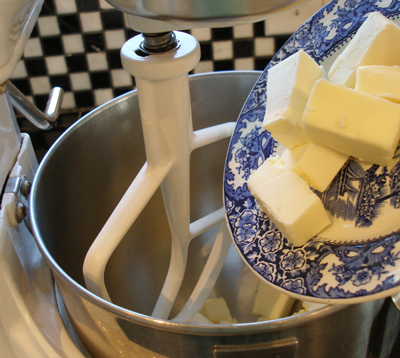
1 1/2 cups (3 sticks or 24 tablespoons) unsalted butter
2 cups sugar
5 large eggs
Caramel icing (recipe below)
INSTRUCTIONS
1. Position an oven rack in the center of the oven. Heat the oven to 325 degrees F.
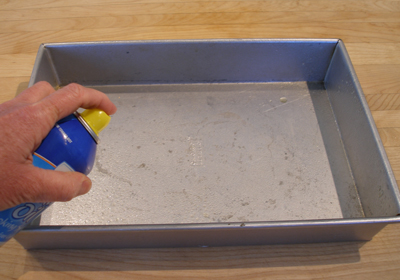
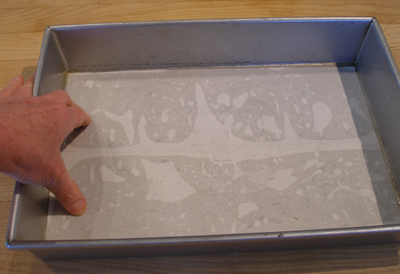
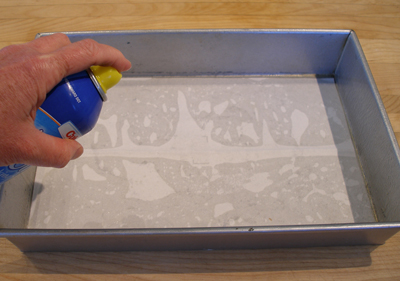
With nonstick spray, oil three (9- x 2-inch) cake pans or two (9-by-13-inch)
pans. Line bottoms with parchment paper. Spray the paper.
NOTE: For this tutorial, we baked the cakes in 2 9 x 13-inch pans.
2. Combine the flour, baking powder and salt in a medium bowl. Set aside.
Add the vanilla extract to the milk and set aside.
3. Cut the butter into large chunks and add them to the bowl of a stand mixer fitted with a paddle attachment.
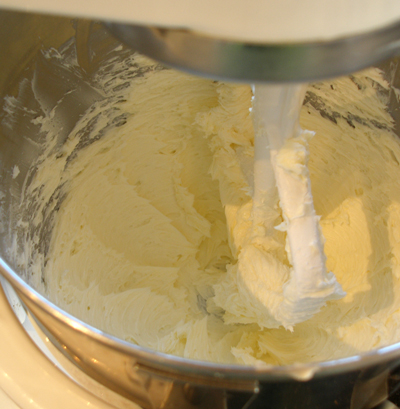
Beat on low speed until softened. Increase the speed and beat for 1-2 minutes, until it looks like lightly whipped cream.
Stop the mixer and scrape the sides and bottom of the bowl.
4. Add the sugar, slowly at the side of the bowl, increasing speed until well whipped, about 2-3 minutes.
Stop the mixer and scrap the sides and bottom of the bowl.
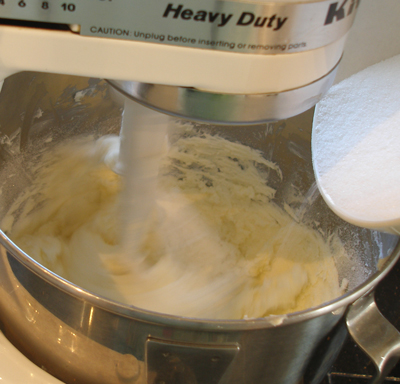
5. Add the eggs one at a time, beating for 20 seconds after each addition.
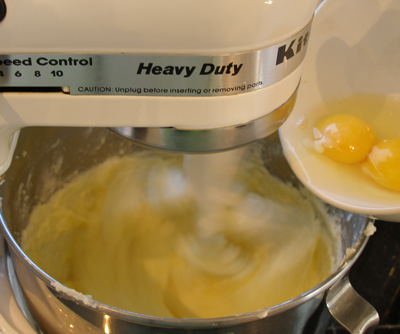
6. After the eggs have been added, increase the mixer speed to medium and beat the mixture for 2 minutes. (If the eggs are cold, the batter will curdle slightly. It's ok. It will come together as the batter warms from the beaters. ) Set the kitchen timer to help you keep track of the time. The mixture will become fluffy and aerated.
Stop the mixer and scrape the sides and bottom of the bowl.
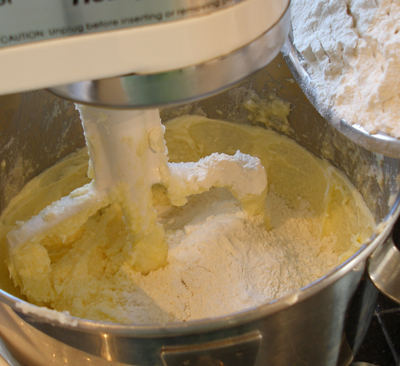
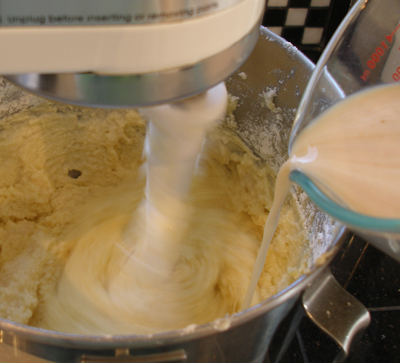
7. With the mixer on LOW speed, add the flour mixture in 3 equal portions, alternating with the milk in 2 equal portions, beginning and ending with the flour. (If the milk is cold, the batter will curdle slightly. It's ok. It will come together when you add the flour.)
Add the flour and liquid ingredients in increments quickly; do NOT wait in between additions too long as you don't want to overmix the batter.
After completing the last addition of flour, stop the mixer, and scrape the sides and bottom of the bowl with a large rubber spatula.
Then, let the mixer run for 30 seconds on LOW. The batter will be very thick and form ridges on the side of the bowl as the beater pulls through the batter. STOP the mixer. Do NOT overmix.
Remove the mixing bowl from the mixer. With a large rubber spatula, give the batter ONE or TWO quick folds to incorporate any stray flour or milk left at the sides and bottom of the bowl. Then, STOP!
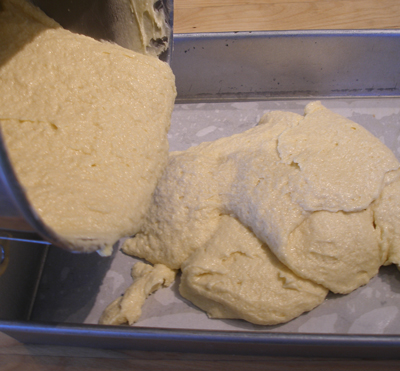
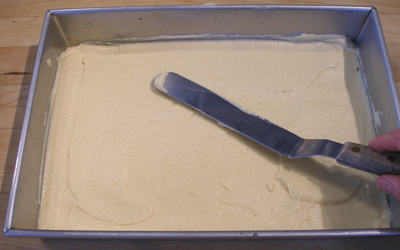
8. Scrape the batter evenly into the cake pans. Smooth the tops of the batter.
9. Bake cakes for 35-45 minutes, until a toothpick inserted in the middle comes out with a few moist crumbs, but not batter. The cakes in the 9 x 13-inch pans will bake about 3/4-inch high.
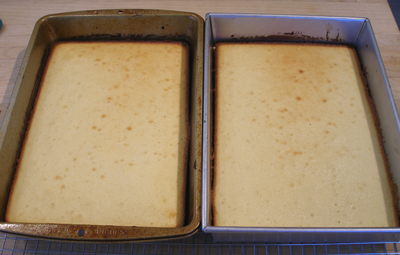
7. Remove cakes to cool on wire racks for 10 to 15 minutes. Carefully run a knife around the inside of the pans to loosen the cakes. Turn the pans upside down over pieces of waxed paper. Remove the pans and peel off the paper. Turn upright on a wire cake rack to cool completely. Be careful, the cakes are delicate when warm.

STORAGE
The cake layers may be made ahead to this point. Well-wrapped, they will keep at room temperature for a few days. They freeze up to 2 months.