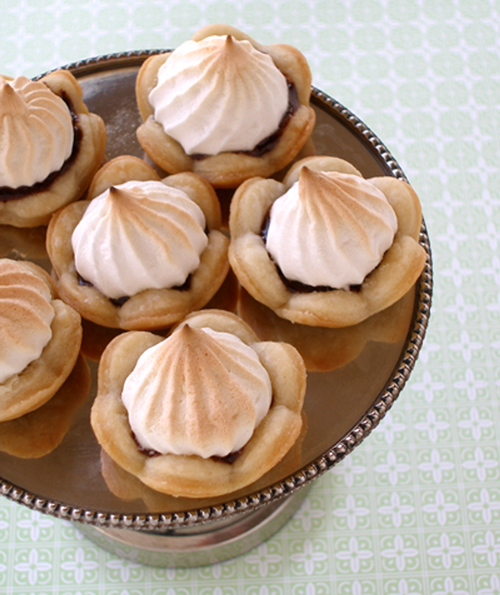
Flaky, tender pastry with a rich chocolate filling and toasted meringue topping. A fabulous combination!
PIE RECIPE HELP
KELLY SAYS: This week I found out, last minute, that I needed to come up with some sort of a dessert for about 60 people for a potluck at my son's martial arts school. I knew I had pie dough in the freezer, so I took it out to thaw. Since pie is a bit messy to serve at a potluck, and there were going to be many mouths to feed, I decided to make tartlets instead.
I put together a couple of fabulous CraftyBaking.com recipes to create these Mini Chocolate Meringue Tarts.
I chose to use this Chocolate Glaze, rather than a traditional ganache, because I know it stays soft-ish, even when chilled, and it is absolutely delicious. It is also a little “saucy”, which added moistness to the tarts and cut the dryness of the high crust to filling ratio. It was PERFECT.
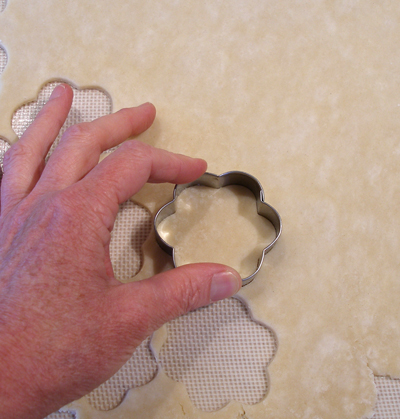
I used a flower cookie cutter which made them look pretty and dainty. If you want to use a plain round, or scalloped round cookie cutter, you can do that too.
INGREDIENTS
1 recipe Kelly's Perfect Food Processor Pie Dough
1 recipe Chocolate Glaze; put it in a squeeze bottle. The squeeze bottle is the perfect tool to fill your tart shells. It will keep things neat and tidy, and make your life a lot easier. This glaze is too liquid to use a piping bag.
1/2 recipe Caramelized Meringue
2 1/4-inch 6-petal flower cookie cutter
Mini-muffin pans
INSTRUCTIONS
STEP I: MAKE THE MINI TART CRUSTS AND PRE-BAKE (BLIND BAKE) THEM
1. Roll one disk of Kelly's Perfect Food Processor Pie Dough to about 1/8-inch thick and cut out as many flower shapes as you can using the cookie cutter.
NOTE: You may also use an equivalent sized round or scalloped round cutter.
2. Position an oven shelf to the middle of the oven. Preheat the oven to 375 degrees F.
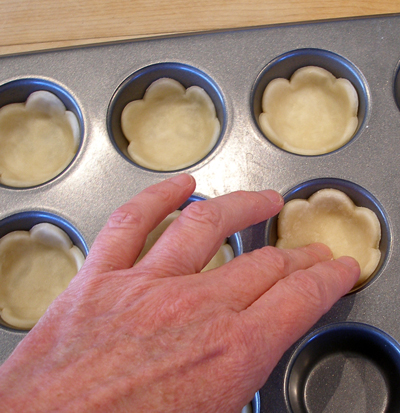
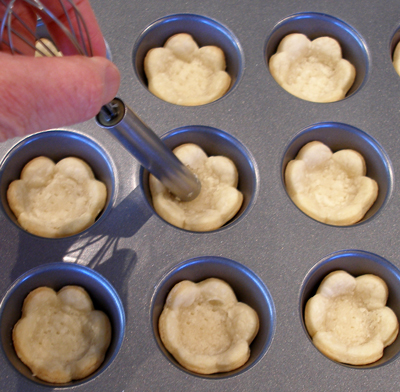
3. Place shells in mini muffin tins, pressing down gently, making sure to center them in the depression.
4. Place muffin tins in the refrigerator for about 10 minutes, to chill the dough a bit.
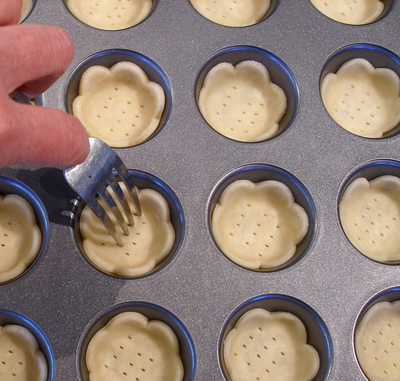
5. Remove pans from refrigerator dock(prick) the bottoms with the tines of a fork. This will help keep them puffing up too much as they bake.
6. Bake shells for 8-10 minutes, or until golden brown on the edges.
7. Remove pans from oven and, using a blunt kitchen tool, gently press down the bottom of the tart to remove any puffiness, and make more room for your filling.
8. Let them cool for 10 minutes, then remove shells from the pans and cool on a rack.
9. Repeat the process with the other disk of dough. You should have 80-85 shells from the full recipe of pie dough.
STORAGE
The prebaked pie crusts can be stored at room temperature for a day or two, or frozen for a month or more. Thaw at room temperature before using.
STEP II: ASSEMBLE THE MINI TARTS. HEAT THE OVEN AND BROWN THE MERINGUE.
1. Fill the cooled tart shells with the chocolate glaze then place them on a baking sheet. Place the baking sheets in the freezer for about 20 minutes.
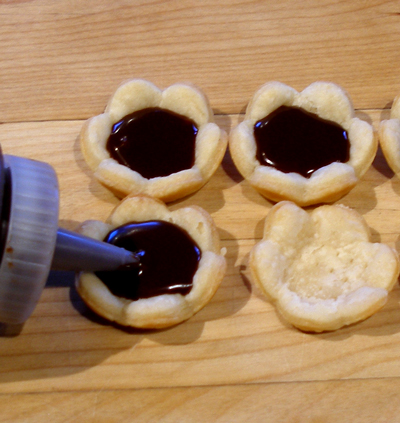
NOTE: This will solidify the chocolate glaze and make the process of piping the topping much easier. It will also help keep the tartlet cool, while the topping bakes.
2. While the filled shells are in the freezer, position an oven shelf to the middle of the oven.
Preheat the oven to 375 degrees and make the Caramelized Meringue.
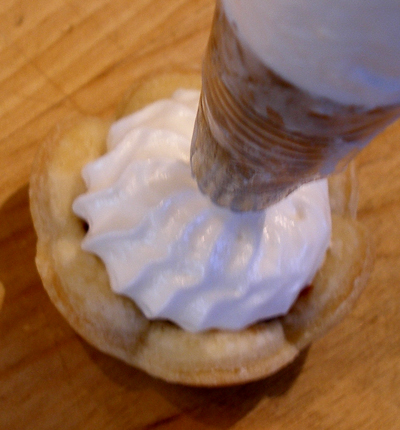
3. Place some of the meringue in a piping bag with a large open star tip.
KELLY CA SAYS: I used a Wilton 4B tip.
4. Remove one sheet of tartlets from the freezer and pipe a dollop of meringue on the top, holding the bag vertically. Use pressure at first, then release pressure and pull the bag straight up, making a nice peak on top.
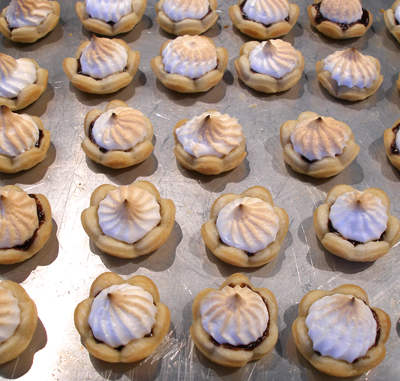
5. Place the topped tarts on the same baking sheet and place in the oven. Bake the meringue for 3-4 minutes, or until it is nicely browned.
Keep an eye on the tartlets so the meringue does not get too brown. Repeat this process with the rest of the tartlets.
KELLY SAYS: Also, I know some people swear by using a torch to brown meringue, but there were too may of these bad boys to use a torch, and I like the more gentle even browning that you can get by browning in the oven.
6. Let tartlets cool, then place in the refrigerator for storage. They are best served the day they are made.
SERVE AND STORAGE
Do not make these too far in advance, so the meringue topping doesn't suffer. You cannot cover these with plastic wrap, because it will stick to the topping.