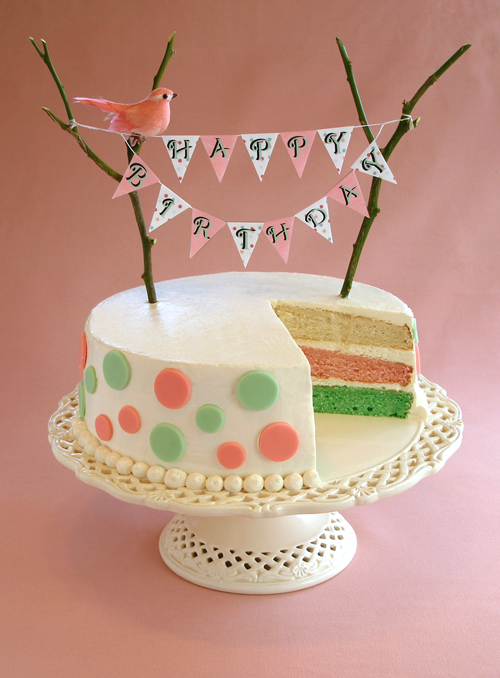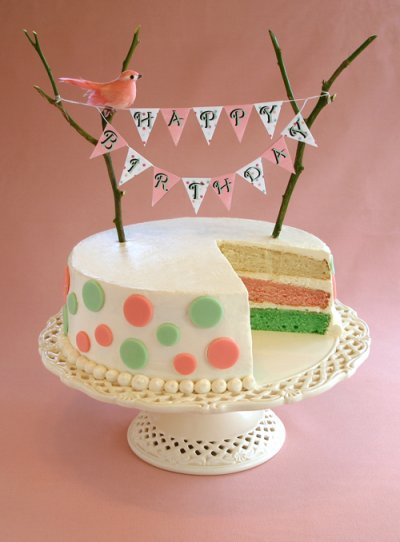
KELLY SAYS: “Sarah and I have been wanting to do a Birthday Cake with a twist tutorial for a long time.
We hope you enjoy this Birthday Cake with the Birthday Bunting Topper. It is sweet, feminine and oh so tasty!
There is a download-able template for the bunting too, so you can print it out on your own computer.
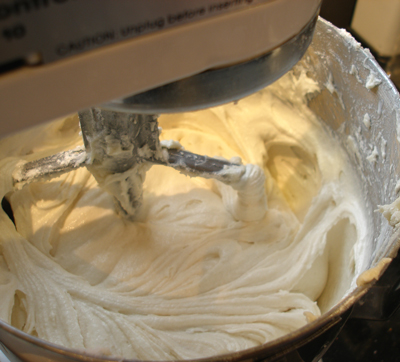
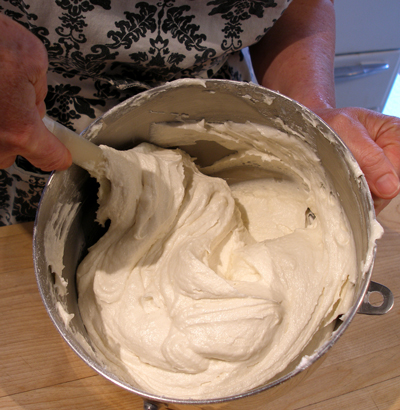
The cake layers are so tender and moist…it has to be one of my new faves! It is iced with smooth and delicious Swiss Meringue Buttercream or SMBC.”
Find out why we selected this particular recipe to use for our tutorial.
CAKE RECIPE HELP
INGREDIENTS
1 recipe White-on-White Buttermilk Cake Recipe, below
1 recipe Swiss Meringue Buttercream or SMBC
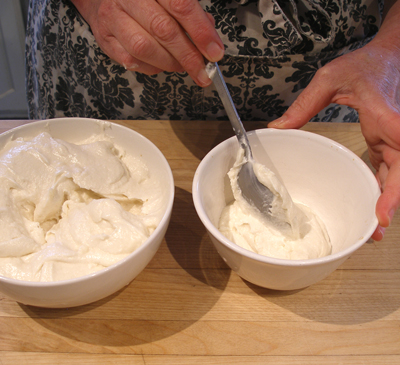
1/4 cup each green and pink Marshmallow Fondant or MMF or Rolled Fondant
2 small sticks or branches from non-toxic tree(I used lemon branches)
Small faux bird from craft store
Thick white thread or white dental floss
Small glue dots
INSTRUCTIONS
STEP I: MAKE THE WHITE-ON-WHITE BUTTERMILK CAKE
WHITE-ON-WHITE BUTTERMILK CAKE / Recipe alone
INGREDIENTS
3 cups cake flour; spoon into measuring cup and level to rim
1 1/2 teaspoons baking powder
3/4 teaspoon baking soda
3/4 teaspoon salt
1 1/2 cups (3 sticks) unsalted butter; can use cold from the refrigerator
2 1/3 cups sugar
3 large egg whites; can use cold from the refrigerator
2 teaspoons vanilla extract 1
1/2 cups buttermilk, well shaken; can use cold from the refrigerator
INSTRUCTIONS
1. Place one baking rack one-third from bottom of oven and second two-thirds from bottom of oven. Preheat oven to 350 degrees F. Line three 9 x 2-inch greased pans with greased parchment paper.
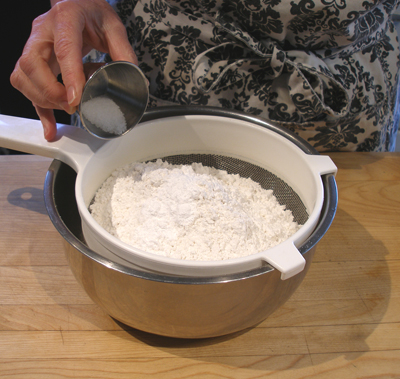
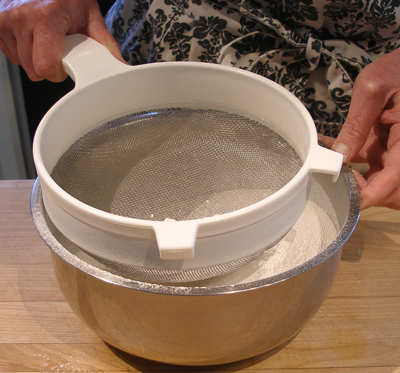
2. Combine flour, baking powder, baking soda and salt in a medium bowl, and combine. Set aside.
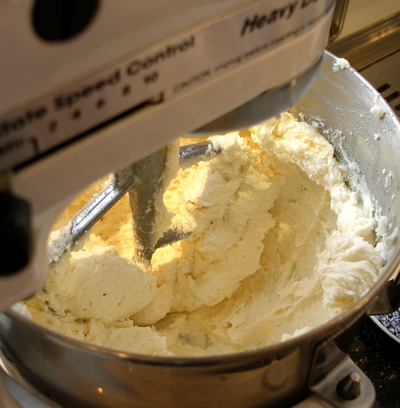
3. Beat the butter in the bowl of a stand mixer, fitted with a paddle attachment, on low until softened. Add the sugar in a steady stream at the side of the bowl. Increase speed to medium and beat for 2 minutes until light yellow and fluffy. Stop the mixer and scrape the side and bottom of the bowl with a large rubber spatula.
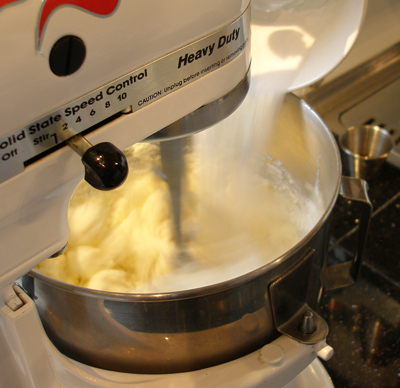
4. With the mixer on low, add egg whites and vanilla. Increase the mixer speed to medium, and beat for one minute until light and fluffy.
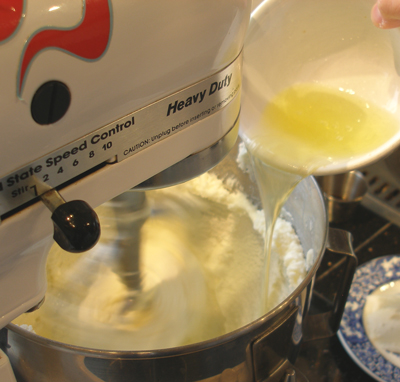
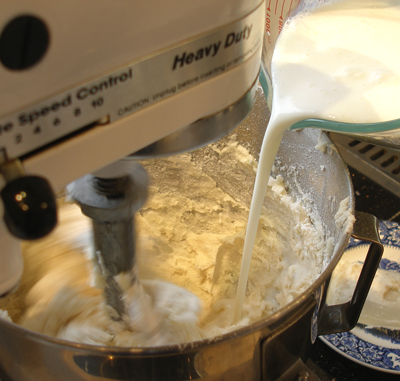
5. With the mixer on low, add the flour mixture in 3 equal portions, alternating with the buttermilk in 2 equal portions, beginning and ending with the flour. Add the flour and liquid ingredients in increments quickly; do not wait in between additions too long as you don't want to overmix the batter.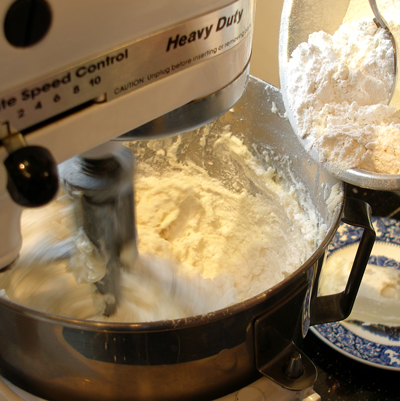
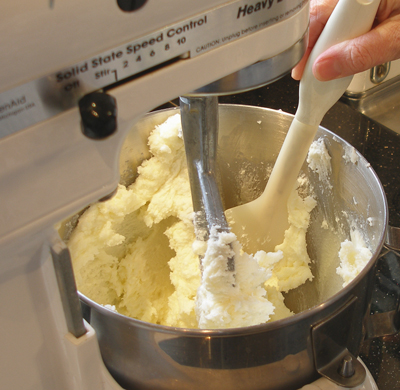
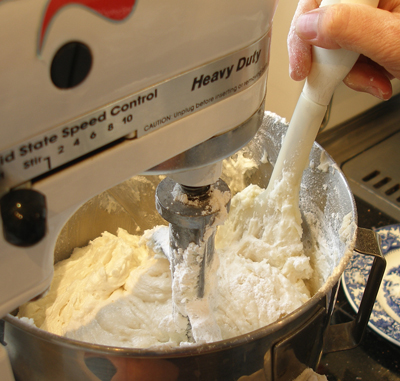
6. After completing the last addition of flour, stop the mixer, and scrape the side and bottom of the bowl with a large rubber spatula. Then, let the mixer run for 30 seconds on LOW. STOP the mixer. Do NOT overmix. Remove the bowl. With a large rubber spatula, give the batter ONE or TWO quick folds to incorporate any stray flour or milk left at the sides and bottom of the bowl. Then, STOP!
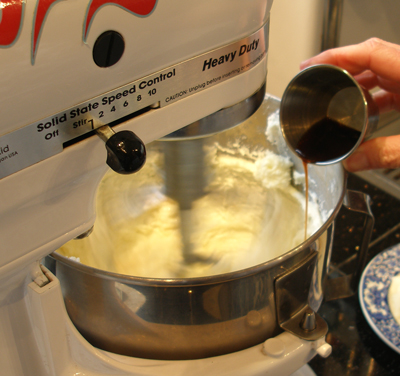
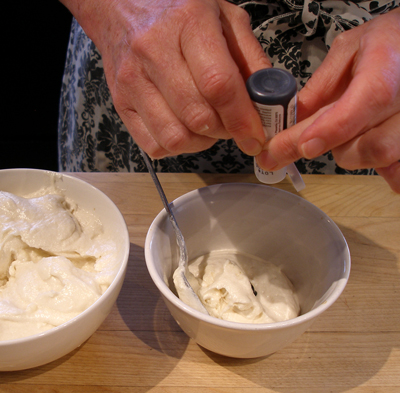
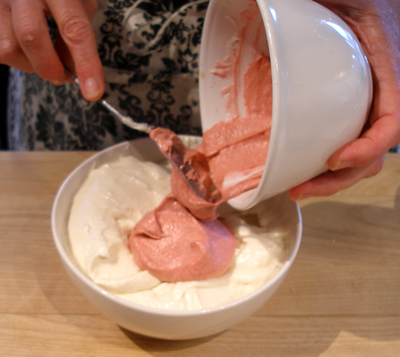
7. Take one portion of batter and remove about 1/4 cup to a small bowl. Add 6 drops pink gel paste food coloring(I used AmeriColor) and stir it into the batter until it is uniform in color.
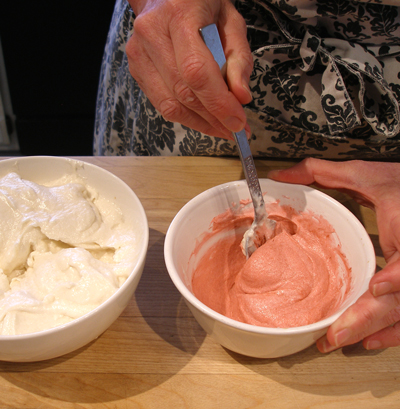
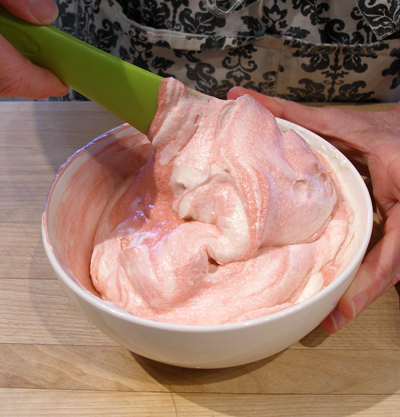
8. Add the colored batter to the rest of the portion and gently FOLD the colored batter into the plain batter until the color is uniform.
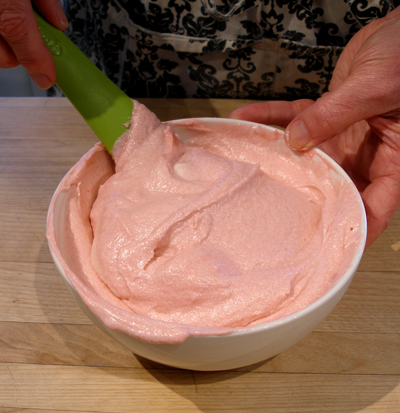
9. Pour the batter into the prepared pan and bake.

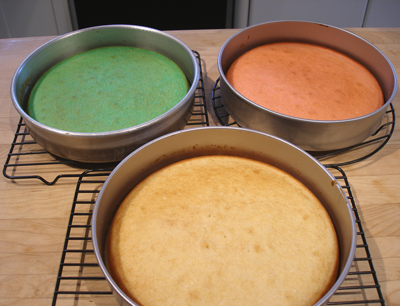
10. Repeat the process with the last portion of batter, adding 4 drops of green gel paste food coloring. 7. Bake for 25 to 35 minutes, checking each layer. When done, the top should feel firm and give slightly when touched and will shrink slightly from the side of the pan. The cake will be slightly browned. If you insert a toothpick in the middle and remove, there should be a few moist crumbs attached, but not batter. 8. When each layer is done, remove to cool on a wire rack in its pan for 10 to 15 minutes and then unmold onto wire cake racks to cool thoroughly. Be careful, the cakes are delicate when warm.
STORAGE
The cake layers store nicely. They can be stored at room temperature for about 3 or more days. The cake layers freeze well for about a month or more. Keep well wrapped. Recipe instructions and notes rewritten by Sarah Phillips. Recipe adapted heavily from The Pastry Queen, by Rebecca Rather Rebecca Rather, in her book, The Pastry Queen, reports that she got the recipe from Houston's Cafe Annie from renowned Chef Jeannie Hemwattakit.
STEP II: ICE THE CAKE
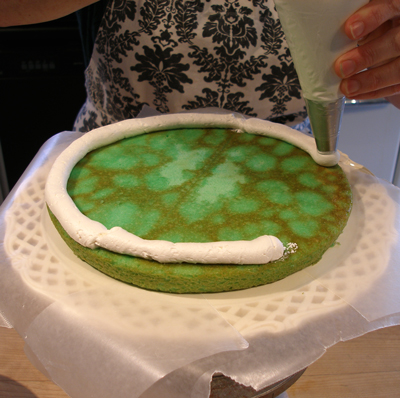
1. Place the green cake layer on a cake stand protecting the edges of the stand with strips of waxed paper.
2. Place the cake stand on a turntable. A turntable makes icing a cake so much easier, and is a MUST for any baker!
3. Pipe a dam of icing around the edge of the cake with a large plain piping tip.
4. Add a large dollop of icing in the center of the layer and spread it evenly with a large off-set spatula.
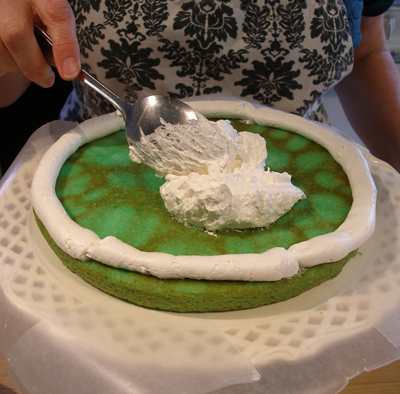

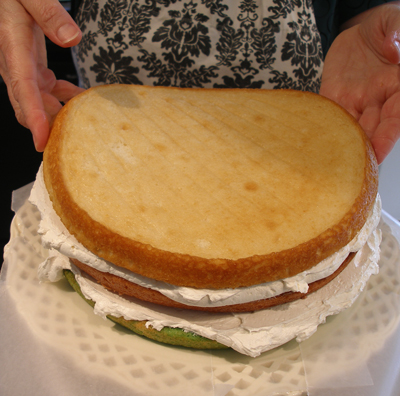
5. Place the pink layer on top of the icing, pressing it down gently to level.
6. Pipe and dam, and spread an even layer of icing on the pink layer.
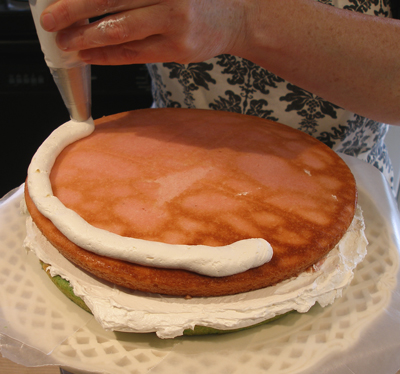

7. Add the third and final layer on top. At this point, you can begin cleaning up the excess frosting on the sides of the cake, if you like.
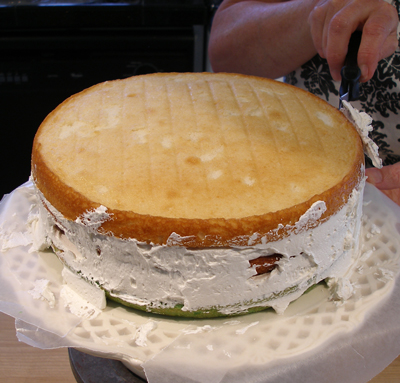
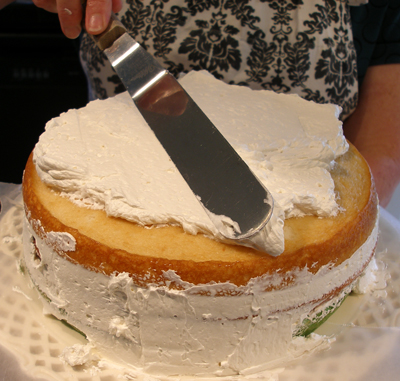
8. Add a large amount of frosting on top of the cake and smooth it over the top and down the sides of the cake.
Continue smoothing the icing, by turning the turntable and using the spatula as a straight edge.
When icing is smooth, carefully remove the strips of waxed paper.
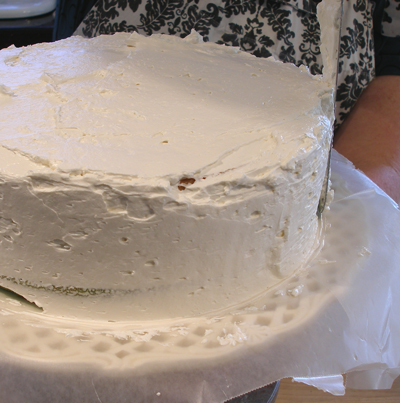
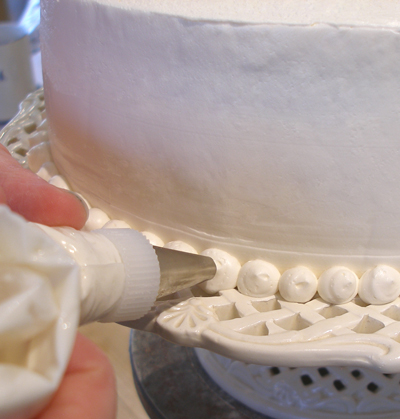
9. Place about a 1/2 cup of frosting in a piping bag fitted with a plain round tip and pipe a beaded border on the bottom of the cake.
Place finished cake in the refrigerator while you cut out the fondant dots for the side of the cake.
STEP III: DECORATE THE CAKE
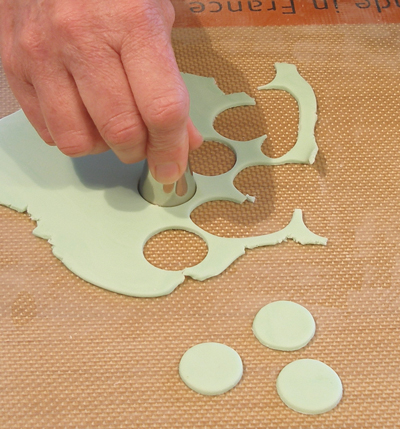
Cut out fondant polka dots and place them on cake:
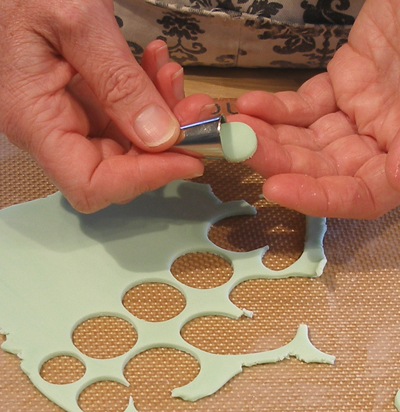
You will need two sizes of fondant dots for the cake. I used the large end of a large piping tip for the large dots, and the large end of a standard piping tip for the small dots.
You will need approximately 40 dots in all. 10 large and 10 small of each color – green and pink.
1. Roll out pale green fondant, very thinly, on a cornstarch dusted work surface.
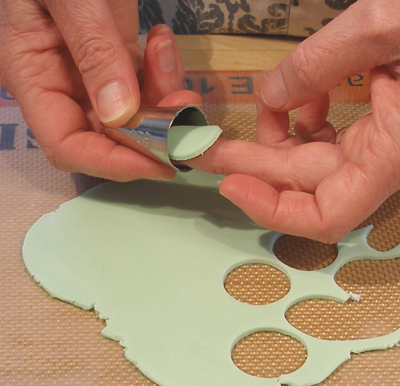
2. Cut dots out of the fondant and gently pop them out with your finger.
3. Repeat the process with the pink fondant.
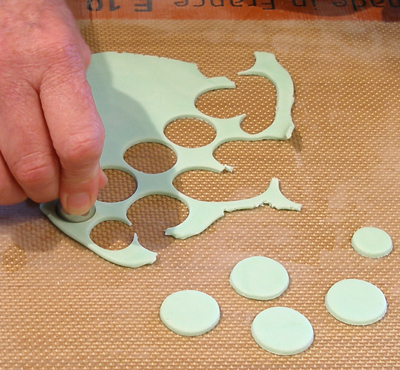
4. Remove the cake from the refrigerator, and gently press the dots onto the cake, in a random pattern.
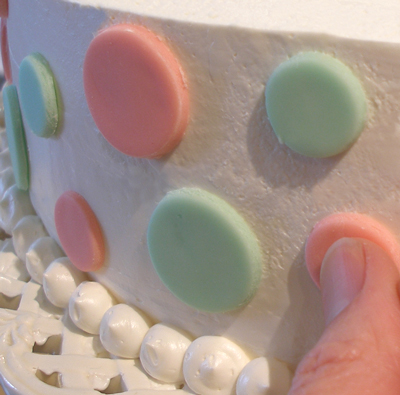
5. When done, return the cake to the refrigerator while you make the Birthday Bunting for the top of the cake.
Make the Birthday Bunting:
1. NOTE: CLICK ON THE PHOTO BELOW. The exact size image should pop up. Print out the image below, at photo quality, being sure to indicate to print it at the “exact size”, rather than the “printable area” of the page. If you print it at the “printable area” setting, it will be too big.
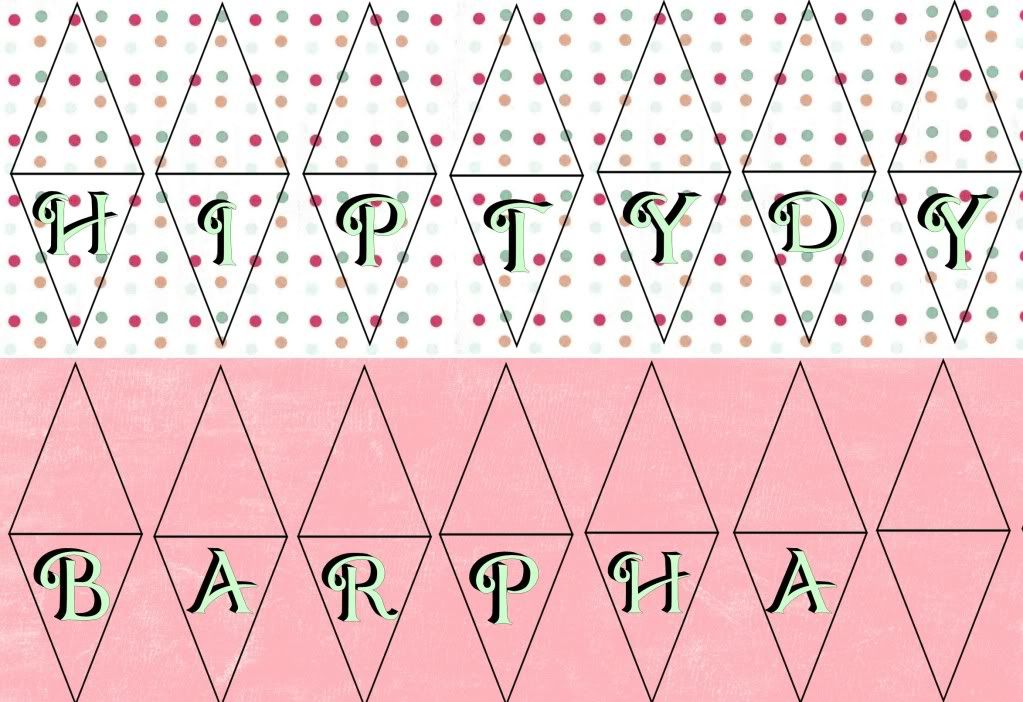
2. Cut the two colored strips out, using a straight edge and exacto knife, or a rotary cutter.
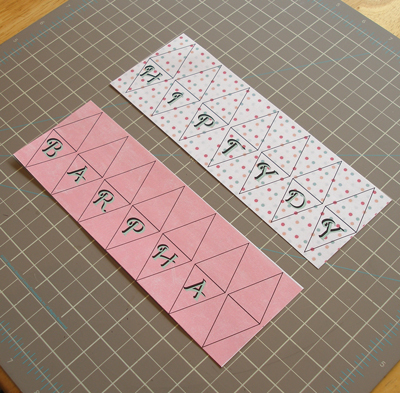
3. Fold each strip in half, at the center line.
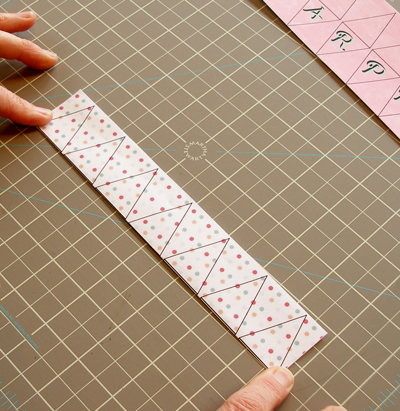
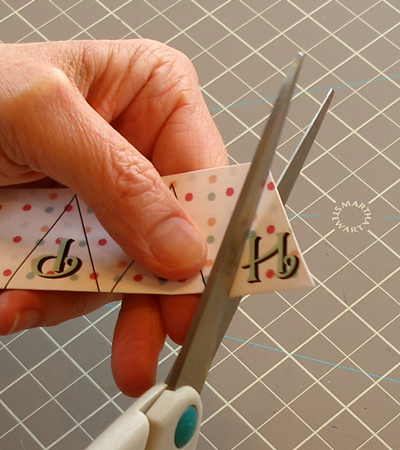
4. Cut each letter out, making sure to cut on the inside of the black line. You do not want the black line to show on your finished bunting.
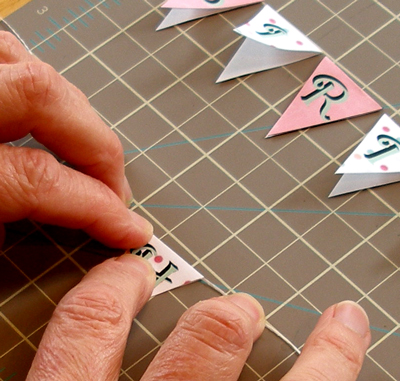
5. Line the letters up on your work surface, alternating pink and polka dot papers, to spell “Happy Birthday”.

6. Pull out about a 12″ long piece of thick thread or dental floss.
I used white dental floss and it worked perfectly for the job.
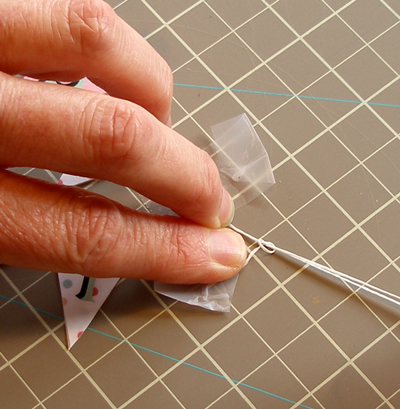
7. Starting with the first letter of the word “Happy”, place one glue dot on the inside center of the flag, making sure that it is not near the fold.
Fold the flag over the dental floss, pressing to adhere. Make sure the flag can freely move along the floss.
Continue with the rest of the letters in the work “Happy”.

8. Pull out about a 16-inch piece of floss and repeat the above steps for all of the letters in the word, “Birthday”.
Tape the word “Happy” down to your work surface so that it is in a straight line.
Tape the word “Birthday” below it, making sure to let it hang below “Happy” in a gentle curve.
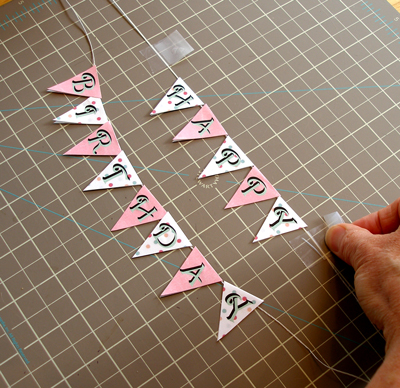
9. Knot the two strong of floss together at each end, about 1 1/2 inches away from the first and last letters in the word “Happy”.
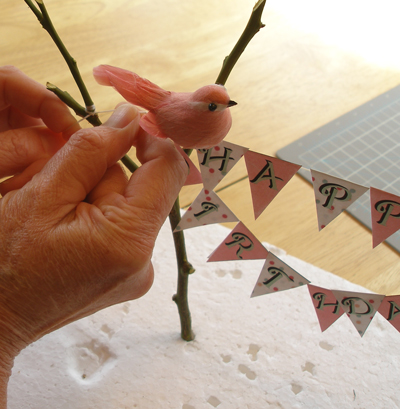
10. Bend the wires on bird's feet to secure it around the branch, just above where you are going to tie the bunting.
If your bird does not have wires on the feet, you can use a hot glue gun to attach the bird to the branch.
11. Push the end of one branch into a styrofoam block and tie the bunting onto the branch.
Pull the other side of the thread taut, and insert the second branch into the styrofoam, about where the “y” in the word “Birthday” appears.
Tie the other side of the thread to the second branch.
NOTE: Keep in mind that the top of the cake is only about 9 1/2- inches across, so do not allow the bunting to get too wide.
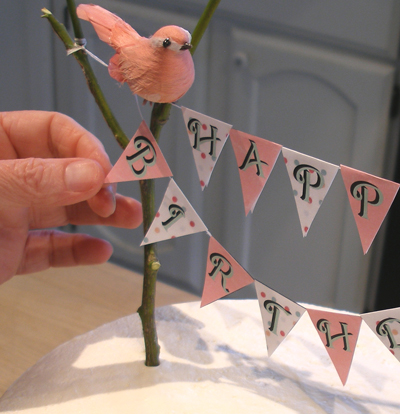
12. Pull the cake out of the refrigerator and center the branches on the top of the cake and gently push the branches about 1 1/2-inch into the cake.
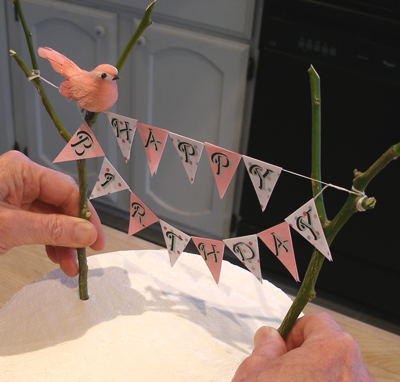
13. Adjust the letters on the bunting so they are evenly placed.
SERVE
Remove the bunting before serving.
STORAGE
According to our research, the Swiss Meringue Butter Cream or SMBC must remain refrigerated, so store the cake in the refrigerator with the Happy Birthday bunting. The cake can be frozen, sans the fondant decorations and bunting.