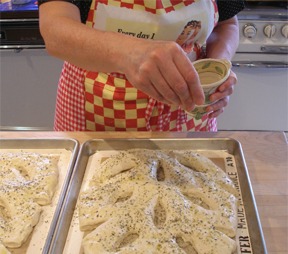
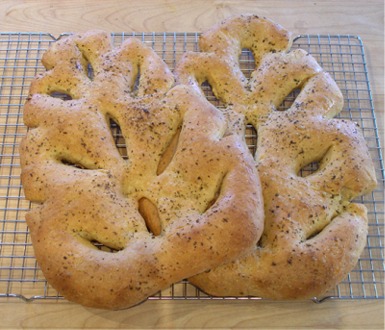
Variation: Calamata Olive Fougasse
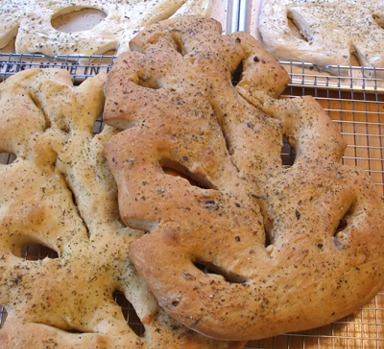
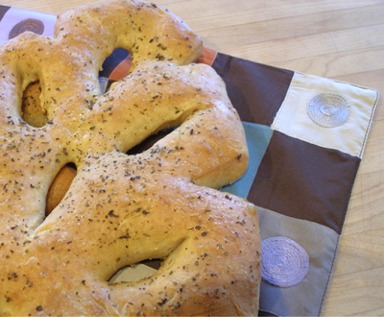
The one of the left just has herbs de Provence on it and the other has calamata olives in the dough.
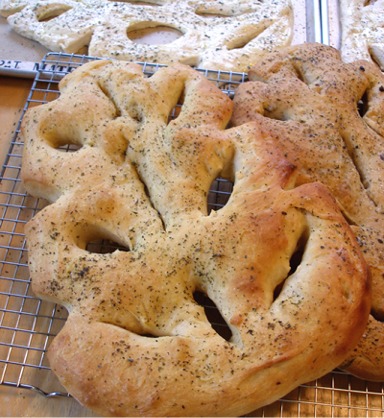
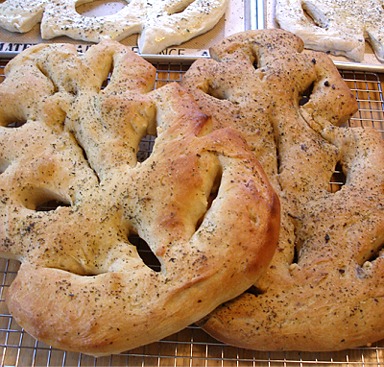
In French cuisine, fougasse, basically an olive-oil rich Italian Focaccia Bread, is a type of bread typically associated with Southern France but found (with variations) in other regions. Some versions are sculpted or slashed into a pattern resembling a tree, which I show you here, or an ear of wheat or leaf. It can also be called Ladder Bread.
In ancient Rome, panis focacius was a flat bread baked in the ashes of the hearth (focus in Latin). This became a diverse range of breads that include “focaccia” in Italian cuisine, “fugassa” in the Ligurian language, “pogača” in the Balkans, “fougasse” in Provence and “fouaisse” or “foisse” in Burgundy. The French versions are more likely to have additions in the form of olives, cheese, anchovies etc, which may be regarded as a primitive form of pizza without the tomato.
Fougasse was traditionally used to assess the temperature of a wood fired oven. The time it would take to bake gives an idea of the oven temperature and whether the rest of the bread can be loaded.
BREAD RECIPE HELP
INGREDIENTS
3 cups warm water (about 90 degrees F), divided
2 Tablespoons active dry yeast
1 teaspoon sugar
1/4 cup olive oil
6 1/2 cups all-purpose flour, plus more to adjust consistency of dough; spoon into measuring cup and level to rim
INSTRUCTIONS
STEP I: MAKE THE BREAD DOUGH
A. Mix the bread dough:
1. Place 1 cup warm water and add it to the bowl of your stand mixer, fitted with the dough hook attachment.
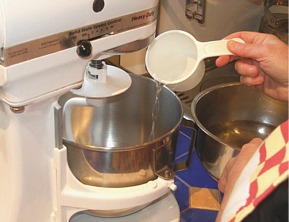
2. Add the yeast and sugar and stir together.
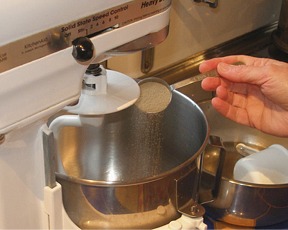
3. Let yeast proof while you measure and sift your flour.
Always spoon your flour into the measuring cup and level it off with a knife.
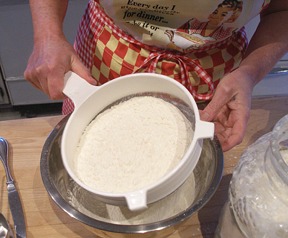
Sift the flour through a strainer, to remove any lumps.
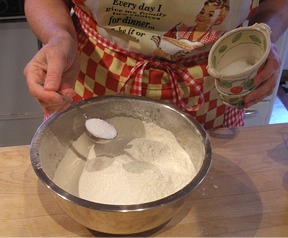
Add the salt to the sifted flour and stir.
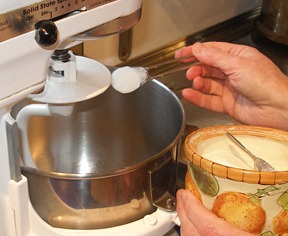
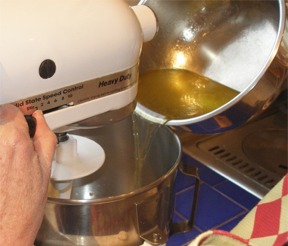
4. Place the remaining 2 cups warm water in a mixing bowl and add the olive oil to it.
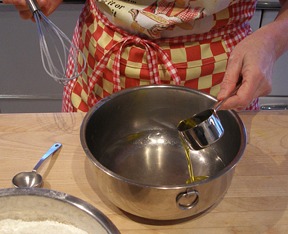
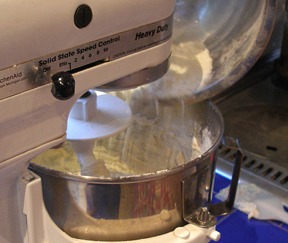
Mix the oil/water mixture with a whisk and add it to the yeast mixture, in your stand mixer bowl. Turn mixer on low, to combine.
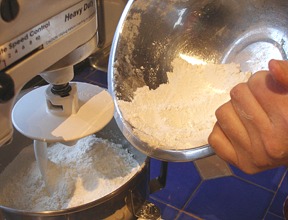
5. Turn mixer off and add all the flour, except for about a cup.
Mix on low speed, until the flour is incorporated into the liquid ingredients.
6. When flour is incorporated, stop mixer and scrape down the sides of the bowl with a rubber spatula.
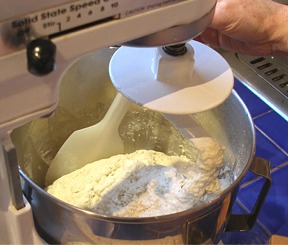
7. Add the rest of the flour and mix on low for about three minutes, or until dough starts to come together.
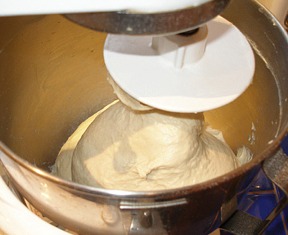
8. Increase mixer speed to medium-high and knead for ten minutes.
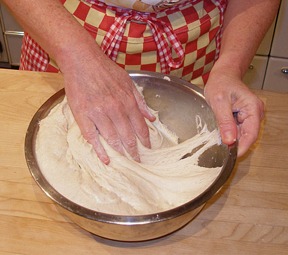
The resulting dough will be soft and slightly sticky.
It will clean the sides of the bowl, but will cling to the bottom a little.
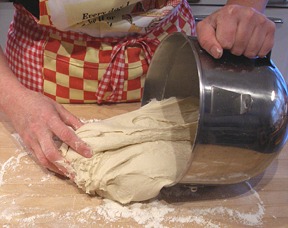
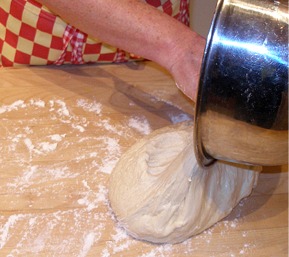
9. Remove the dough from mixing bowl, after the 10 minutes of kneading, and place it on a well-floured work surface.
The dough will be soft and very elastic.
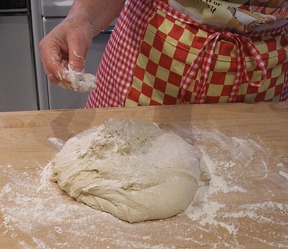
Add a little flour to the surface of the dough and knead it by hand for a few minutes.
If your dough is very sticky, you may adjust the consistency by adding a little more flour (up to 1/2 cup) and kneading it in.
Do not add too much! The dough is supposed to be soft!
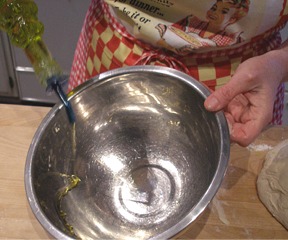
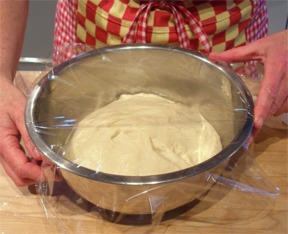
10. Oil a clean mixing bowl by adding a little olive oil to it and spreading it over the entire interior of the bowl.
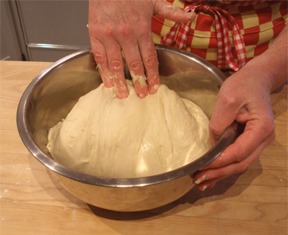
11. Form the dough into a nice round and add it to the bowl.
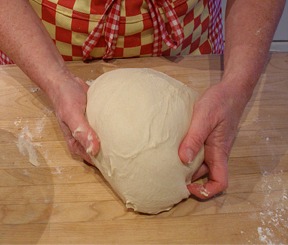
After the dough is in the bowl, flip it over, so it is oiled on the top surface of the dough ball.
12. Cover the bowl with plastic wrap and set it aside to rise.
B. The First Rise:
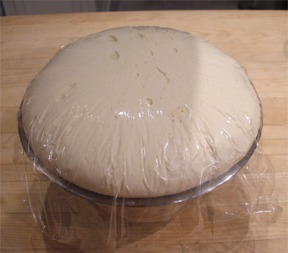
1. Set the dough aside to rise, until doubled in bulk, about 1 hour.
C. The Second Rise:
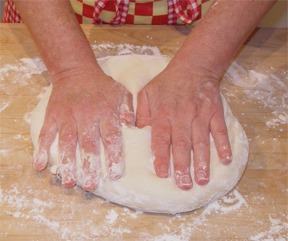
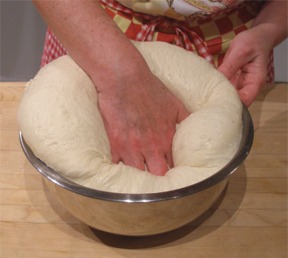
1. Remove plastic wrap and push down dough to deflate it. It's not so much a “punching down” ..just pushing on the dough is sufficient.
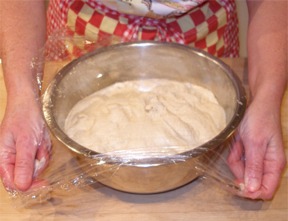
2. Replace plastic wrap and let rise again till the dough is doubled again. Make sure you grease the side of the wrap that touches the dough.
The second rise takes 45 minutes to an hour.
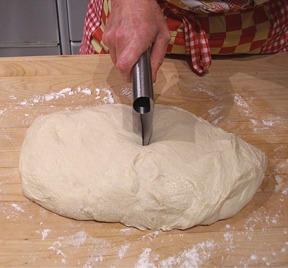
3. When dough is doubled again, remove plastic wrap and push down the dough again.
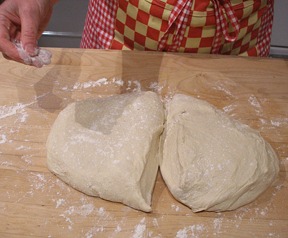
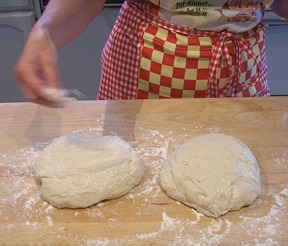
4. Remove dough to a floured work surface and cut dough in half with a metal bench scraper or a knife.
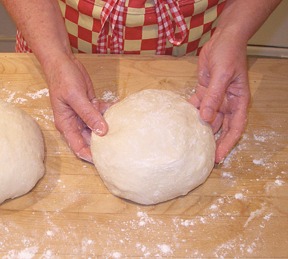
5. Lightly sprinkle the dough with flour and form each section into a ball.
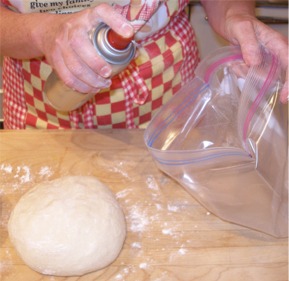
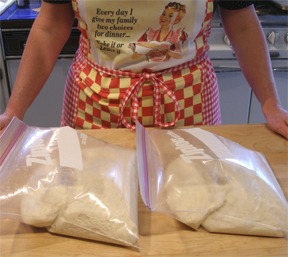
6. Spray the insides of two gallon-sized resealable bags with cooking spray.
Insert your dough balls into the greased bags, push out excess air and seal the bags.

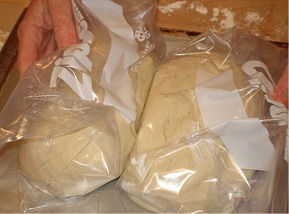
7. Place the sealed bags on a baking sheet, the top of the bag should be left unfolded, so the dough has room to grow.
Place them in your refrigerator for at least 24 hours, to let the flavors develop. You can refrigerate the dough up to 36 hours.
STEP II: FORM THE FOUGASSE SHAPES
You will need:
Cornmeal for dusting baking sheets
Olive oil for brushing loaves
Herbs de Provence and coarse salt, for topping loaves
Spray bottle, filled with water, for misting the oven
Ice cubes, for providing steam in the oven
1. About 1 1/2 hours before you plan on baking, take the dough out of the refrigerator.
You will see that they have grown quite a bit, during their rest in the fridge!
The bags will be full of gasses and will be very puffy.
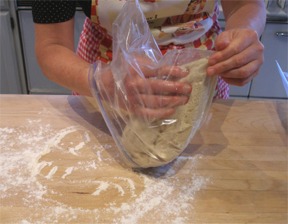
2. Gently remove the dough from the bags and place them on a lightly floured work surface.
You want to be very gentle with your dough at this point…you don't want to pop all the glorious bubbles that have grown overnight!
3. Dust the tops of the balls with a little flour and cover them loosely with plastic wrap.
4. Let dough rest for one hour.

5. While dough is resting, position two oven shelves; one in the lower and and the other in the upper third of the oven. Preheat your oven to 450 degrees F.
You want it to get really hot.
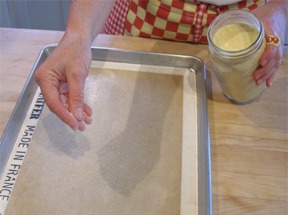
6. Prepare two baking sheets by lining them with parchment, or silpat mats.
Dust the lined baking sheets with cornmeal.
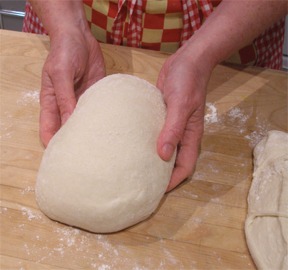
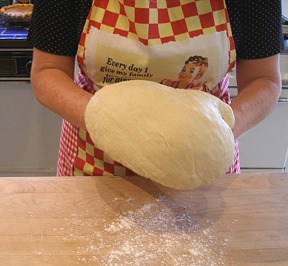
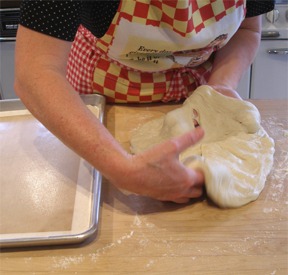
7. Take one ball of dough and form it into an elongated tear-drop shape by lifting it on your fist and pulling it.
Be gentle with the dough!
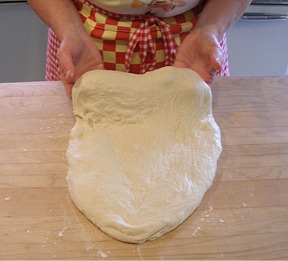
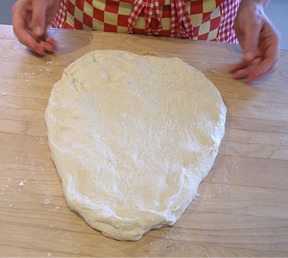
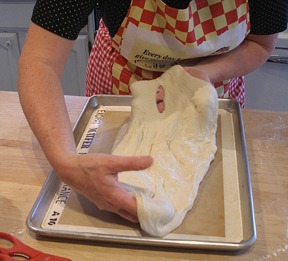
8. Finish forming it on your floured work surface, gently coaxing it into shape.
See all the nice bubbles?
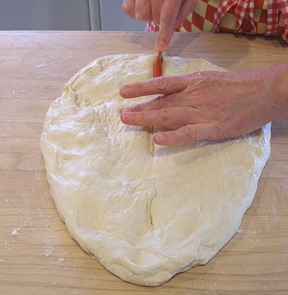
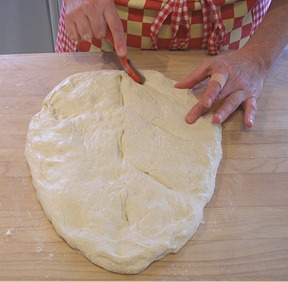
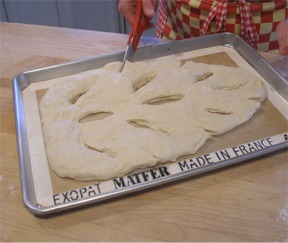
9. Using a bakers lame, a single-edged razor or a sharp knife, begin cutting your fougasse in this fashion:
Three vertical cuts down the center of the bread, leaving space in between the cuts.
10. After you have cut your vertical cuts, cut three angled cuts on each side of the dough, as pictured below.
Repeat the same cuts on the other side of the loaf.
Be careful when you are cutting..notice the nice new Band-Aid on my finger. OOPS!
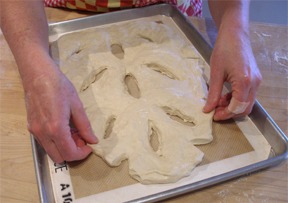
11. Gently lift the loaf onto your cornmeal sprinkled baking sheet.
12. When your loaf is on the baking sheet, adjust the shape of the dough, to make it pretty and gently work your fingers into the slits in the dough, to widen them.
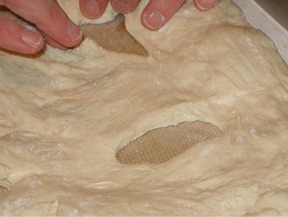
13. When your loaf is all set, cut small snips on the edge of the dough, with kitchen shears, to make it look even more like a leaf.
Notice the placement of the snips, in the pictures below.
14. Repeat Step #s 1 – 13 with your other dough ball.
STEP III: BAKE THE LOAVES
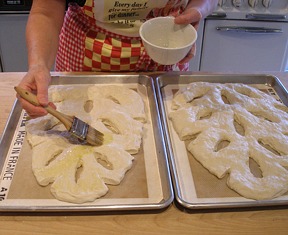
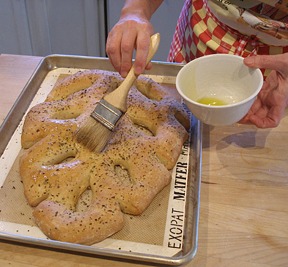
1. Brush your loaves all over with olive oil, sprinkle with herbs and coarse salt.

2. Set the shaped dough aside to rest, uncovered, for about 20 minutes.
After the resting period, your dough will have risen a bit.
It is now time to bake them.
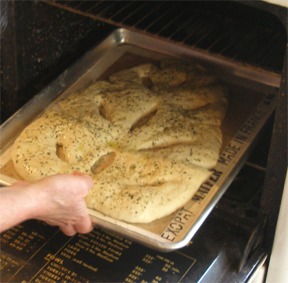
3. Take an old baking sheet and add about 18 ice cubes to it.

4. Place the baking sheet with the ice cubes on the floor of your oven, taking special care not to burn yourself.
If you have an electric oven, place it on a rack, in the lowest position possible.
As the ice melts, they will add steam to the oven. The steam helps create in a thicker, browner, and chewier crust.

5. Place loaves in oven and spray the sides of the oven with the spray bottle, to create more steam.
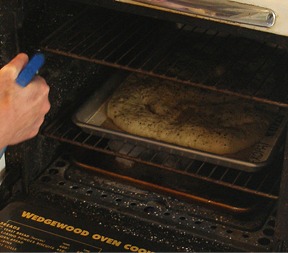
6. Bake the loaves for 15-18 minutes, spraying the oven three times, during the first 10 minutes of baking. Stop spraying after the first 10 minutes!
After the first 10 minutes, remove the baking sheet, that held the ice, from the bottom of your oven. Most of the ice, and resulting water, should be gone by then.
If the breads aren't baking evenly, rotate the pans, when you remove the baking sheet that held the ice.
7. The breads are done when they are golden brown have a nicely bubbled surface. Remove the loaves from oven and immediately brush them with more olive oil.
They smell heavenly!
Serve them warm, fresh from the oven! YUM!
STORAGE
Breads are best served the same day they are baked, but, they can be frozen, for up to two weeks.
VARIATIONS
Calamata Olive Fougasse: add 3/4 cup coarsely chopped calamata olives( blotted dry with paper towels) during the last couple minutes of mixing in the mixer.
This is a very delicious variation.